Return Management
Return List:
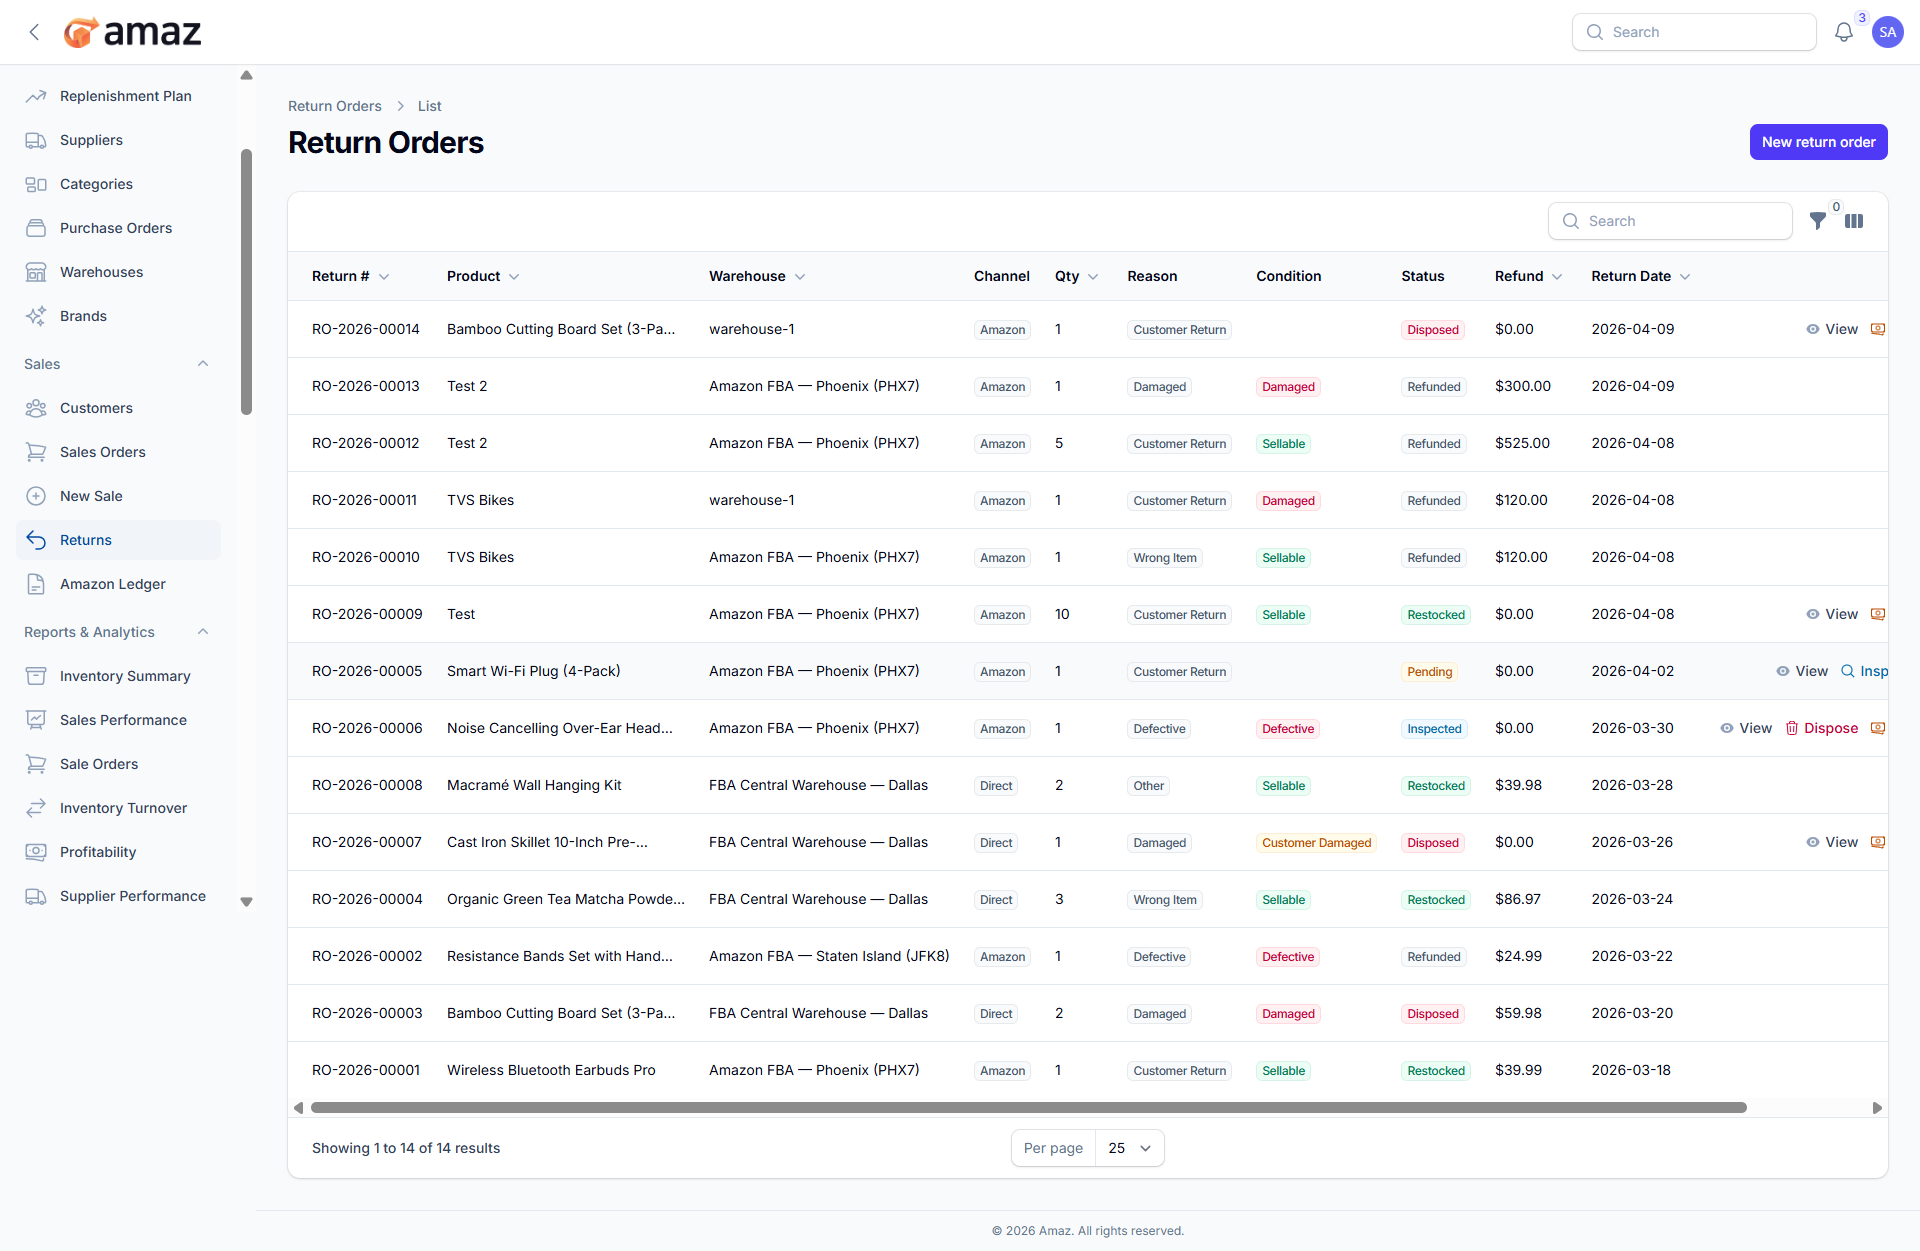
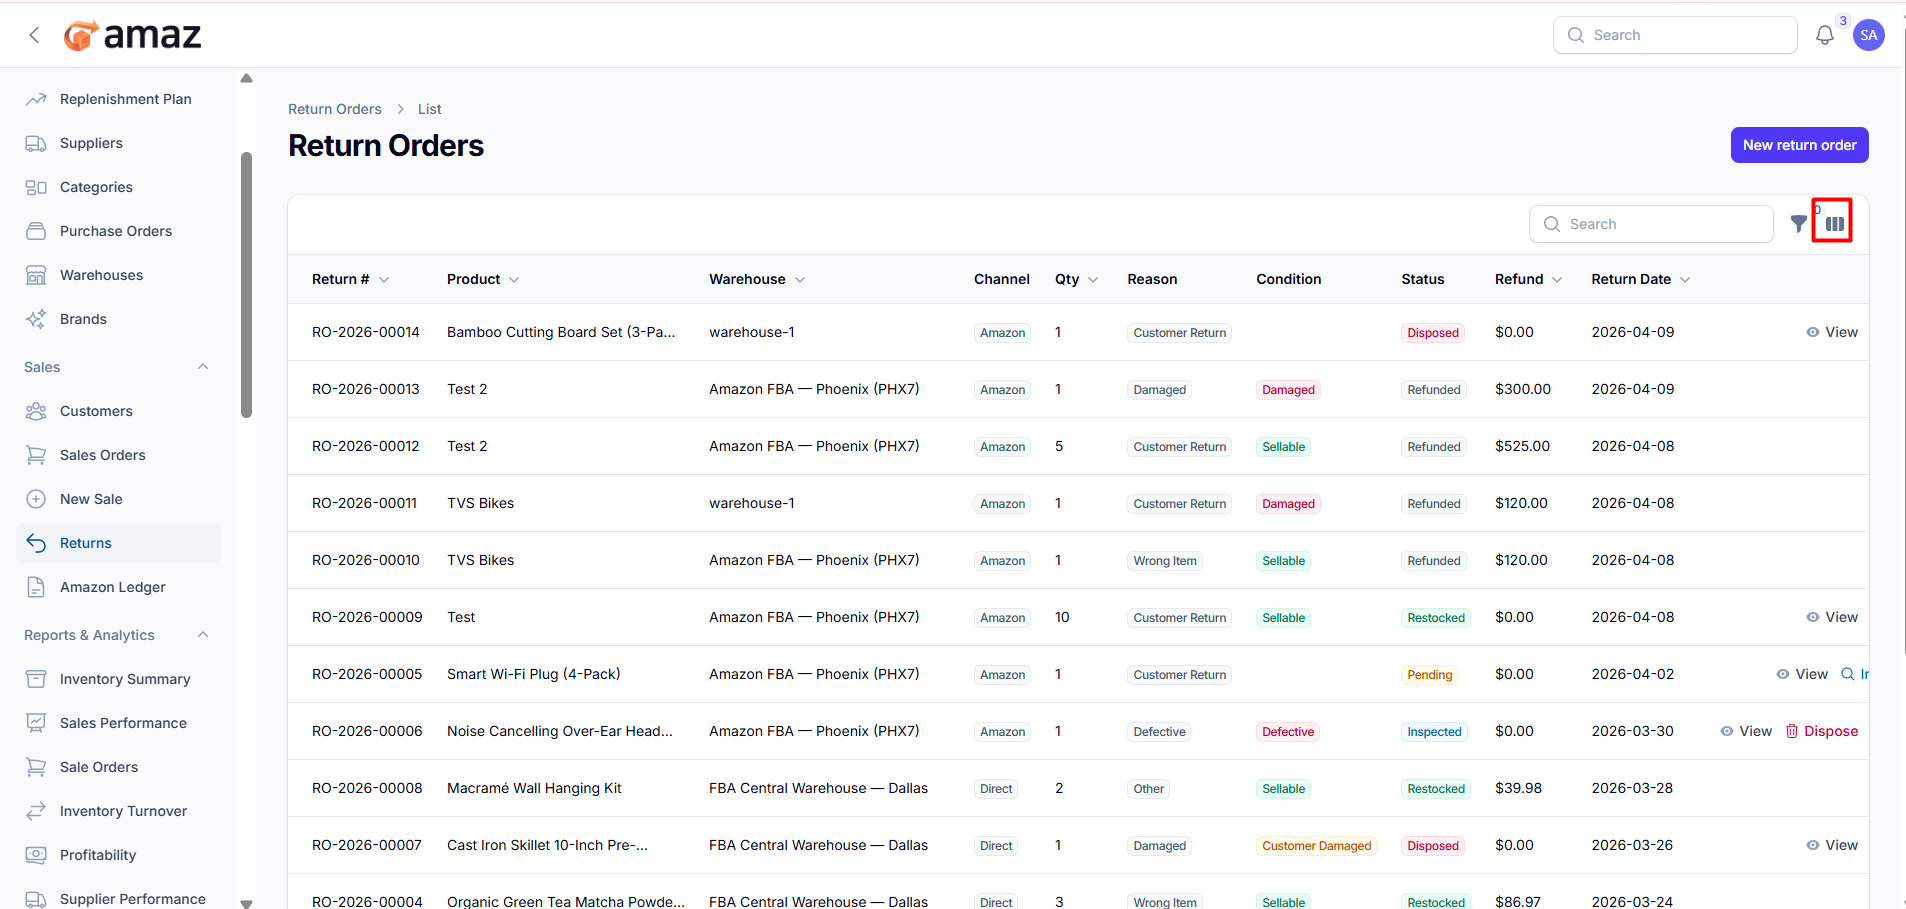
From here you can view all return orders along with their details.
Field – Description
Return ID – Unique identifier for the return.
Product Name – Name of the returned product.
Warehouse – Warehouse where the return is processed.
Channel – Source of the return (e.g., Direct, Website, Marketplace).
QTY – Quantity of items returned.
Reason – Reason for the return.
Condition – Condition of the returned item (e.g., Good, Damaged).
Status – Current status of the return (e.g., Pending, Processed).
Refund – Indicates refund status or amount.
Return Date – Date when the return was initiated.
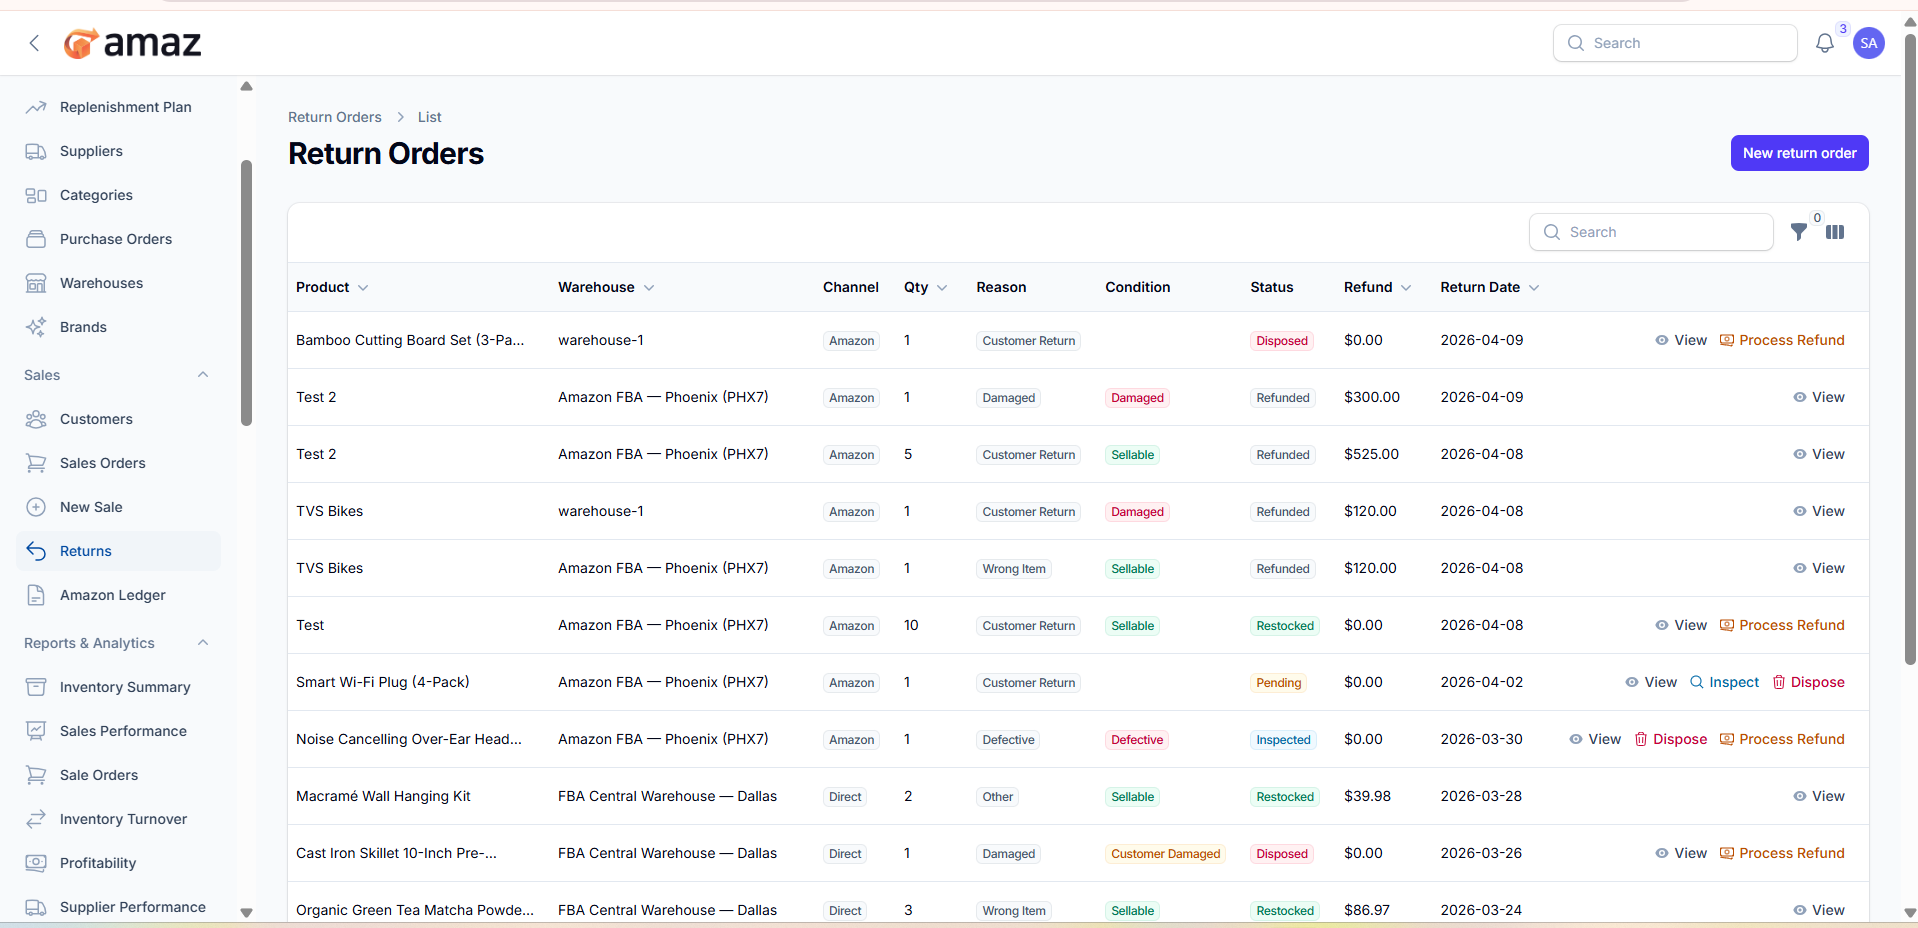
Actions:
From here you can perform multiple actions on return orders.
Action – Description
View – Open and view full return details.
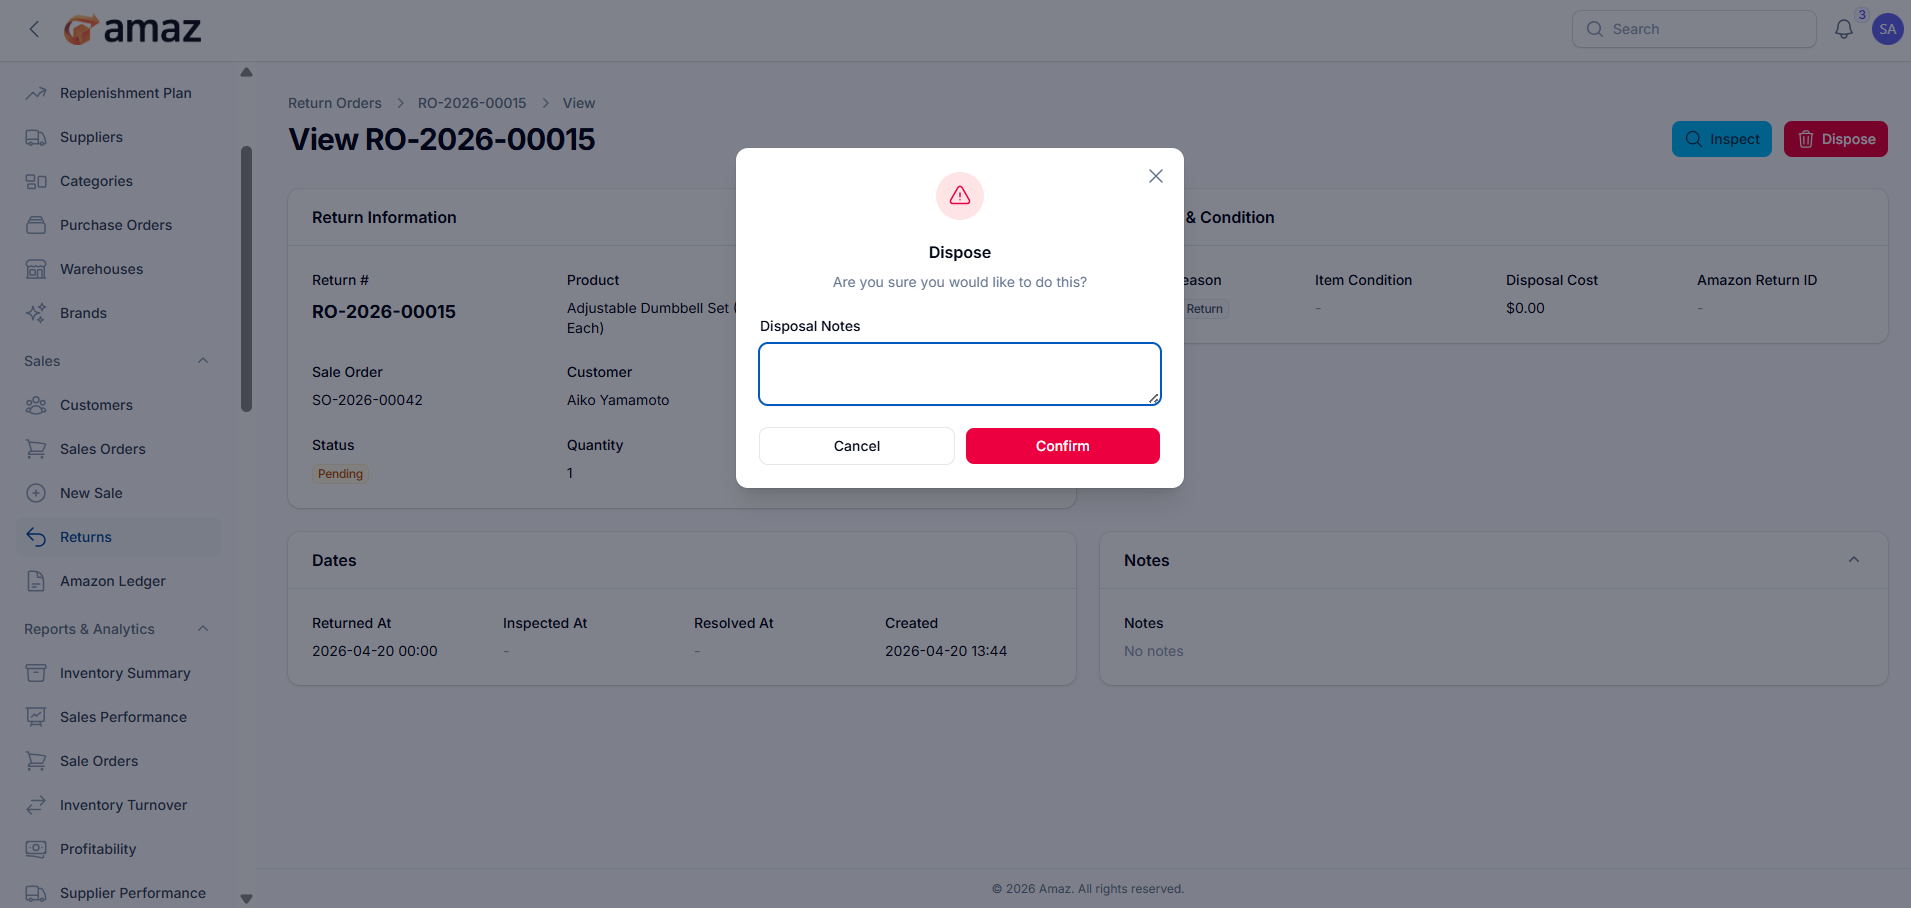
Dispose – Mark items as disposed if they are not resellable.
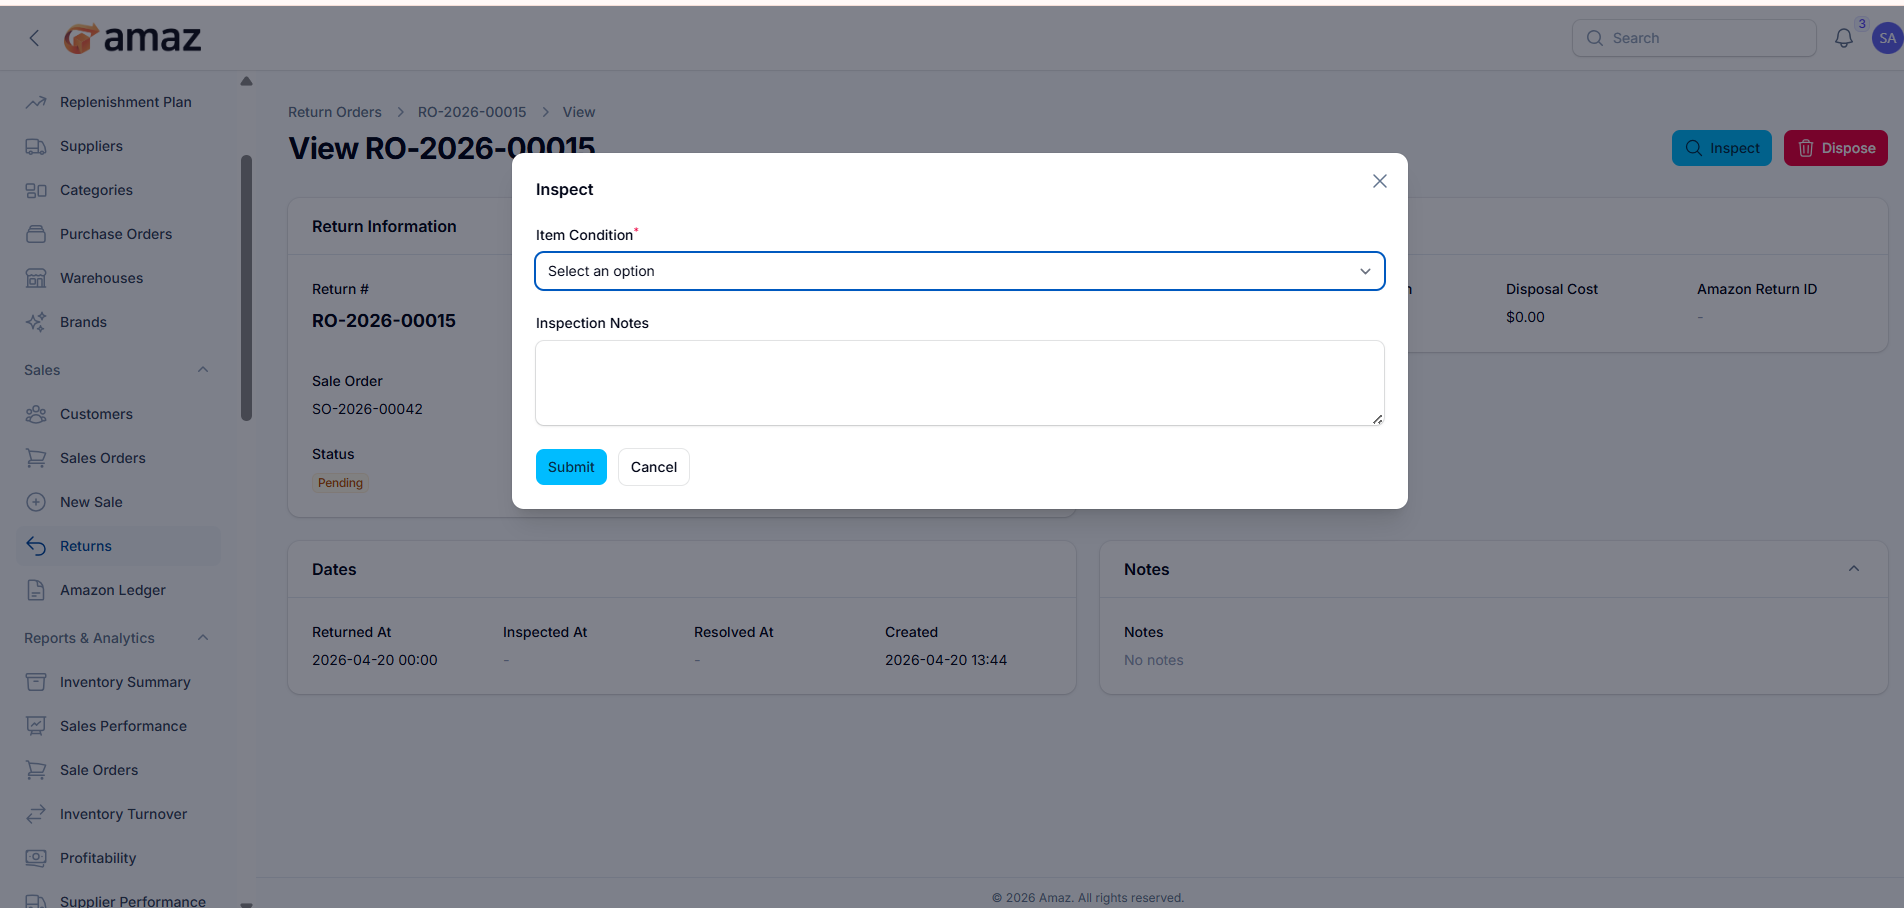
Inspect – Review the condition of returned items.
Process Refund – Initiate and record a refund for the returned items.
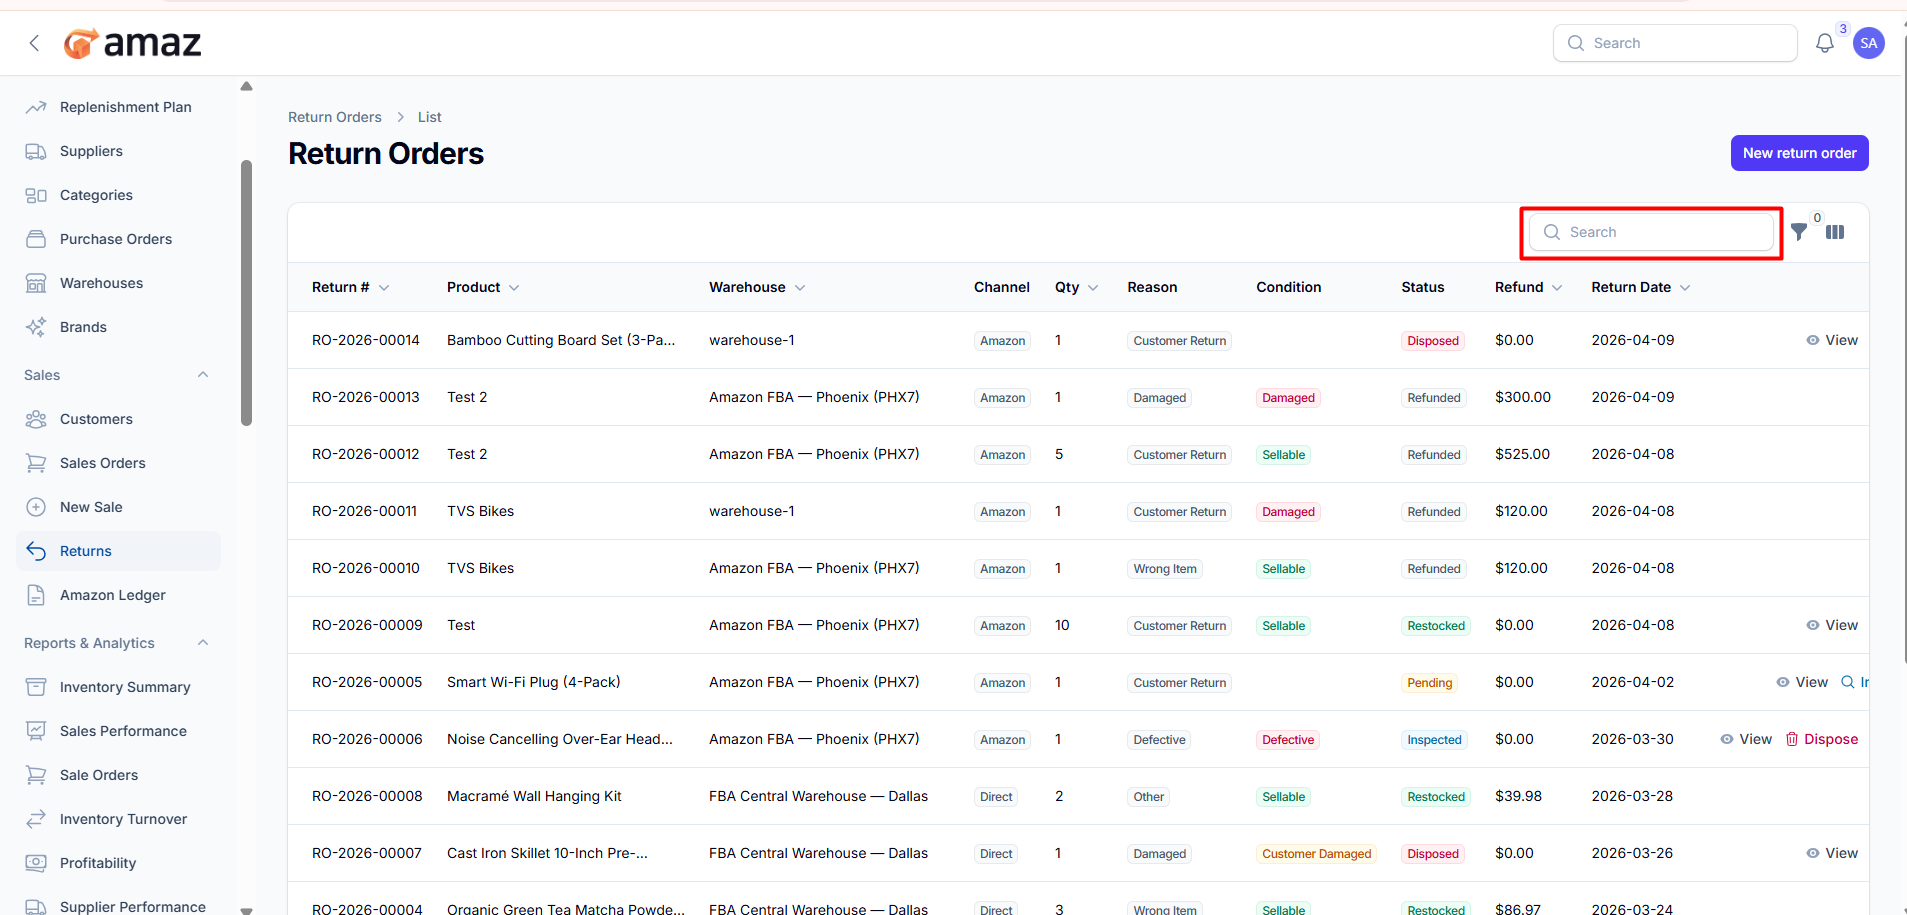
Use the search option to quickly find return orders by entering relevant details such as Return ID or product name.
You can use filters to narrow down return orders.
Filter – Description
Status – Filter returns by their current status.
Reason – Filter based on return reason.
Condition – Filter by item condition (e.g., Good, Damaged).
Channel – Filter by return source (e.g., Direct, Website, Marketplace).
Return Date From – View returns starting from a specific date.
Return Date Until – View returns up to a specific date.
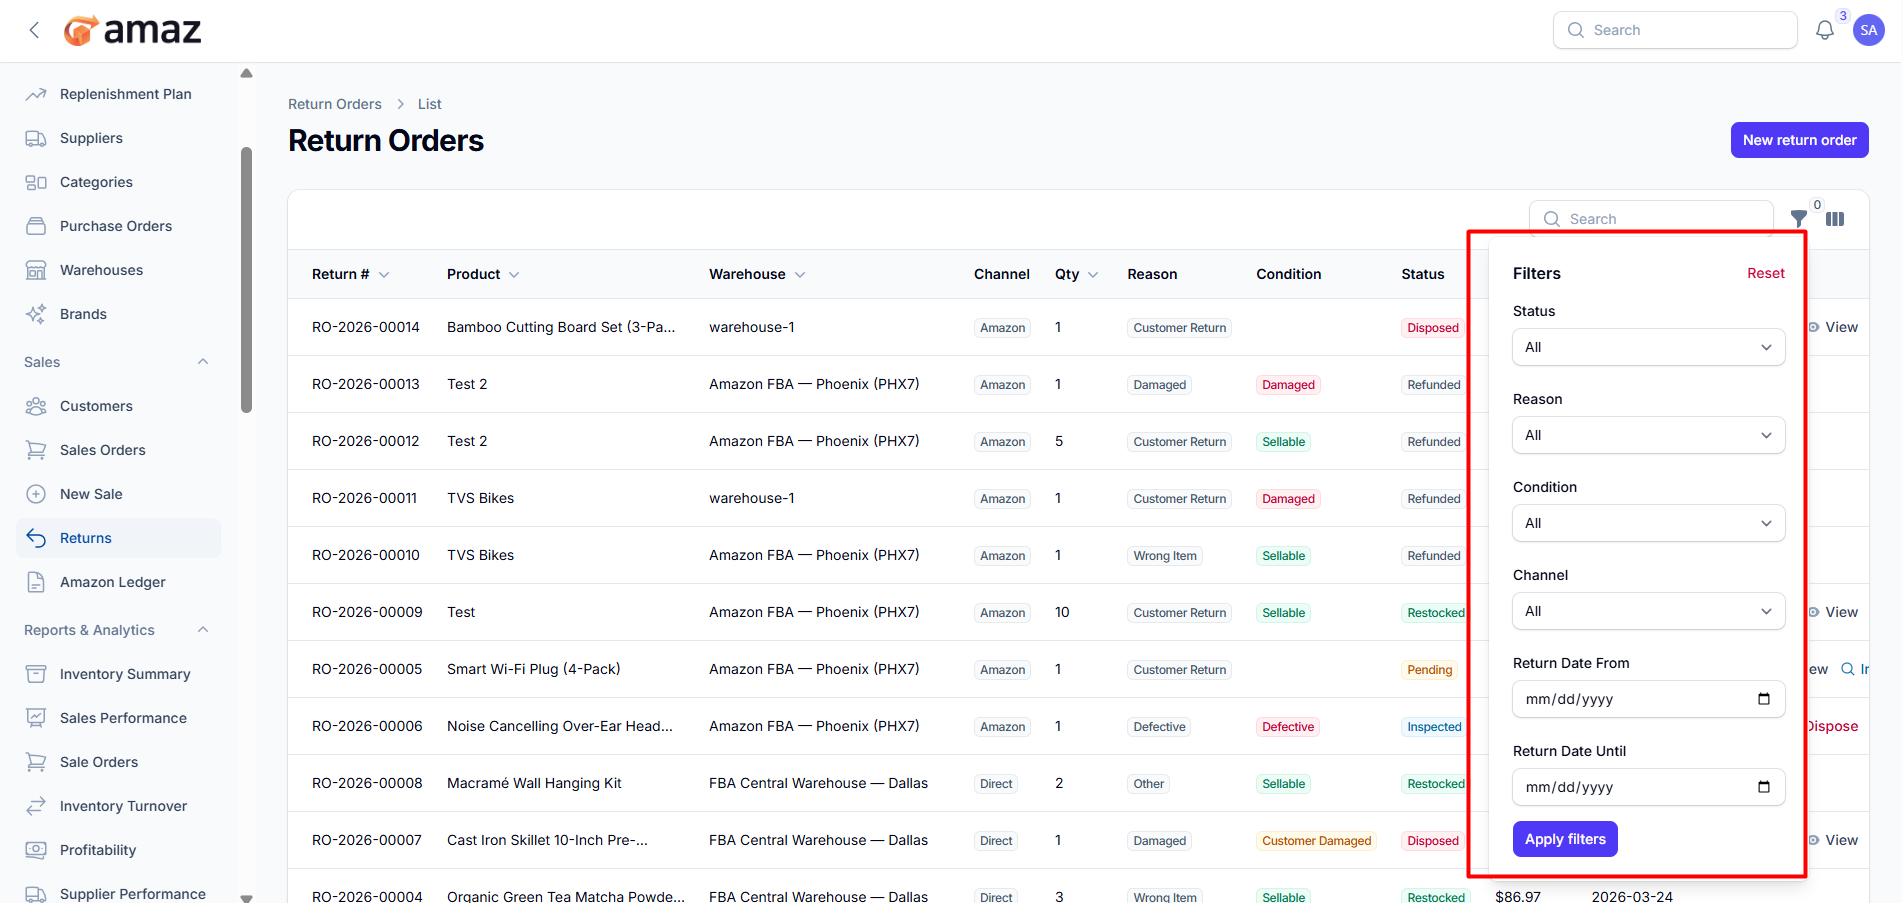
You can customize the visible columns to display only the return information relevant to your needs.
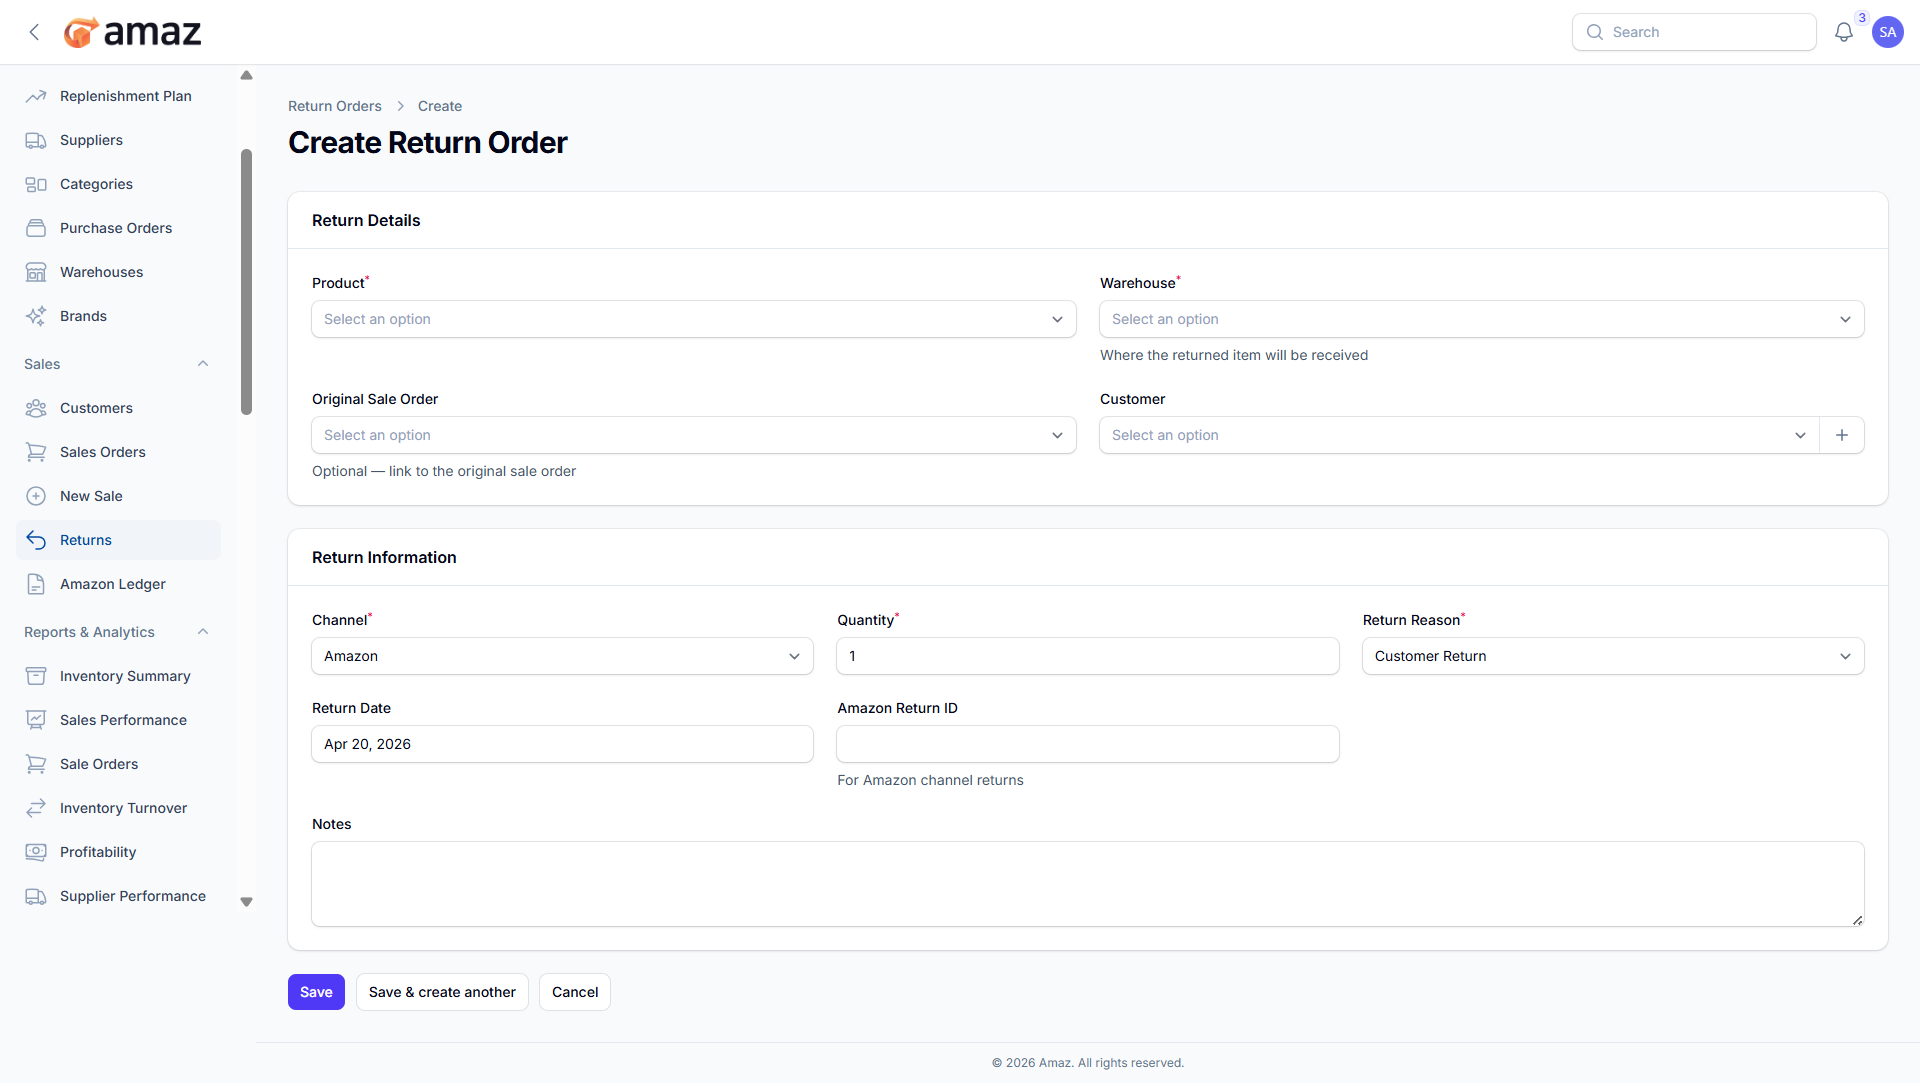
Click New Return Order.
Fill in the return details:
2.Field | Description | Required
Product – Item being returned. | Yes
Warehouse – Warehouse where the return will be received. | Yes
Original Sale Order – Reference to the original sales order. | No
Customer – Customer who initiated the return. | No
Field – Description
Channel – Source of the return (e.g., Direct, Website, Marketplace).
Quantity – Number of items being returned.
Return Reason – Reason for the return.
Return Date – Date when the return was initiated.
Amazon Return ID – Reference ID for marketplace returns (if applicable).
Notes – Additional information about the return.
4.Click Create.
Field – Description
Item Condition – Select the condition of the returned item (Sellable, Damaged, Defective, Customer Damaged).
Inspection Note – Add notes based on the inspection findings.
2.Action – Description
Submit – Save the inspection details.
Cancel – Discard changes and exit the inspection process.
 ''
''
Field – Description
Dispose Note – Add notes explaining the reason for disposal.
2. Action – Description
Confirm – Confirm and proceed with disposing of the item.
Cancel – Discard the action and return without changes.
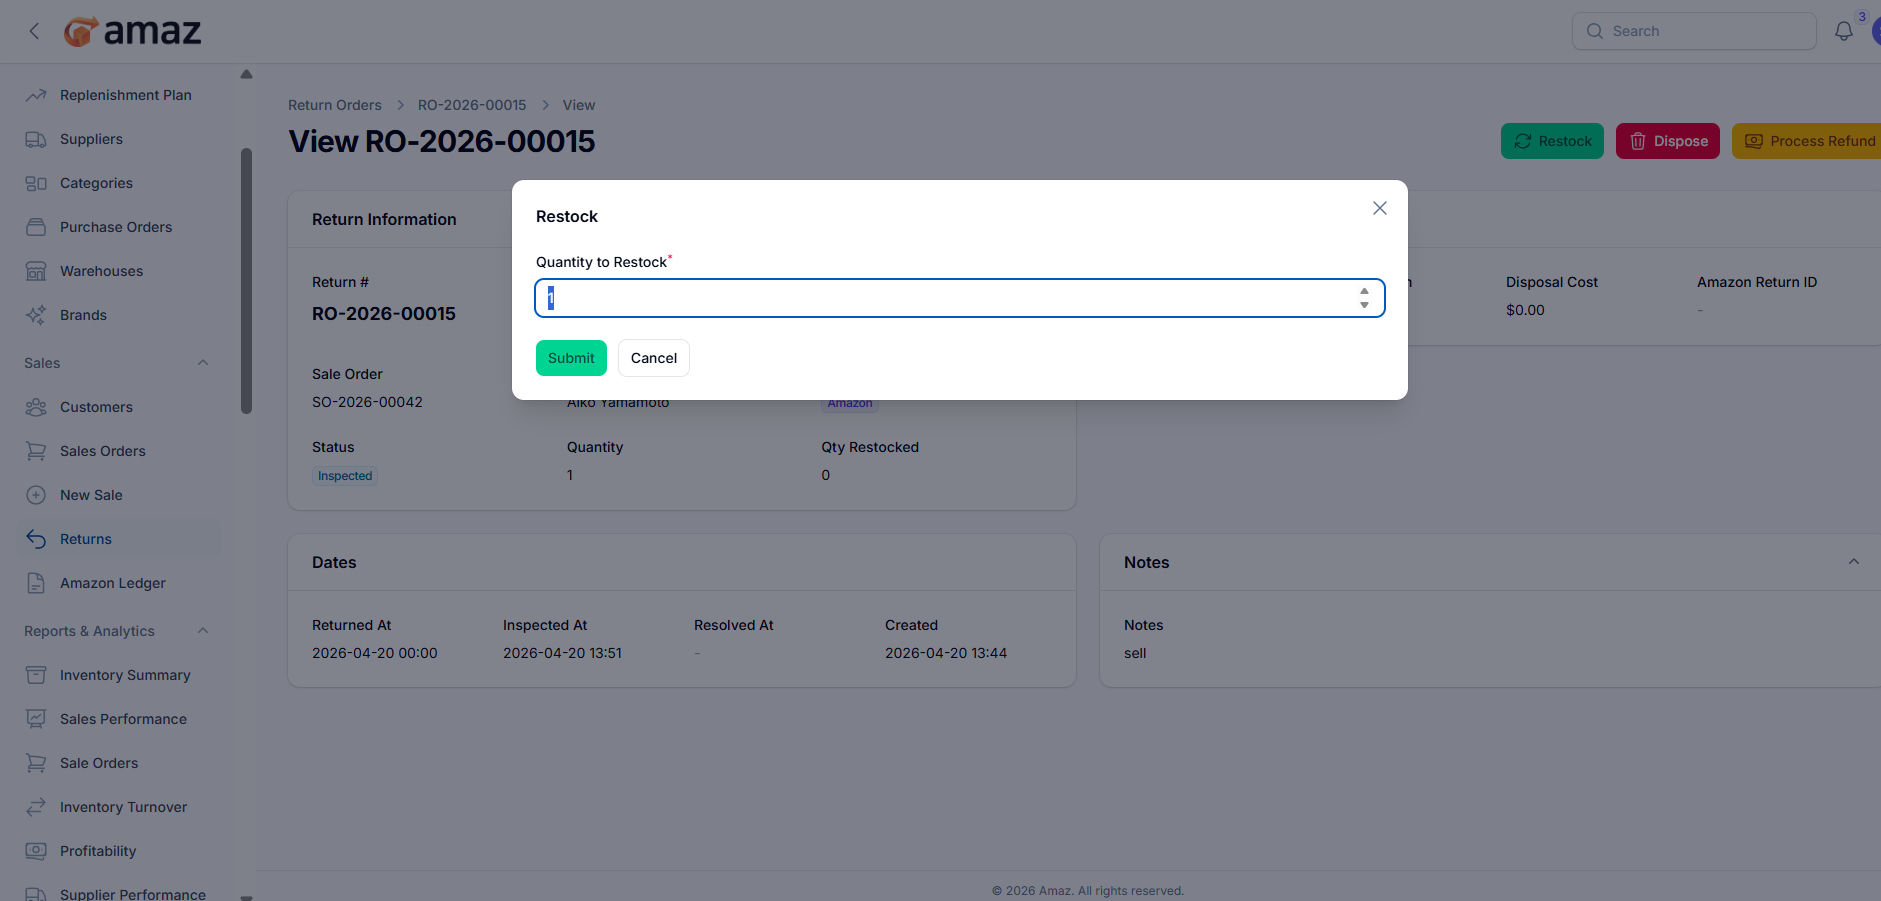
Field – Description
Quantity to Restock – Enter the number of items to be returned to inventory.
2. Action – Description
Submit – Confirm and add the items back to inventory.
Cancel – Discard changes and exit without restocking.
Field – Description
Refund Amount – Amount to be refunded to the customer.
Payment Method – Method used for the refund (Cash, Cheque, Bank Transfer, Credit Card, PayPal, Others).
Financial Account – Account from which the refund will be issued.
Notes – Additional information regarding the refund.
3. Action – Description
Submit – Confirm and process the refund.
Cancel – Discard changes and exit without processing.