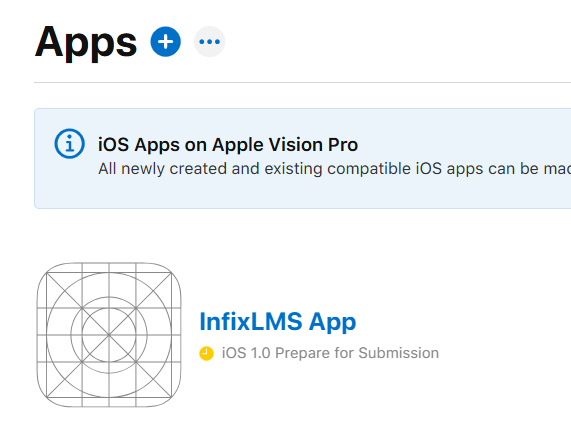
This guide assumes that you have already created an app on the App Store. If you haven't, please create an app first.
Once your app is created, go to App Store Connect business.
Click on your business profile, and in the "Agreements" section, ensure that the "Paid Apps Agreement" is active. It is very important that the "Paid Apps Agreement" status is active before you can add in-app purchases to your Flutter app.
If you haven’t set up the agreement yet, click on "Set Up Tax, Banking, and Contacts" in the "Action" section and fill in all the required details.
After completing this, refresh the page. The status should show as "Processing."
Once Apple reviews the information, the status will change to "Active," and you will be able to add in-app purchases to your Flutter app.
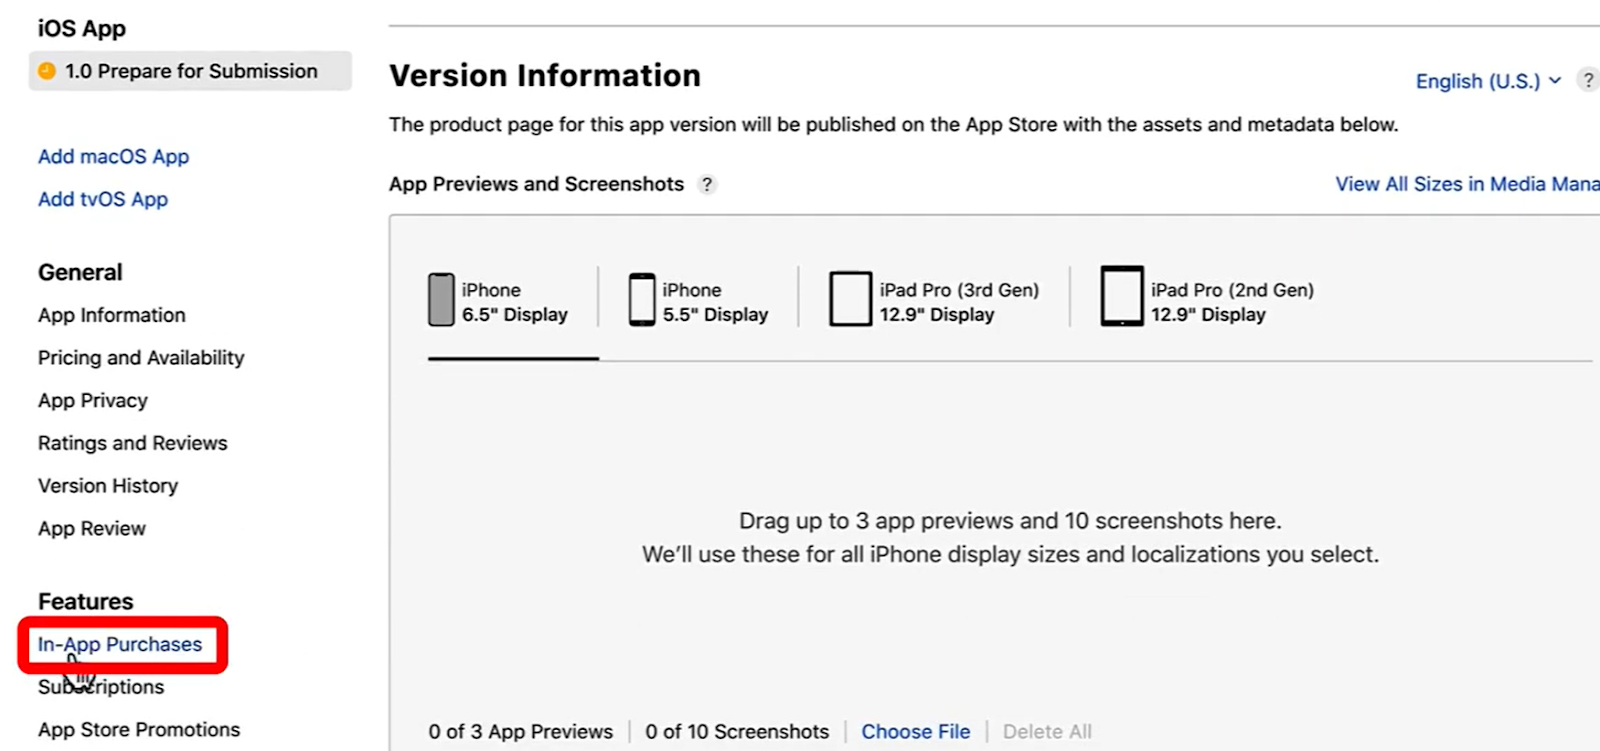
Next, we need to configure the in-app purchases that can later be purchased in your Flutter app. To do this, go to your app in App Store Connect,
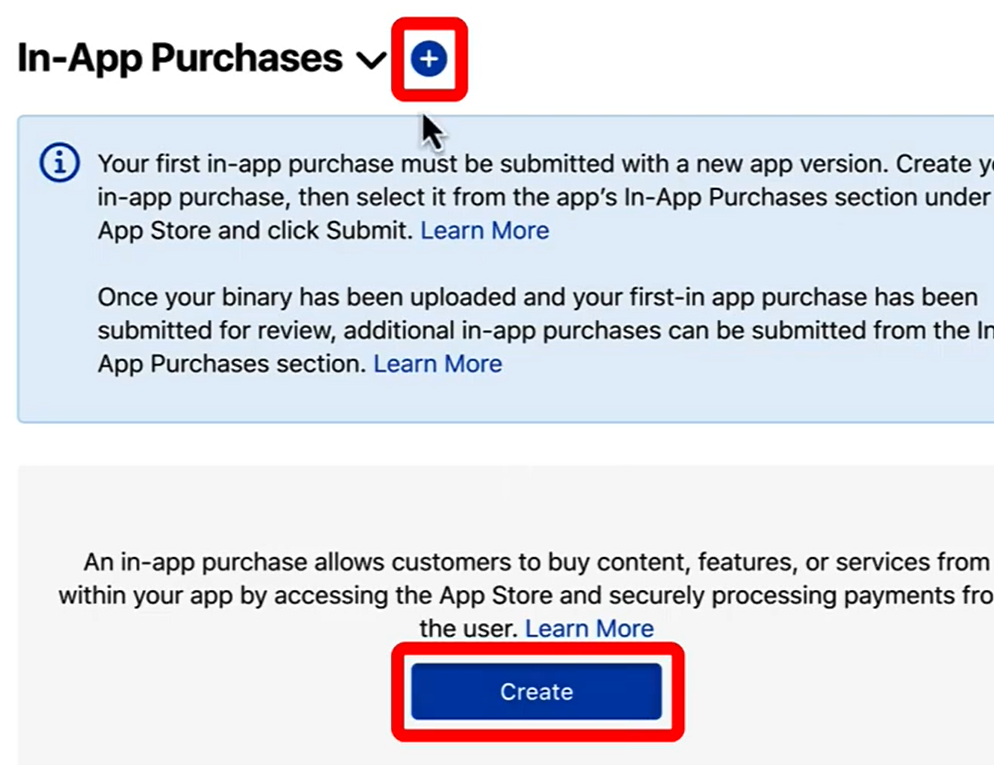
scroll down, and select In-App Purchases. Then, click the plus icon at the top to configure your in-app purchase product.
You will need to choose the type of in-app purchase you want to set up:
Consumable: This product can be purchased multiple times. For example, you can set up a pricing like $9, $99, or $100, and use this price for a course where users can purchase it multiple times.
Non-consumable: This product can only be purchased once. For example, you might want to add an individual item for each course that a user can buy only once.
In our case, we created a consumable product, which means it can be purchased multiple times. This allows us to use it for every course priced at $9.
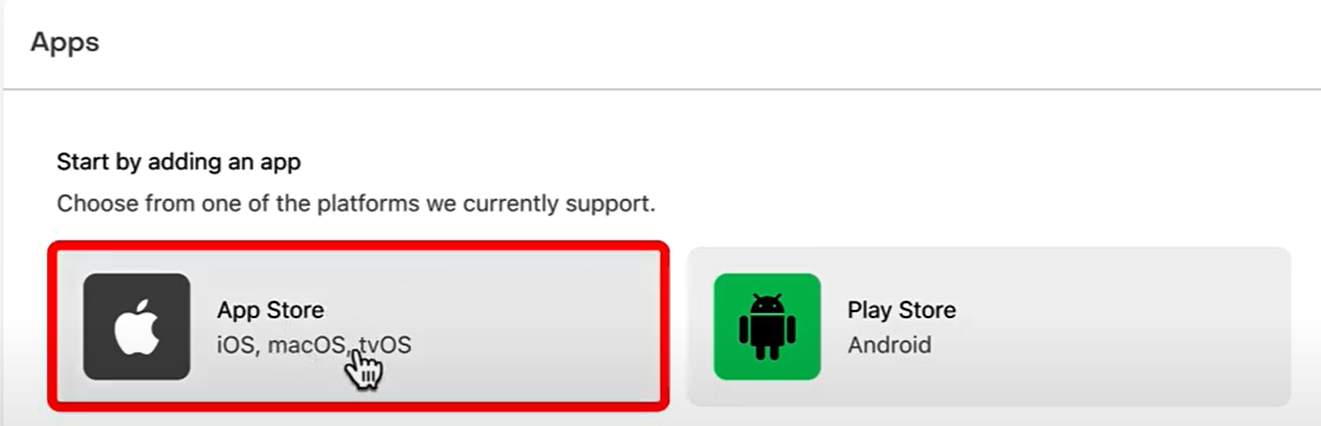
Now, go to the RevenueCat website. If you don’t have an account, sign up for one. After signing in, create a new project.
After creating the project, you will see an option to add an app. Click on iOS Store to proceed :
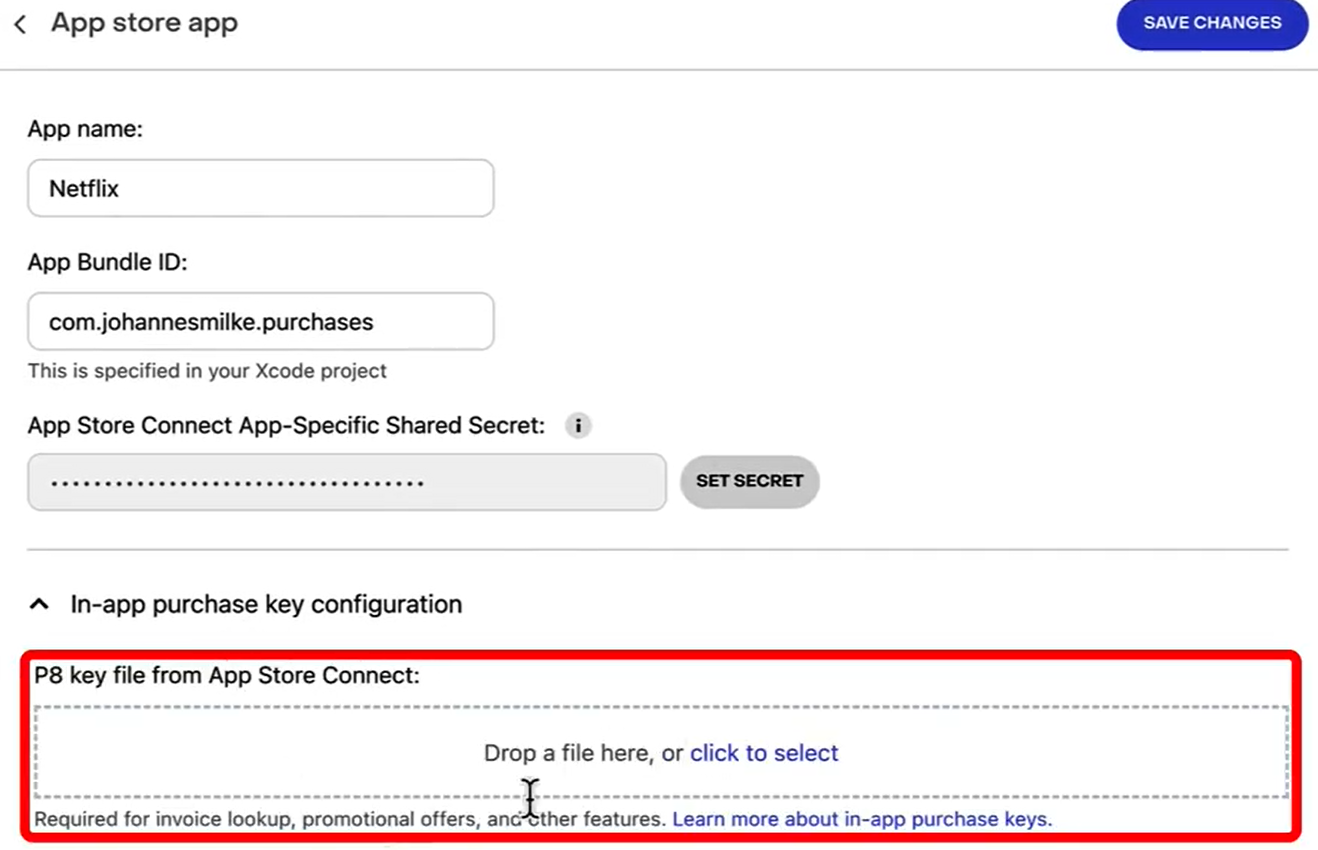
Now, fill in the app name, app bundle ID, and the App Store Connect App-Specific Shared Secret according to your app information. You can find detailed instructions on how to obtain the App-Specific Shared Secret here: RevenueCat - App-Specific Shared Secret.
After filling in this information, proceed to set up the In-App Purchase Key Configuration.
To get the key, go to this link: App Store Connect API - In-App Purchase Key. From there, generate an In-App Purchase key and download the key file.
Next, go to App Store Connect API, click on Generate API Key, give it any name, and in the Access section, select Sales and Reports. After generating the API key, you will see an Issuer ID. Copy this ID.
Now, return to RevenueCat, upload the p8 file you downloaded, and paste the Issuer ID you copied. Then, scroll a bit down you will see a section named “App Store Connect API”
Click on it. To get the information required to fill out the form, read this document: RevenueCat - App Store Connect API Key Configuration.
After completing the configuration, scroll all the way up and click Save Changes.
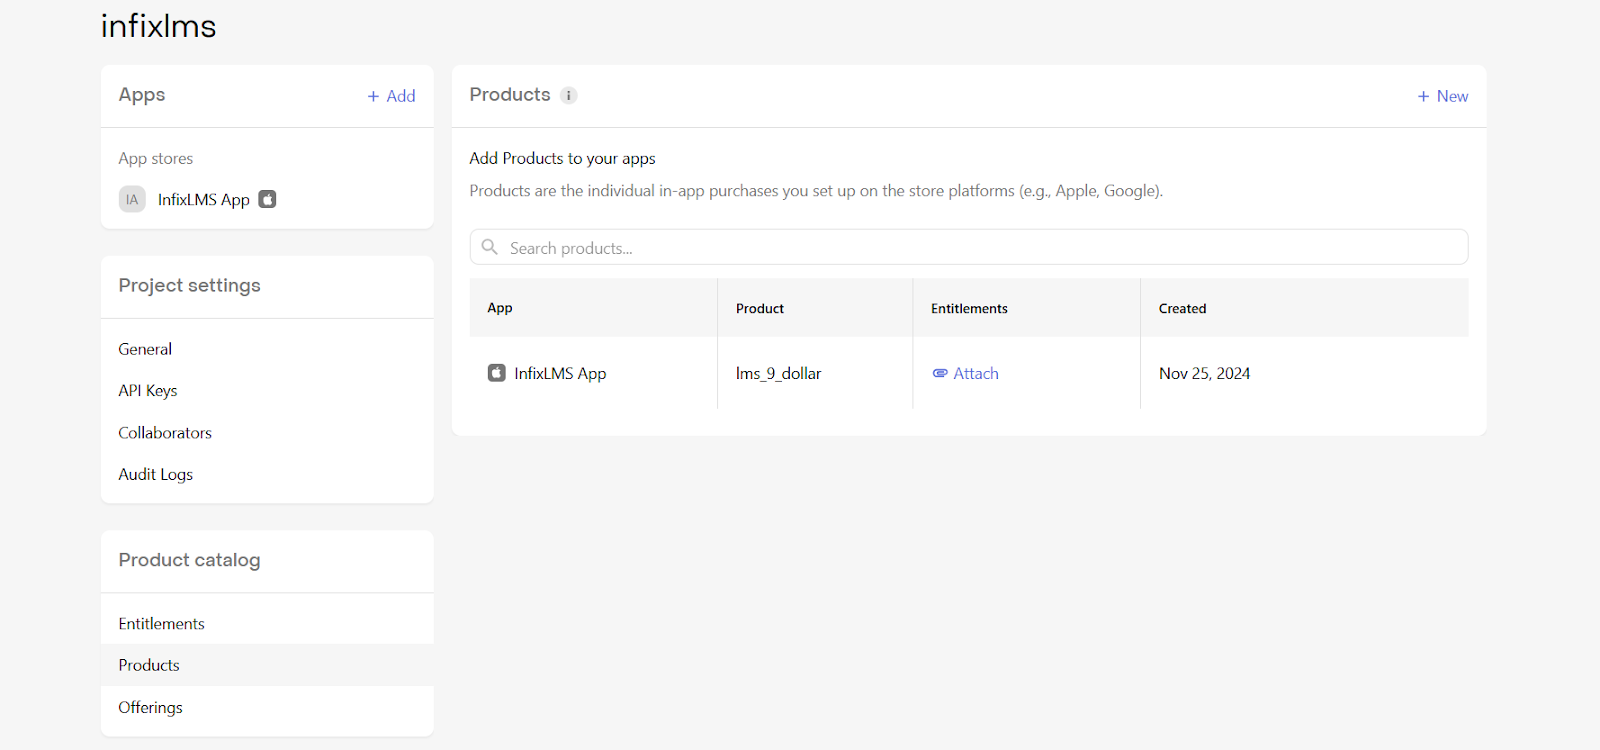
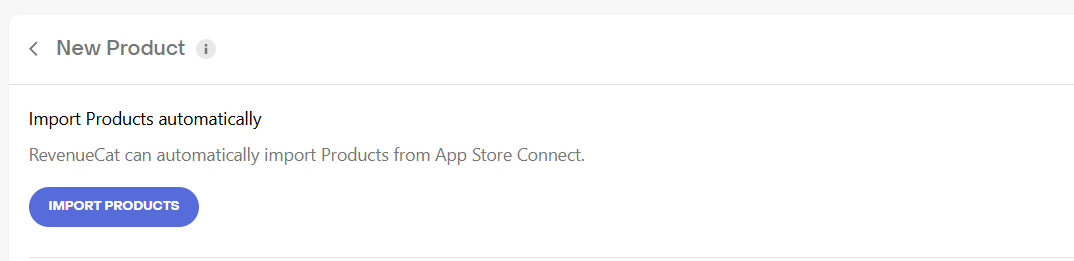
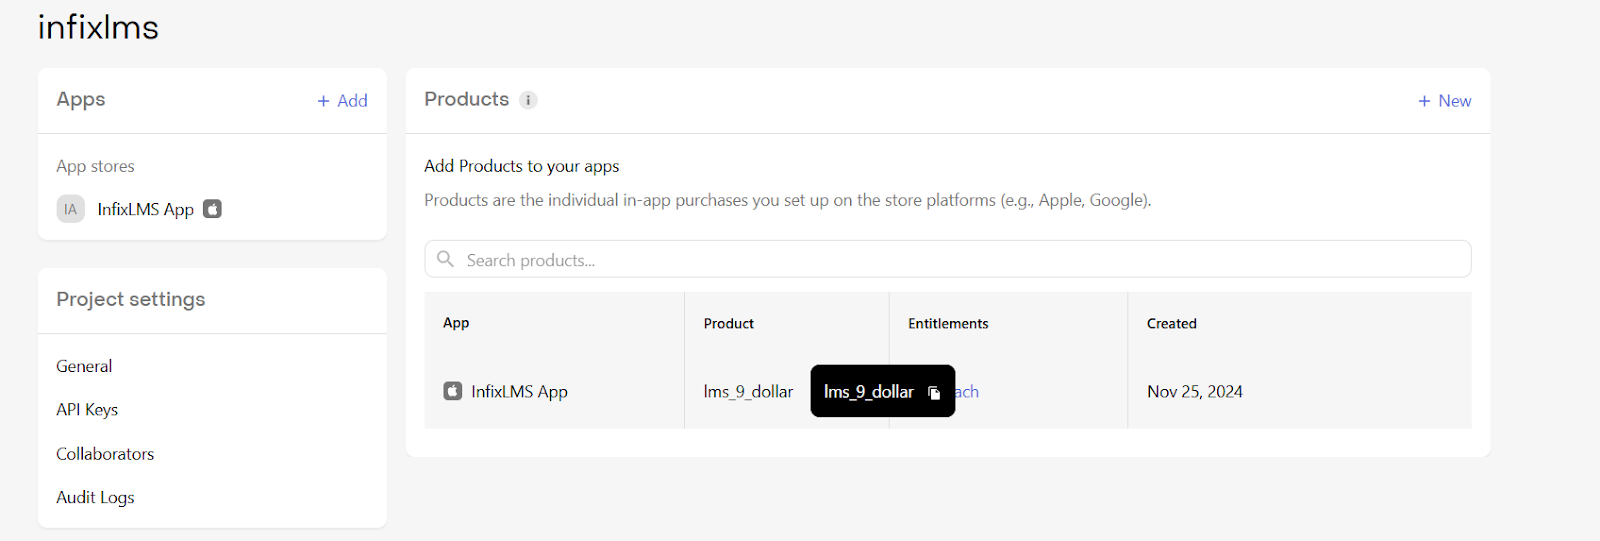
Inside your project, you will see a section called Products. Click on this section, and then click on the Add New icon to add a new product.
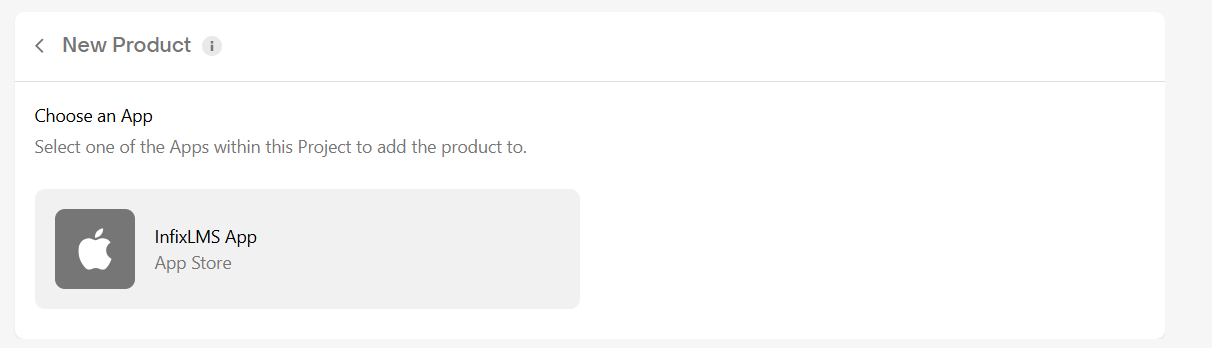
It will prompt you to select your app. Choose the app you want to configure from the list.
Then, click on Import Product. The products you created in the App Store will automatically appear here.
Now, you have completed the setup on both App Store and RevenueCat.
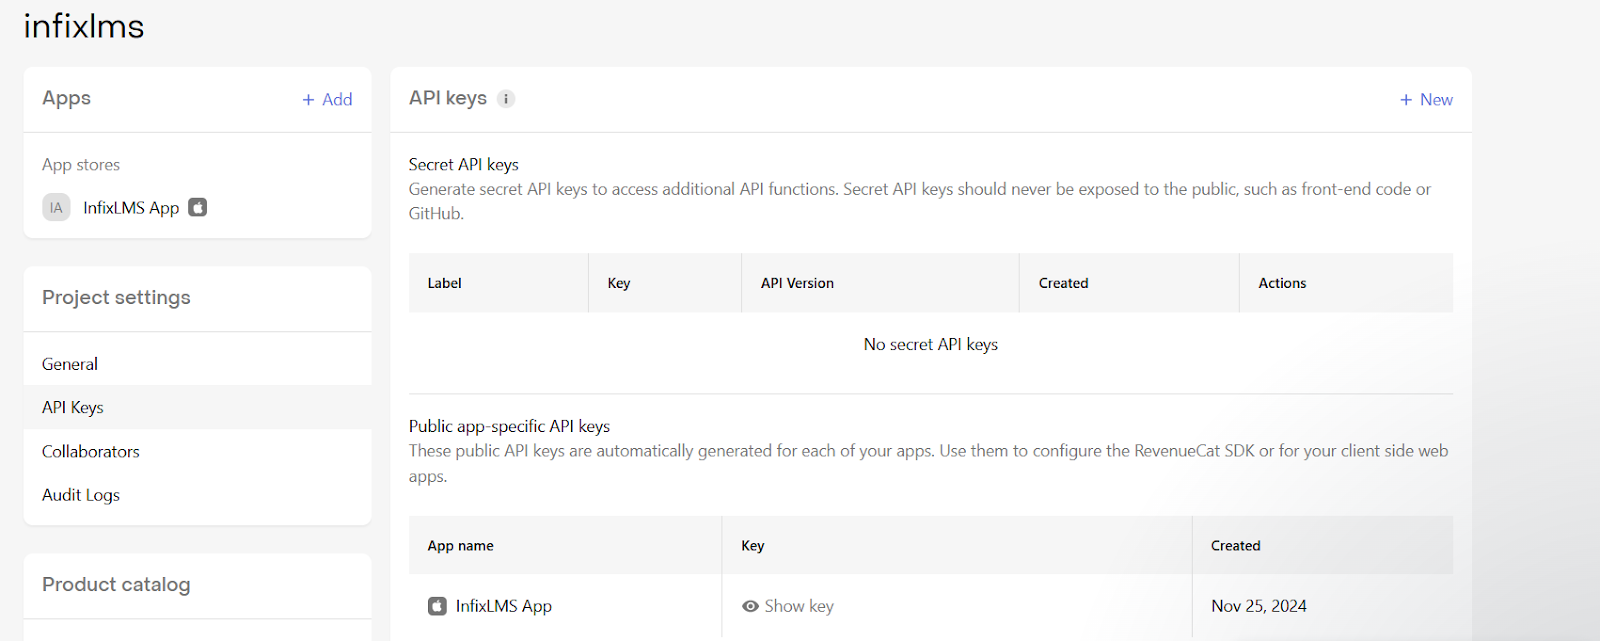
Next, Inside the project, you will see a section called API Keys. Click on it, then click on Show Key and copy the key.
Now, go to your Flutter project. Inside the directory lib\Config\app_config.dart, you will find the variable apiIosRevenueKey at the last line. Paste the API key you copied into this variable.
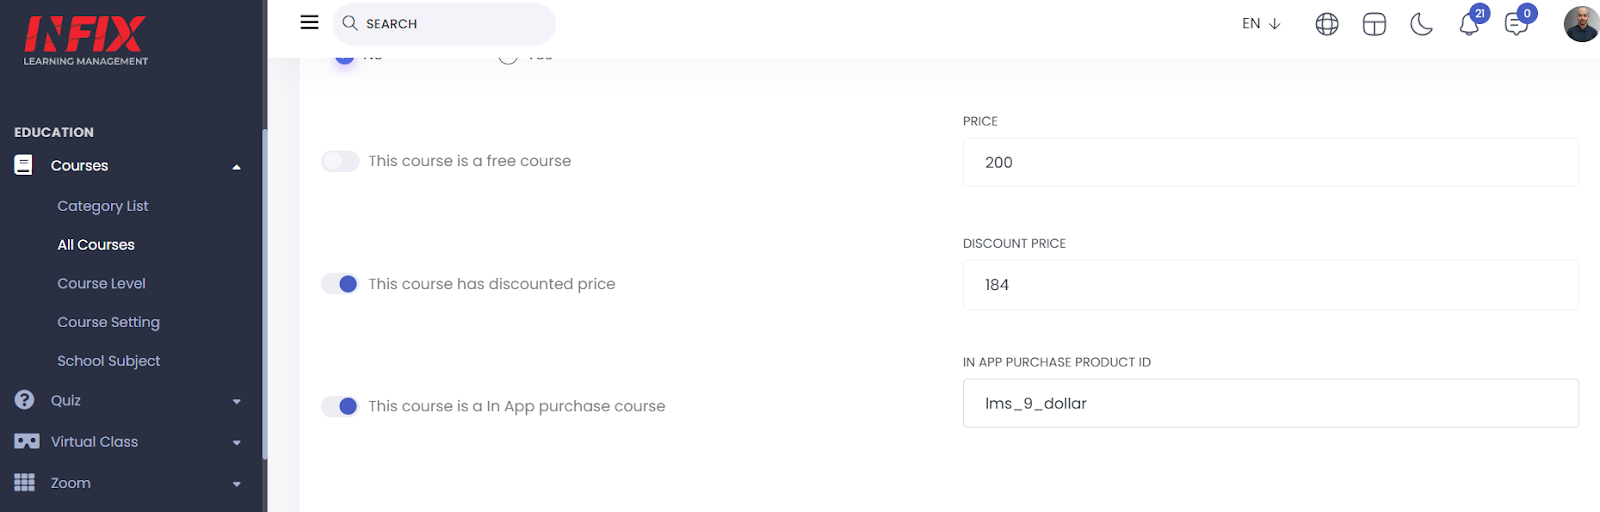
The last step is to add the product ID to a course. When you add or edit a course from web panel, you can mark it as an In-App Purchase Course. Then, copy the product ID from RevenueCat and paste it into the In-App Purchase Product ID field.
Now, perform a hot restart on your Flutter app and check the in-app purchase functionality.
Note: In-app purchases will not work on the emulator. You will need to run the app on a real physical device. Additionally, the flutter run command may not work correctly for in-app purchases, so you should run the project directly from Xcode.