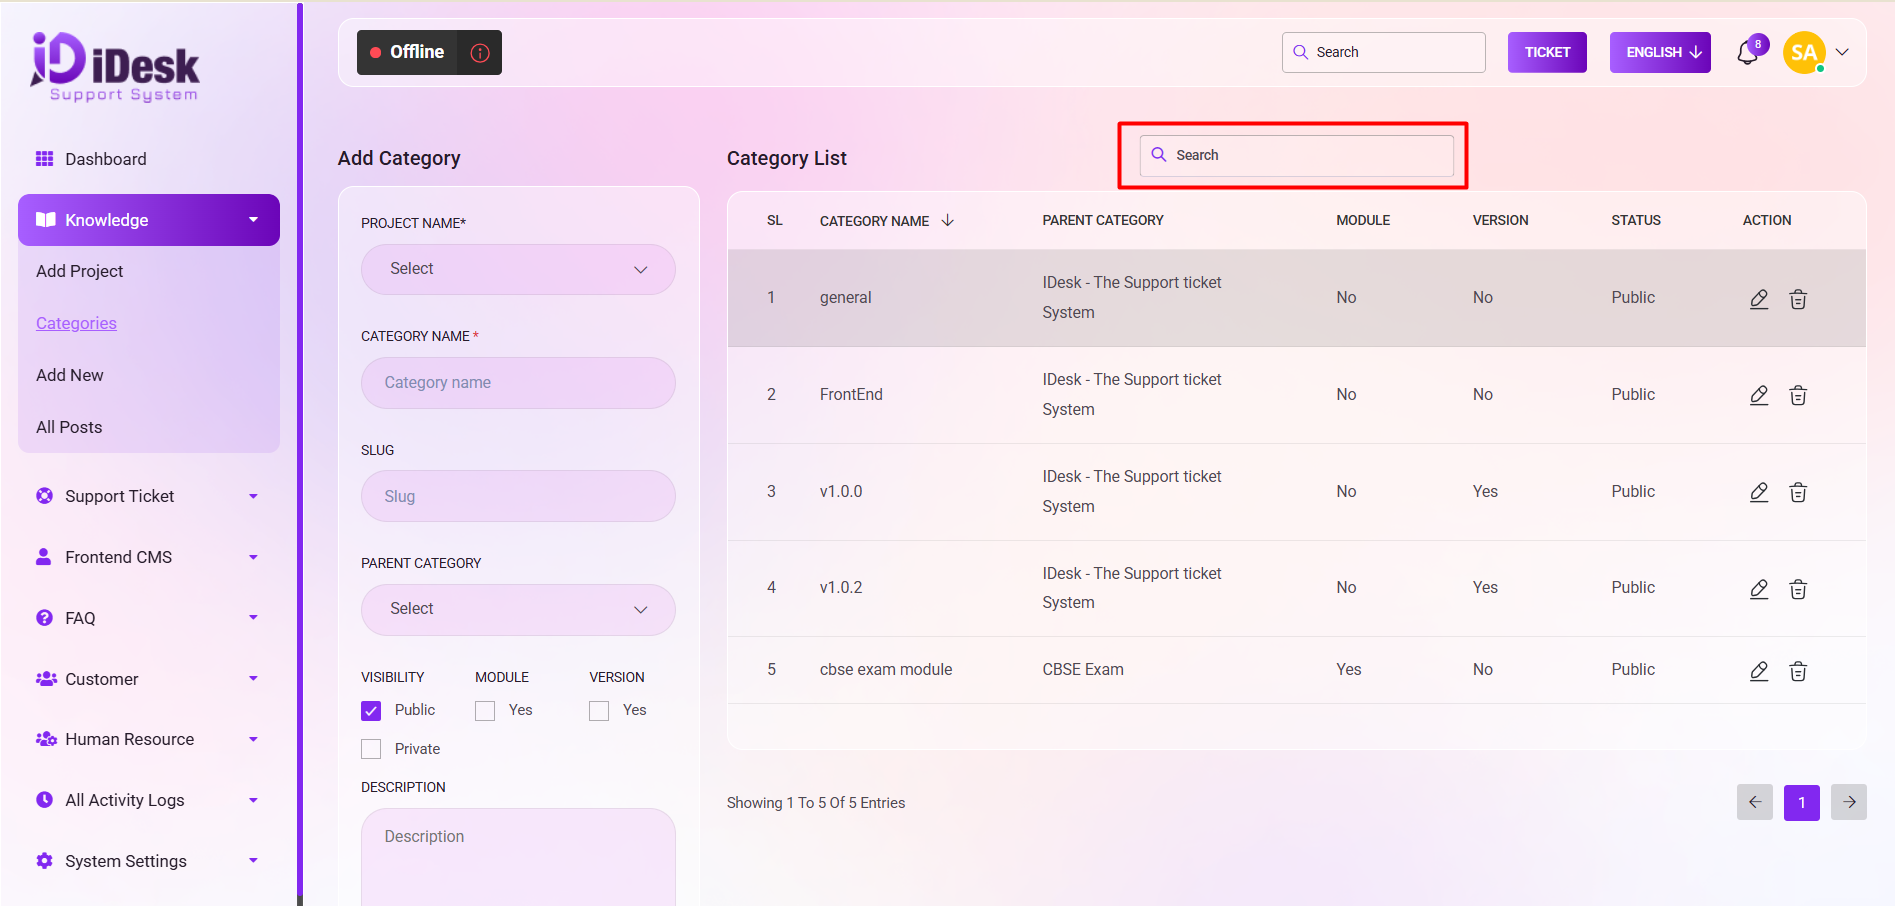
Categories
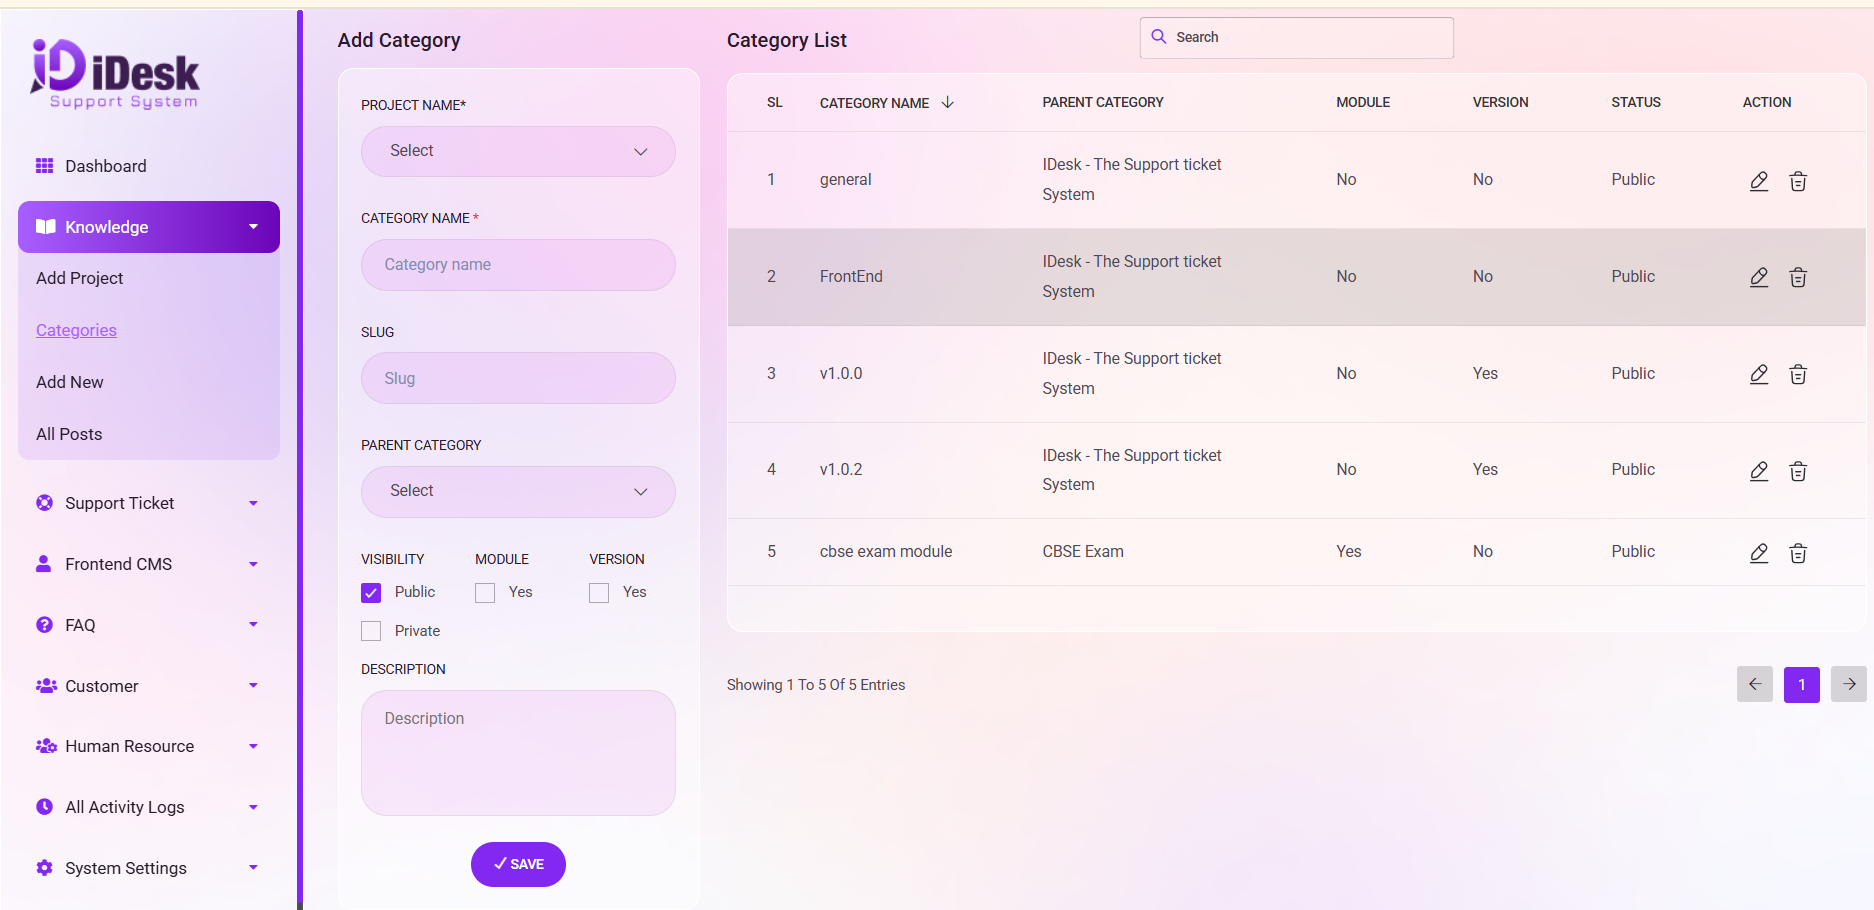
In the Category section, adding a new category involves the following steps:
Project Selection:
Start by choosing the PROJECT NAME* from the dropdown menu.
Category Information:
Input the CATEGORY NAME* for the project.
Enter SEO-friendly data in the slug for the URL.
Parent Category:
Optionally, select a PARENT CATEGORY by using the dropdown menu.
Visibility:
Choose the visibility by clicking the box for Public or Private.
Module and Version:
If it is a MODULE, check the corresponding box.
Similarly, check the box for VERSION if applicable.
Description:
Provide a descriptive text for the category in the DESCRIPTION box.
Saving Data:
Click the "Save" button to preserve the entered data.
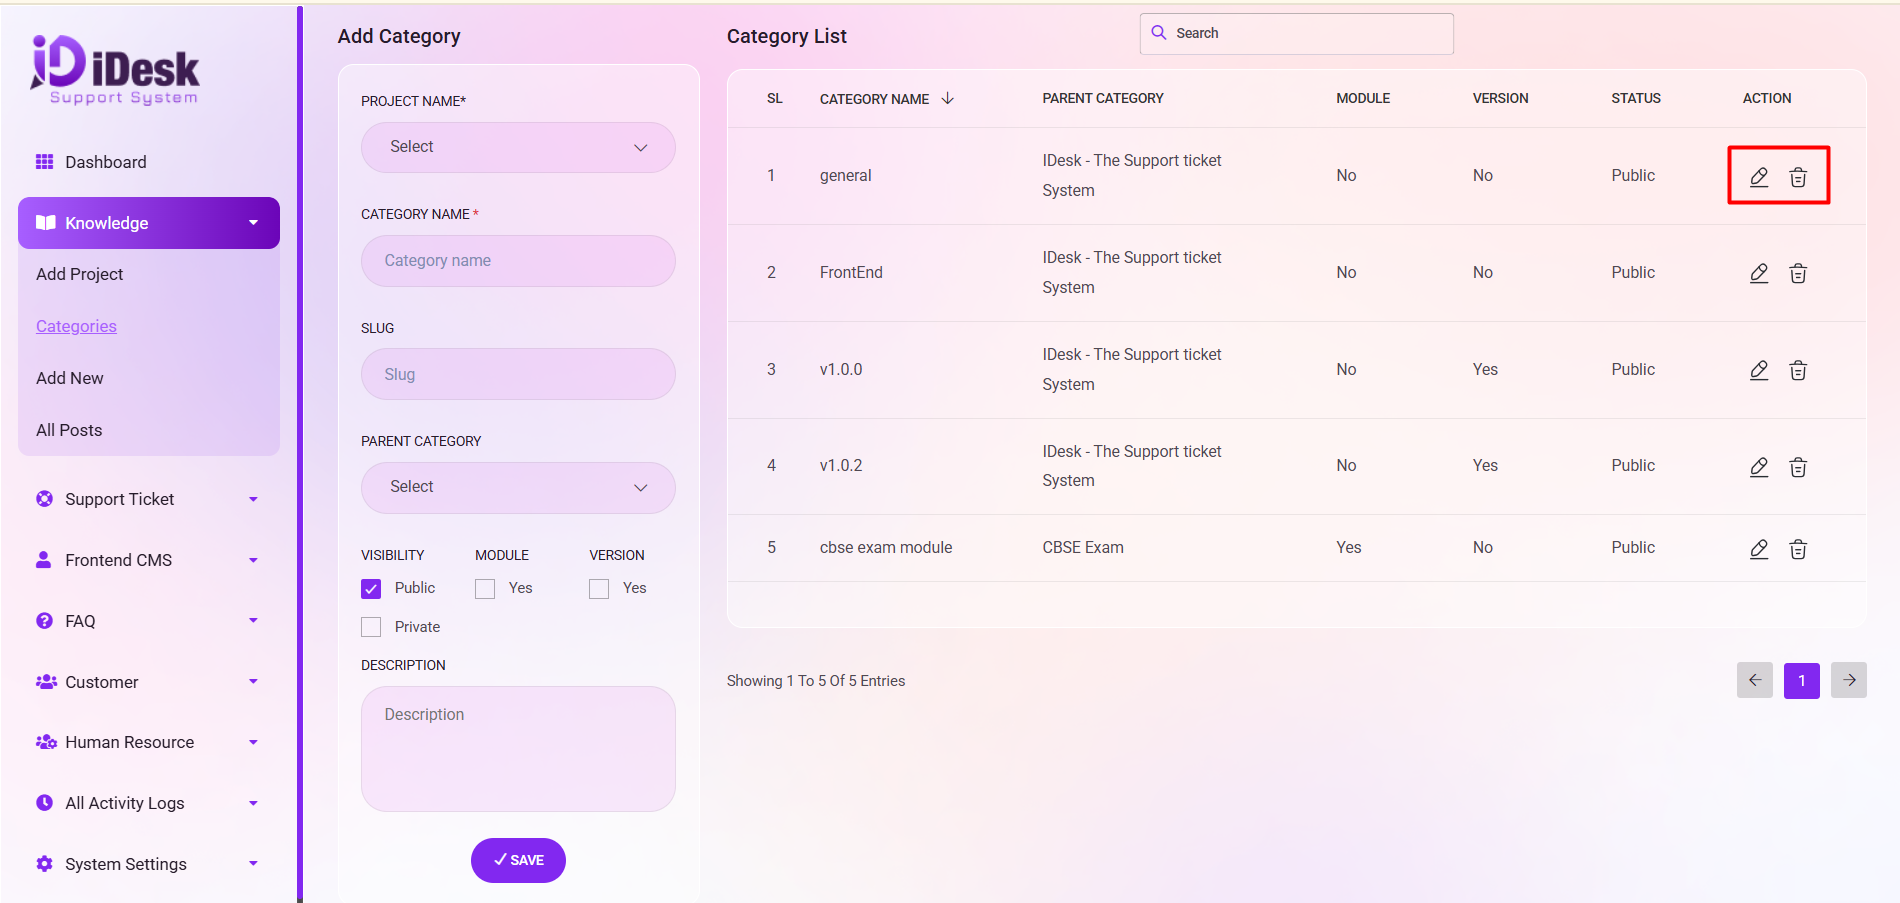
Category List: On the right side, a Category List will display details such as:
SL: You can see the serial number of the category.
Category Name: From here you can see the name of the category.
Parent Category: From here you can see the name of the parent category.
Module: From here you can see if it is a module or not.
Version: From here you can see the version if it is present.
Status: You can see the status of the category if it is public or not.
Action Options:
Utilize the “Action" button under the Category List to Edit or Delete categories as needed.
Search: You can find out any specific category from the list by using the search functionality.