Human Resource
The Human Resource (HR) Module is designed to help administrators manage their internal support team, define organizational structures, and control access levels. It serves as the central hub for overseeing the staff members who provide support to your customers.
Module Overview
The HR module is accessible from the main sidebar and consists of three primary sub-sections:
Staff: Manage individual team member profiles, contact information, and account status.
Role: Define specific permission sets (e.g., Admin, Staff, Manager) to control what users can see and do within the system.
Department: Categorize your team into functional areas such as Support, Billing, or Technical, allowing for efficient ticket routing.
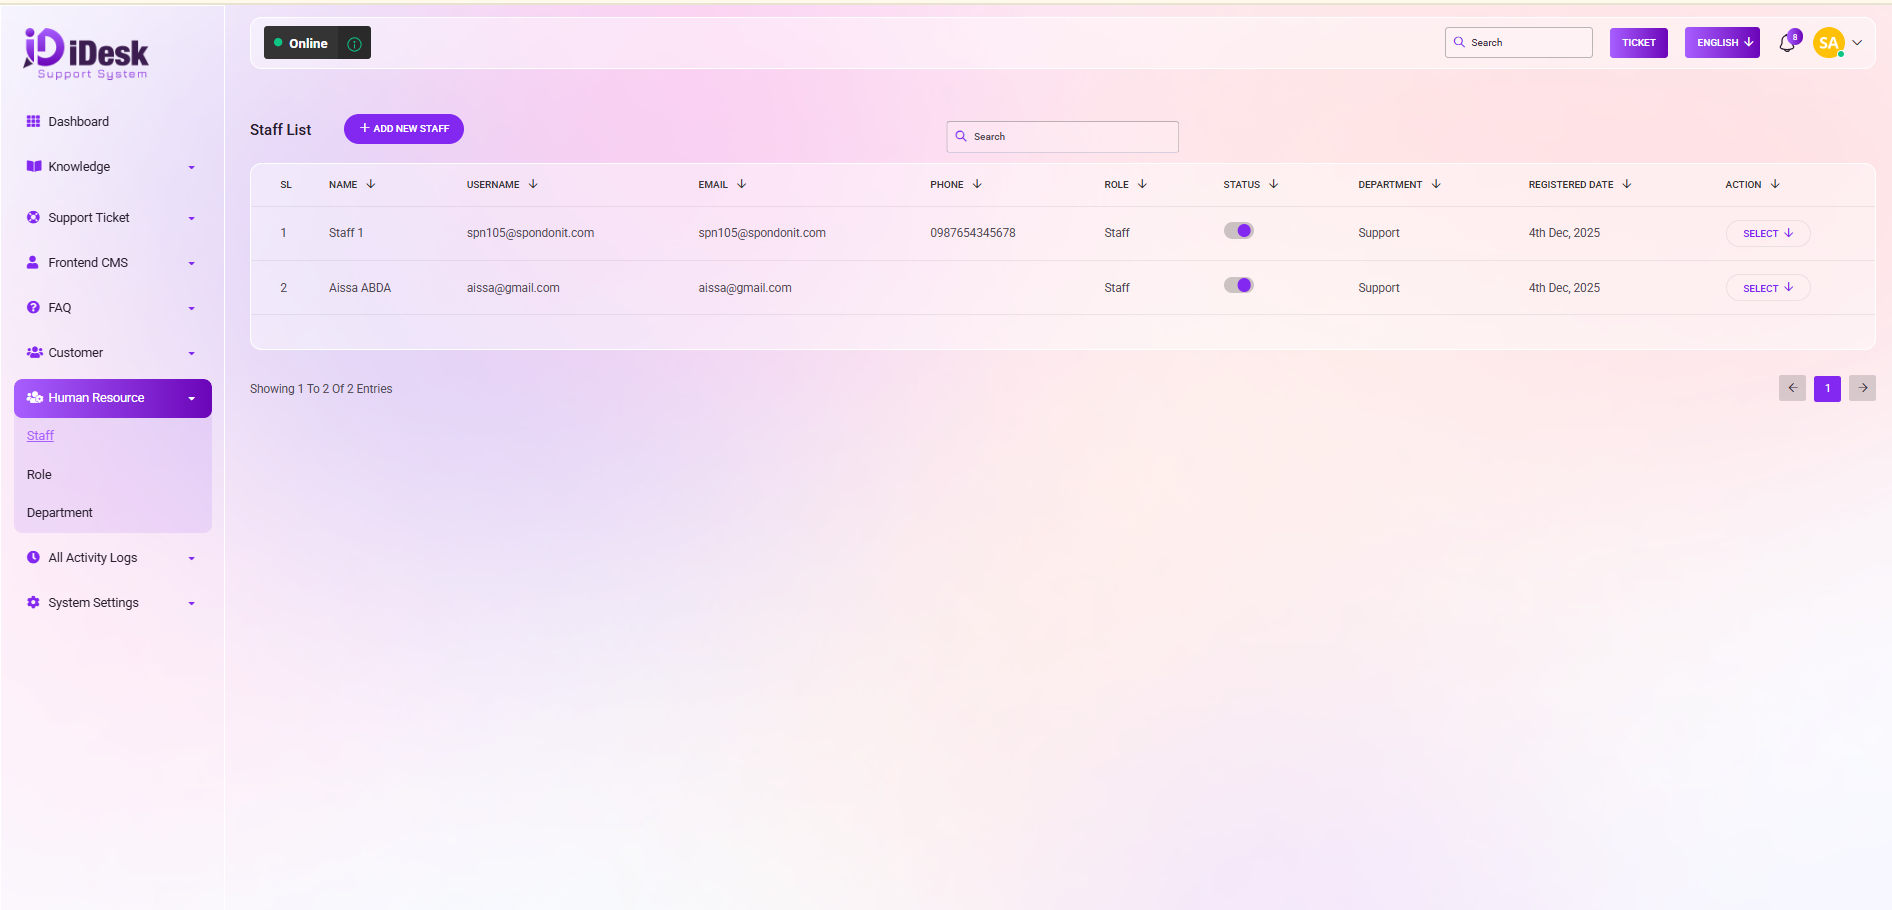
Staff Management Guide
The Staff List is the primary interface for managing your workforce. Here you can view, add, and modify staff accounts.
Key Interface Elements:
Search Bar: Quickly locate specific staff members by typing their name or email into the search field.
Add New Staff Button: Located at the top of the list, this allows you to create new user accounts for your team members.
Staff Data Table: Displays essential information at a glance, including Name, Username, Email, Phone, assigned Role, and Department.
Status Toggle: A quick-action switch to enable or disable a staff member's access to the system instantly.
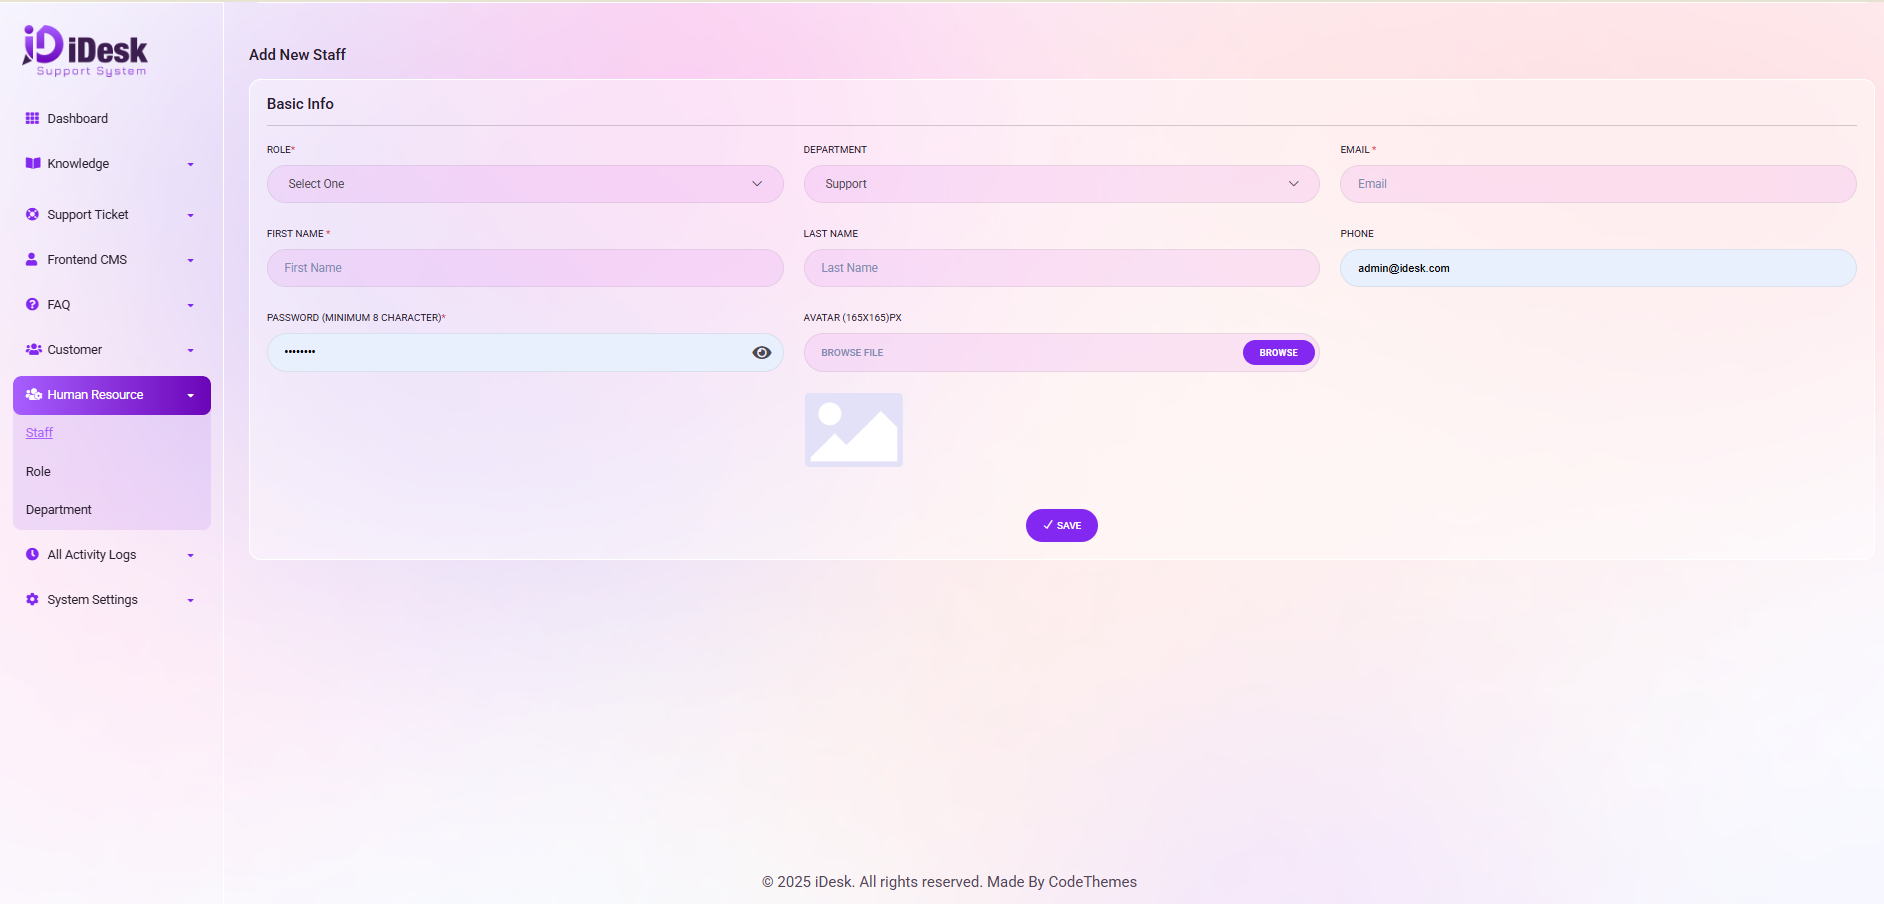
How to Add a New Staff Member:
Adding a staff member is a critical step in building your internal support team. This process allows you to grant specific access to agents, assign them to departments, and define their operational roles within the helpdesk.
1. Access the Creation Form
Navigate to the Human Resource module on the left sidebar.
Select Staff from the dropdown menu.
Click the + ADD NEW STAFF button located at the top of the staff list interface.
2. Provide Personal & Professional Details
You will be required to fill in mandatory fields to ensure the staff profile is complete.
Full Name: Enter the staff member's legal name for internal identification.
Avatar: Browse & upload the avatar for the staff.
Email Address: Enter a valid company email. This will be used for notifications and account recovery.
Phone Number: Add contact information for internal coordination.
3. Assign Organizational Roles
This step defines what the staff member can access and which tickets they will handle.
Select Role: Choose a pre-defined role (e.g., Staff, Manager, Admin). This controls their permission levels across the dashboard.
Select Department: Assign them to a specific functional area, such as Support, Technical, or Billing. This ensures they receive tickets relevant to their expertise.
4. Set Account Password
Create a secure temporary password for the new user.
The staff member will use this, along with their email, to log in for the first time.
5. Finalize and Save
Review all entered data for accuracy.
Click Save to create the account.
The new staff member will now appear in your Staff List, where you can manage their status or edit their details at any time.