RECAPTCHA Setup:
Enabling/Disabling RECAPTCHA:
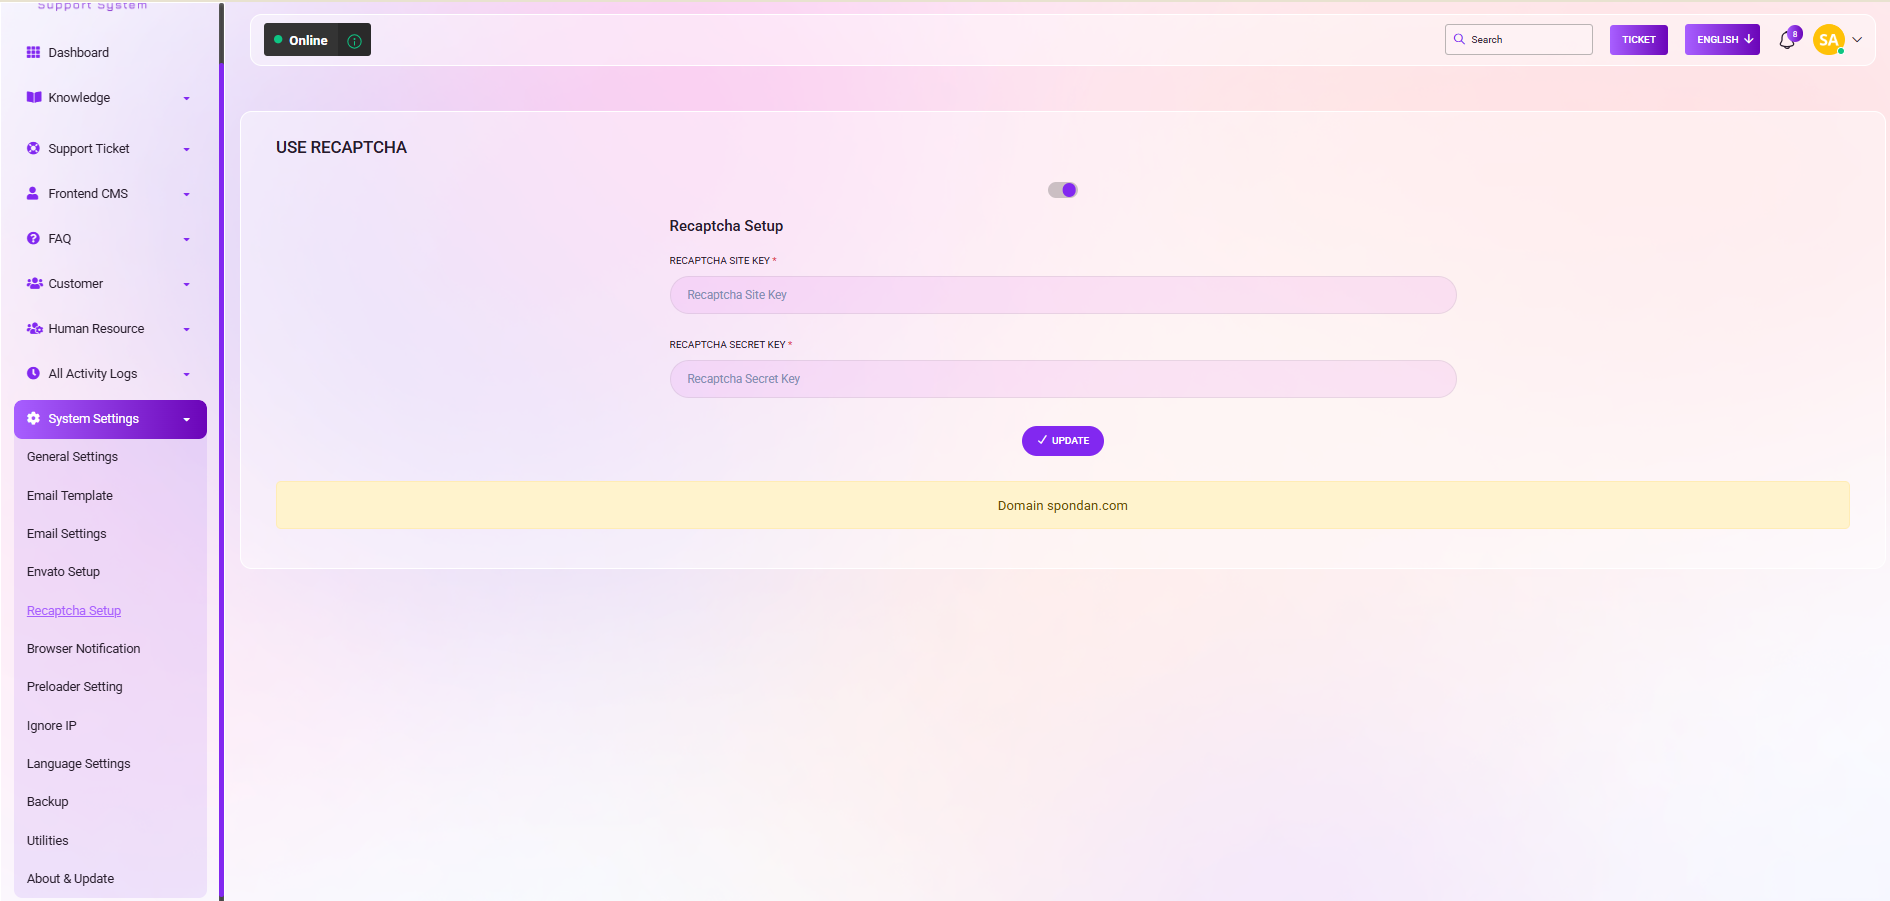
Control the activation of RECAPTCHA by toggling the "On/Off" button.
RECAPTCHA Setup:
Configure your RECAPTCHA settings by providing the following information:
RECAPTCHA SITE KEY (required)*.
RECAPTCHA SECRET KEY (required)*.
By following these steps, I can manage RECAPTCHA settings.
To set up Google reCAPTCHA, you need to register your website on the Google reCAPTCHA platform to obtain a specific API key pair (Site Key and Secret Key).
Step 1: Register Your SiteAccess Console: Go to theGoogle reCAPTCHA Admin Console.
Sign In: Log in using your Google account.
Add New Site: Click the "+" button (Create) to register a new site.
Label: Enter a descriptive name for your site (e.g., "iDesk Support") to identify it later.
Select the version that matches your system requirements:
reCAPTCHA v2 ("I'm not a robot" Checkbox): Requires users to click a checkbox.
reCAPTCHA v2 (Invisible badge): Validates requests in the background and only shows a challenge if traffic is suspicious.
reCAPTCHA v3: Fully invisible; it assigns a score to user behavior without any interaction.
Domains: Add your website's domain name (e.g., example.com). You do not need to list subdomains separately as they are automatically included.
Owners: Your email is added by default, but you can add additional owners if needed.
Terms: Accept the reCAPTCHA Terms of Service.
Submit: Click Submit or Register.
Once submitted, Google will display two keys:
Site Key: Used in the frontend code of your website.
Secret Key: Used for communication between your backend and Google to verify responses.


