1. New Project
Here you can create a new project.
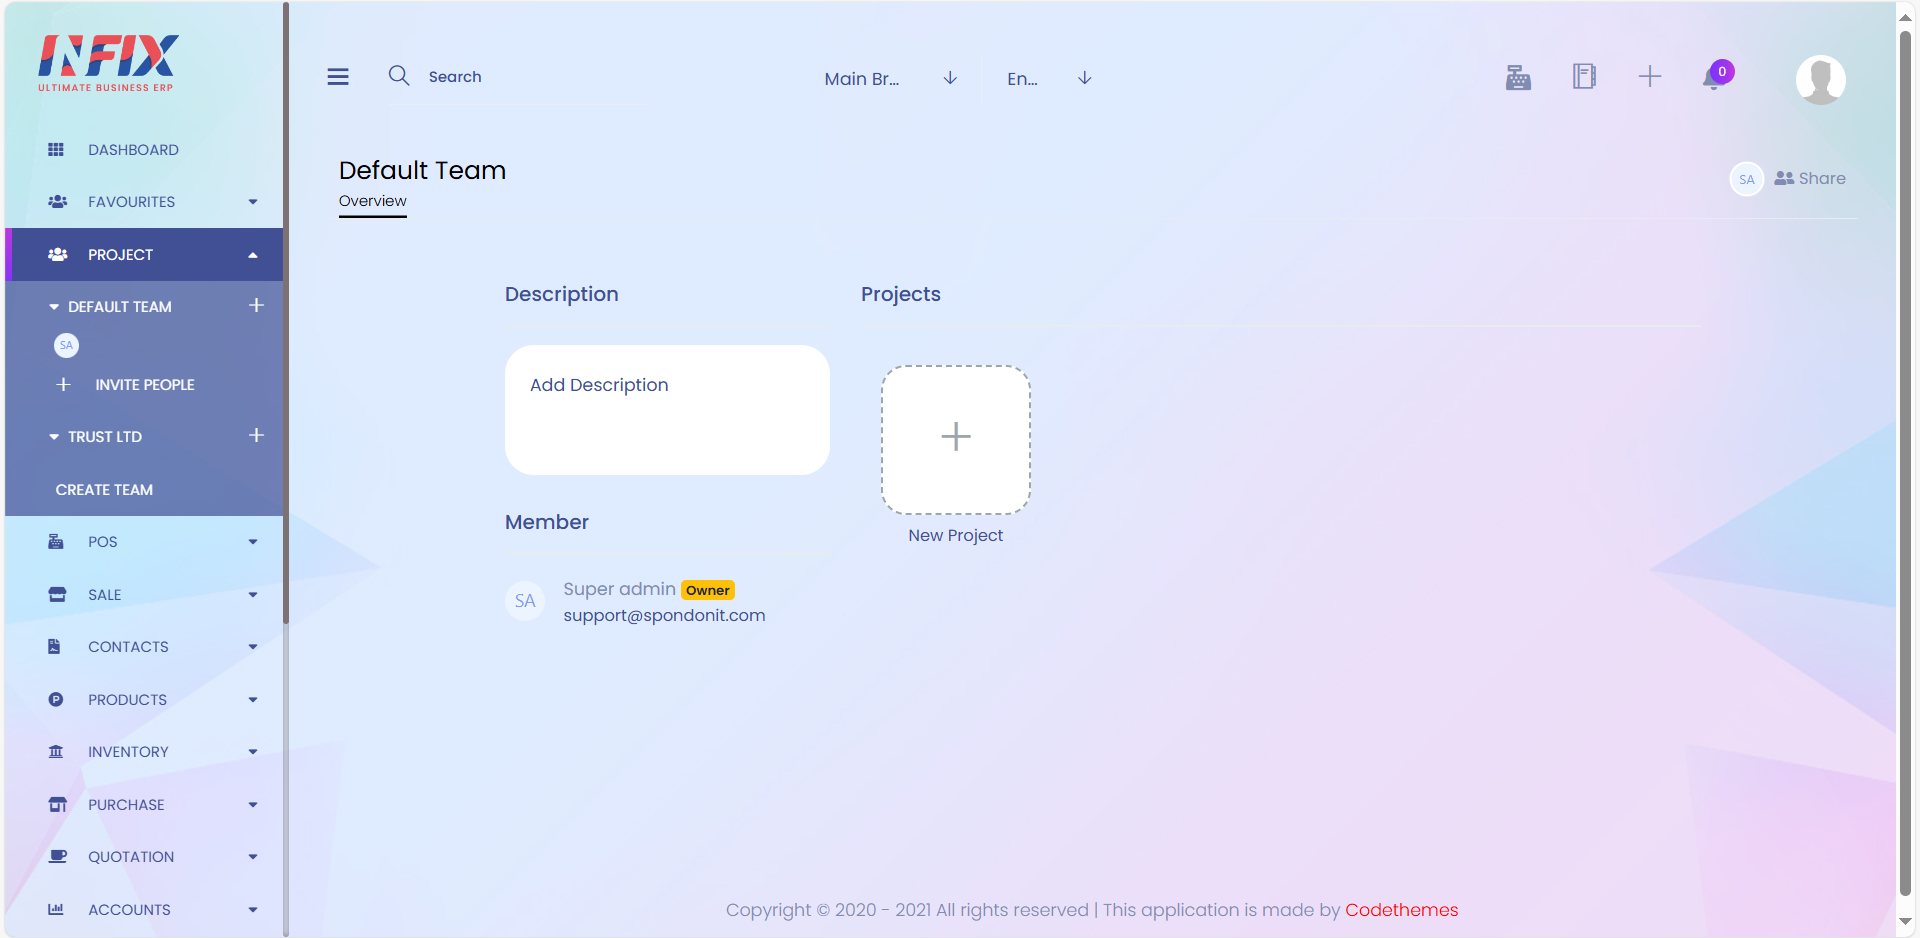
2. Description
Here you can add project description.
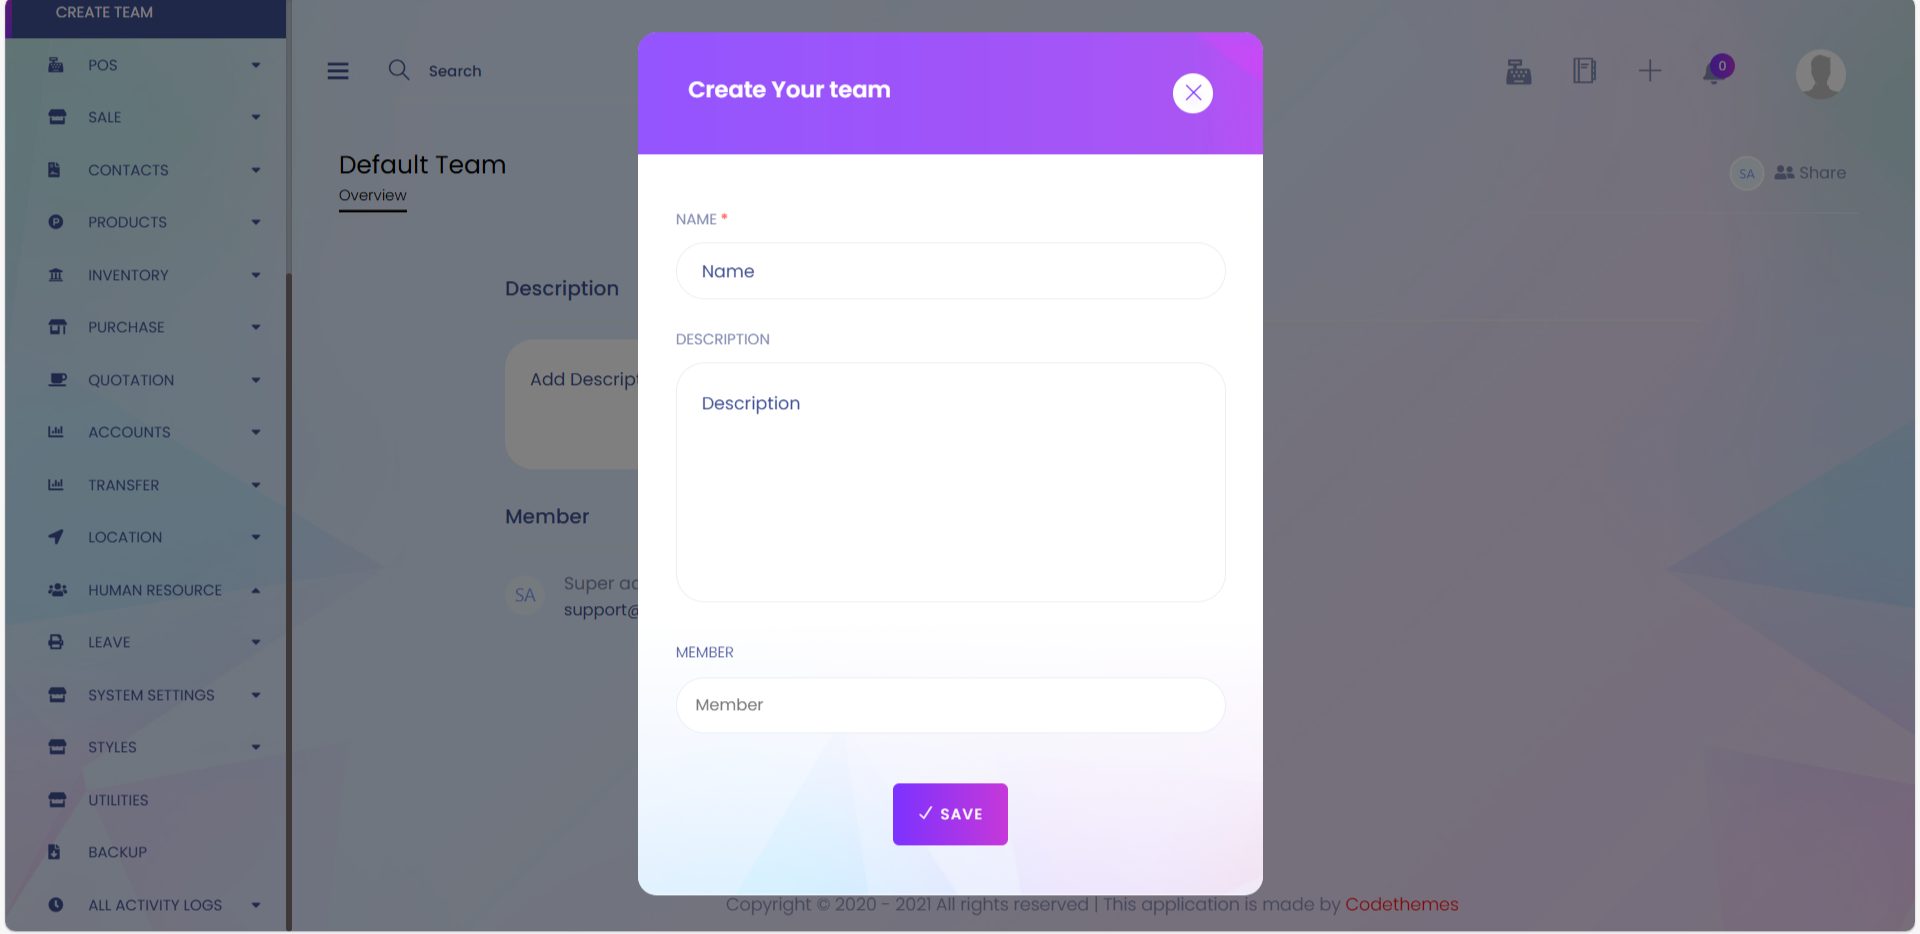
3. Create Team
On that section you can create a new team.
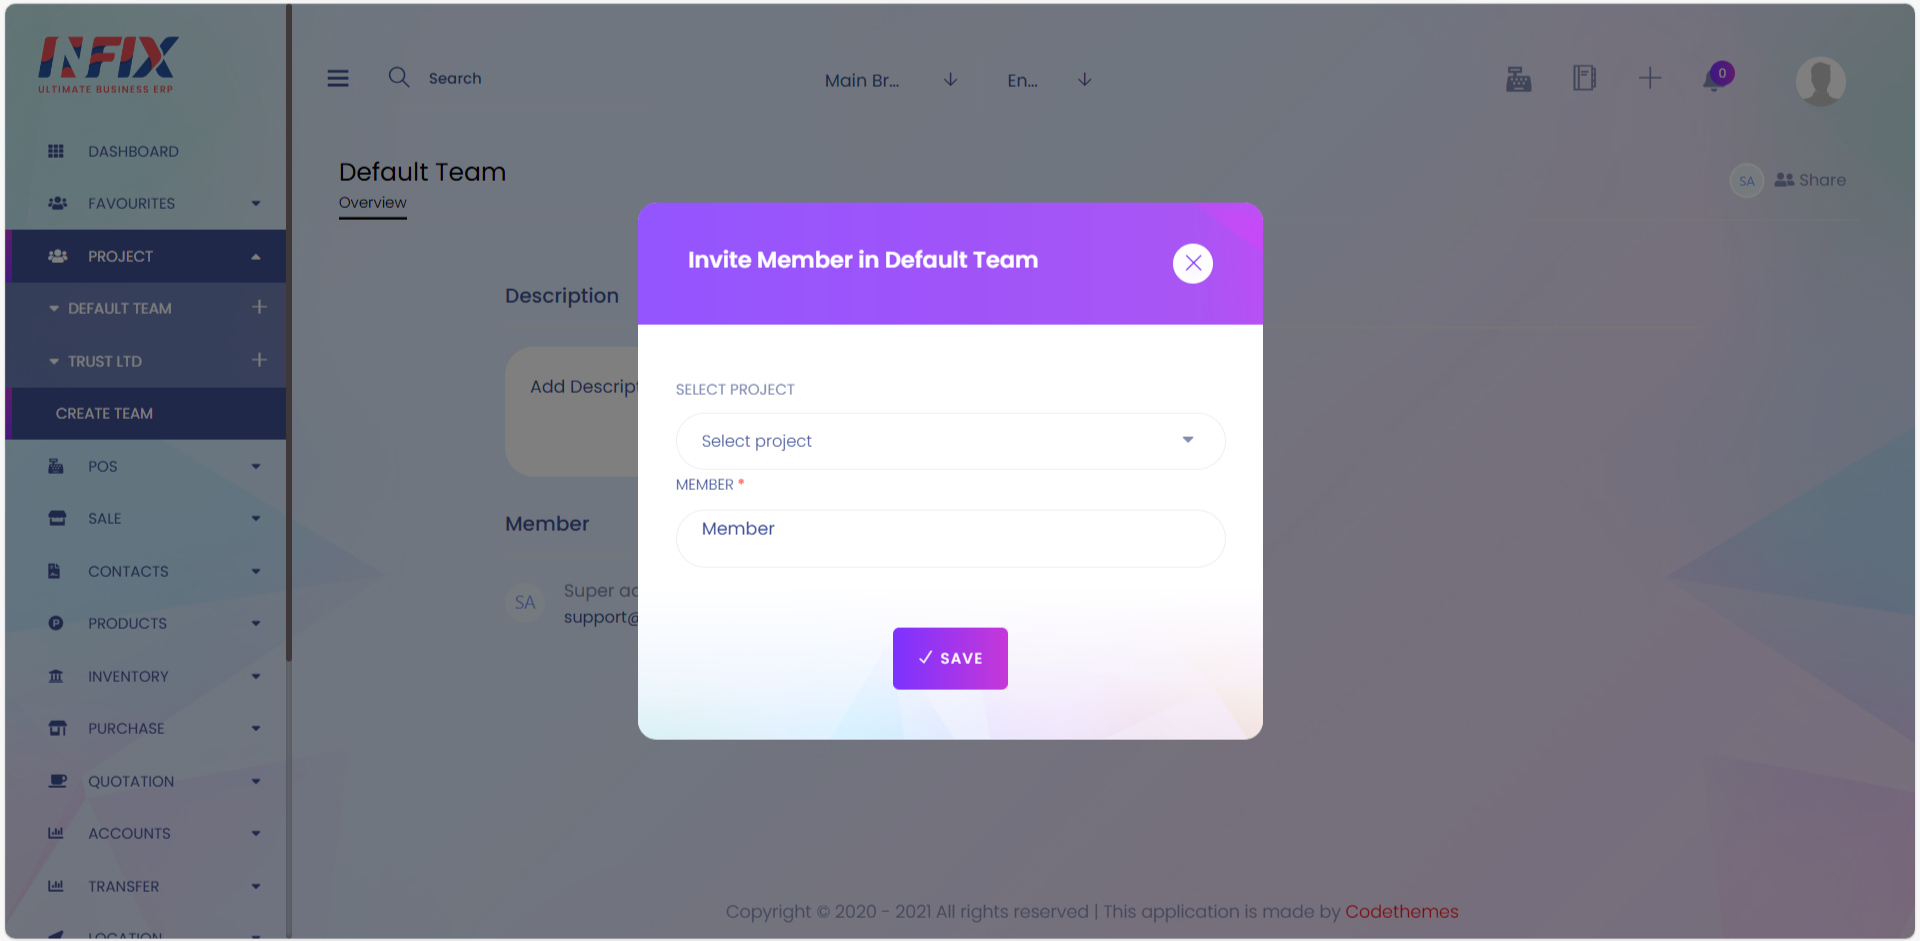
4. Share
On that section you can share your team with other users. After insert member emails click share now for share.
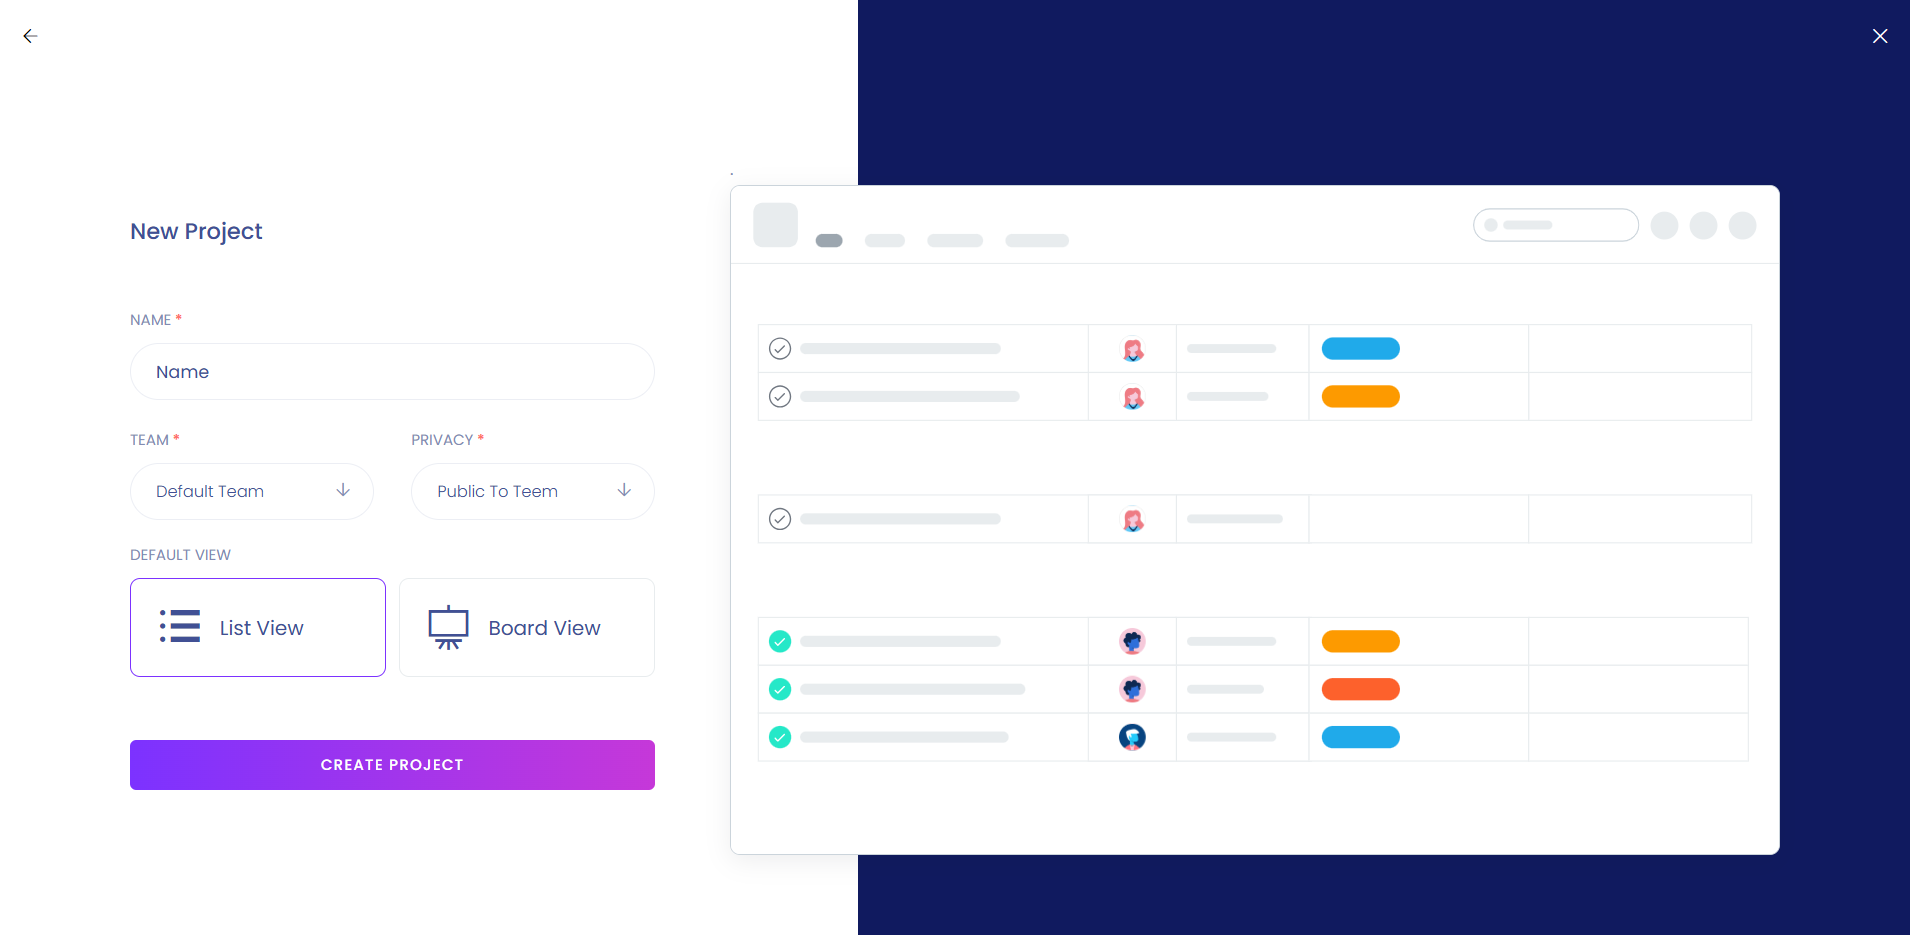
1. Name
Here you can add a project name.
2. Team
On that section you can select team.
3. Privacy
Here you can set the privacy.
4. Default View
Here you can select default view.
5. Create Project
After filling all the required fields press "Create Project" to complete new project creation.
1. Project Icon and Color Dropdown
On click project icon you will see a dropdown menu like below. you can set project icon and its color.
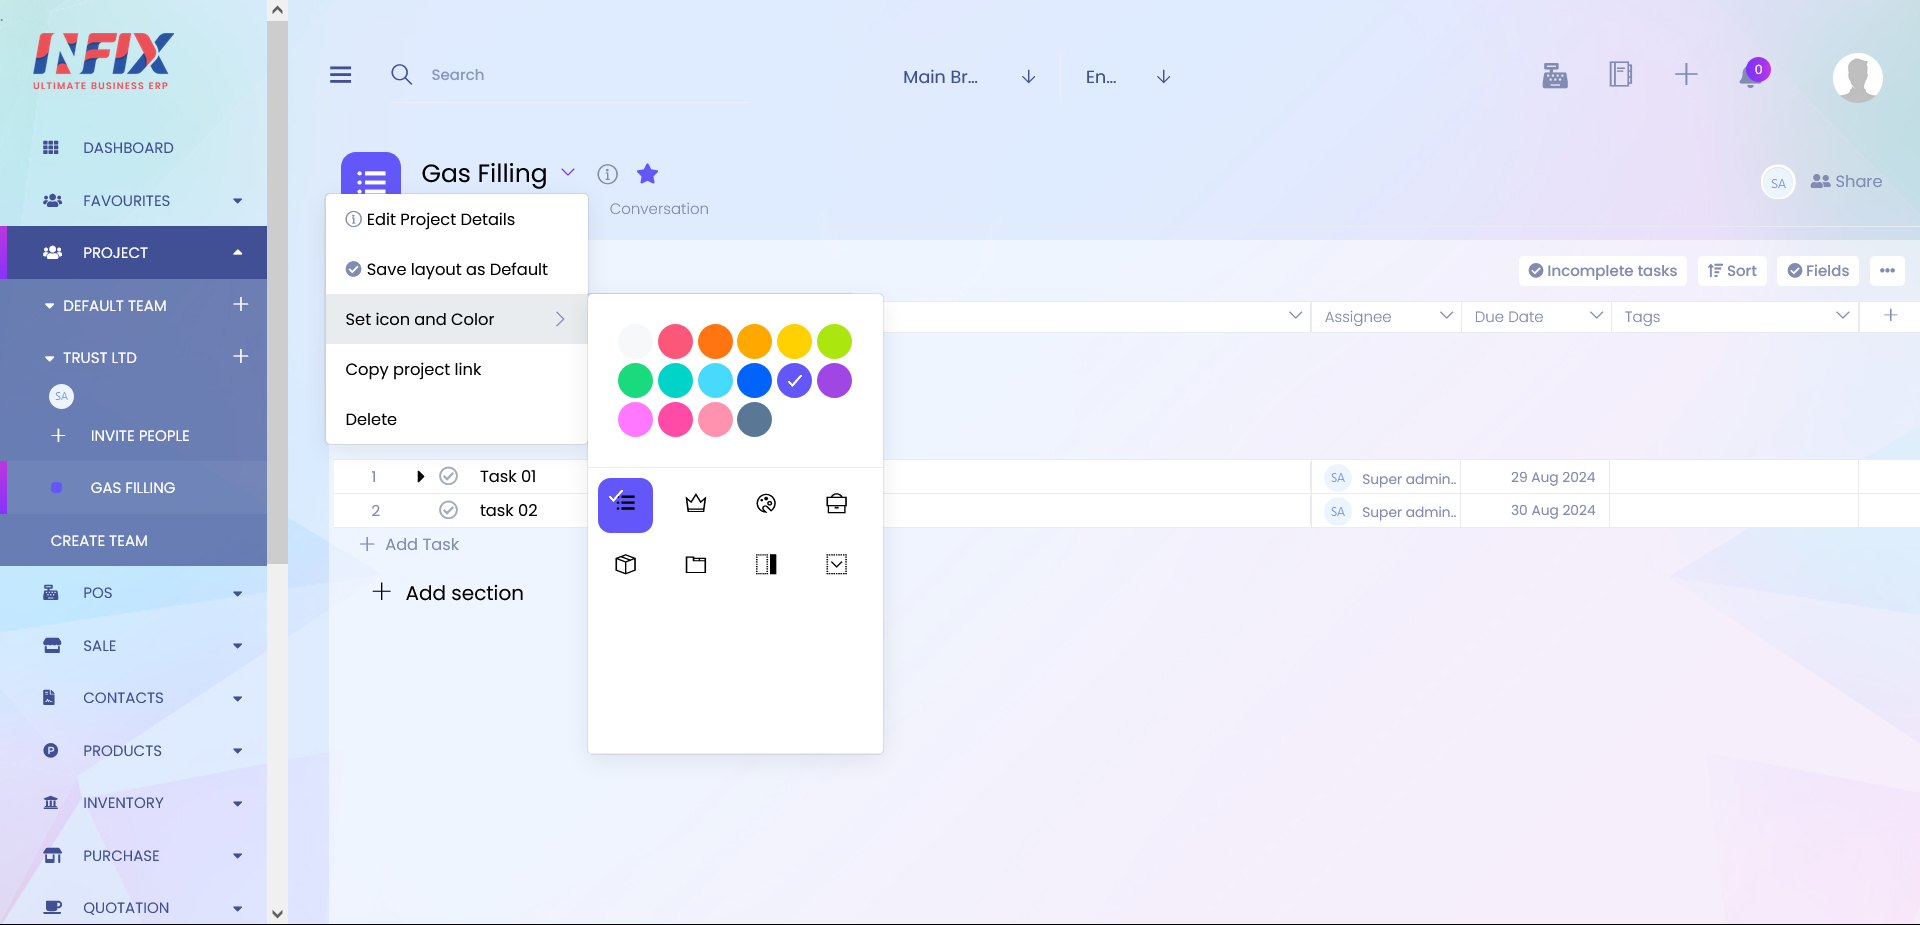
2. Project Details
On that section you will see a dropdown menu like below. You can edit your project details from here.

3. Mark Favourite
Here you can mark favourite a project. On click this icon on left sidebar you can see a favorite section which shows all your faovourite project.
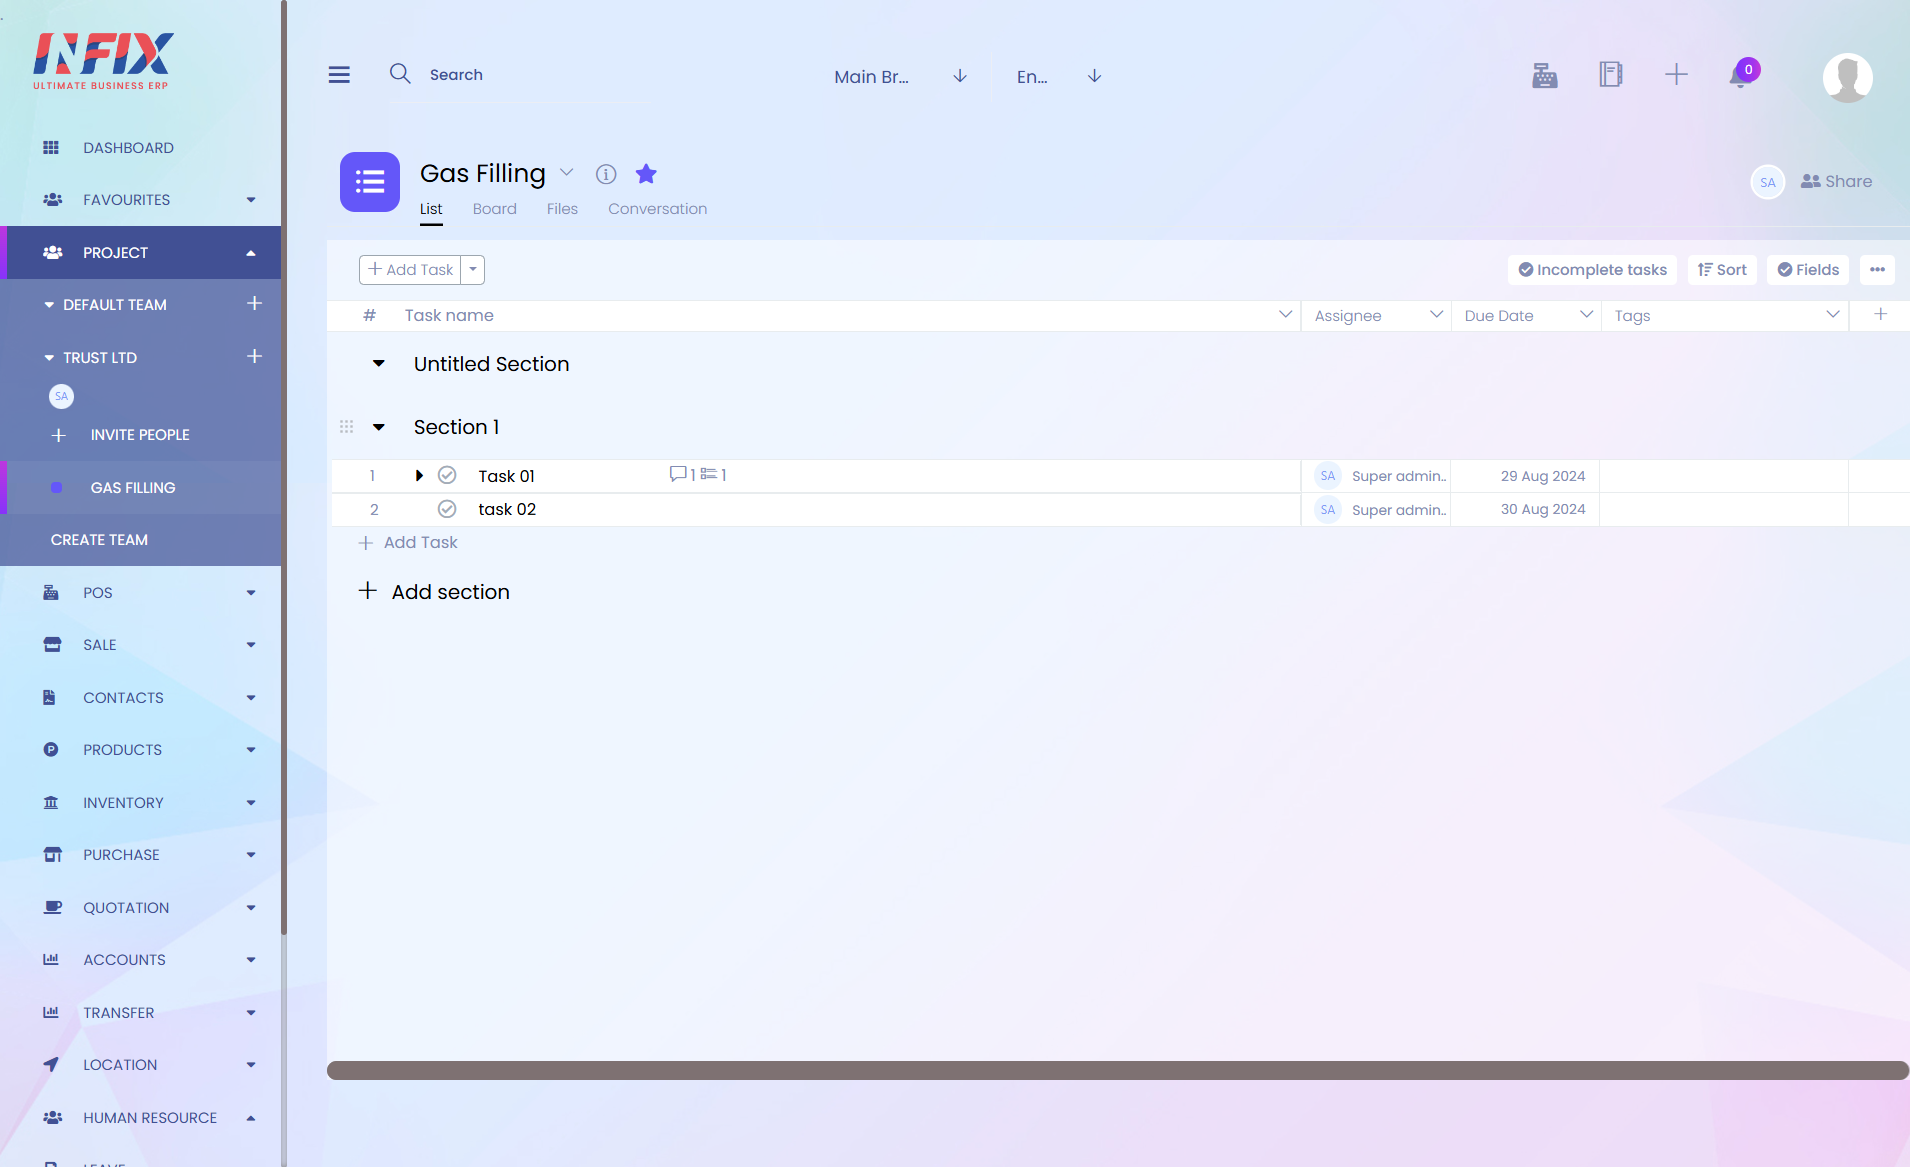
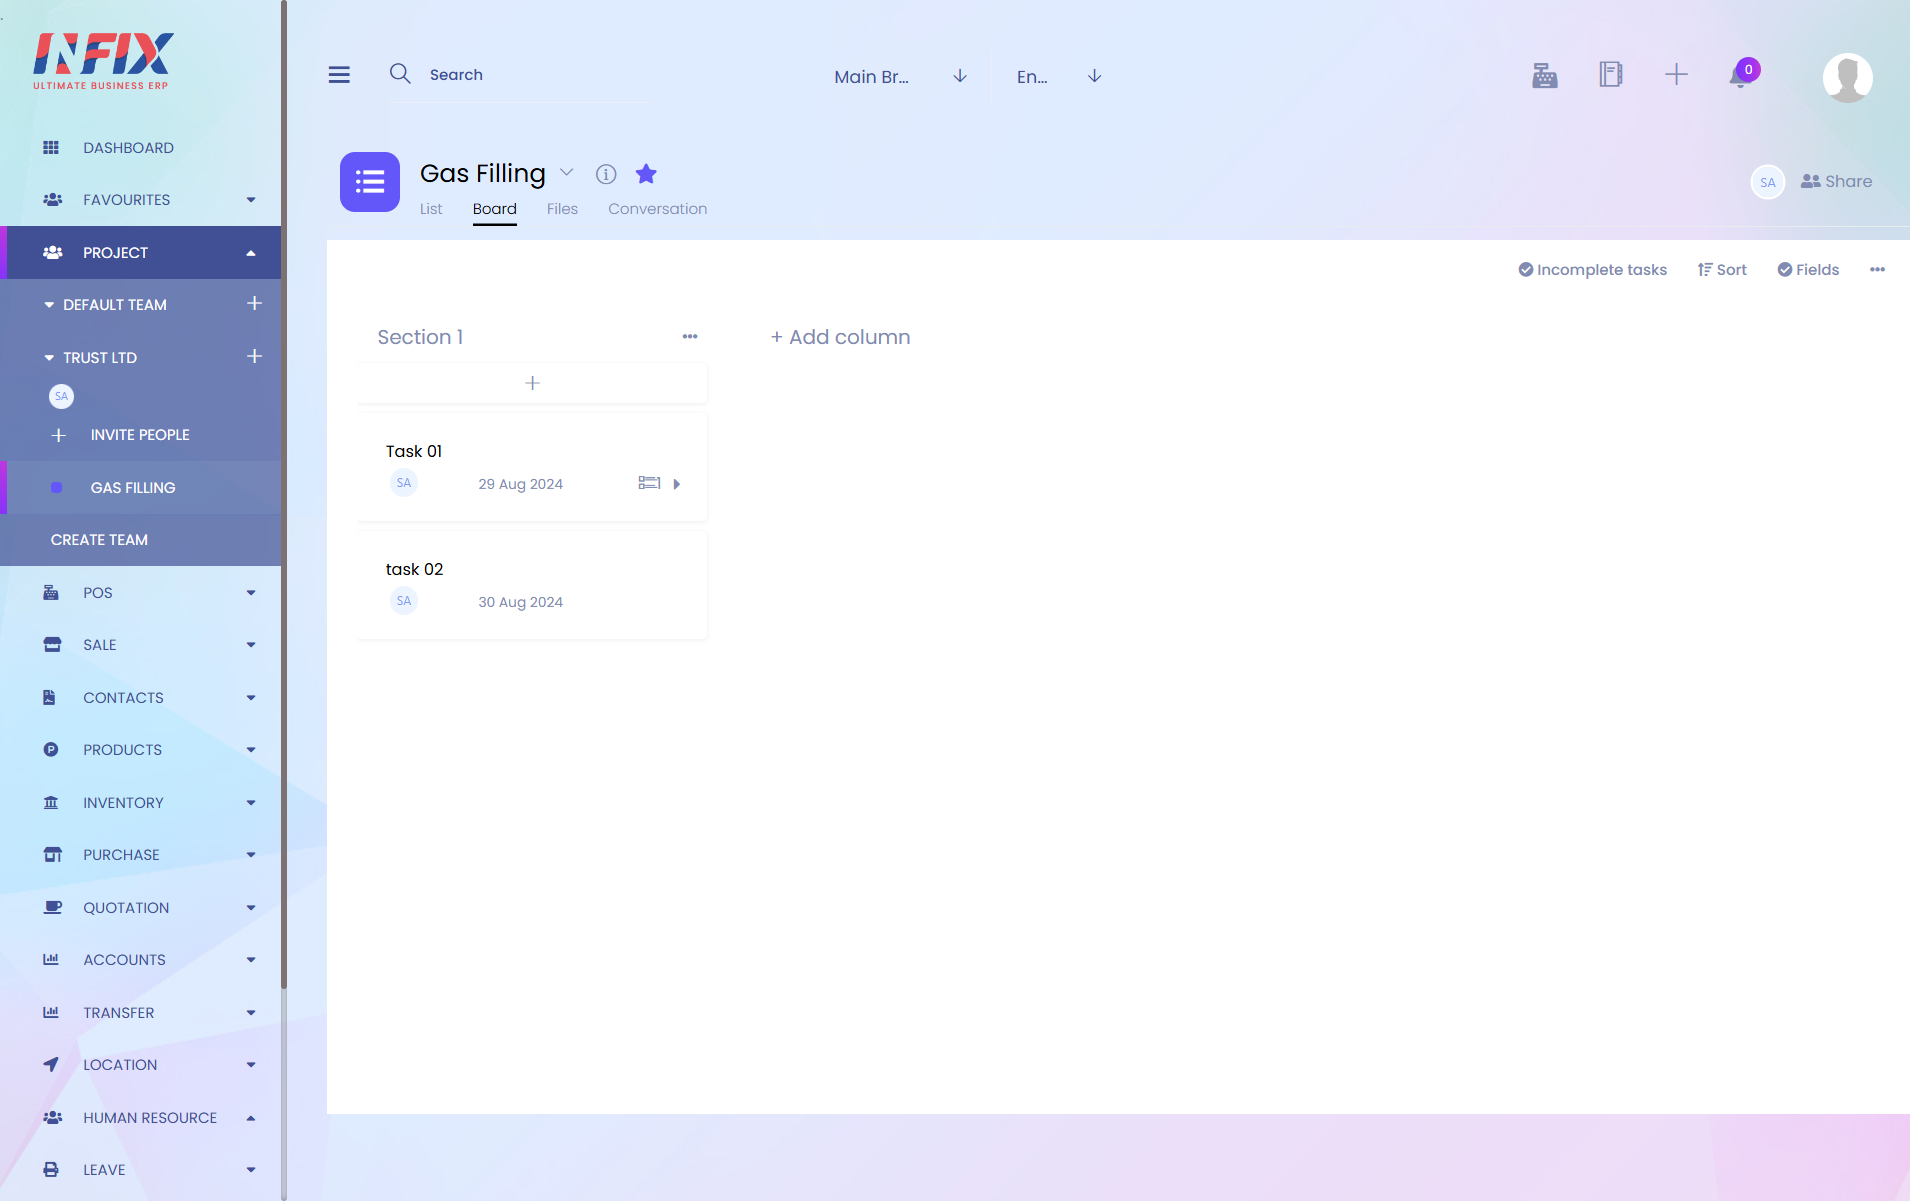
4. Add Task
Here you can add task. on click dropdown icon you will find a "Add Section" option.
5. Add Section
Here you can add a new section for your project.
6. Section Menu
After Section name on click (+) icon add task for that section. On click (...) icon give you an option to delete or rename section.
7. Collapse or Expand Section's task
Here you can collapse or expand section's task.
8. Collapse or Expand Task's subtask
Here you can collapse or expand task's subtask.
9. Mark Complete
On that section you can mark a task or subtask as complete.
10. Task Details
Here you can see the details task.
11. Add Task on Section
Here you can add new task on selected section.
12. Add New Section
Here you can add a new section for your project.
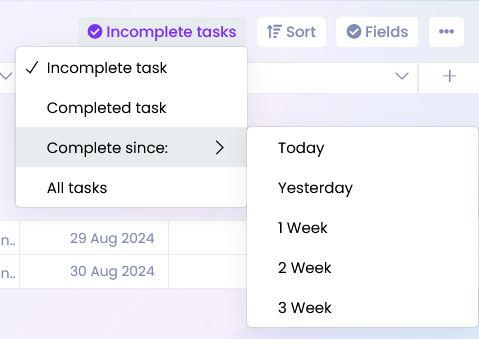
13. Task Filter
here you can filter the task.
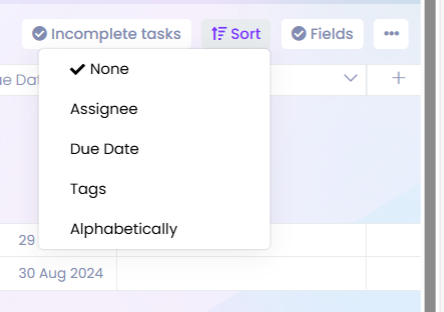
14. Sort
Here you can sort based on fields.
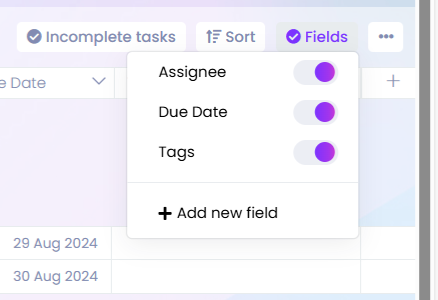
15. Fields
Here you can hide or show any fields, and also add your custom fields.
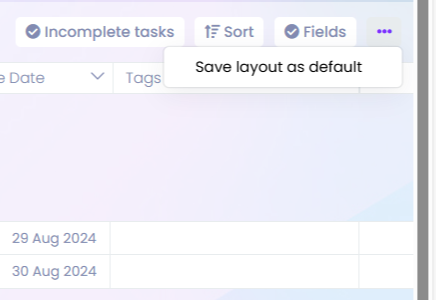
16. More Menu
On that section you will find an option to save this layout as default.
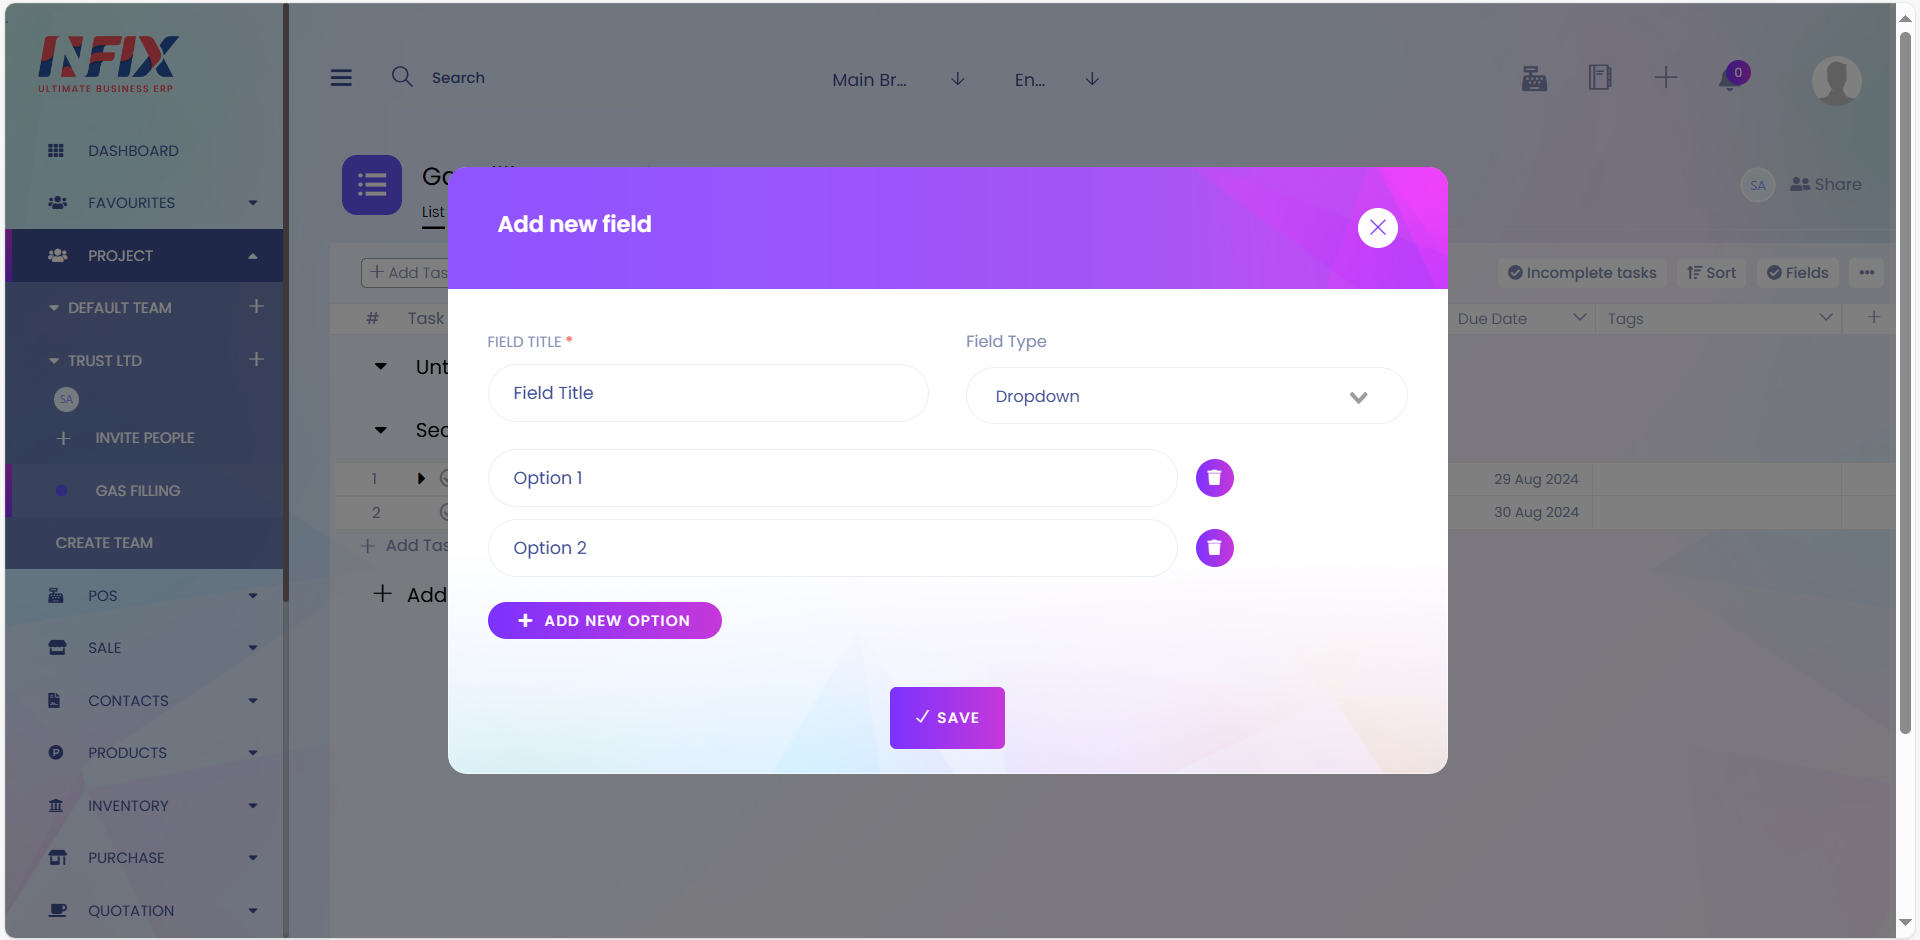
17. Add New Field
On that section you can add a new field.
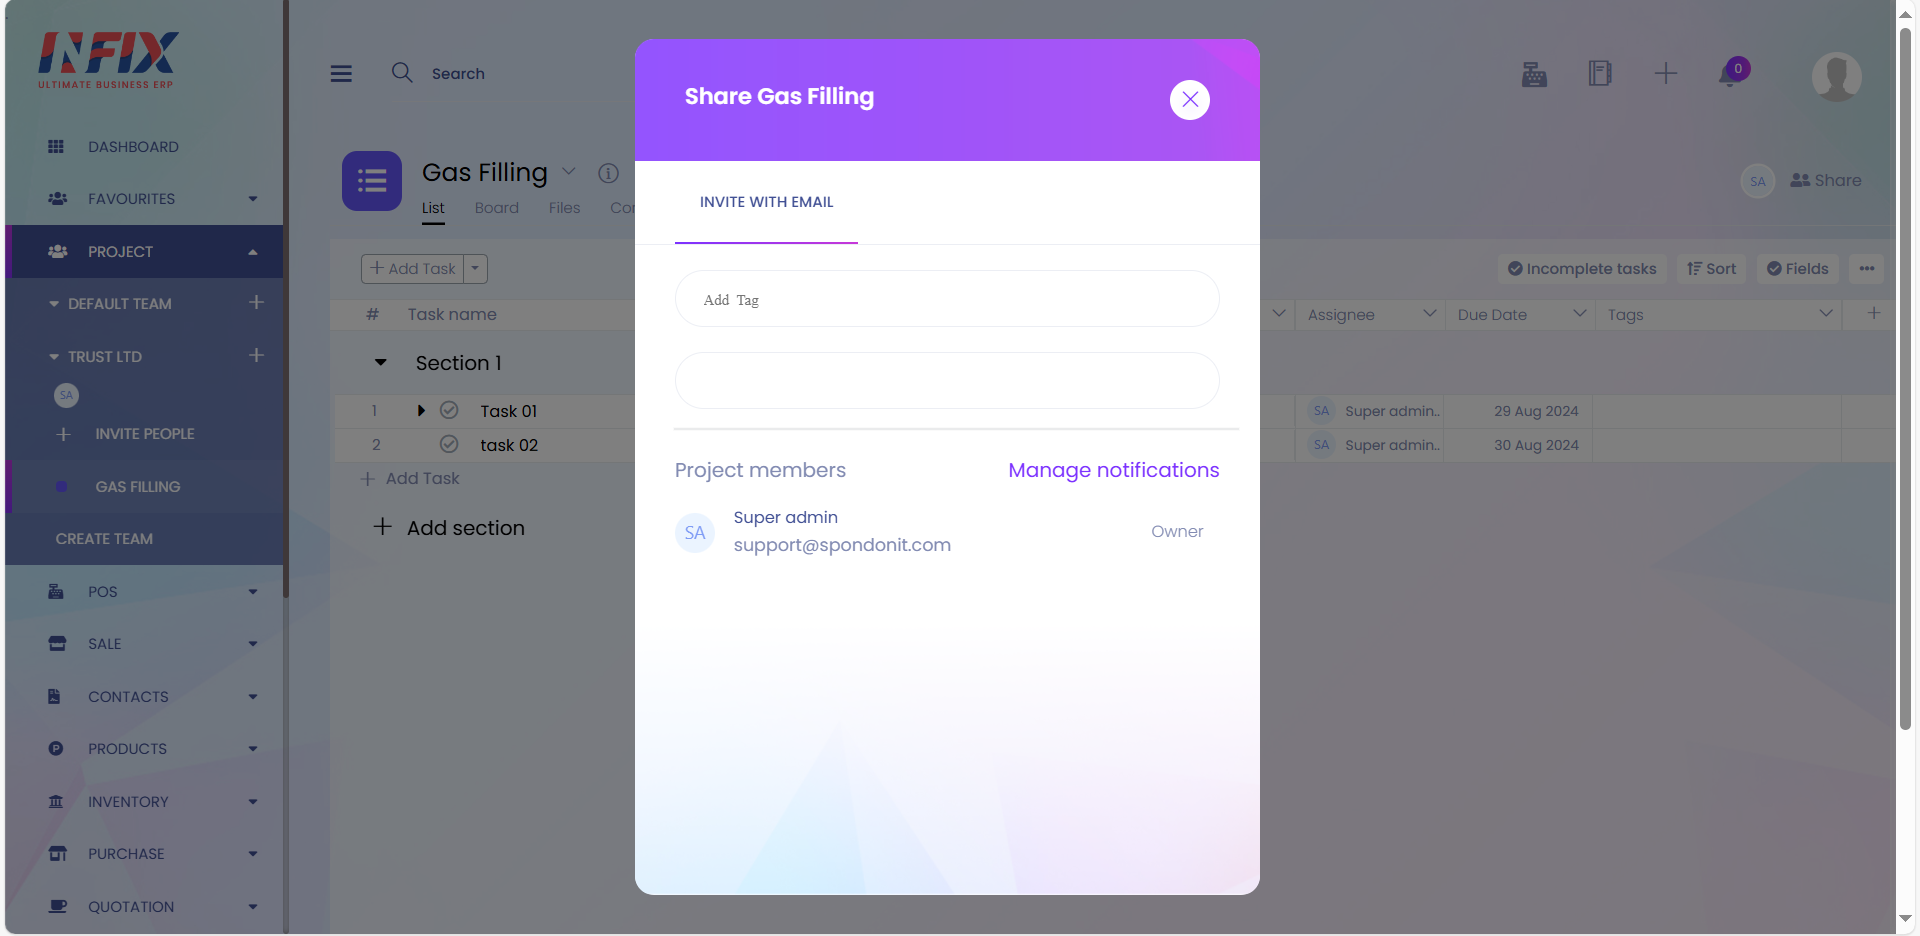
18. Share
Here you can share your project with other users.
19. Project Fields
All visible fields will show here.
Here you can see the board view of project.
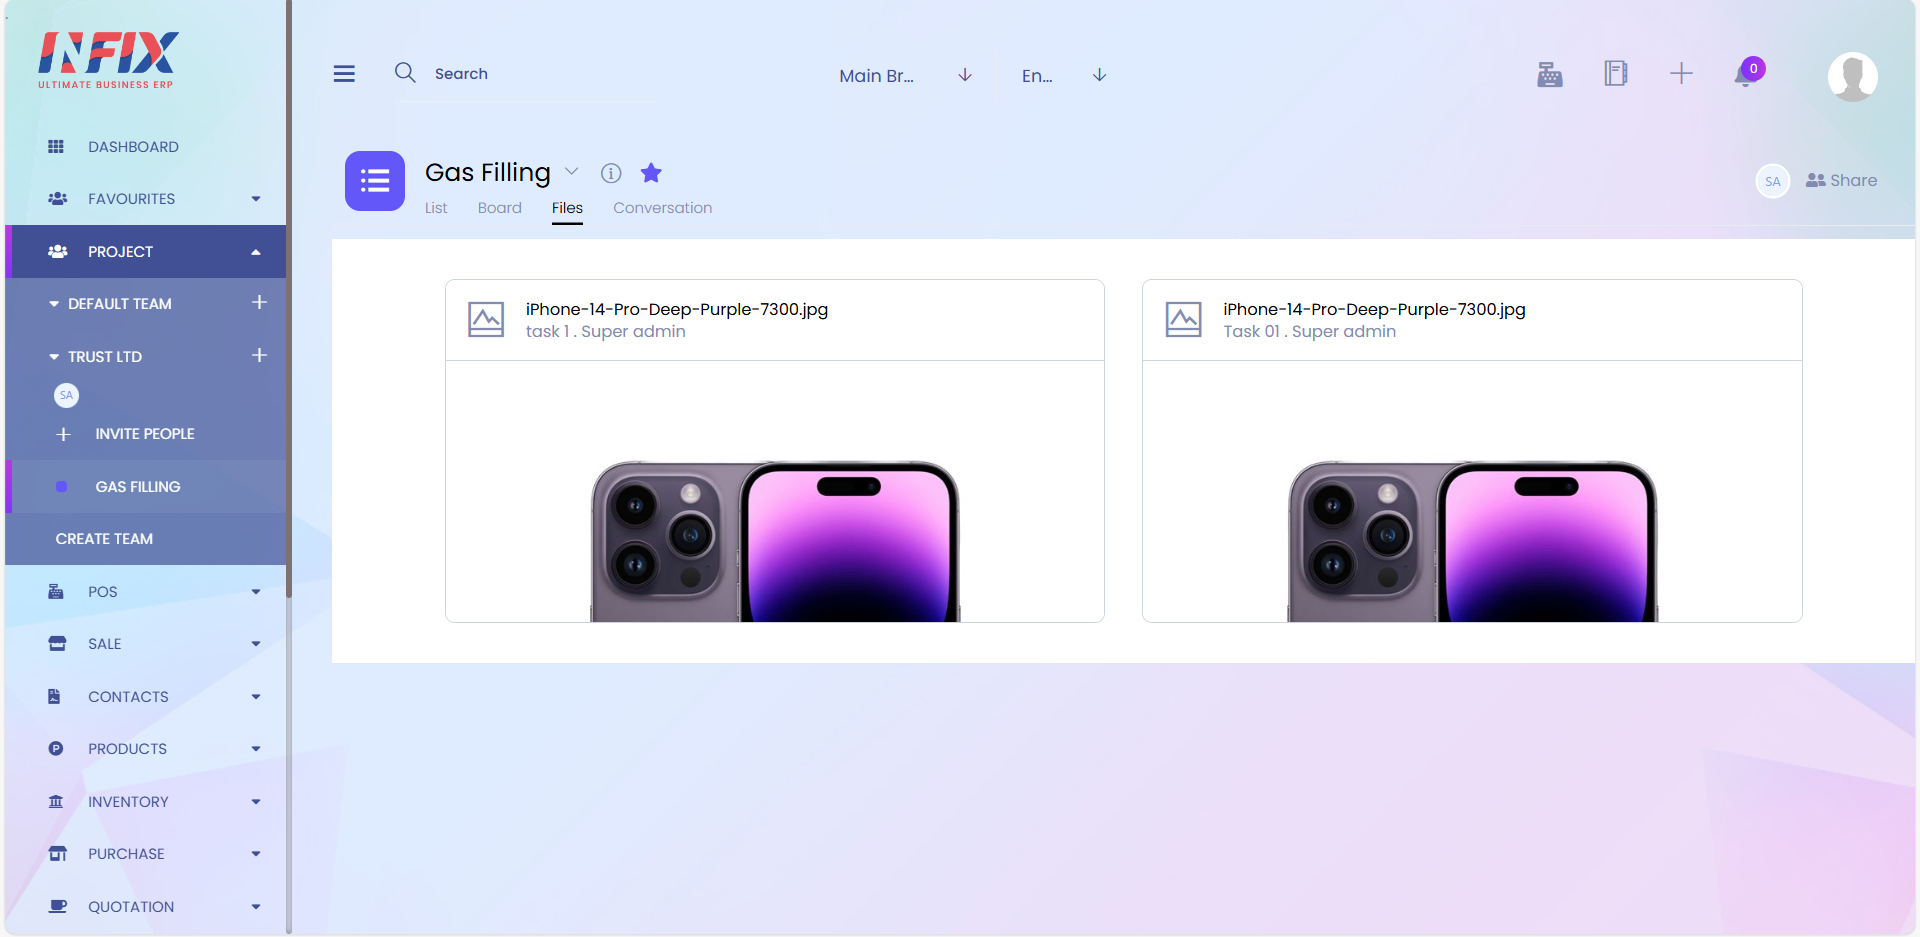
Here you can see project files.

1. Click to write something
Here you can write something for conversation.
2. Post
After writing you can post the conversation by click post button.
3. Edit & Delete (...) Icon
On that section you can edit and delete post.
4. Reply Section
Here you can edit and delete your reply.
5. Reply Post
Here you can write something for reply to the post.
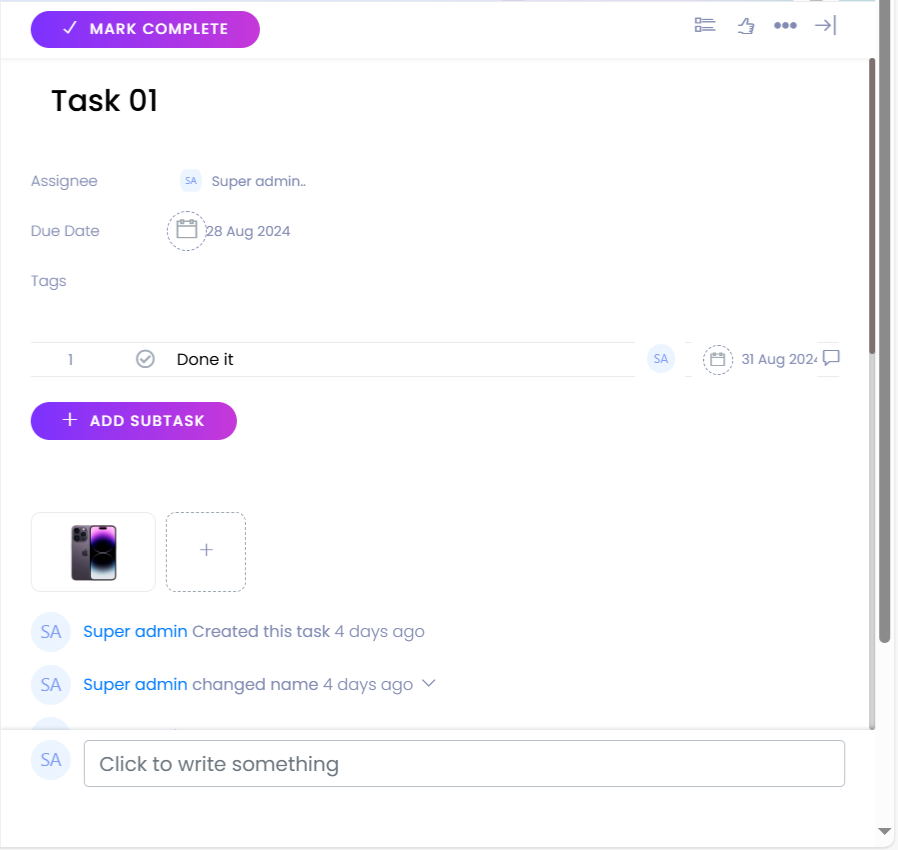
1. Mark Complete
On that section you mark a task as complete.
2. More Menu
Here you can like task, add sub task, add tag, delete task and close detail's view.
3. Add Sub Task
Here You can add sub task.
4. Add File
Here you can add attachment for your task.

