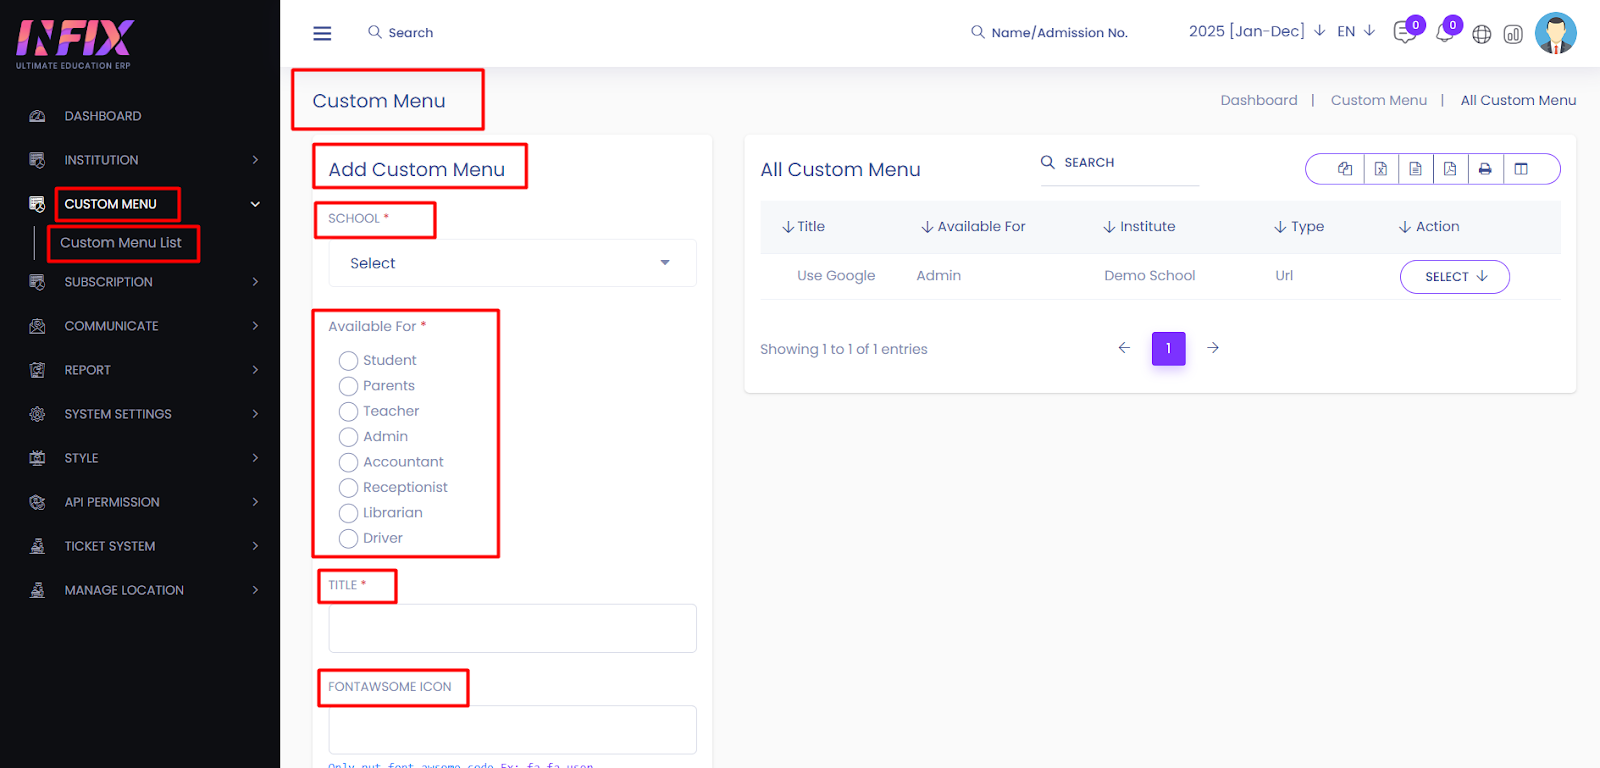
Custom Menu:
Only the SaaS admin can use the custom menu feature. This feature allows the admin to create, assign, and share personalized menus for specific institutions and users.
For example, if a school has its own bookstore where students can buy books at a discounted price, the admin may want the students of Buruj Bagan ML High School to access the bookstore directly from their dashboard. To achieve this, the admin creates a custom menu for the bookstore and makes it available exclusively to the students of that school.
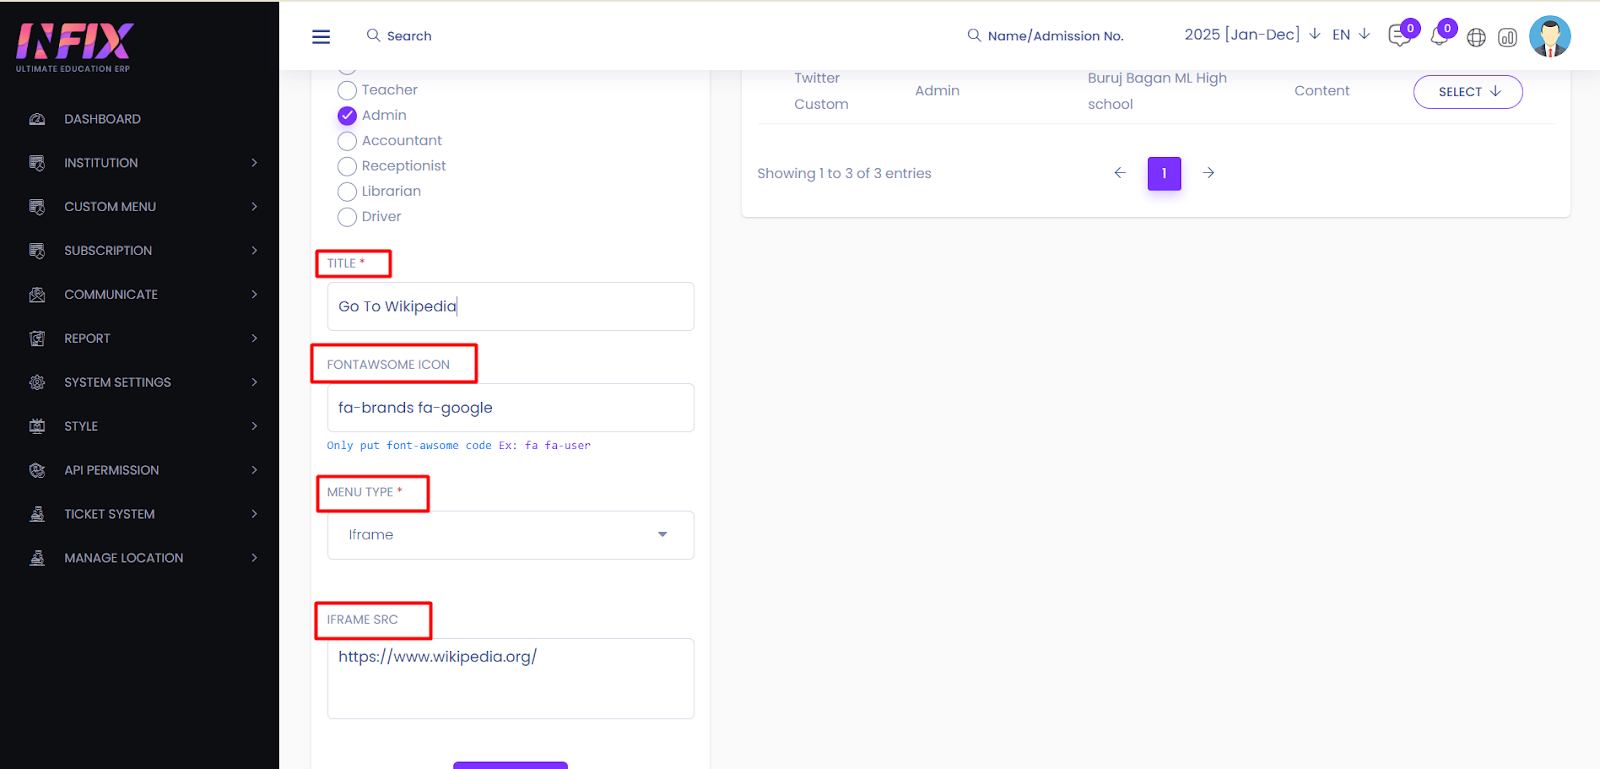
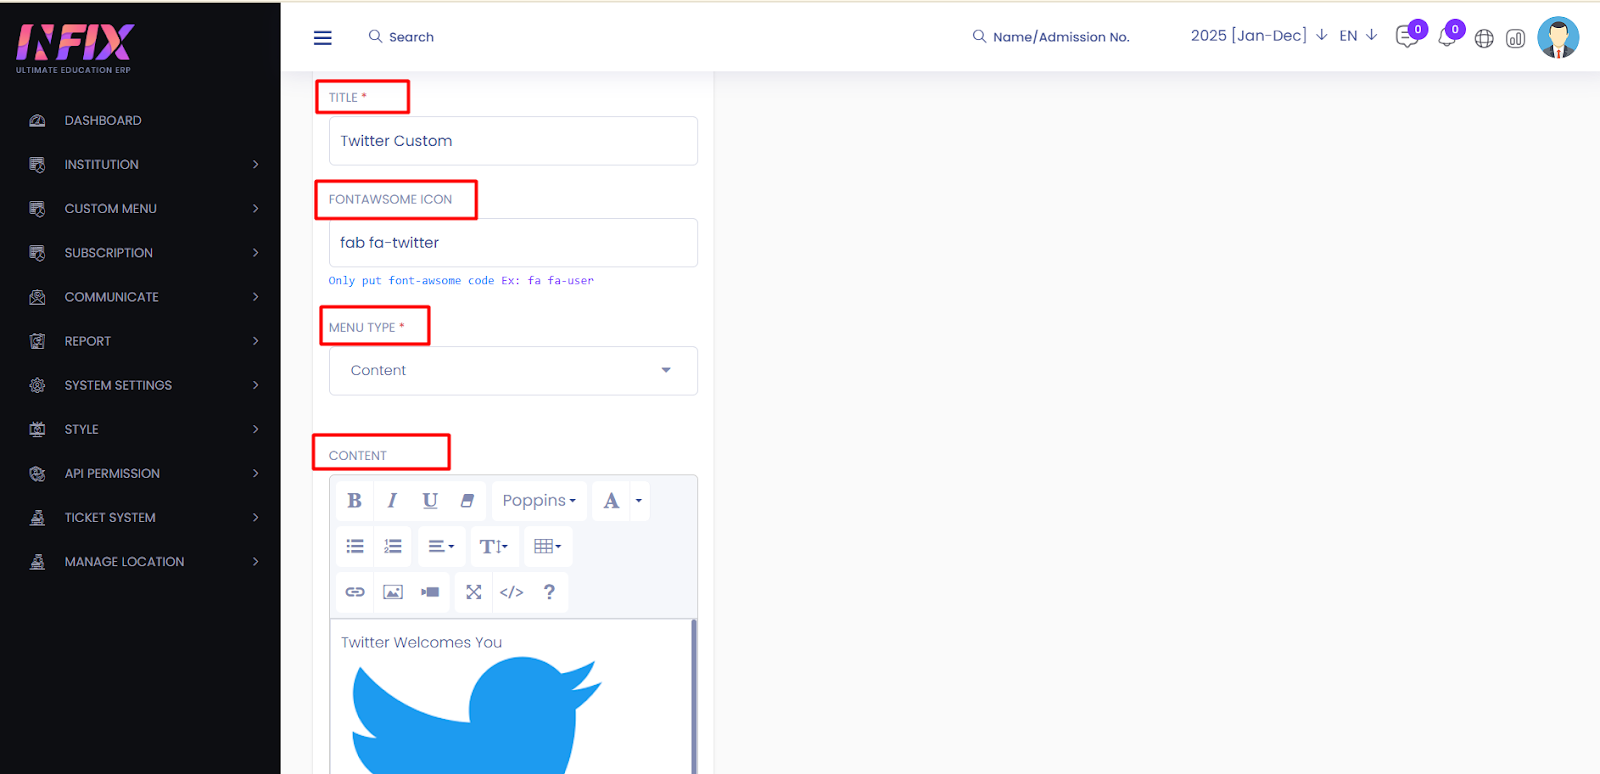
To add a custom menu, first navigate to the custom menu list and go to the "Add Custom Menu" section. Start by selecting the institution for which you want to create the custom menu. Next, choose the user types who can access this menu—you can select a single user type or multiple user types. Then, set the title, choose a Font Awesome icon, and select the menu type.
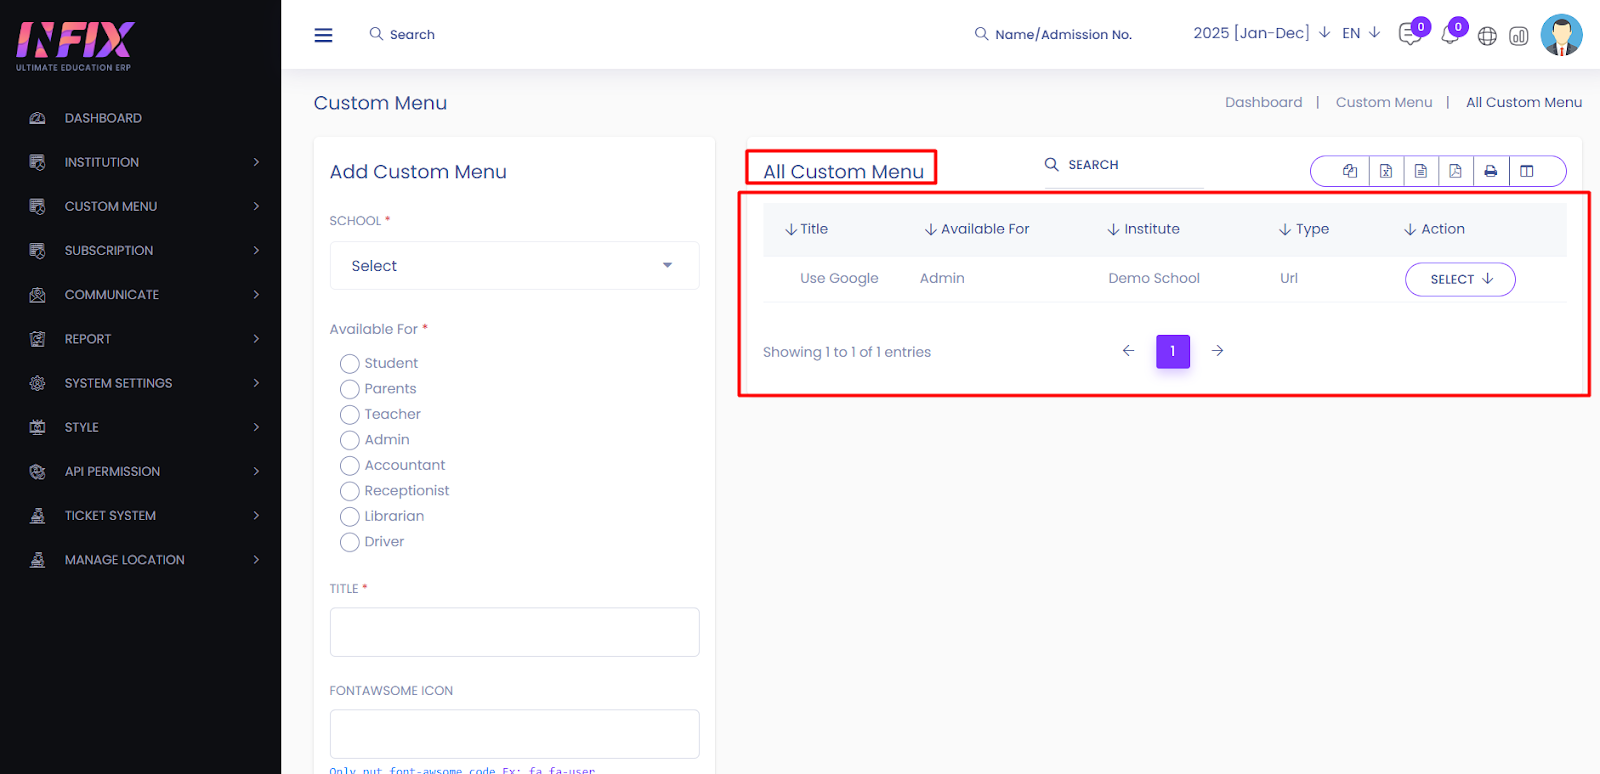
Simply click the save button to create the link, and your menu will be successfully generated.
After successful creation the menu will be shown on the menu list.
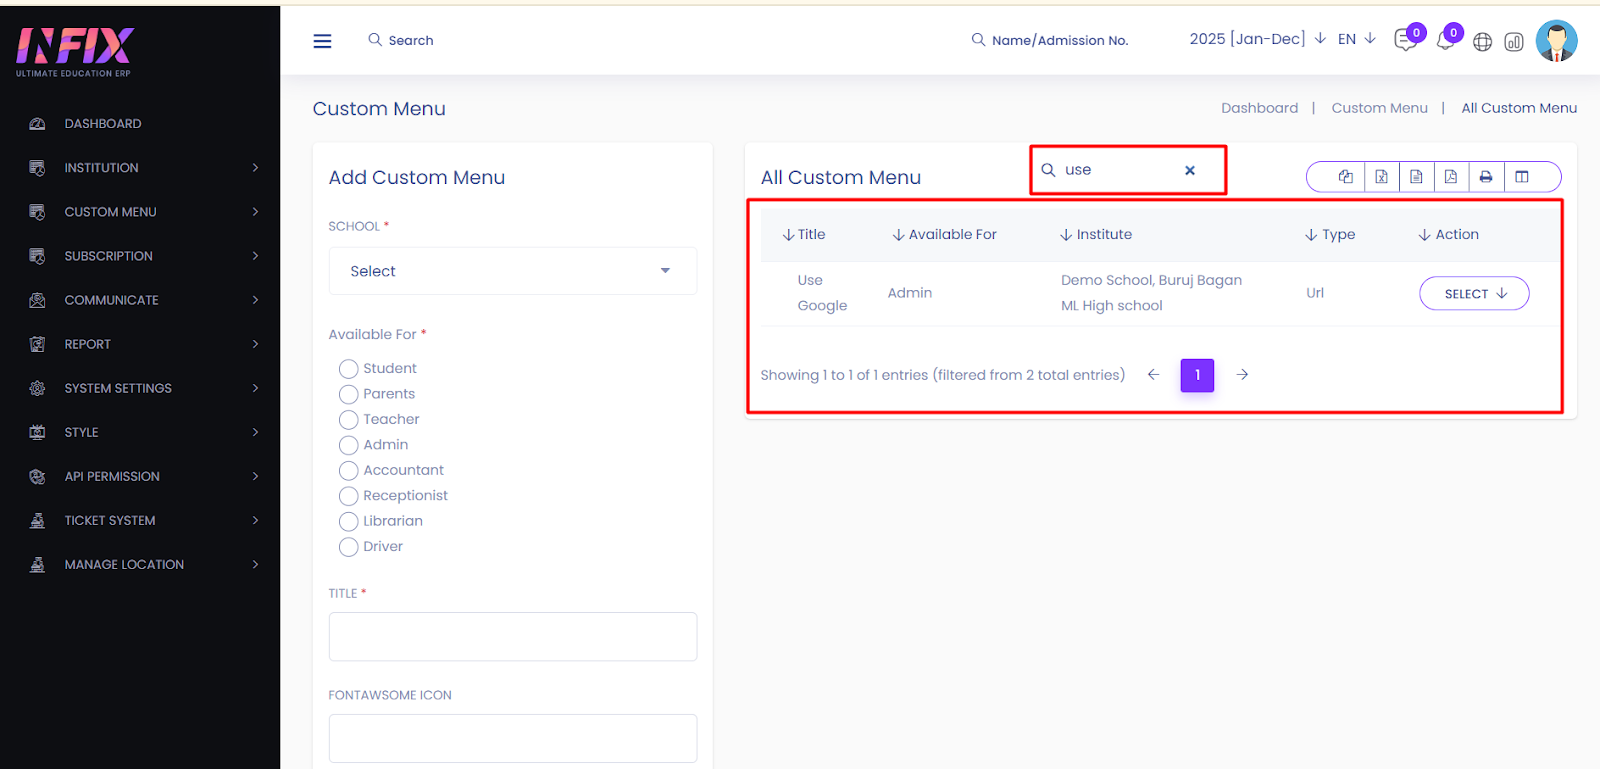
You can find out any specific custom menu by using the search.
You can export the data table from here .
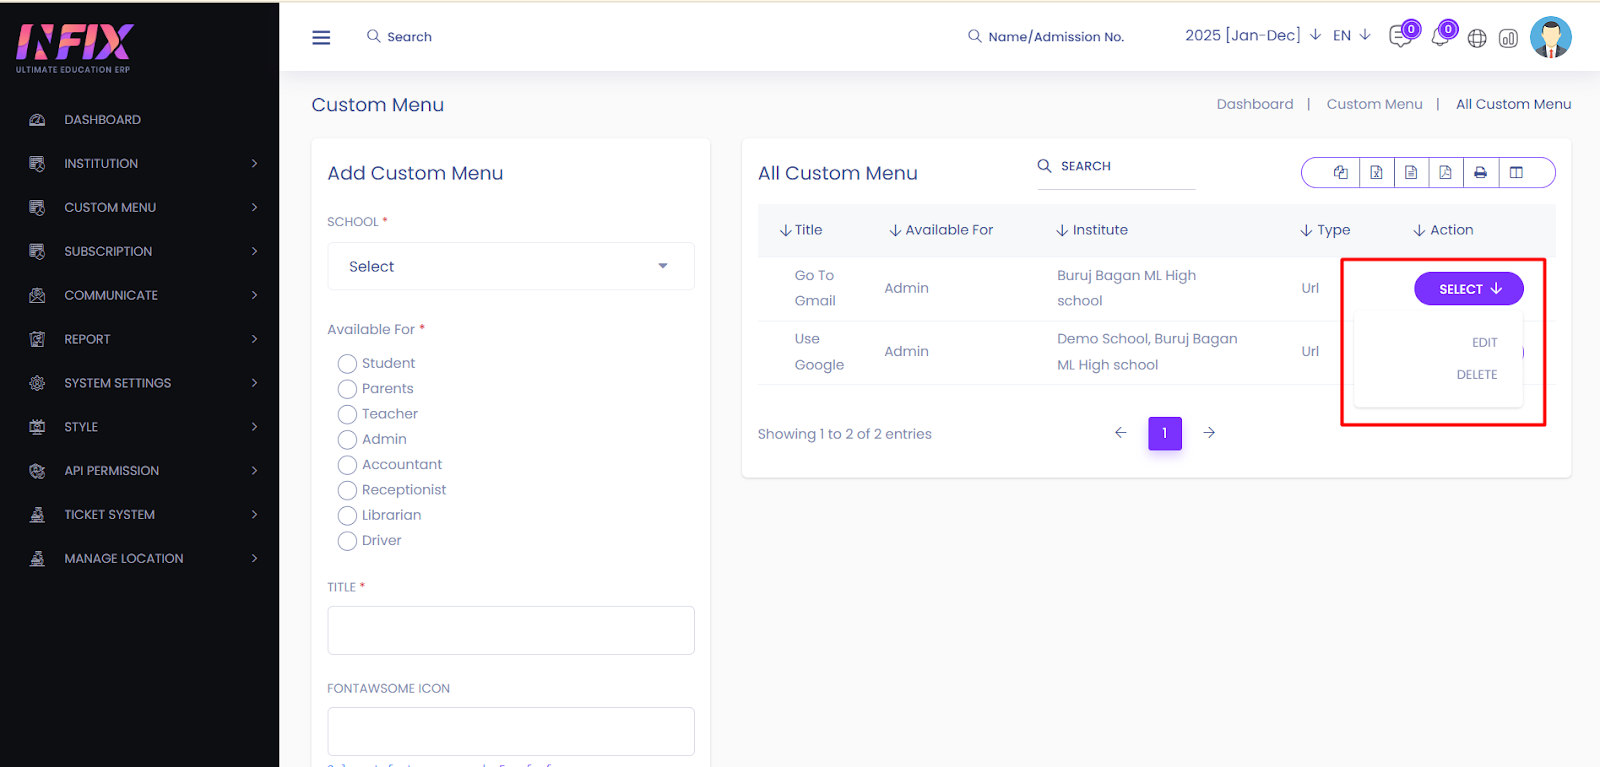
By clicking the select button you can edit & delete custom menu.
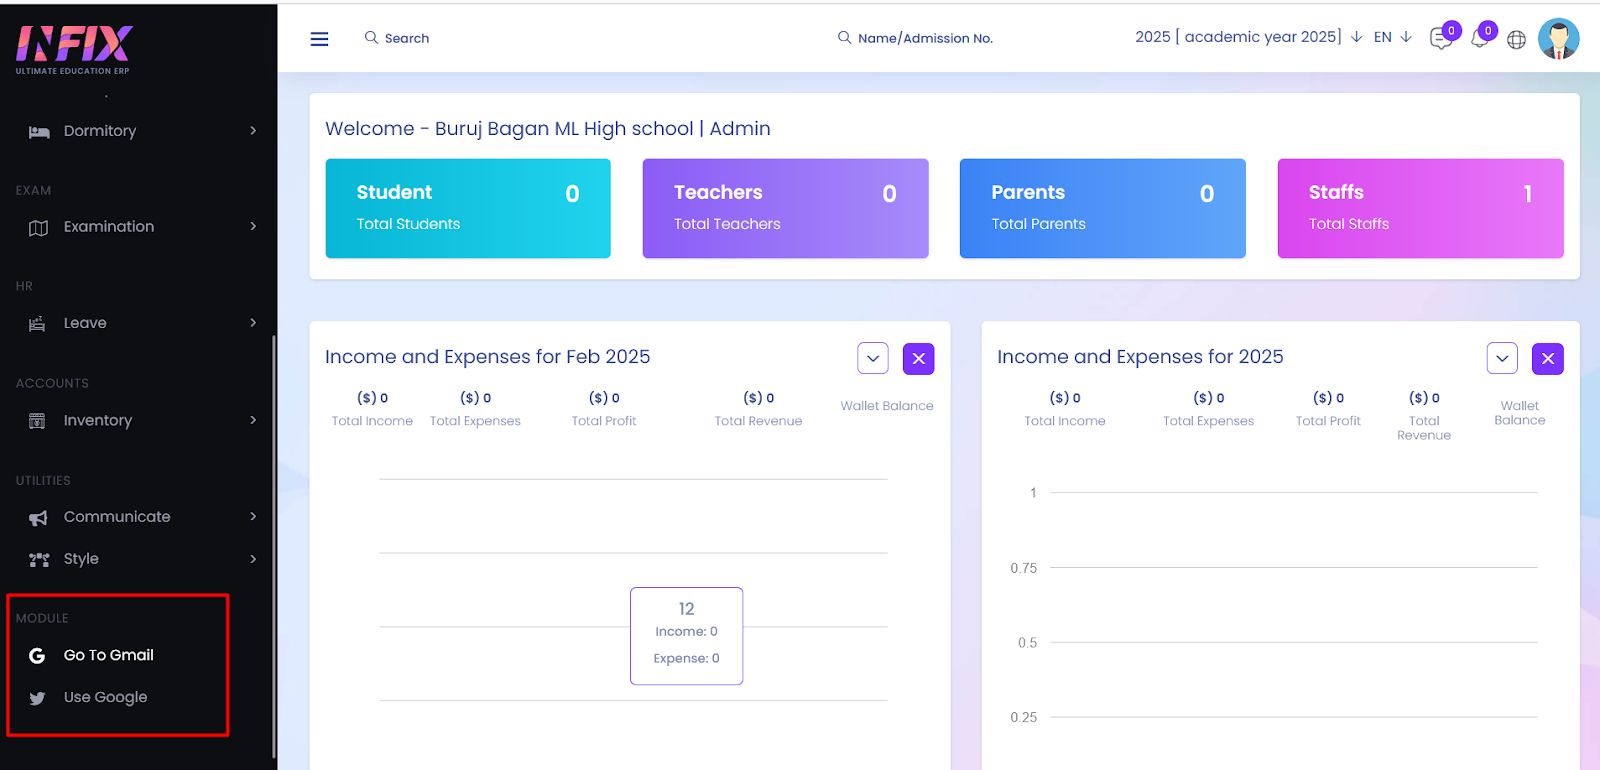
If you set a custom link for the admin, go to the admin account to view it in the sidebar.
If you select the menu type as "iframe," you must provide the iframe source URL.
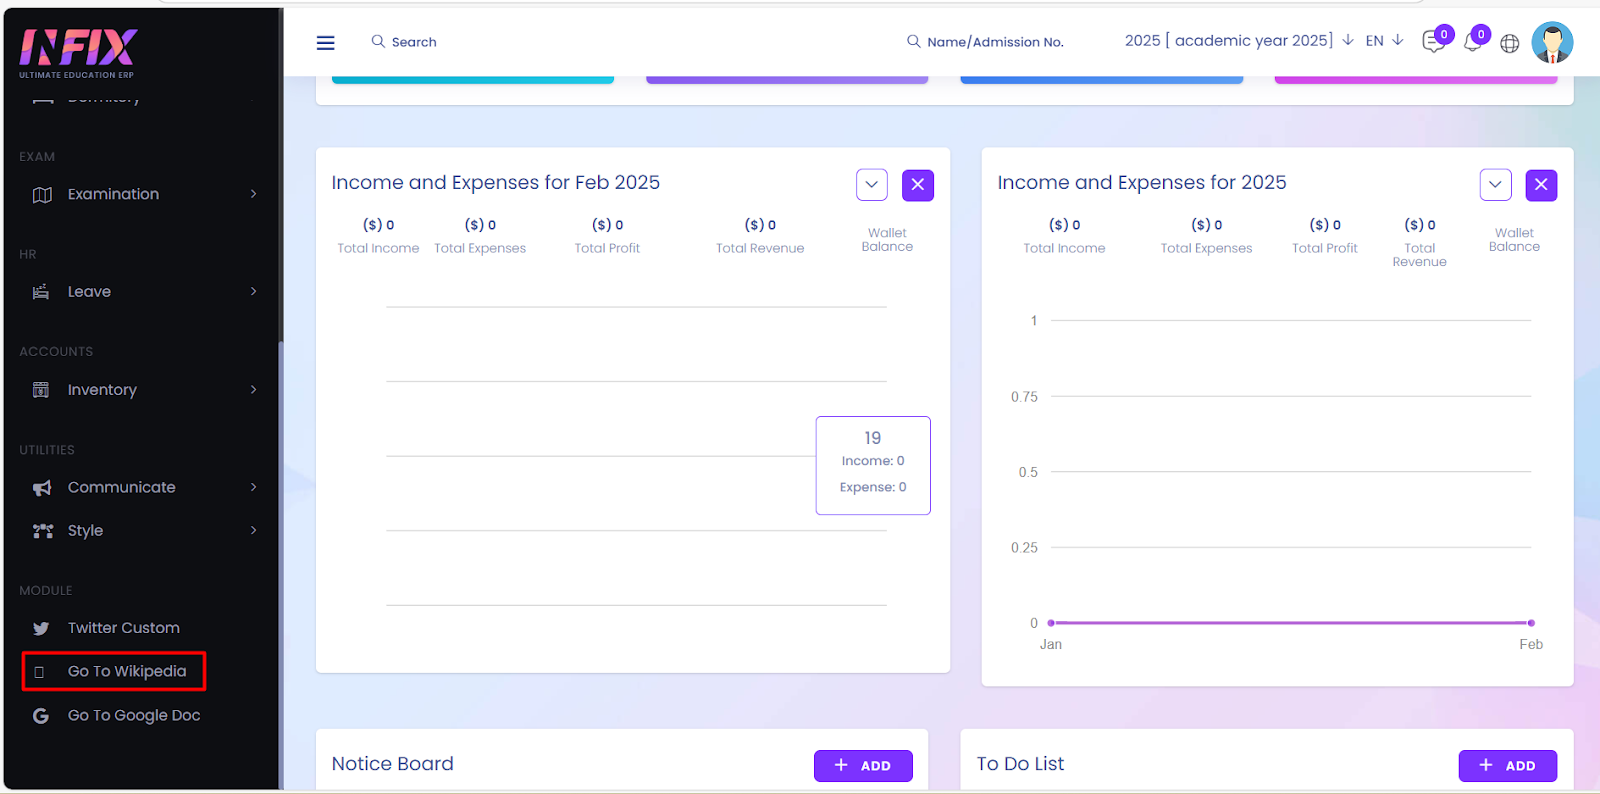
To see it just go to the admin panel.
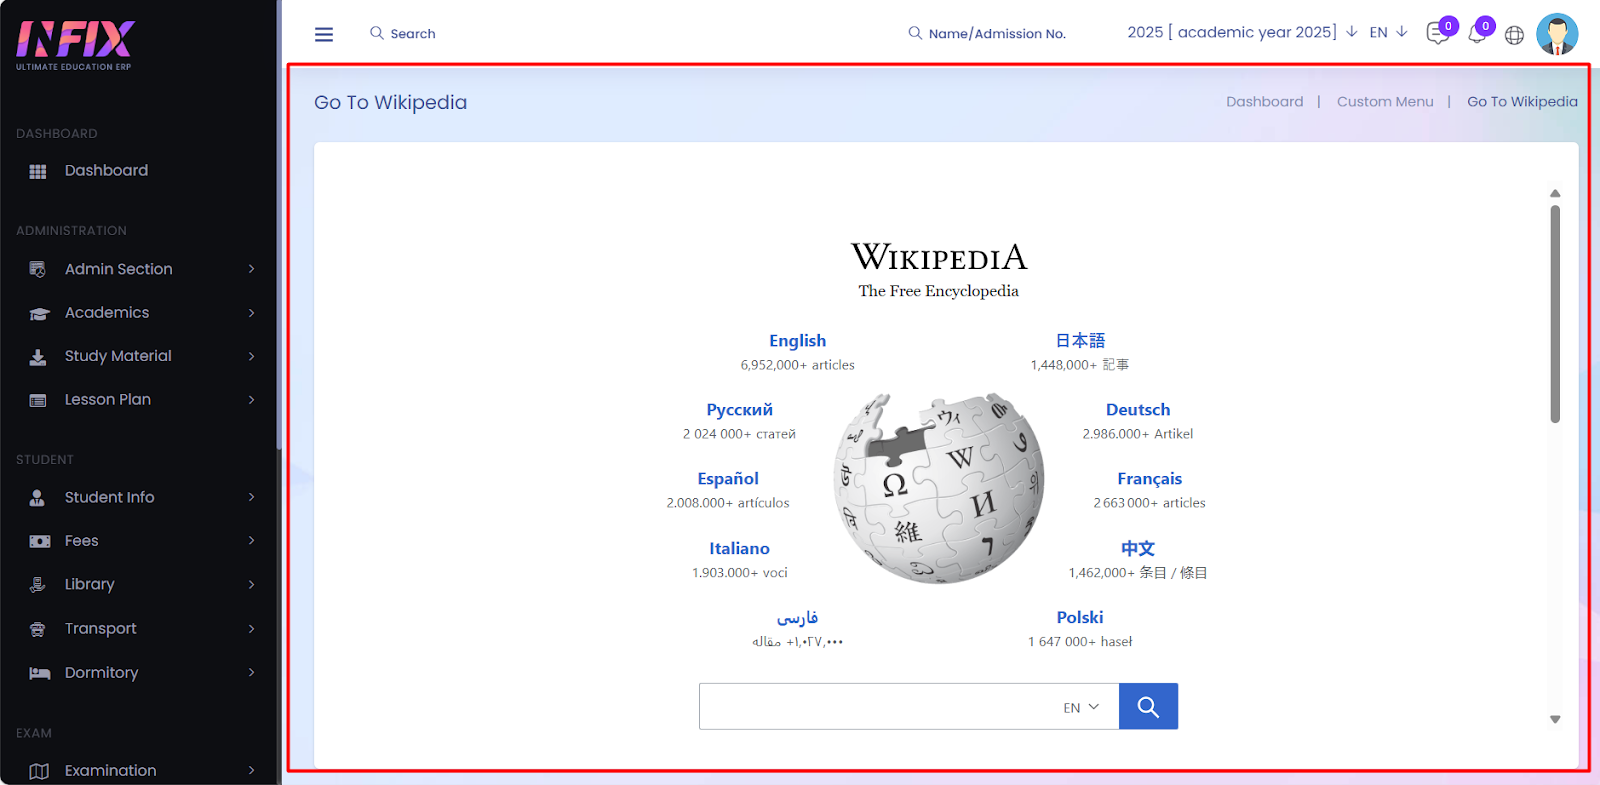
After clicking it will show the wikipedia in the admin panel.
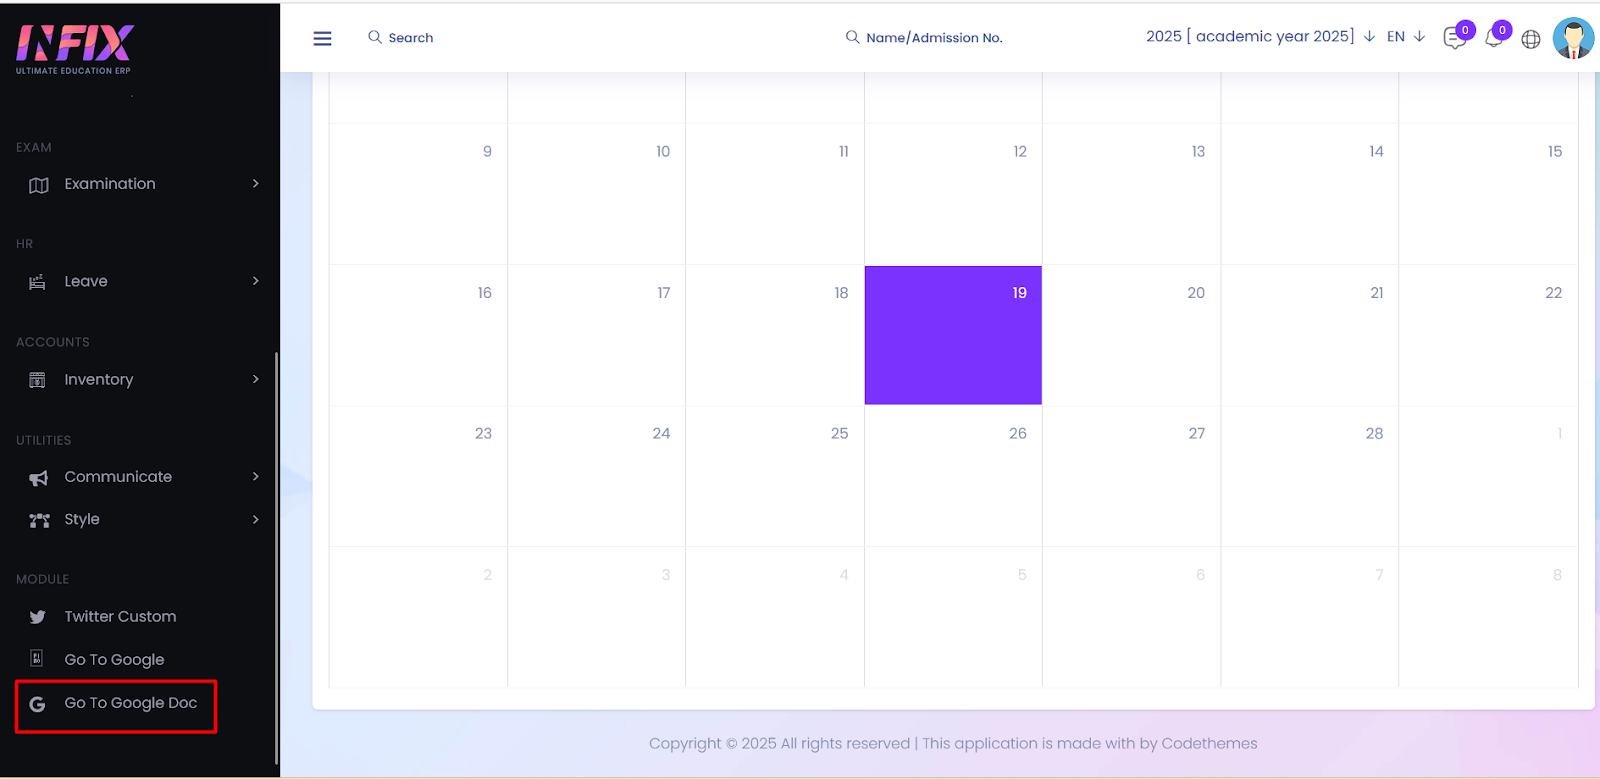
If the menu type is url then set the url.
You can see it from the admin panel.
After clicking it will take you to the google doc.
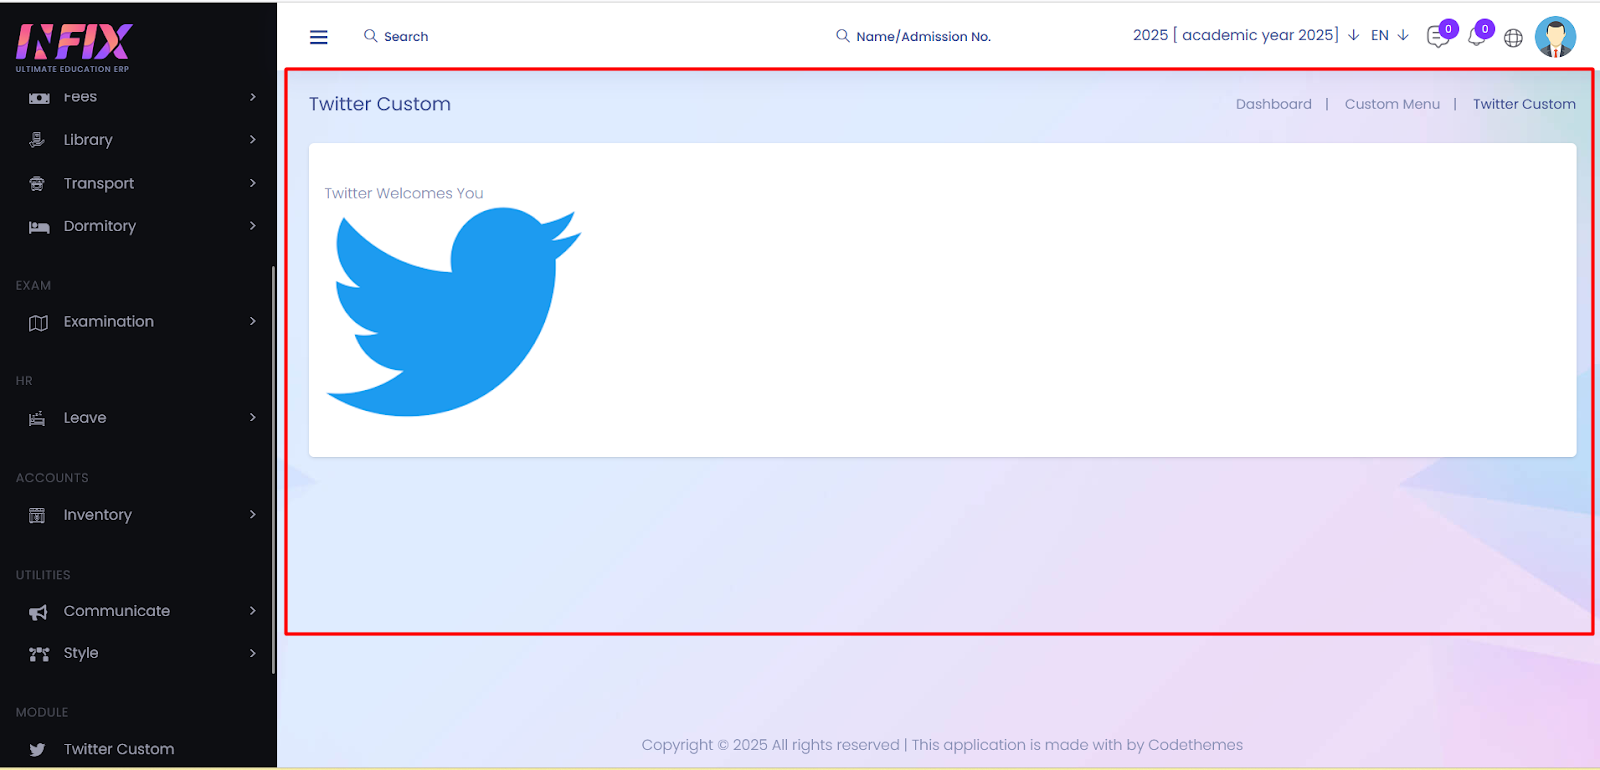
If you set the menu type to content then set type the content.
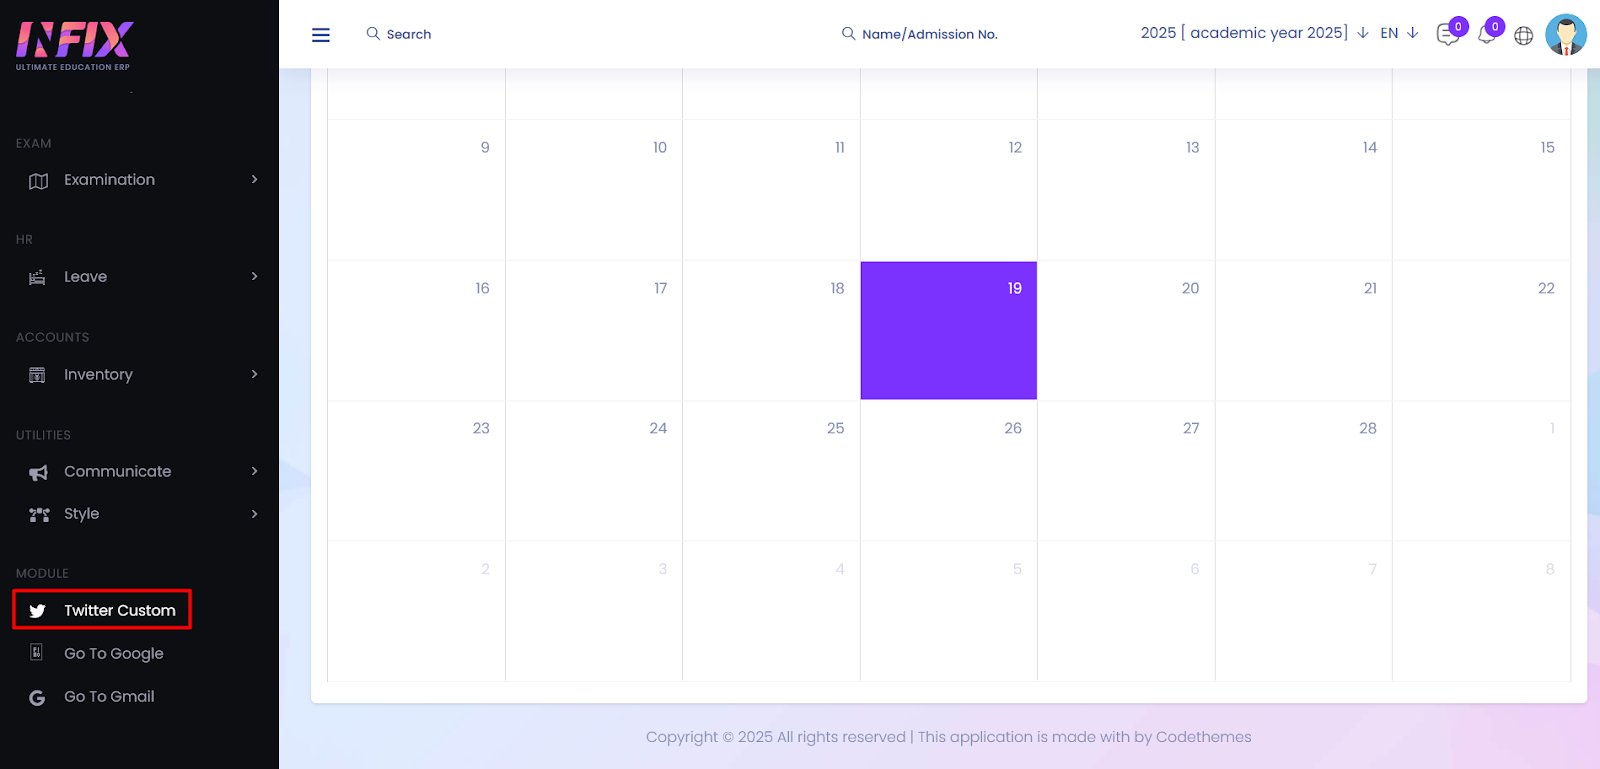
To see it go to admin panel and check the sidebar.
After clicking it will show you the content