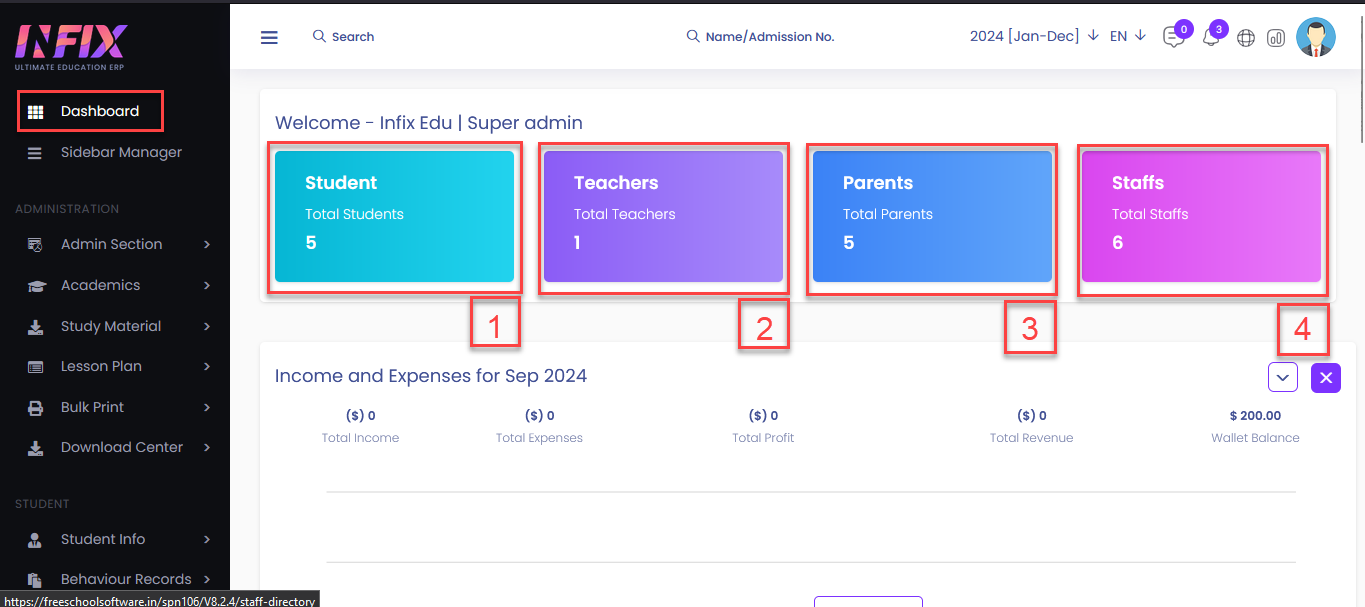
The Dashboard gives you a clear, visual overview of everything happening on your website—all in one place. Easily accessible from both the top bar and the left sidebar, the dashboard lets you monitor key data like the number of students, teachers, staff, and more. It also provides a quick snapshot of your Income and Expenses—an essential feature for any ERP system. With our intuitive design, you can stay effortlessly informed and in control of your daily operations.
Short Direction :
Admin Panel → Dashboard
Route :
/dashboard
1. Number of students
This section shows you the total number of students in your institute.
2. Number of teachers
This section shows you the total number of teachers in your institute.
3. Number of Parents
This section shows you the total number of parents in your institute.
3. Number of Staff
This section shows you the total number of staffs in your institute.
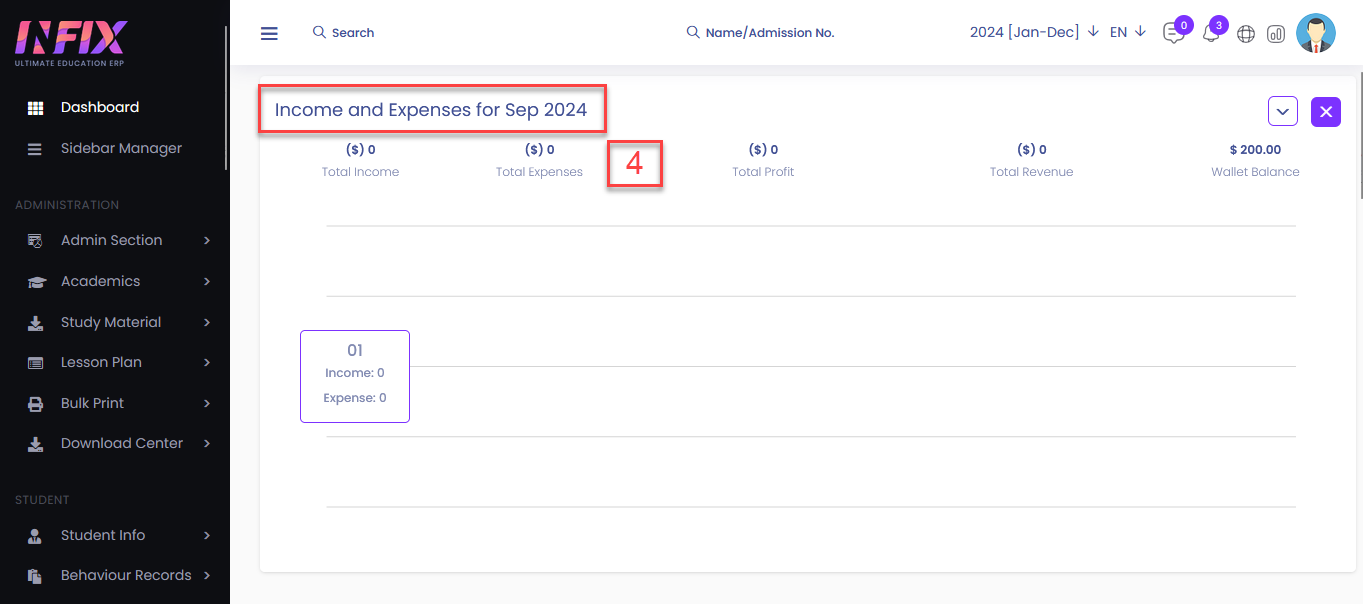
4. Income and expenses for the month
The Super Admin can access real-time financial metrics, including Total Income, Expenses, Profit, and Revenue, via the dashboard chart. Be it for a month or a year
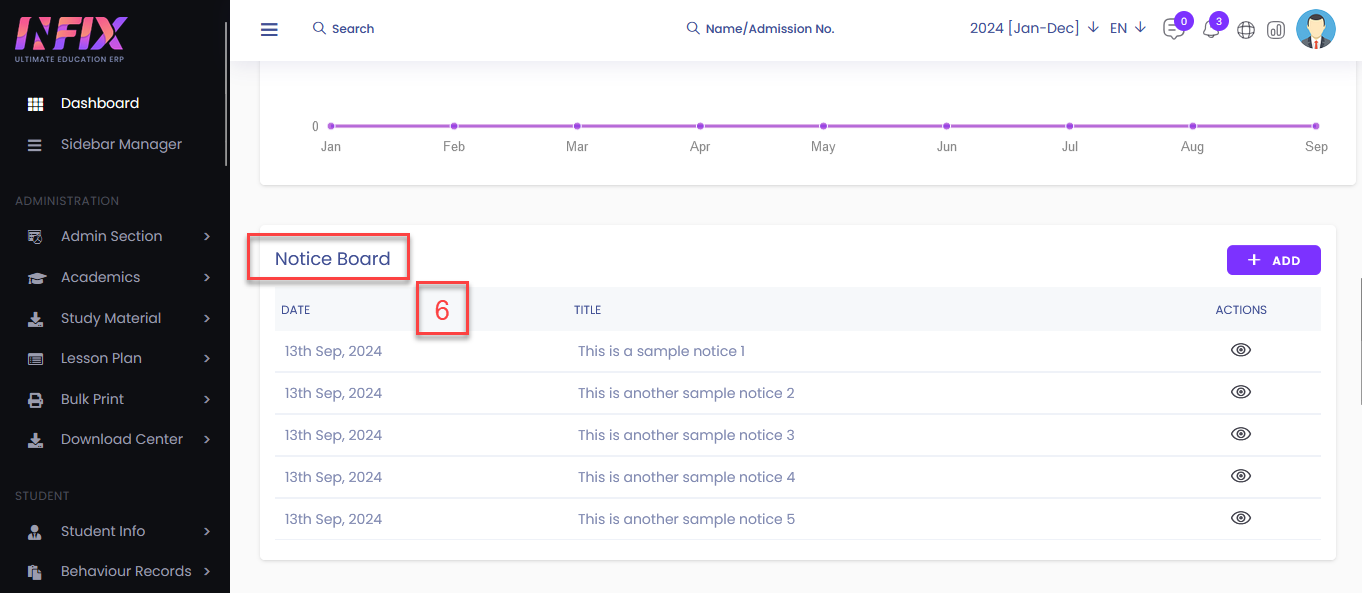
6. Notice board
In the notice board, the super admin and permitted user can check and add notices. To add a new notice to the notice board, click on ADD.
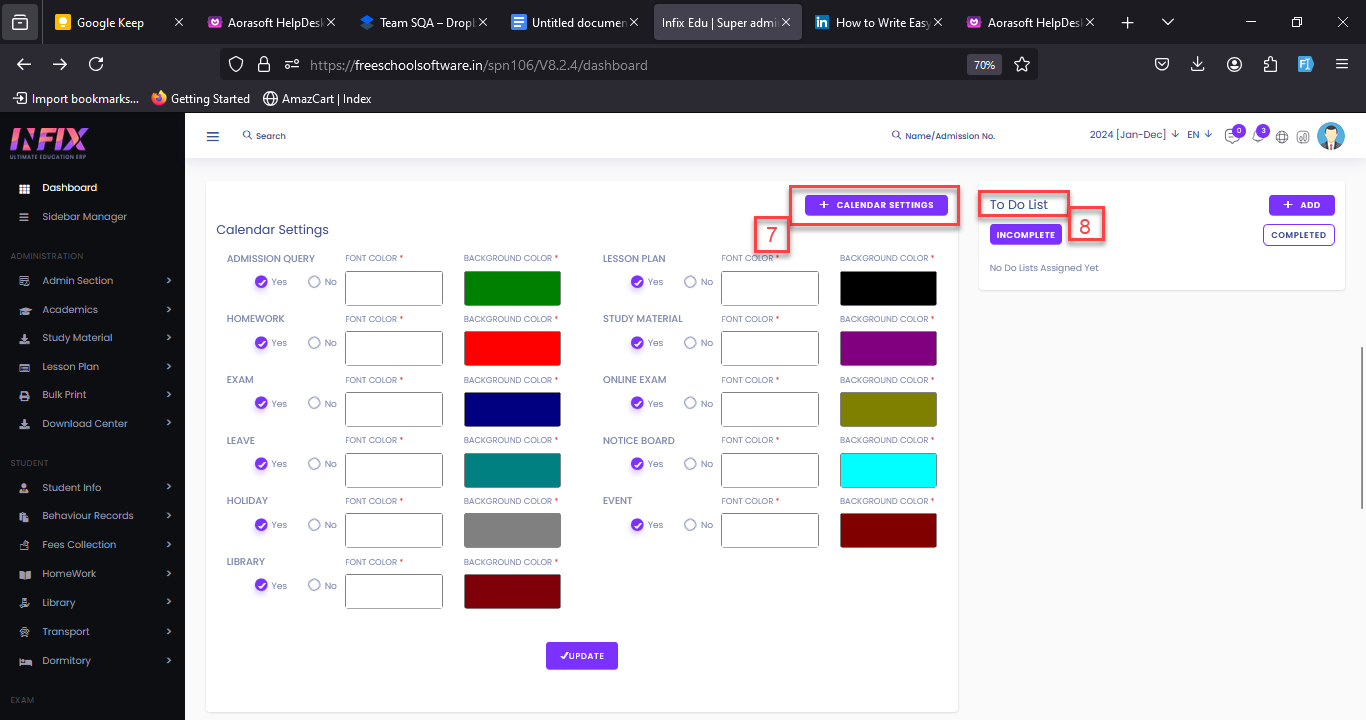
7. Calendar Settings
The Super Admin can tailor the color scheme of all events to enhance visual clarity and branding.
8. To-Do List
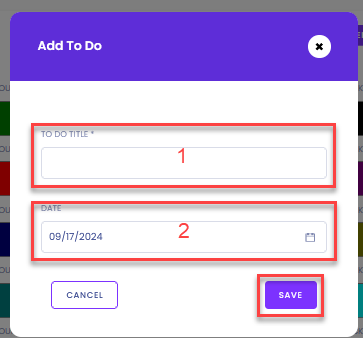
In Dashboard, you can easily add To-Do Lists. To add a To-Do, click on ADD.
After you click on ADD, you will be prompted with a new window where you can fill in information like TITLE[1] and DATE[2].
Now, click on SAVE to add it to your To-Do list.
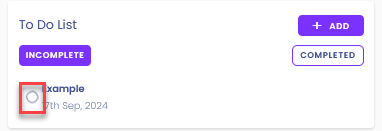
Now, click on the checkbox to mark it as completed.
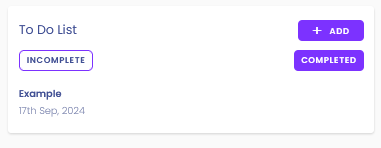
Now, you will be able to see the completed to-dos in the COMPLETED section.
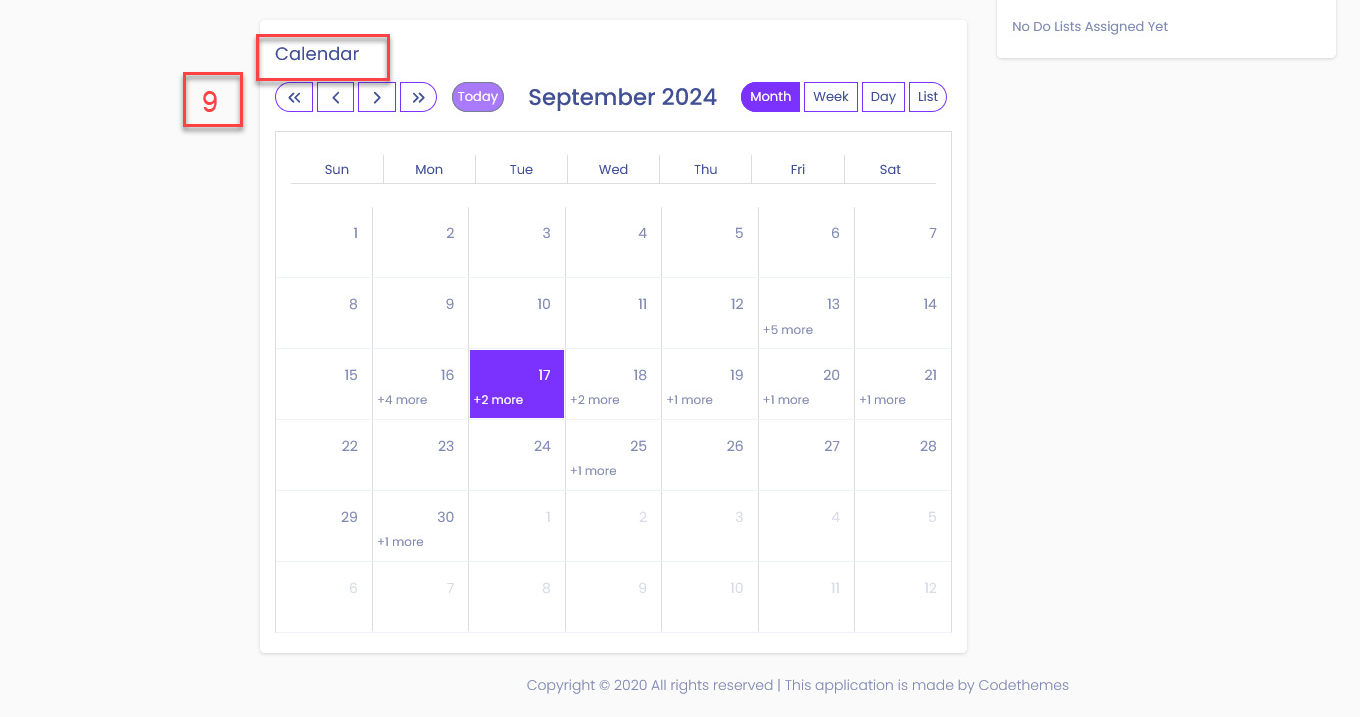
9. Calendar
Stay organized by quickly scheduling daily tasks and events using this tool.
Top bar
1. Search Field
User can search menu by name and will get a direct link to visit the menu.
2. Student Search Field
User can search student by name and admission number.
3. Academic year
An academic year or school year is a period used to measure the year during which students attend school. This section shows you the current academic year.
4. Language
InfixEDU has multi-language support. The default languages we support are English, Arabic (RTL), French, Dutch, German, Hindi, Italian, Turkish, Spanish & Portuguese, etc. You can also add your own language from language settings.
5. Chat Box
Chat Box is a new feature in the InfixEDU application so that it can send messages to users.
6. Notification
The admin or teachers can send notifications to their students or parents in this section.
7. Website
The home page is The default page or front page of a site. Home is the first page that your visitors see when they land on your website. By clicking on WEBSITE, the system will take you to your website's home page.
8. Reports
The reports section is very important in School Management ERP. It will take you to the student's reports under the Reports module.
9. Profile
If you hover over the profile icon, you will be able to see some options such as VIEW PROFILE, PASSWORD, and LOGOUT.
VIEW PROFILE: In this option, you can view your profile, add images, change account information, etc.
PASSWORD: In this option, you can change your password.
LOGOUT: You can log out from your profile by clicking on LOGOUT.