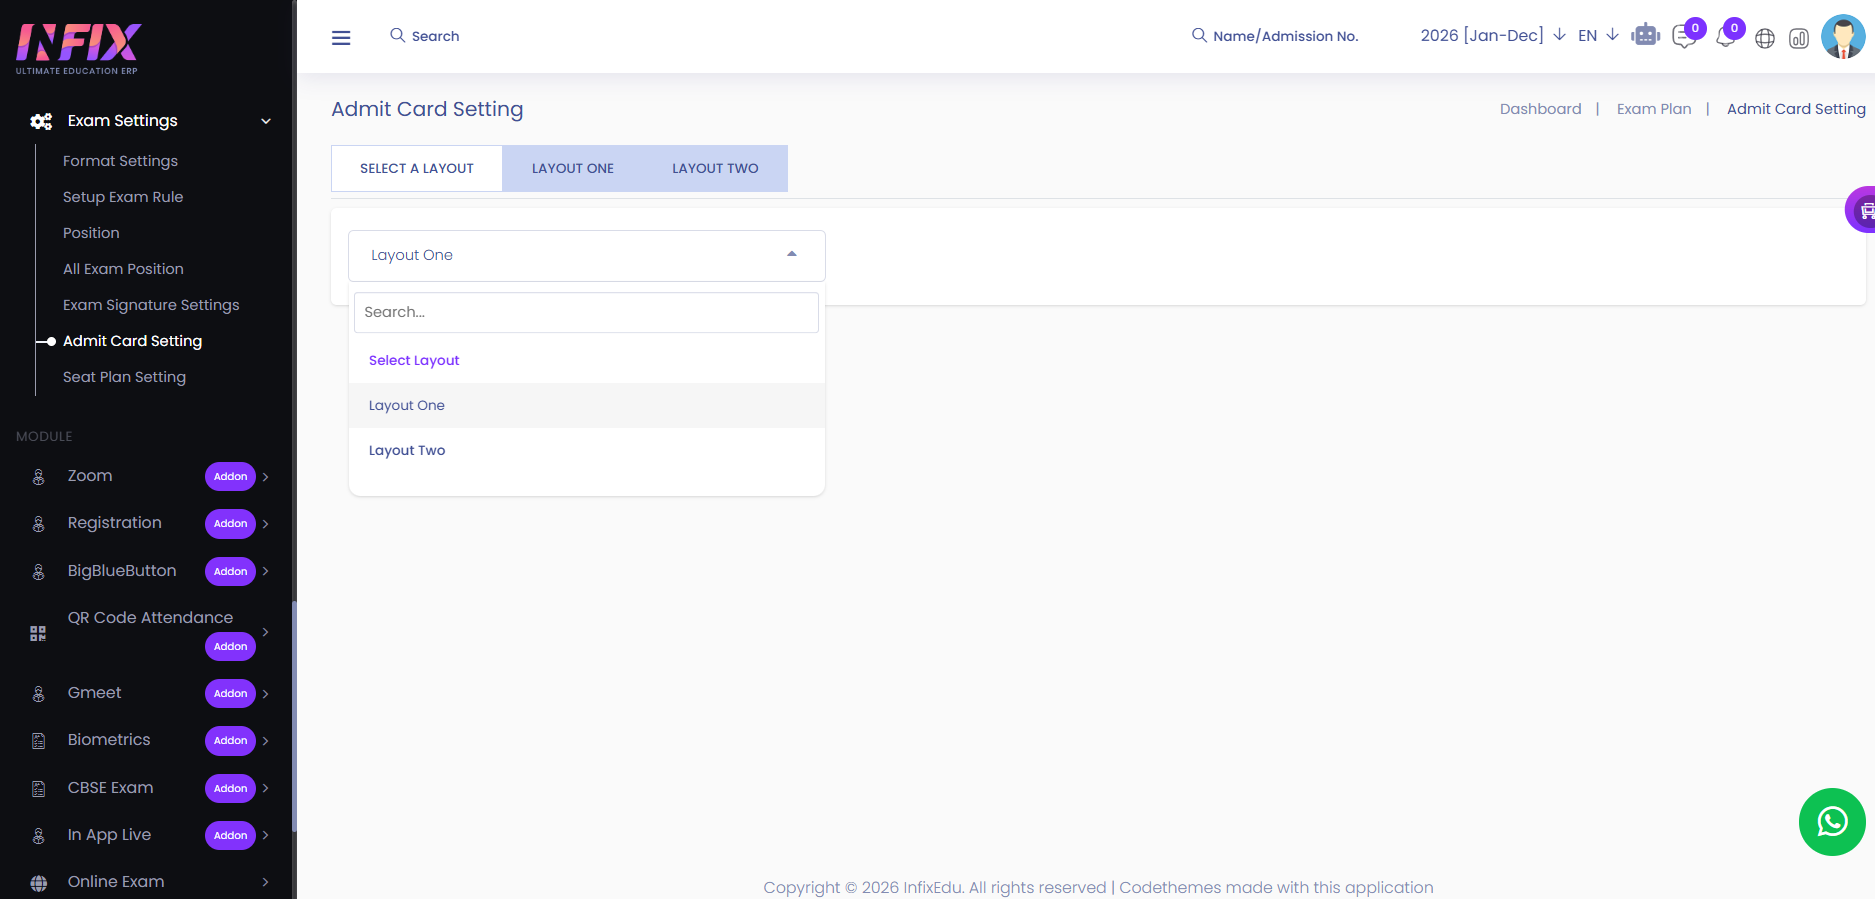
From here, you can configure the admit card. To do so, first select the admit card layout from the "Select Layout" section.
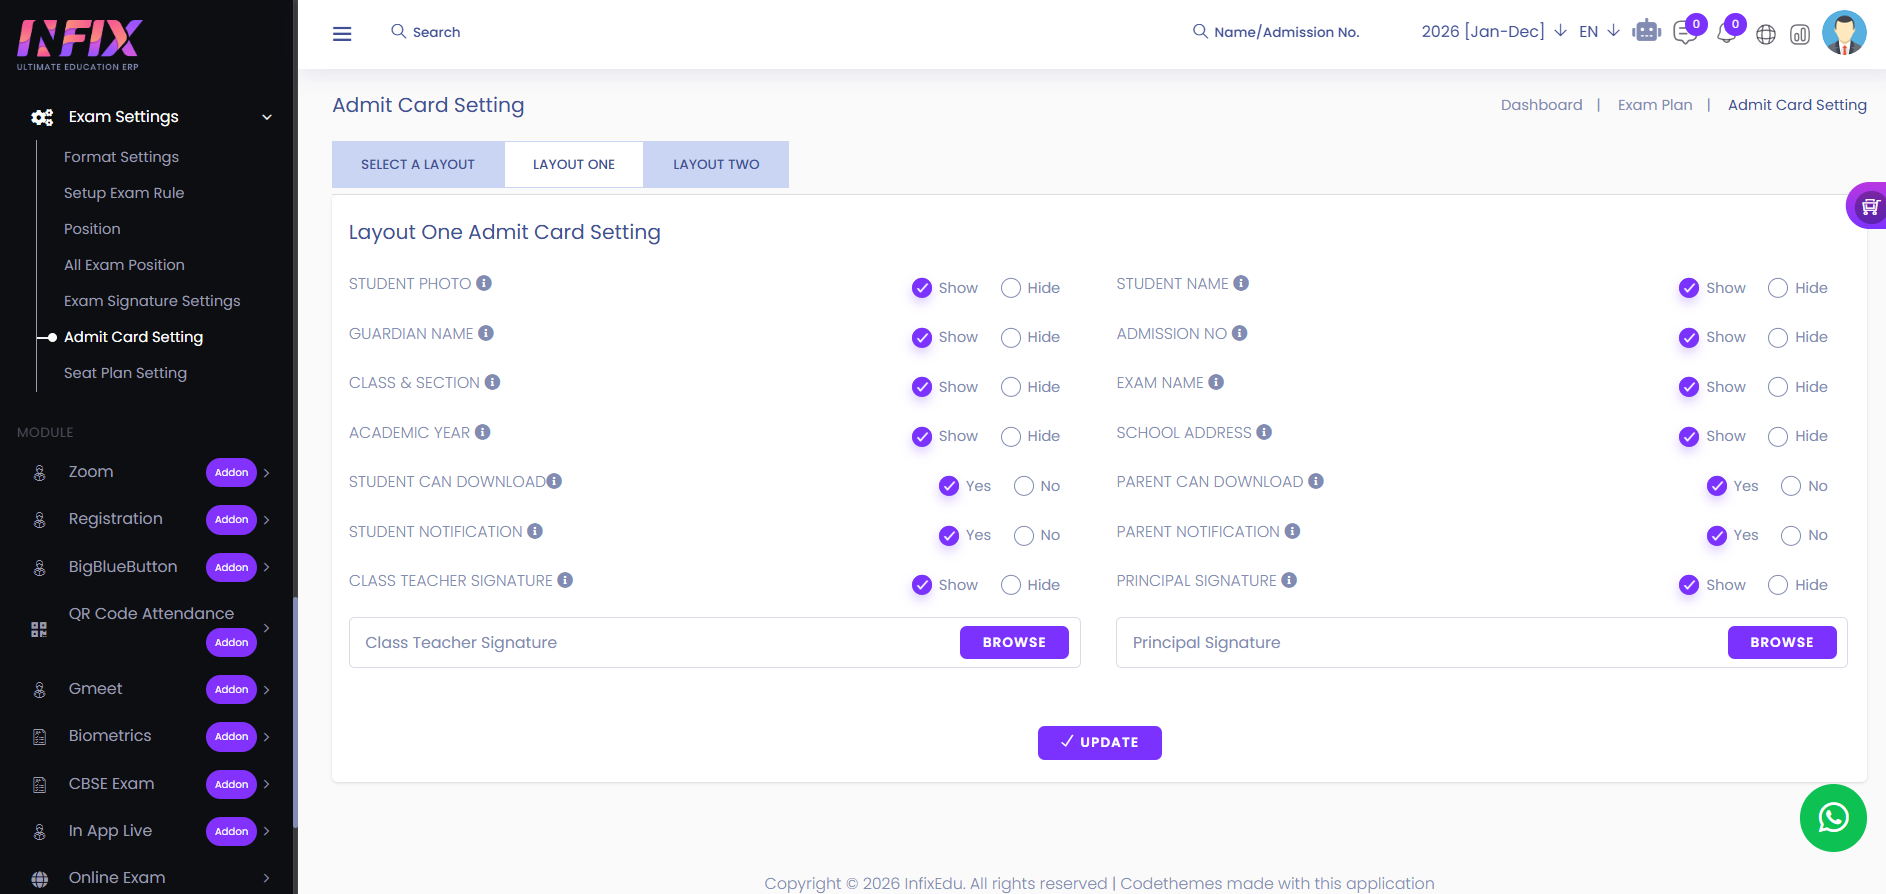
In Layout One, you can configure various admit card settings. You can choose whether to display the student's photo, name, guardian's name, and admission number. Additionally, you can control the visibility of the class section, exam name, and academic year.
You can also decide whether to show the school address, allow students and parents to download the admit card, and enable admit card notifications for both students and parents. Furthermore, you can manage the visibility of the class teacher’s and principal’s signatures.
From here, you can also upload the class teacher's and principal's signatures. Once all settings are configured, simply click the "Update" button to successfully apply your admit card settings.
You can configure Layout Two with similar settings. Here, you can choose to show or hide the student’s photo, name, father’s name, admission number, class section, exam name, academic year, and school address.
Additionally, you can set whether students and parents can download the admit card and receive notifications. You also have the option to display or hide the exam controller’s signature, set the admit card subtitle, upload the signature, and define exam rules.
Once all settings are adjusted, simply click the "Update" button to successfully apply your admit card settings.


