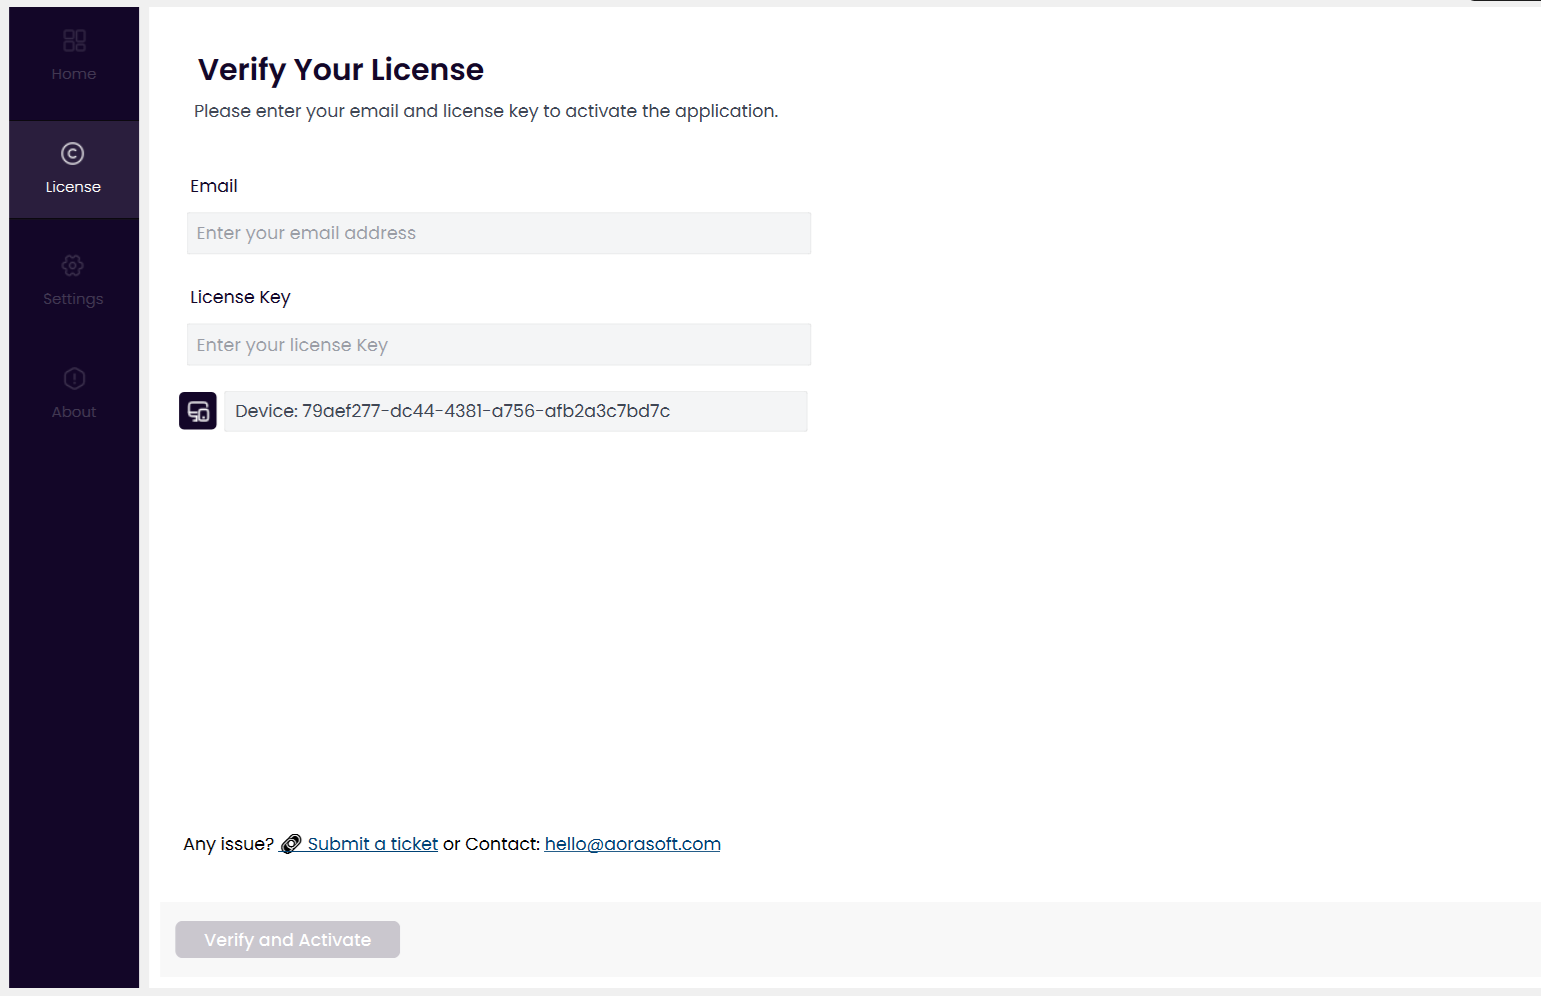
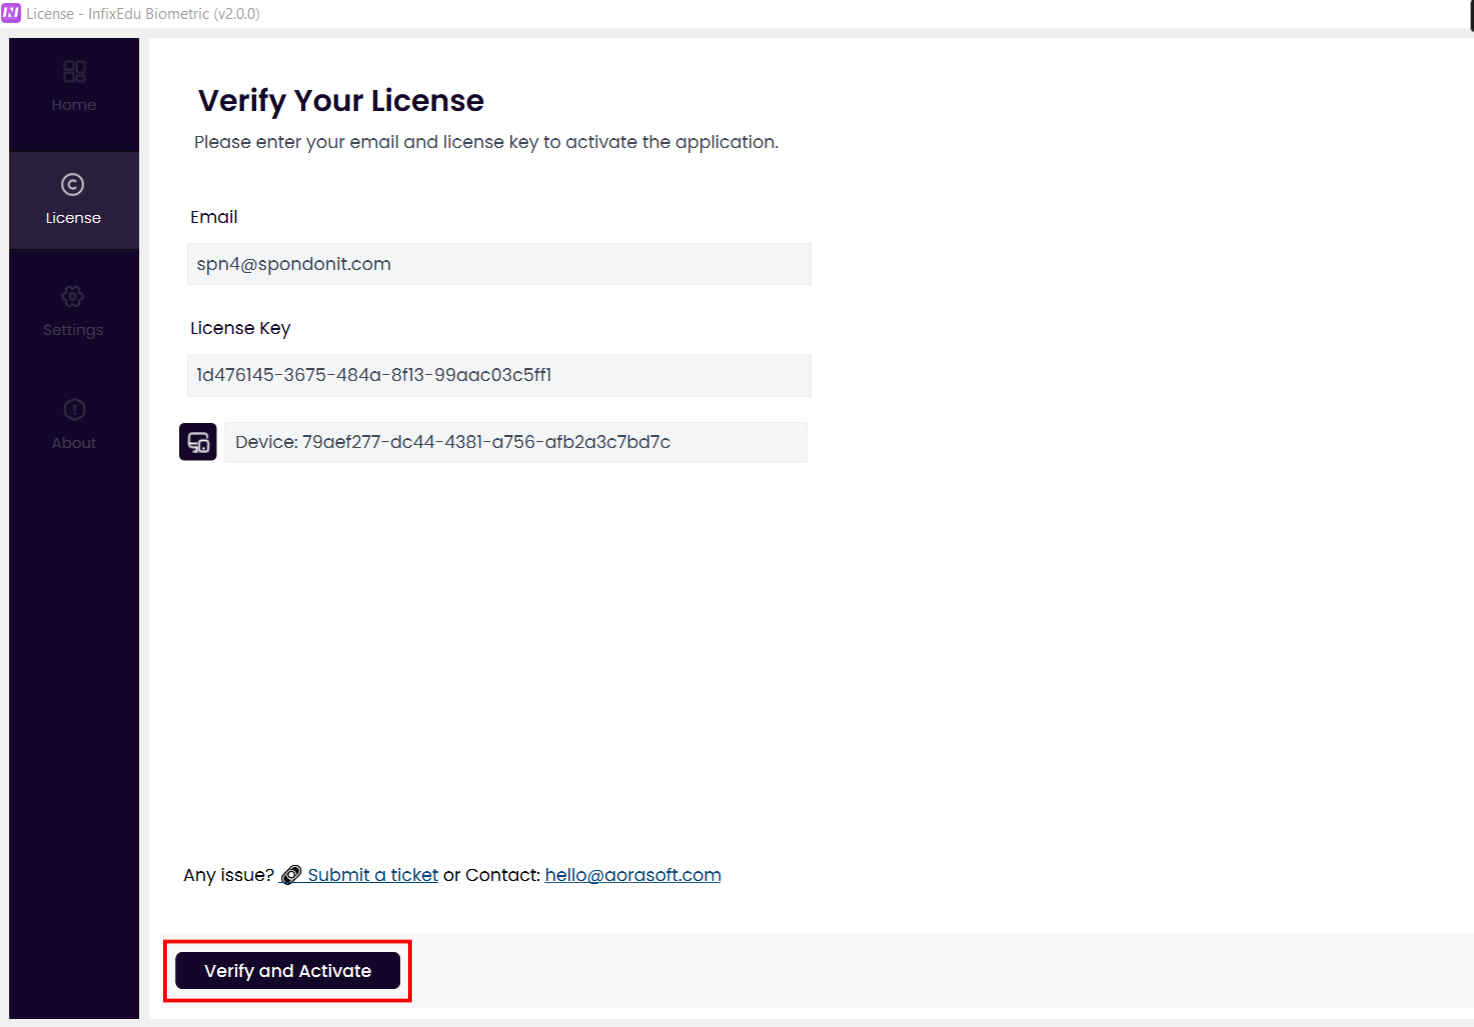
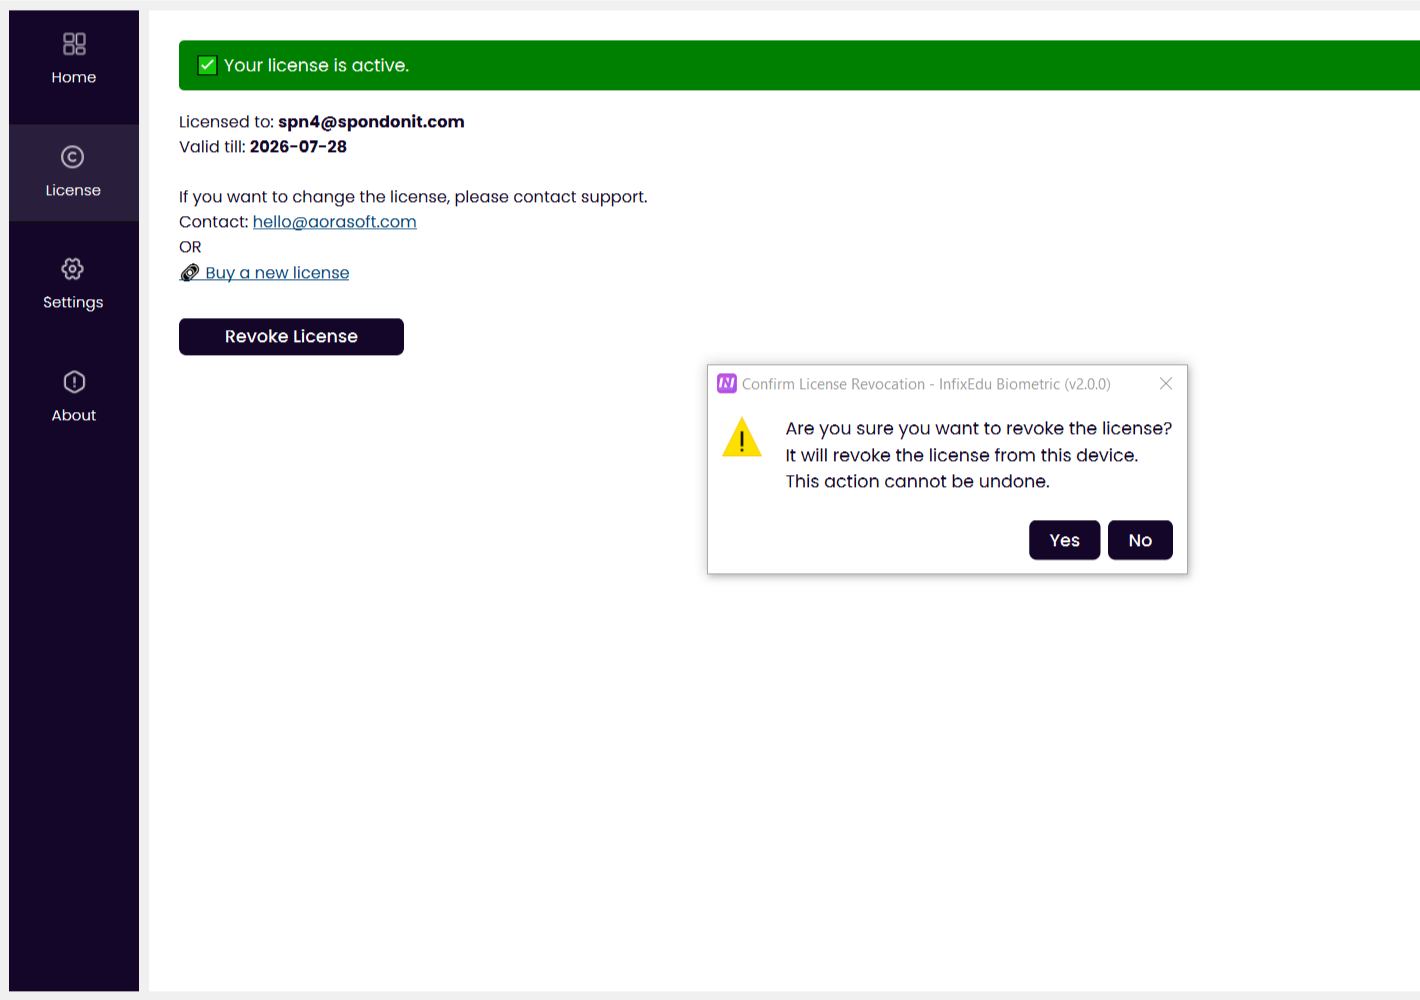
After the license is activated, a success notification will appear, and at this stage, the license validity date will be displayed.
If you want to know anything related to the license, you can contact the support team using the email address provided here.

A single license supports only one computer or device.
If you want to use the license on another computer or device, you can do so by revoking the current license using the Revoke License option.
Home
After the license activation is complete, the menus on the left side will become active and visible. If the InfixEdu Biometric application is not configured, it needs to be configured first.
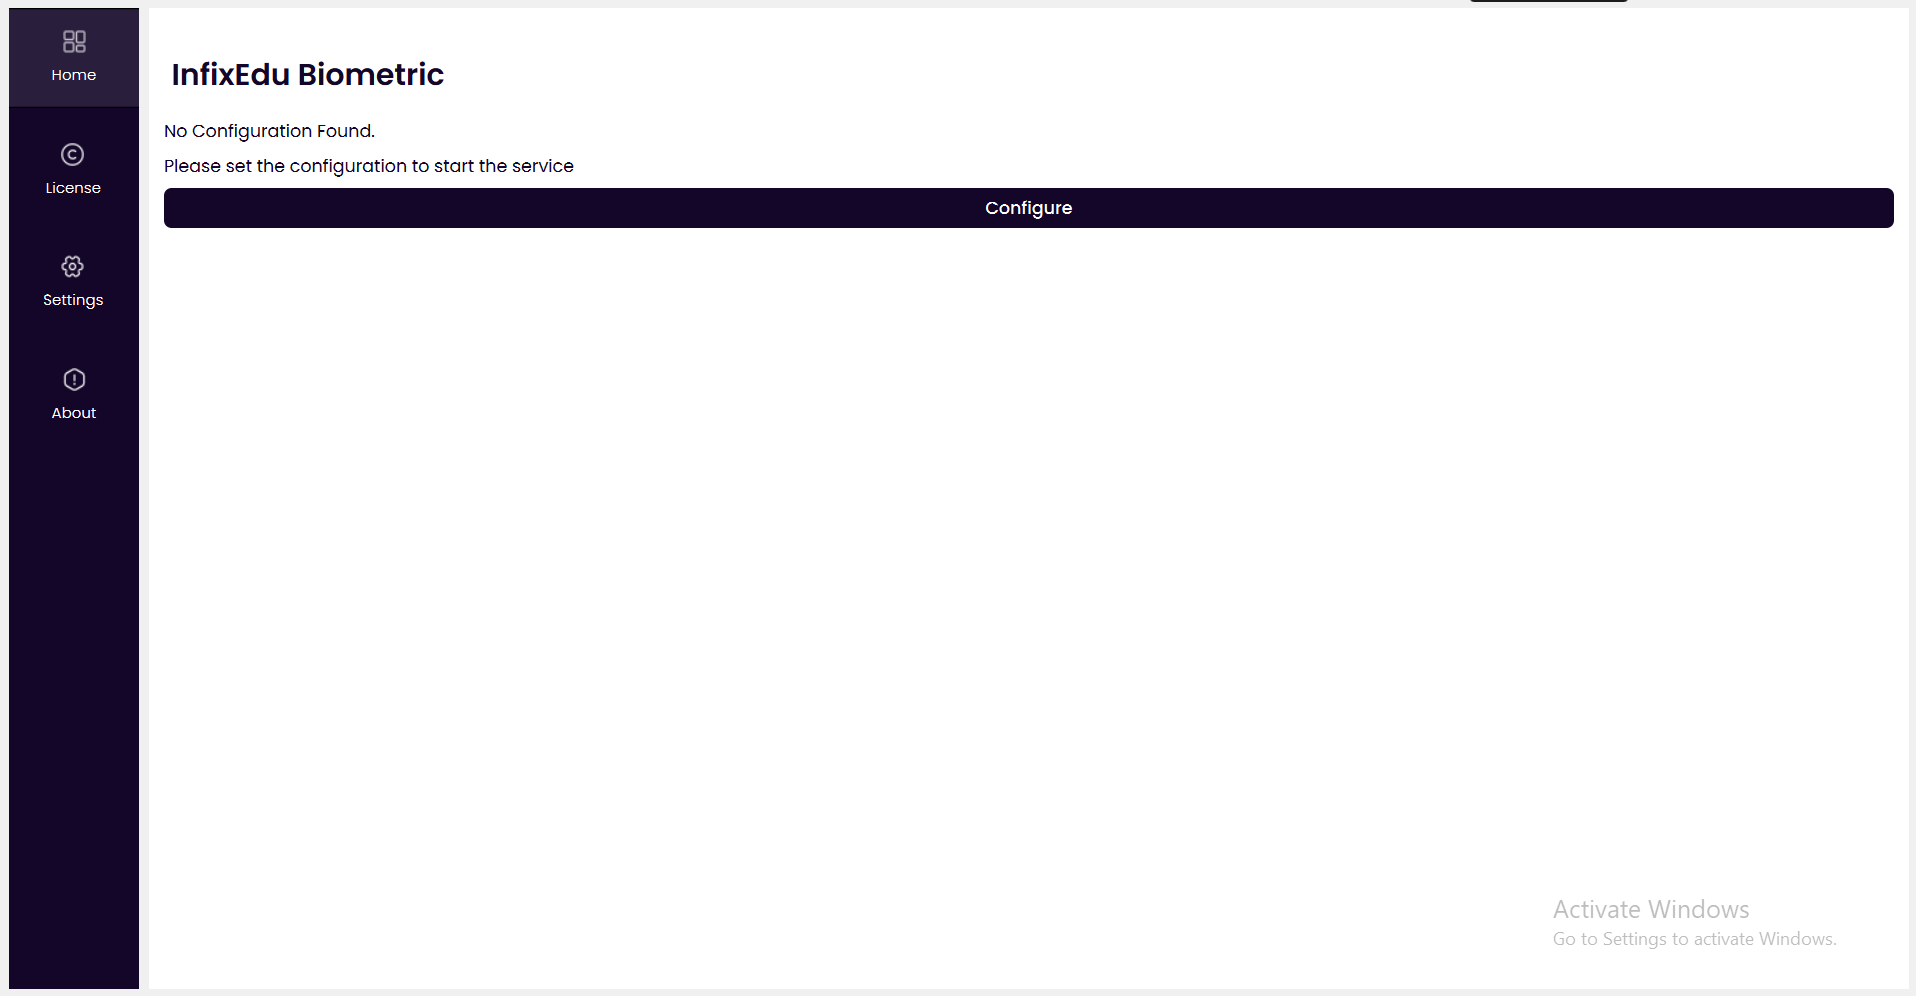
To configure the InfixEdu Biometric Service, click on the Configure button.
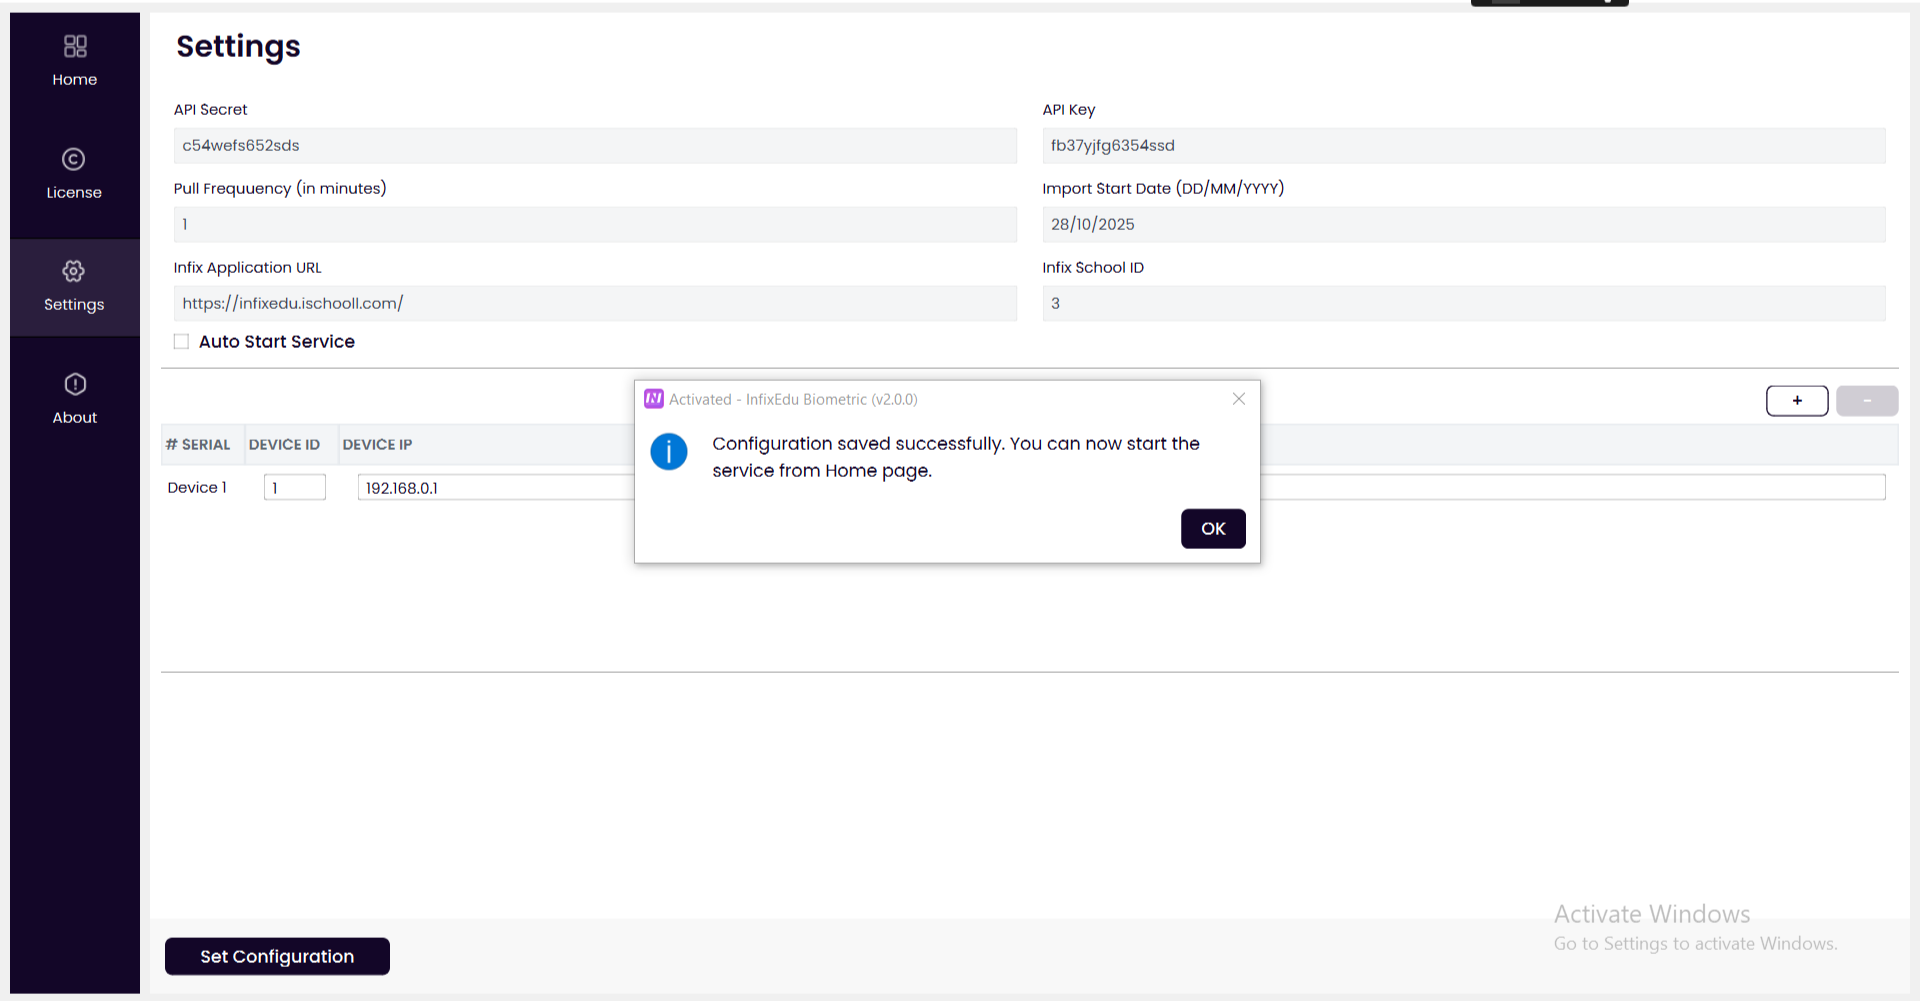
When you click the Configure button, it will take you to the settings page. There, you must provide all the required information correctly as instructed.
You can obtain the API Secret and API Key by clicking your domain_web_application_link/infixbiometrics/api-key or you can find it in your web application's sidebar menu Biometrics > API Key.
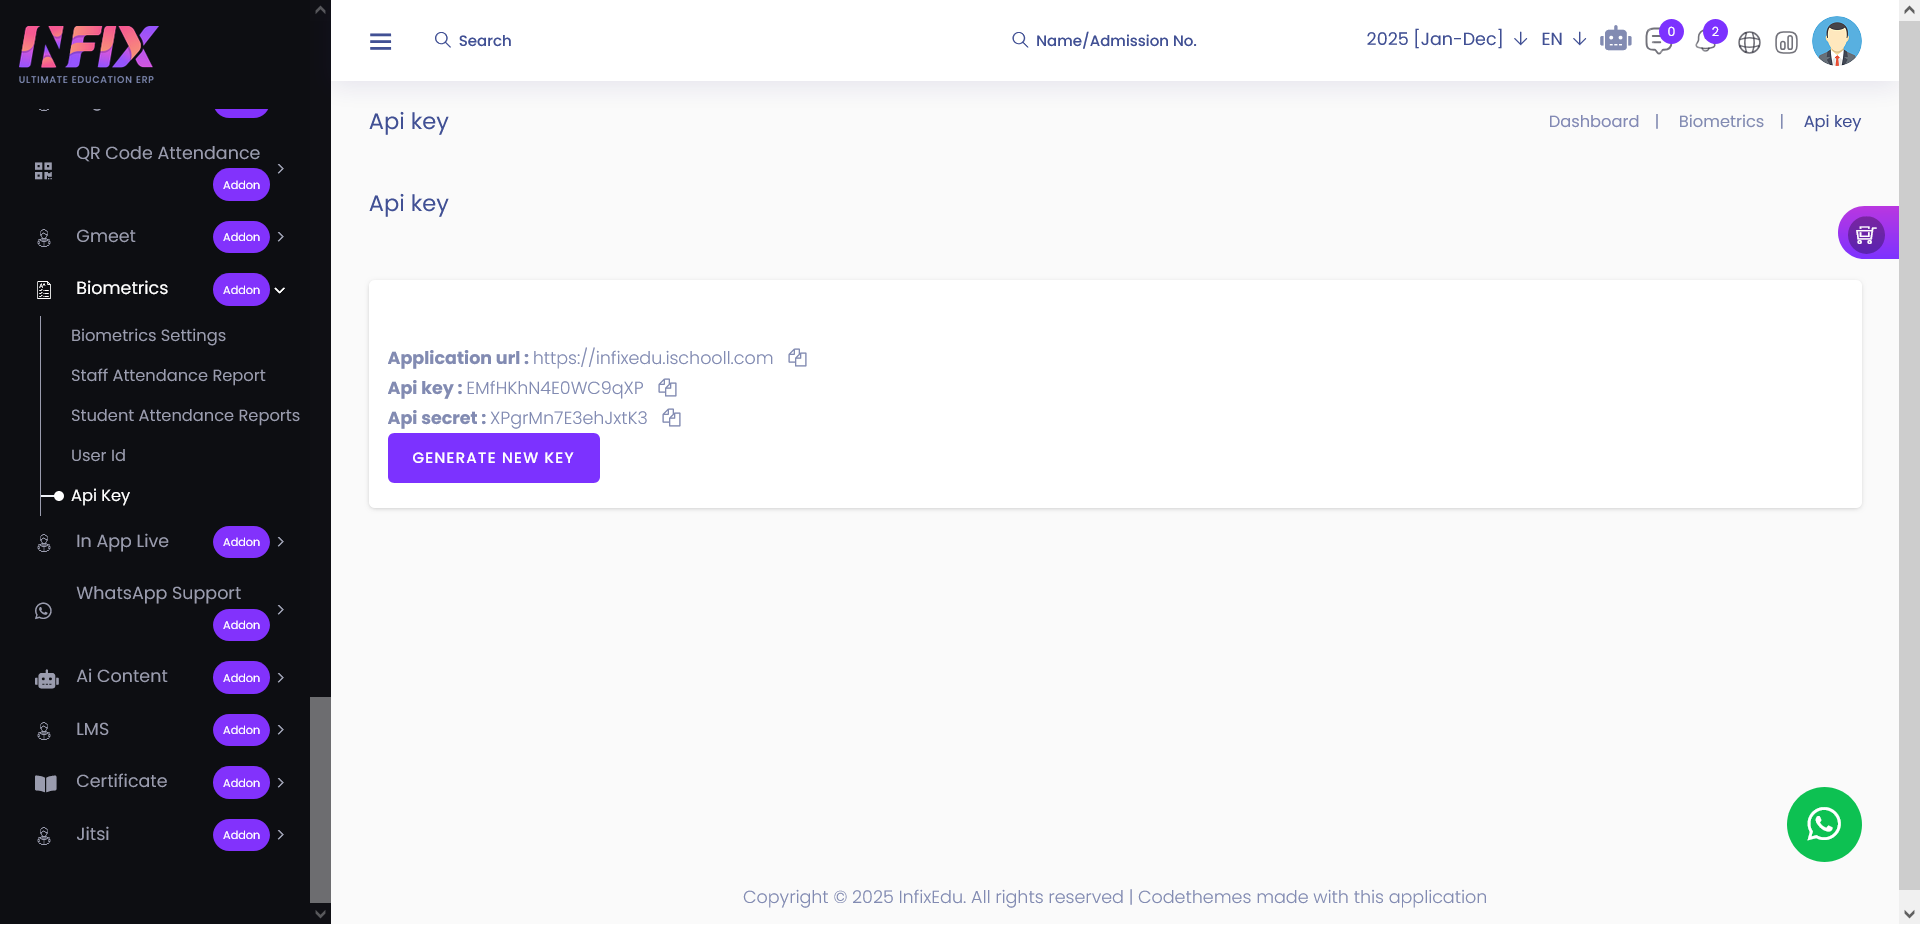
If the school is using the SaaS version, a new input field named School ID will appear. The School ID number must be collected from the SaaS admin.
One important thing to remember is that if the InfixEdu Biometric module is not enabled, you will not be able to access this service.
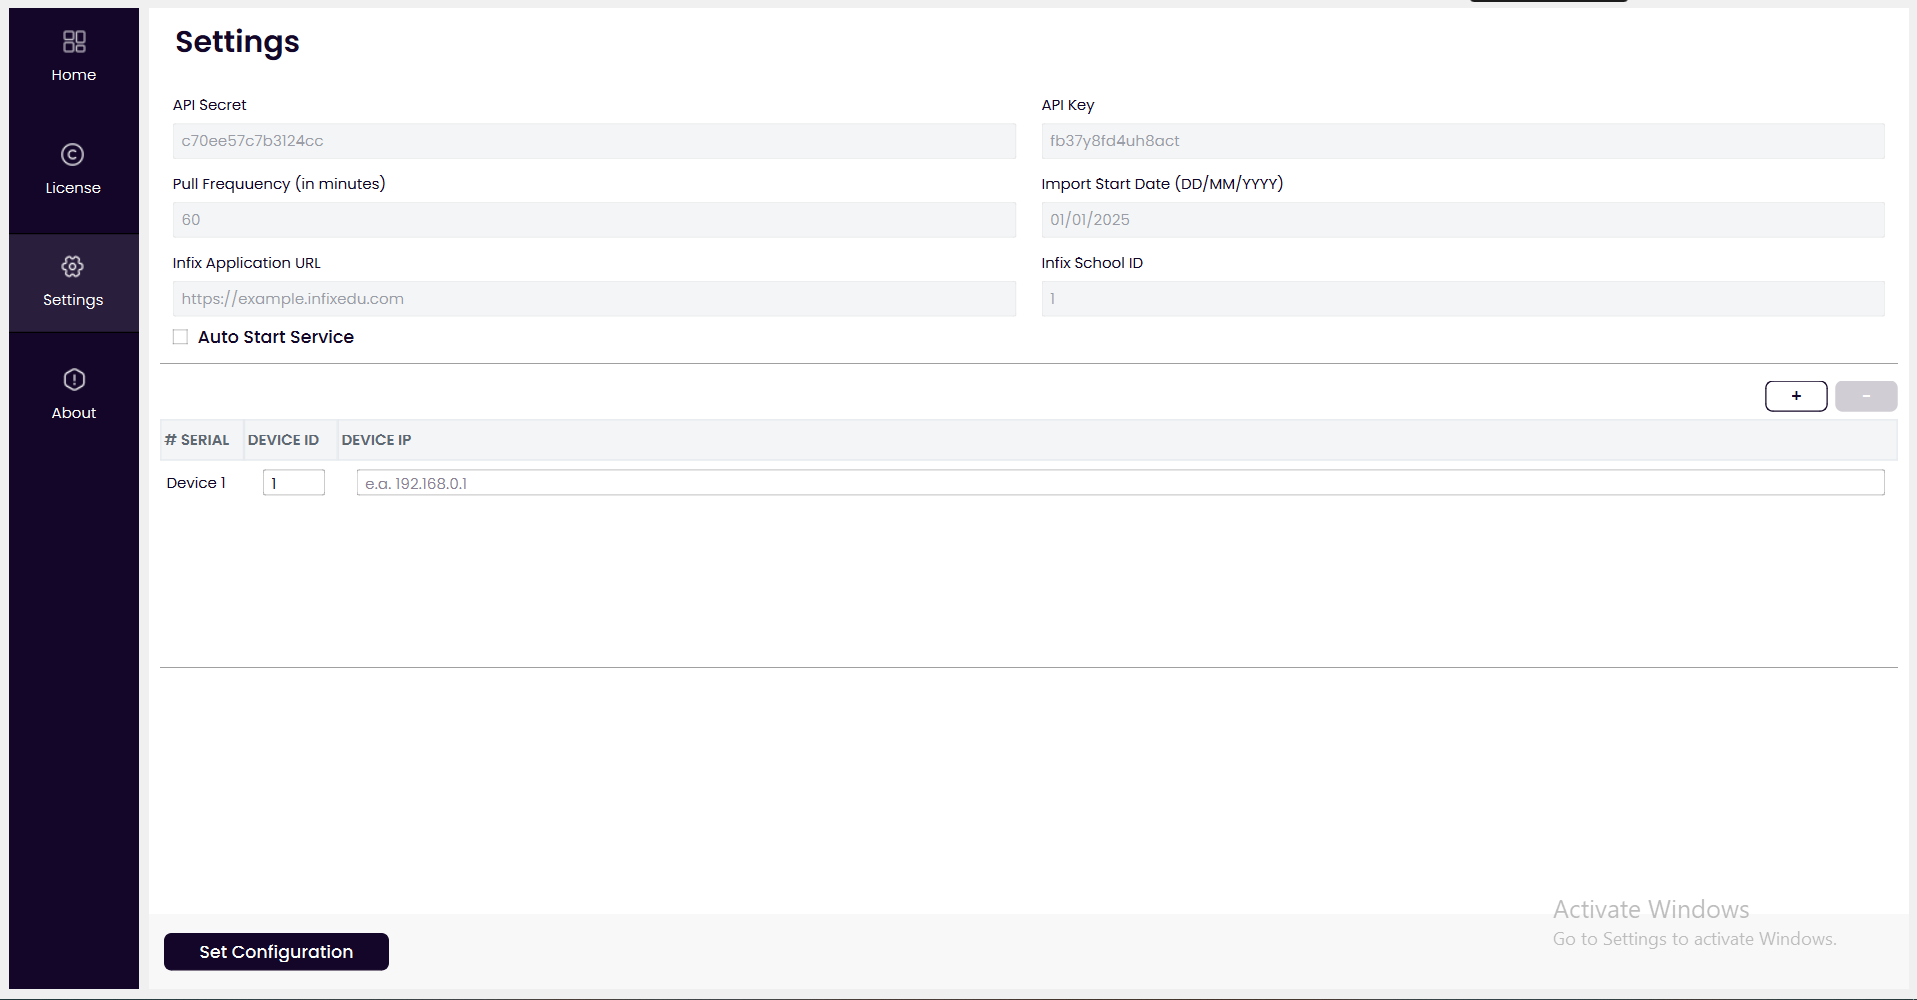
1. API Secret : Here you can provide API secret.
2. API Key : Here you can provide the API key.
3. Pull Frequency : On that section you can set the pull frequency.
4. Import Start Date : Here you can provide the import start date.
5. Infix Application URL : Here you can provide the application url.
6. Infix School ID : On that section you can set the school id.
7. Auto Start Service : Here you can check mark the box for auto start service.
8. '+' & '-' Icon : Clicking the + icon will increase the number of devices, and clicking the – icon will decrease the device quantity.
clicking on the - icon will remove the last row, it will disable if you have only one row, You can add maximum 20 device ip address. After add 20 row, the + icon will be disabled.
9. Device IP : Here you can set your device IP address.
10. Set Configuration : After providing all the information, click the Set Configuration button to complete the biometric service configuration.
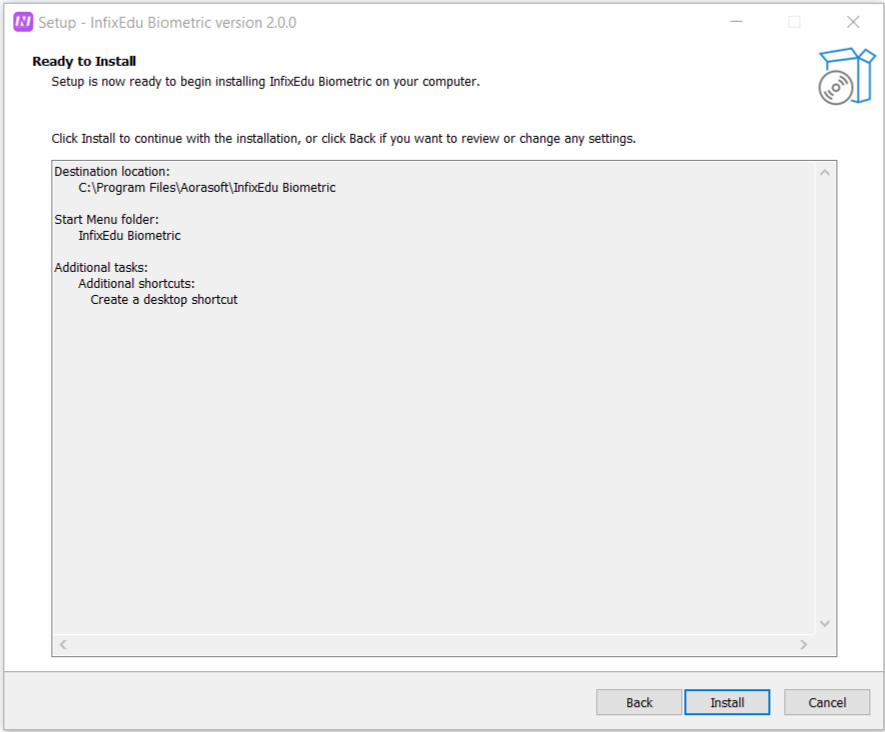
All the information is required on the Settings page
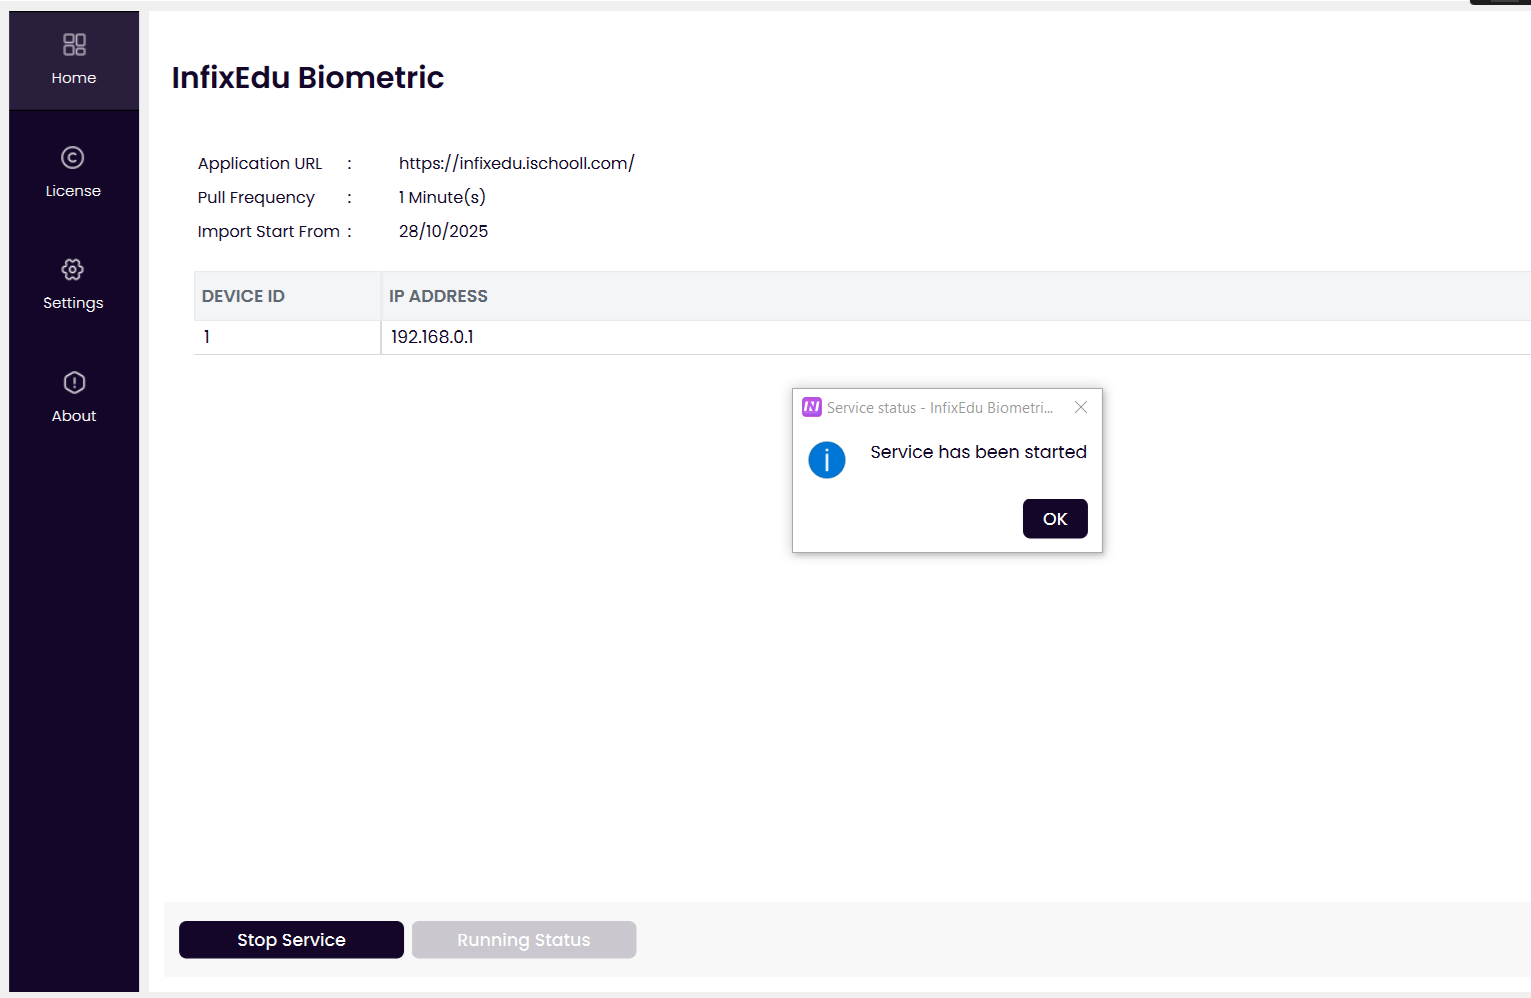
After completing the configuration, when you go back to the Home page, you will be able to see your configured settings. You can then click the Start Service button to start the service.
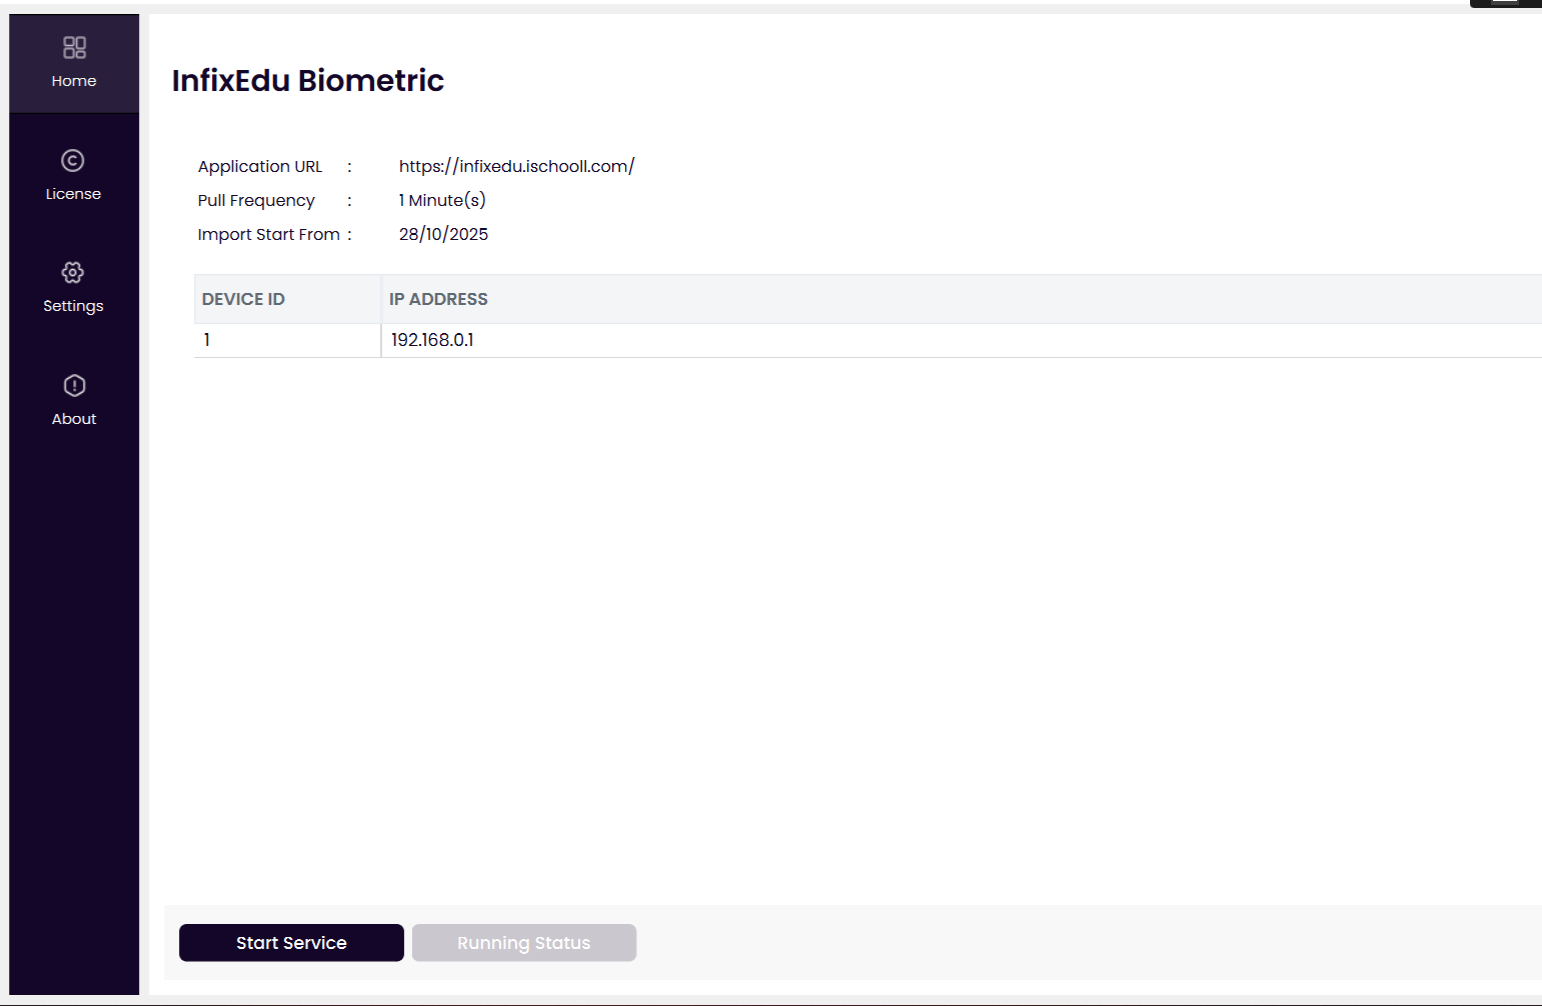
After starting the service, the Running Status button will become active.
By clicking the Running Status button, you will be able to see the current running status of the service.

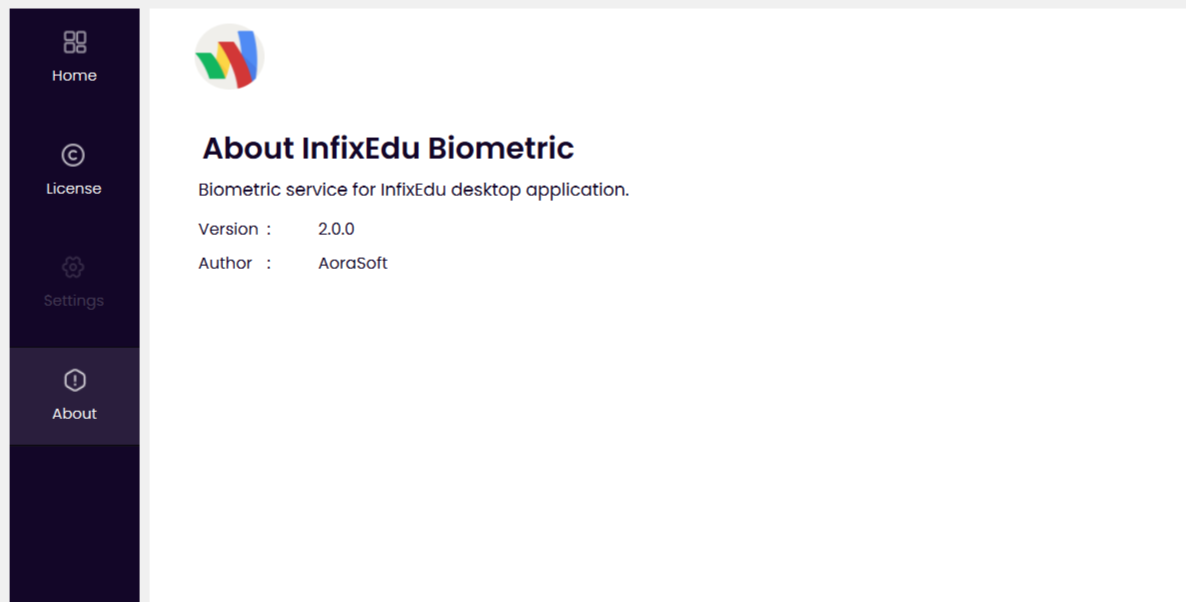
About
In the About section, you can view the application’s version and author details.
License Expired Page
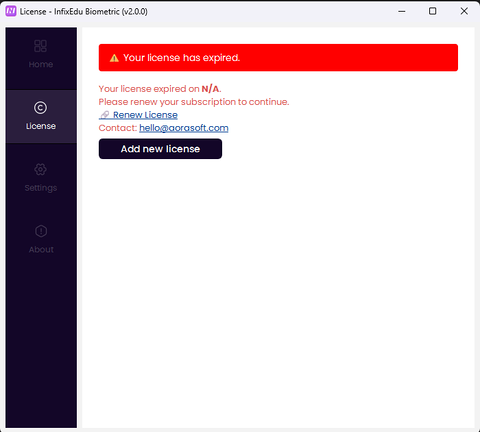
When the license expires, this screen will appear. From here, you can renew your license by clicking the Renew License button.
You can also contact the support team using the email address provided in the Contact section.
You can also add a new license by clicking the Add New License button.
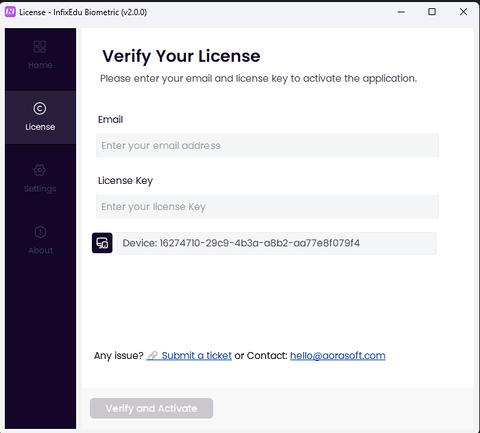
In that case, you will need to provide your email address and license key to activate the new license.
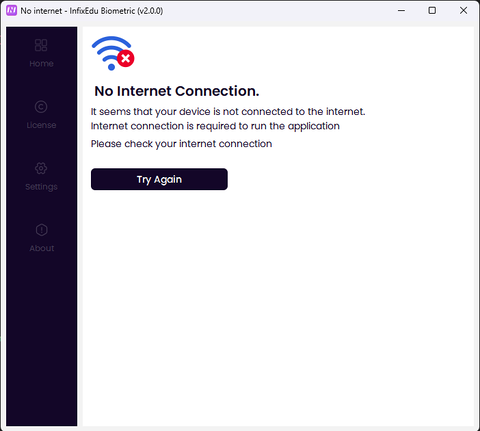
If your computer or device does not have an internet connection, this screen will appear.
After clicking the Try Again button, if the internet connection is still not restored, this screen will appear.
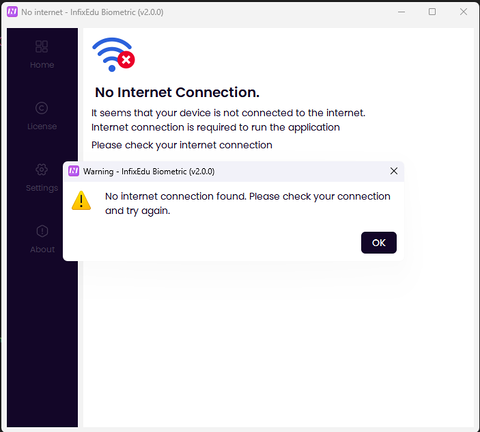
If the internet connection is restored, it will redirect to the home screen and display a success pop-up message.
ChatGPT said: