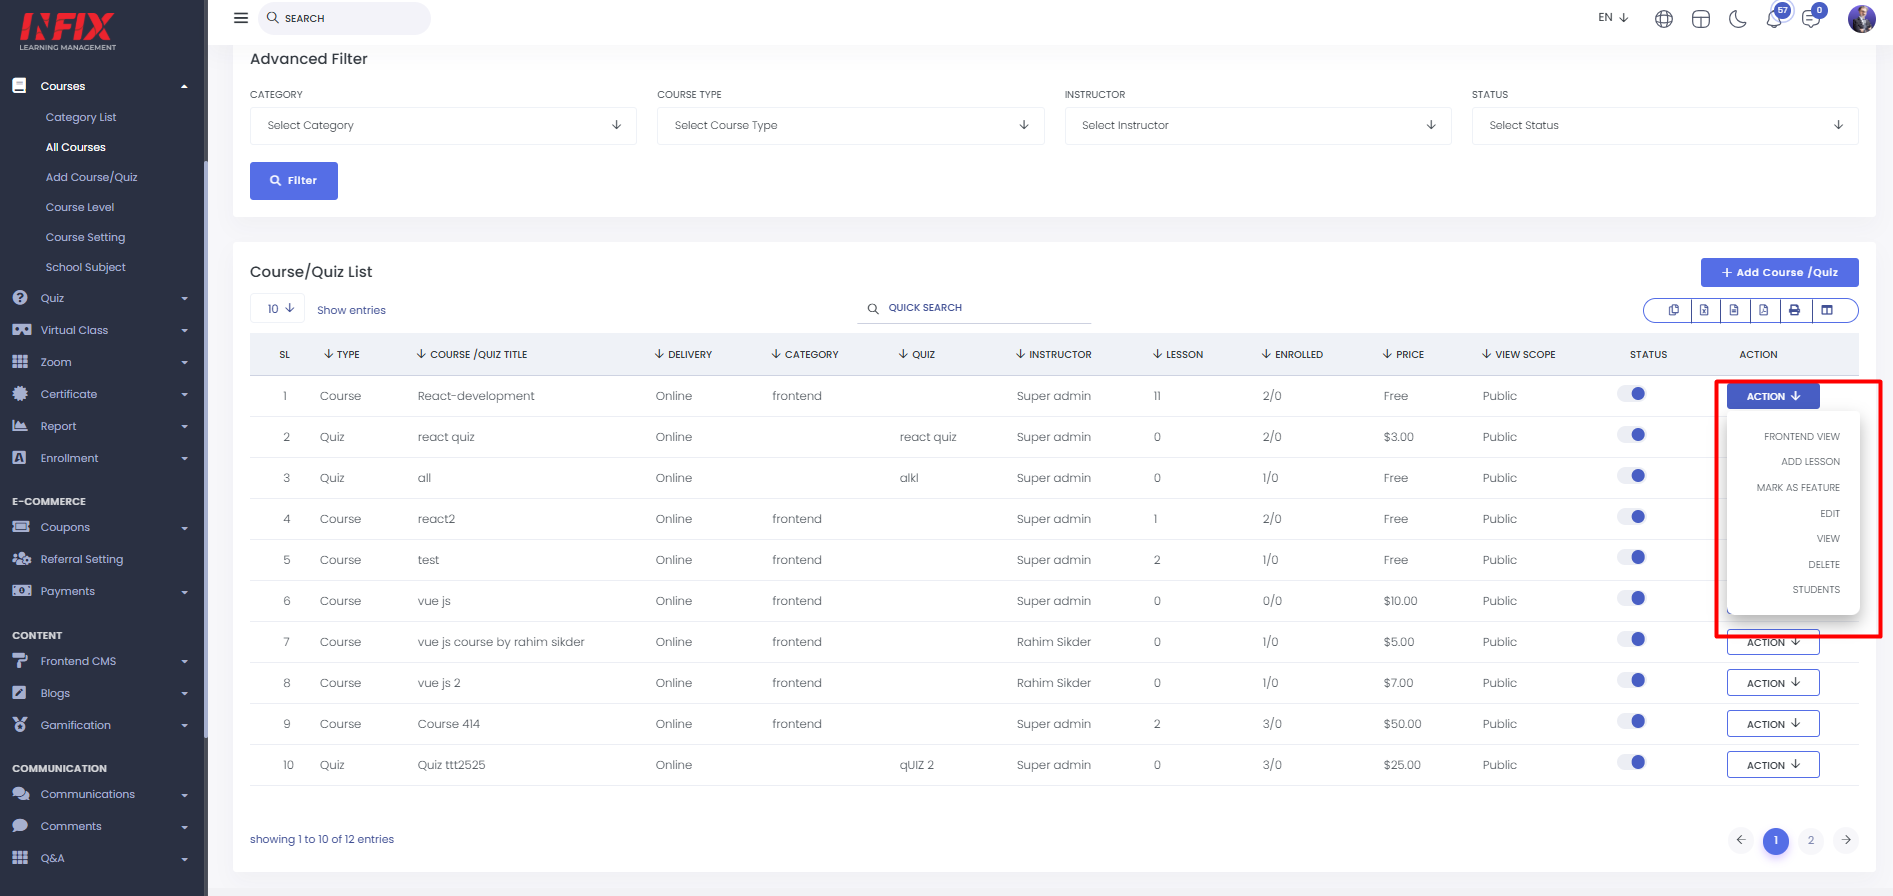
All Courses:In this section you can add a new course or quiz . You can find out courses or quiz by using advanced filters and search functionality.
Use advanced filters like Category, Course Type, Instructor, and Status to quickly find courses or quizzes. Set your filters and click "Filter" to see results.

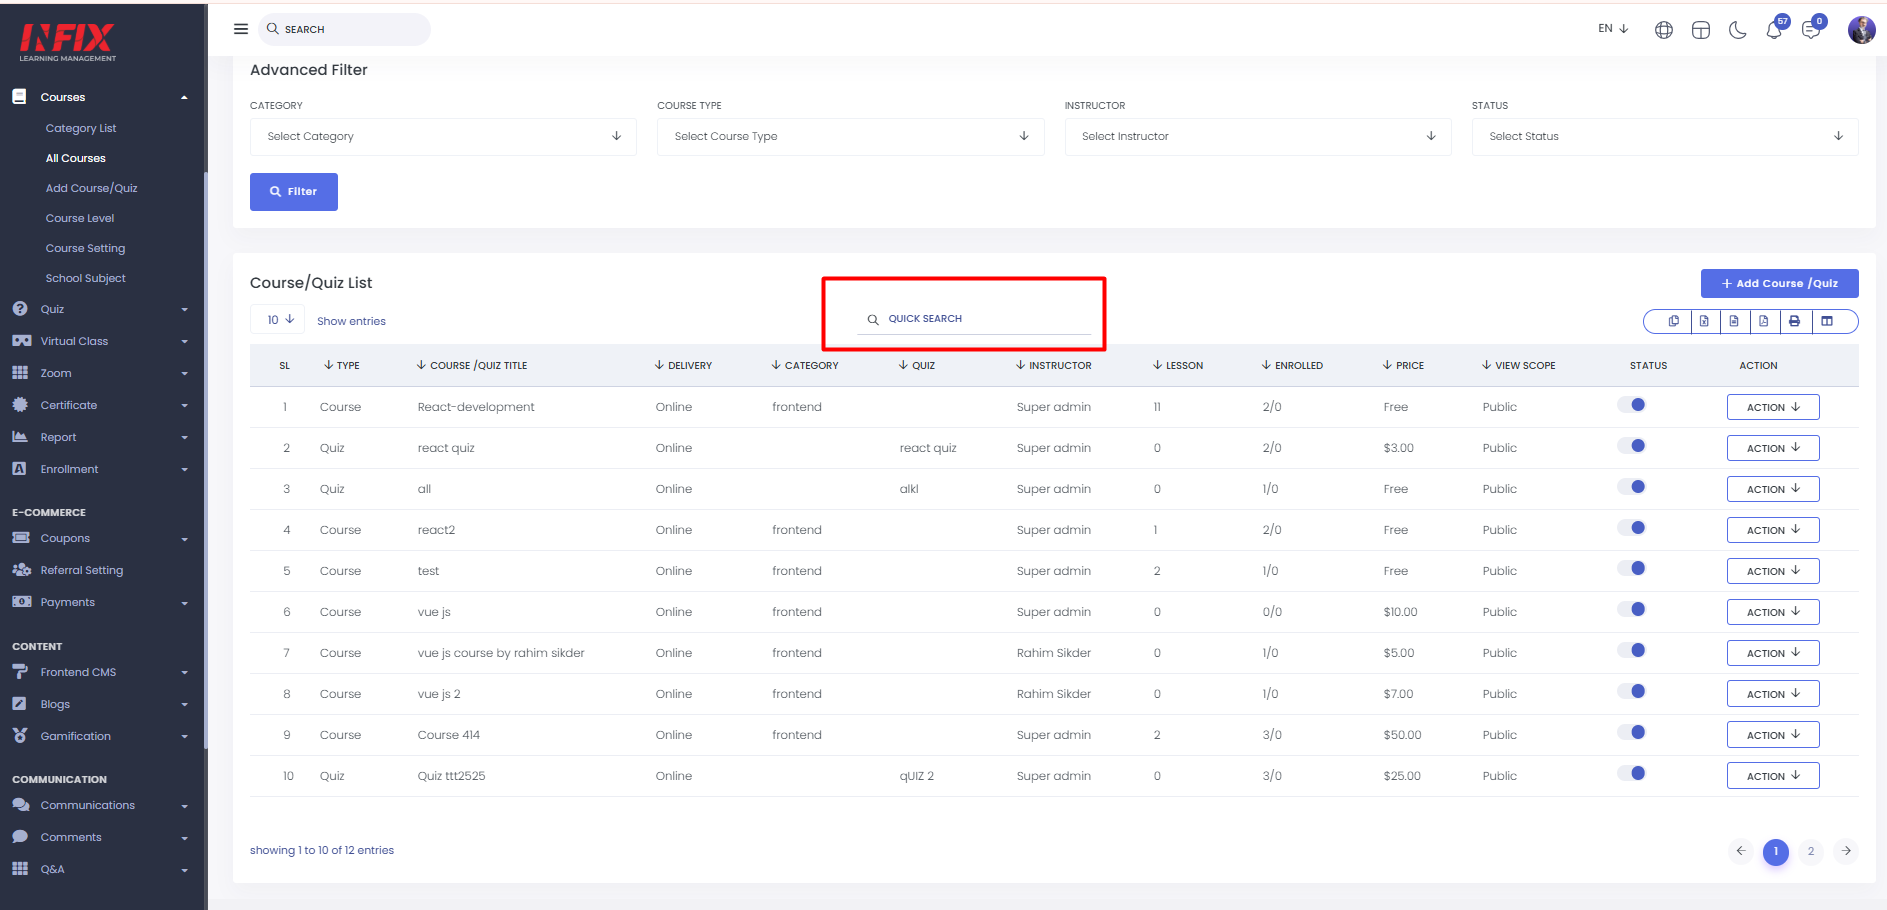
You can also find out any kind of courses or quizzes by using the search functionality.
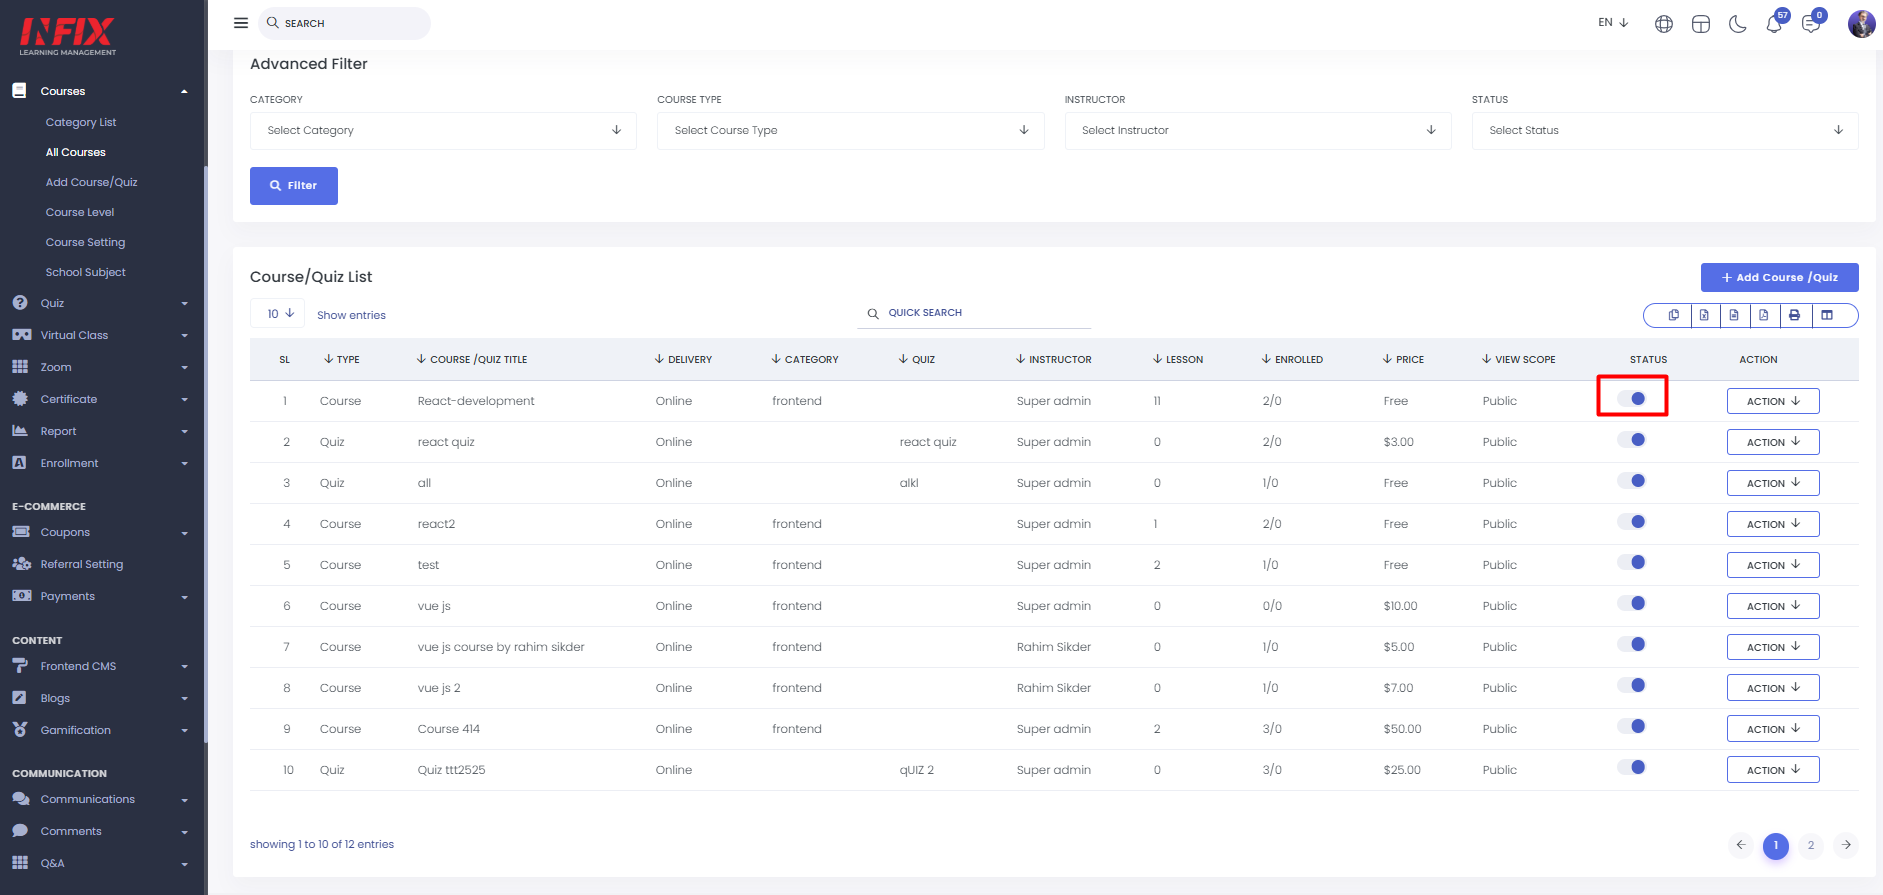
Use the status toggle button to show or hide any course or quiz on the frontend.
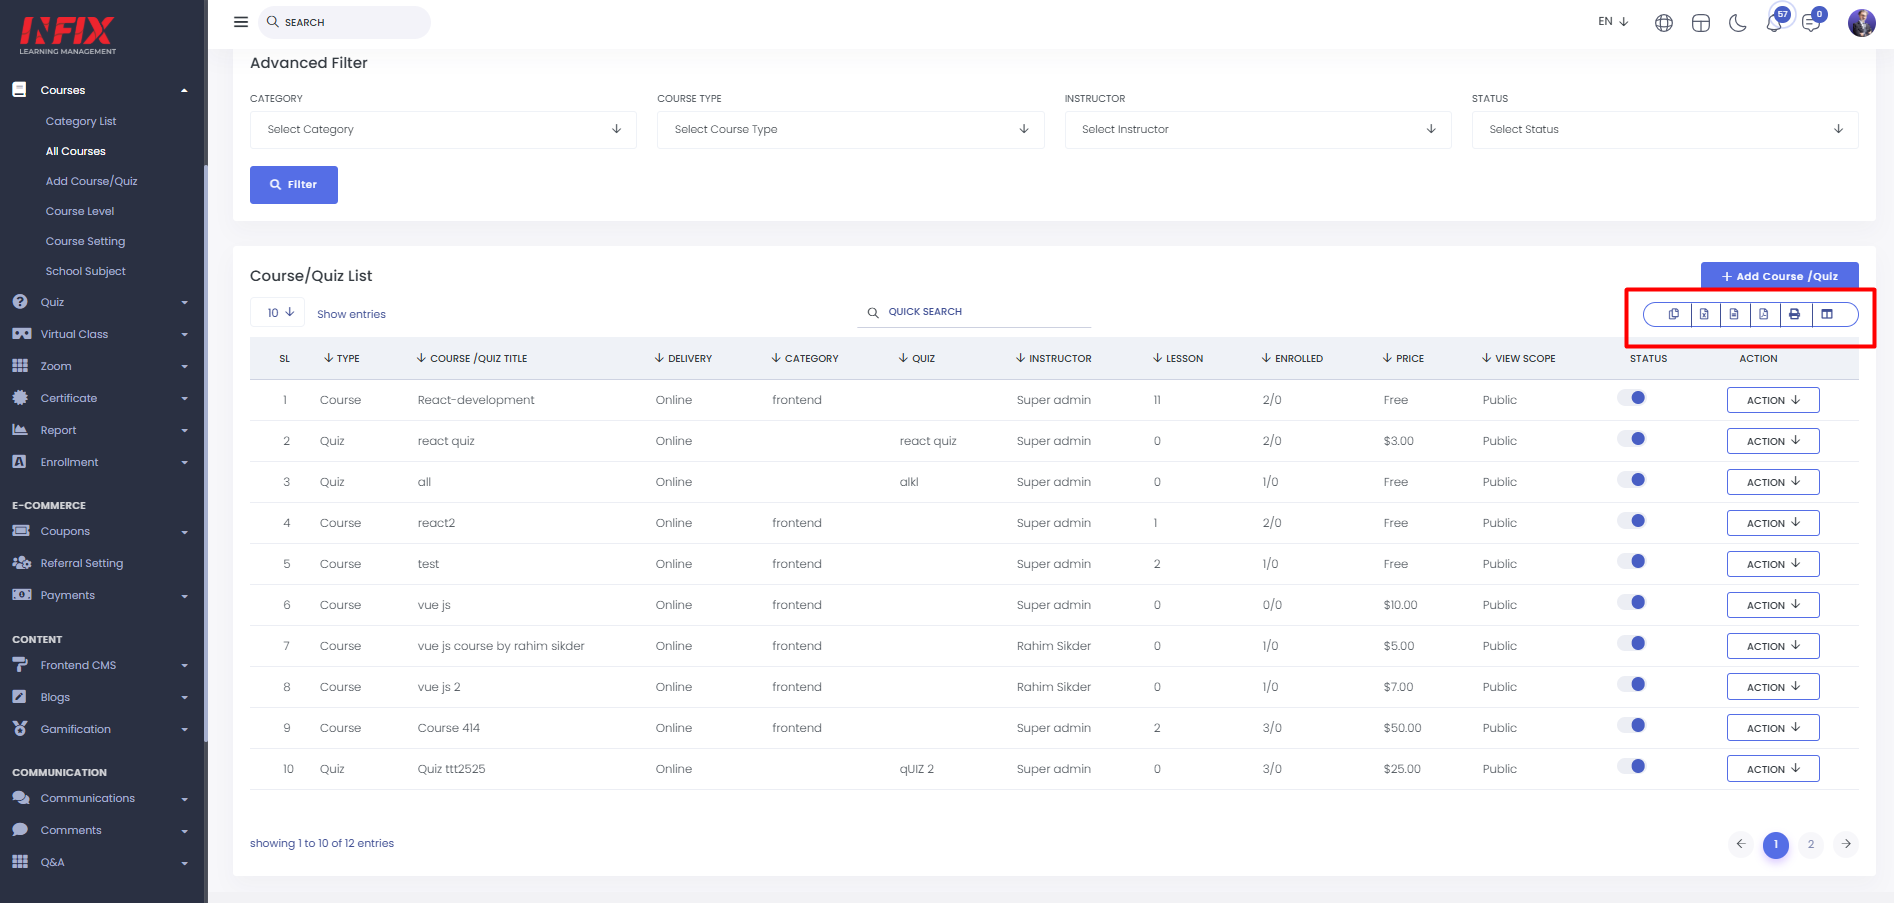
You can export the list from here.
The "Action" button lets you manage courses and quizzes with options like previewing on the frontend, adding lessons or quizzes, marking a course as featured, viewing, editing, or deleting details, and checking student enrollment.
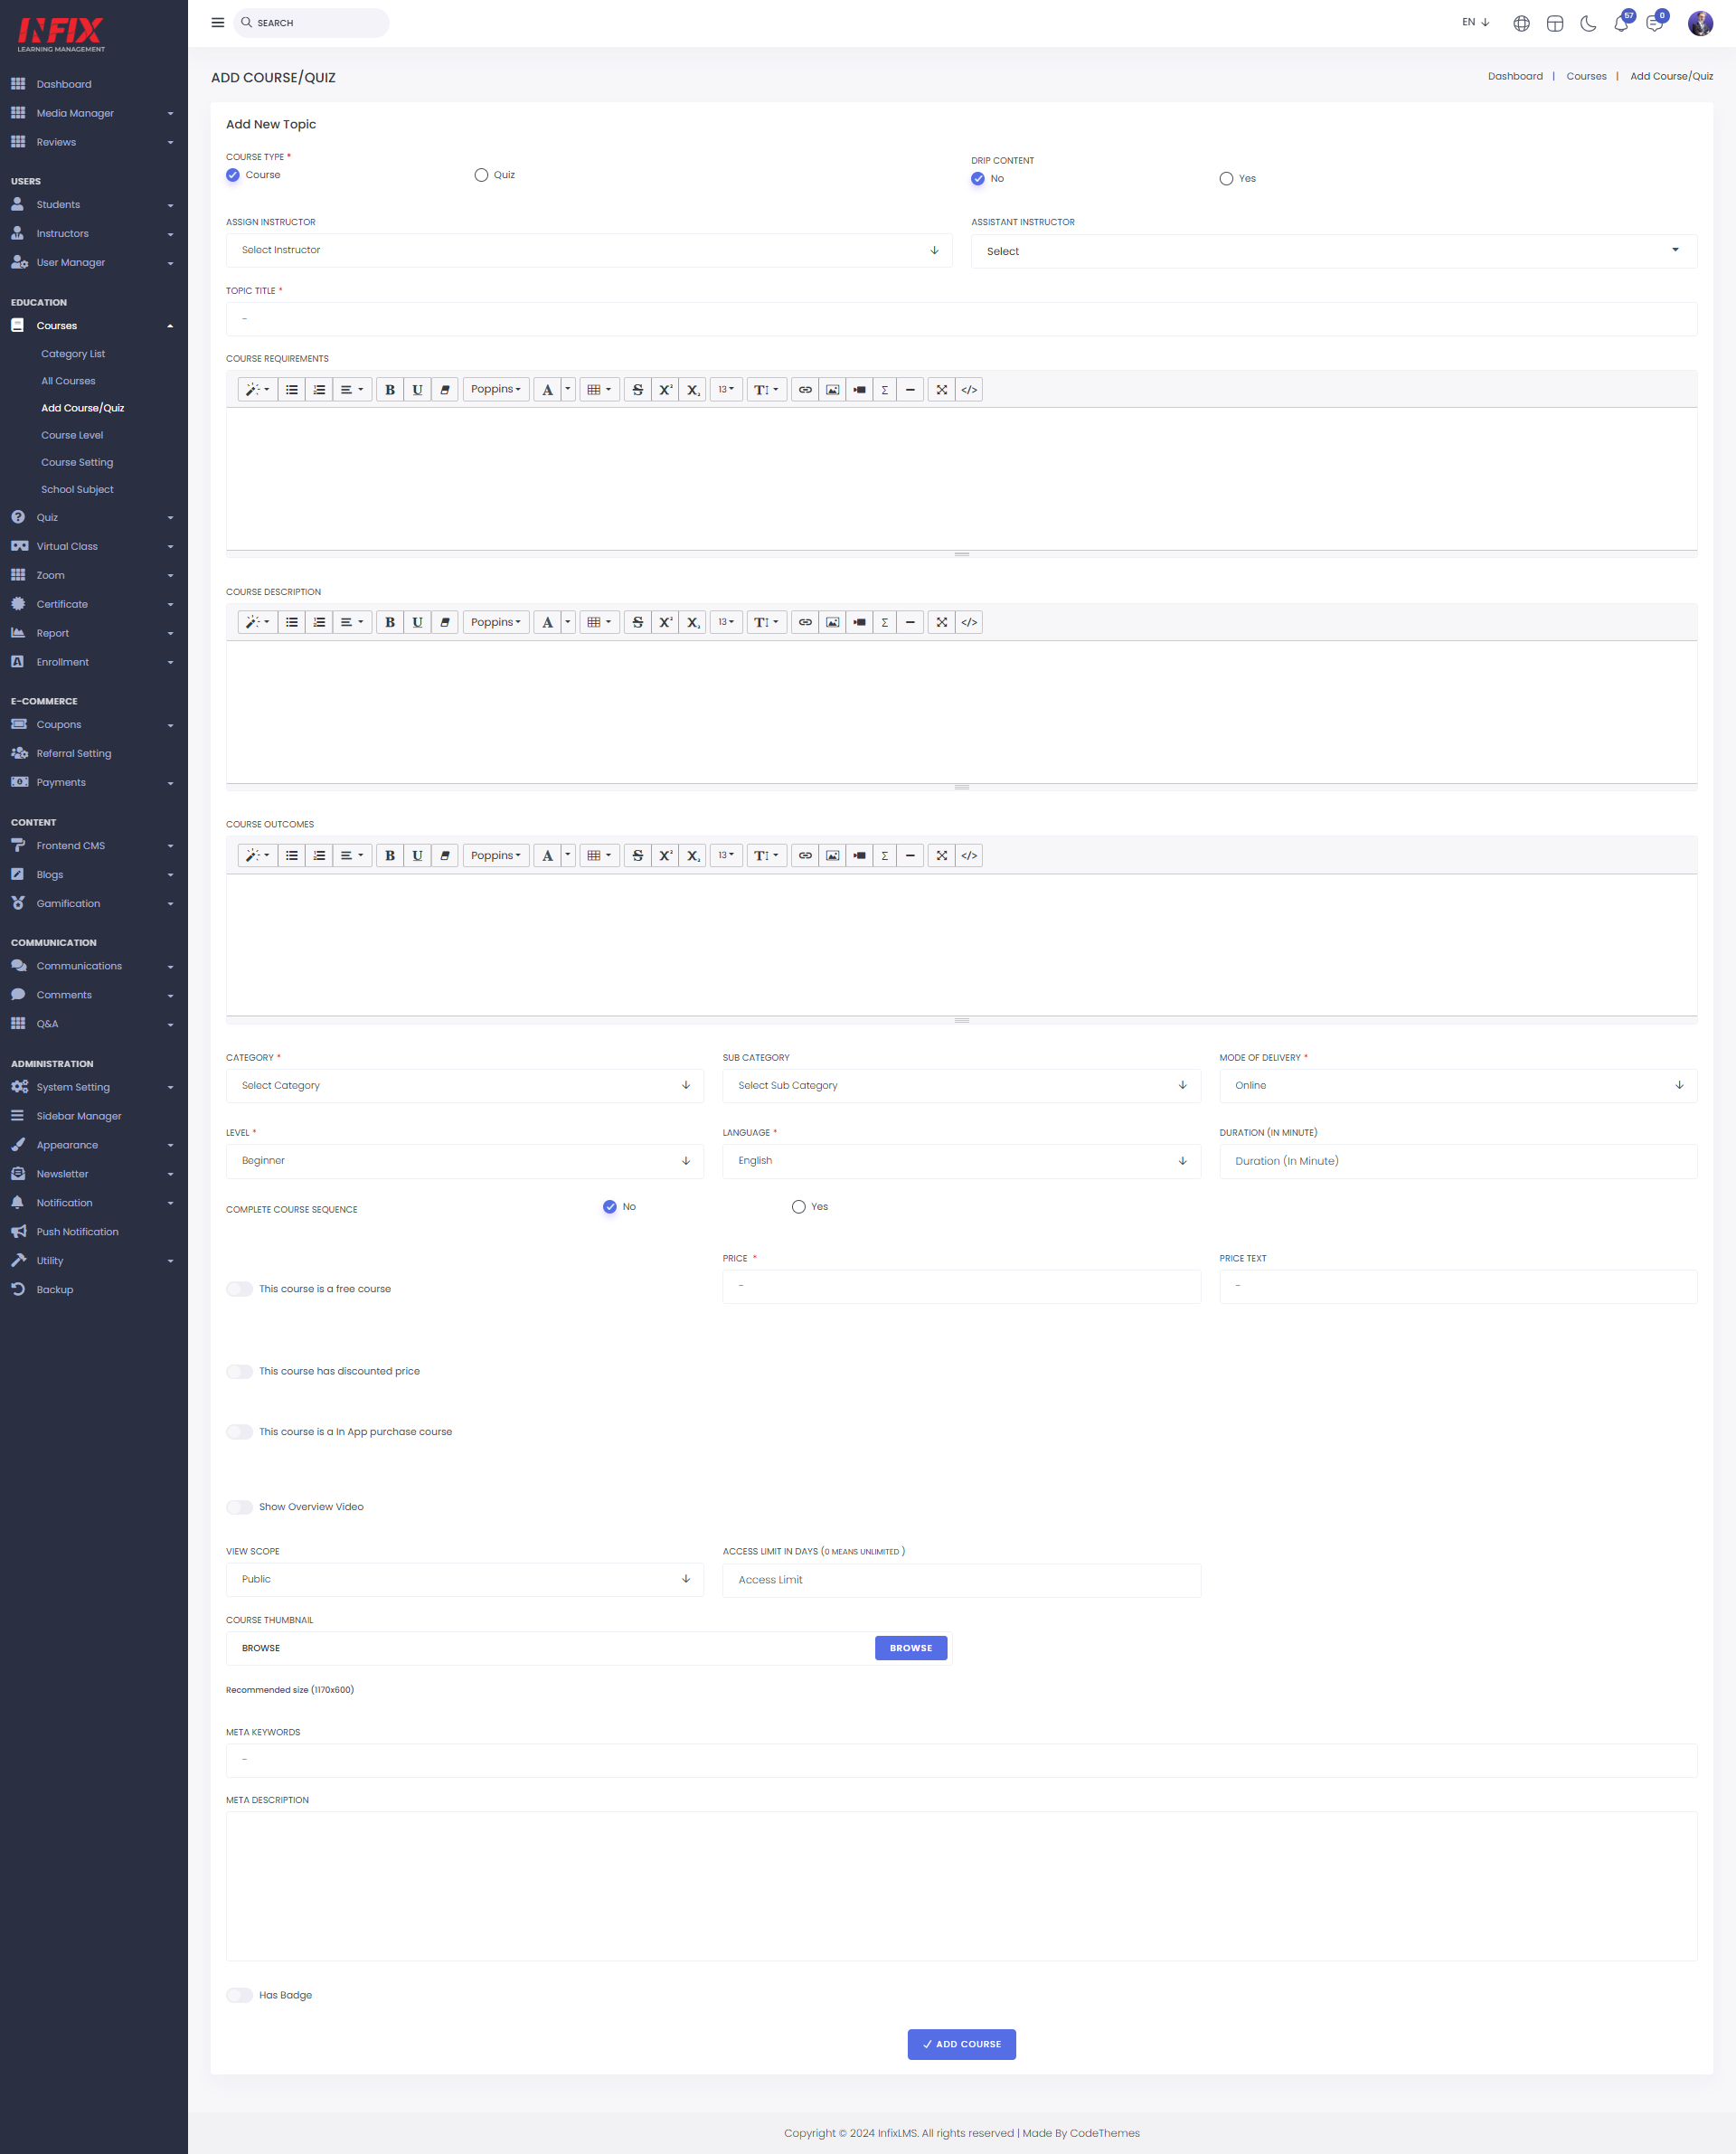
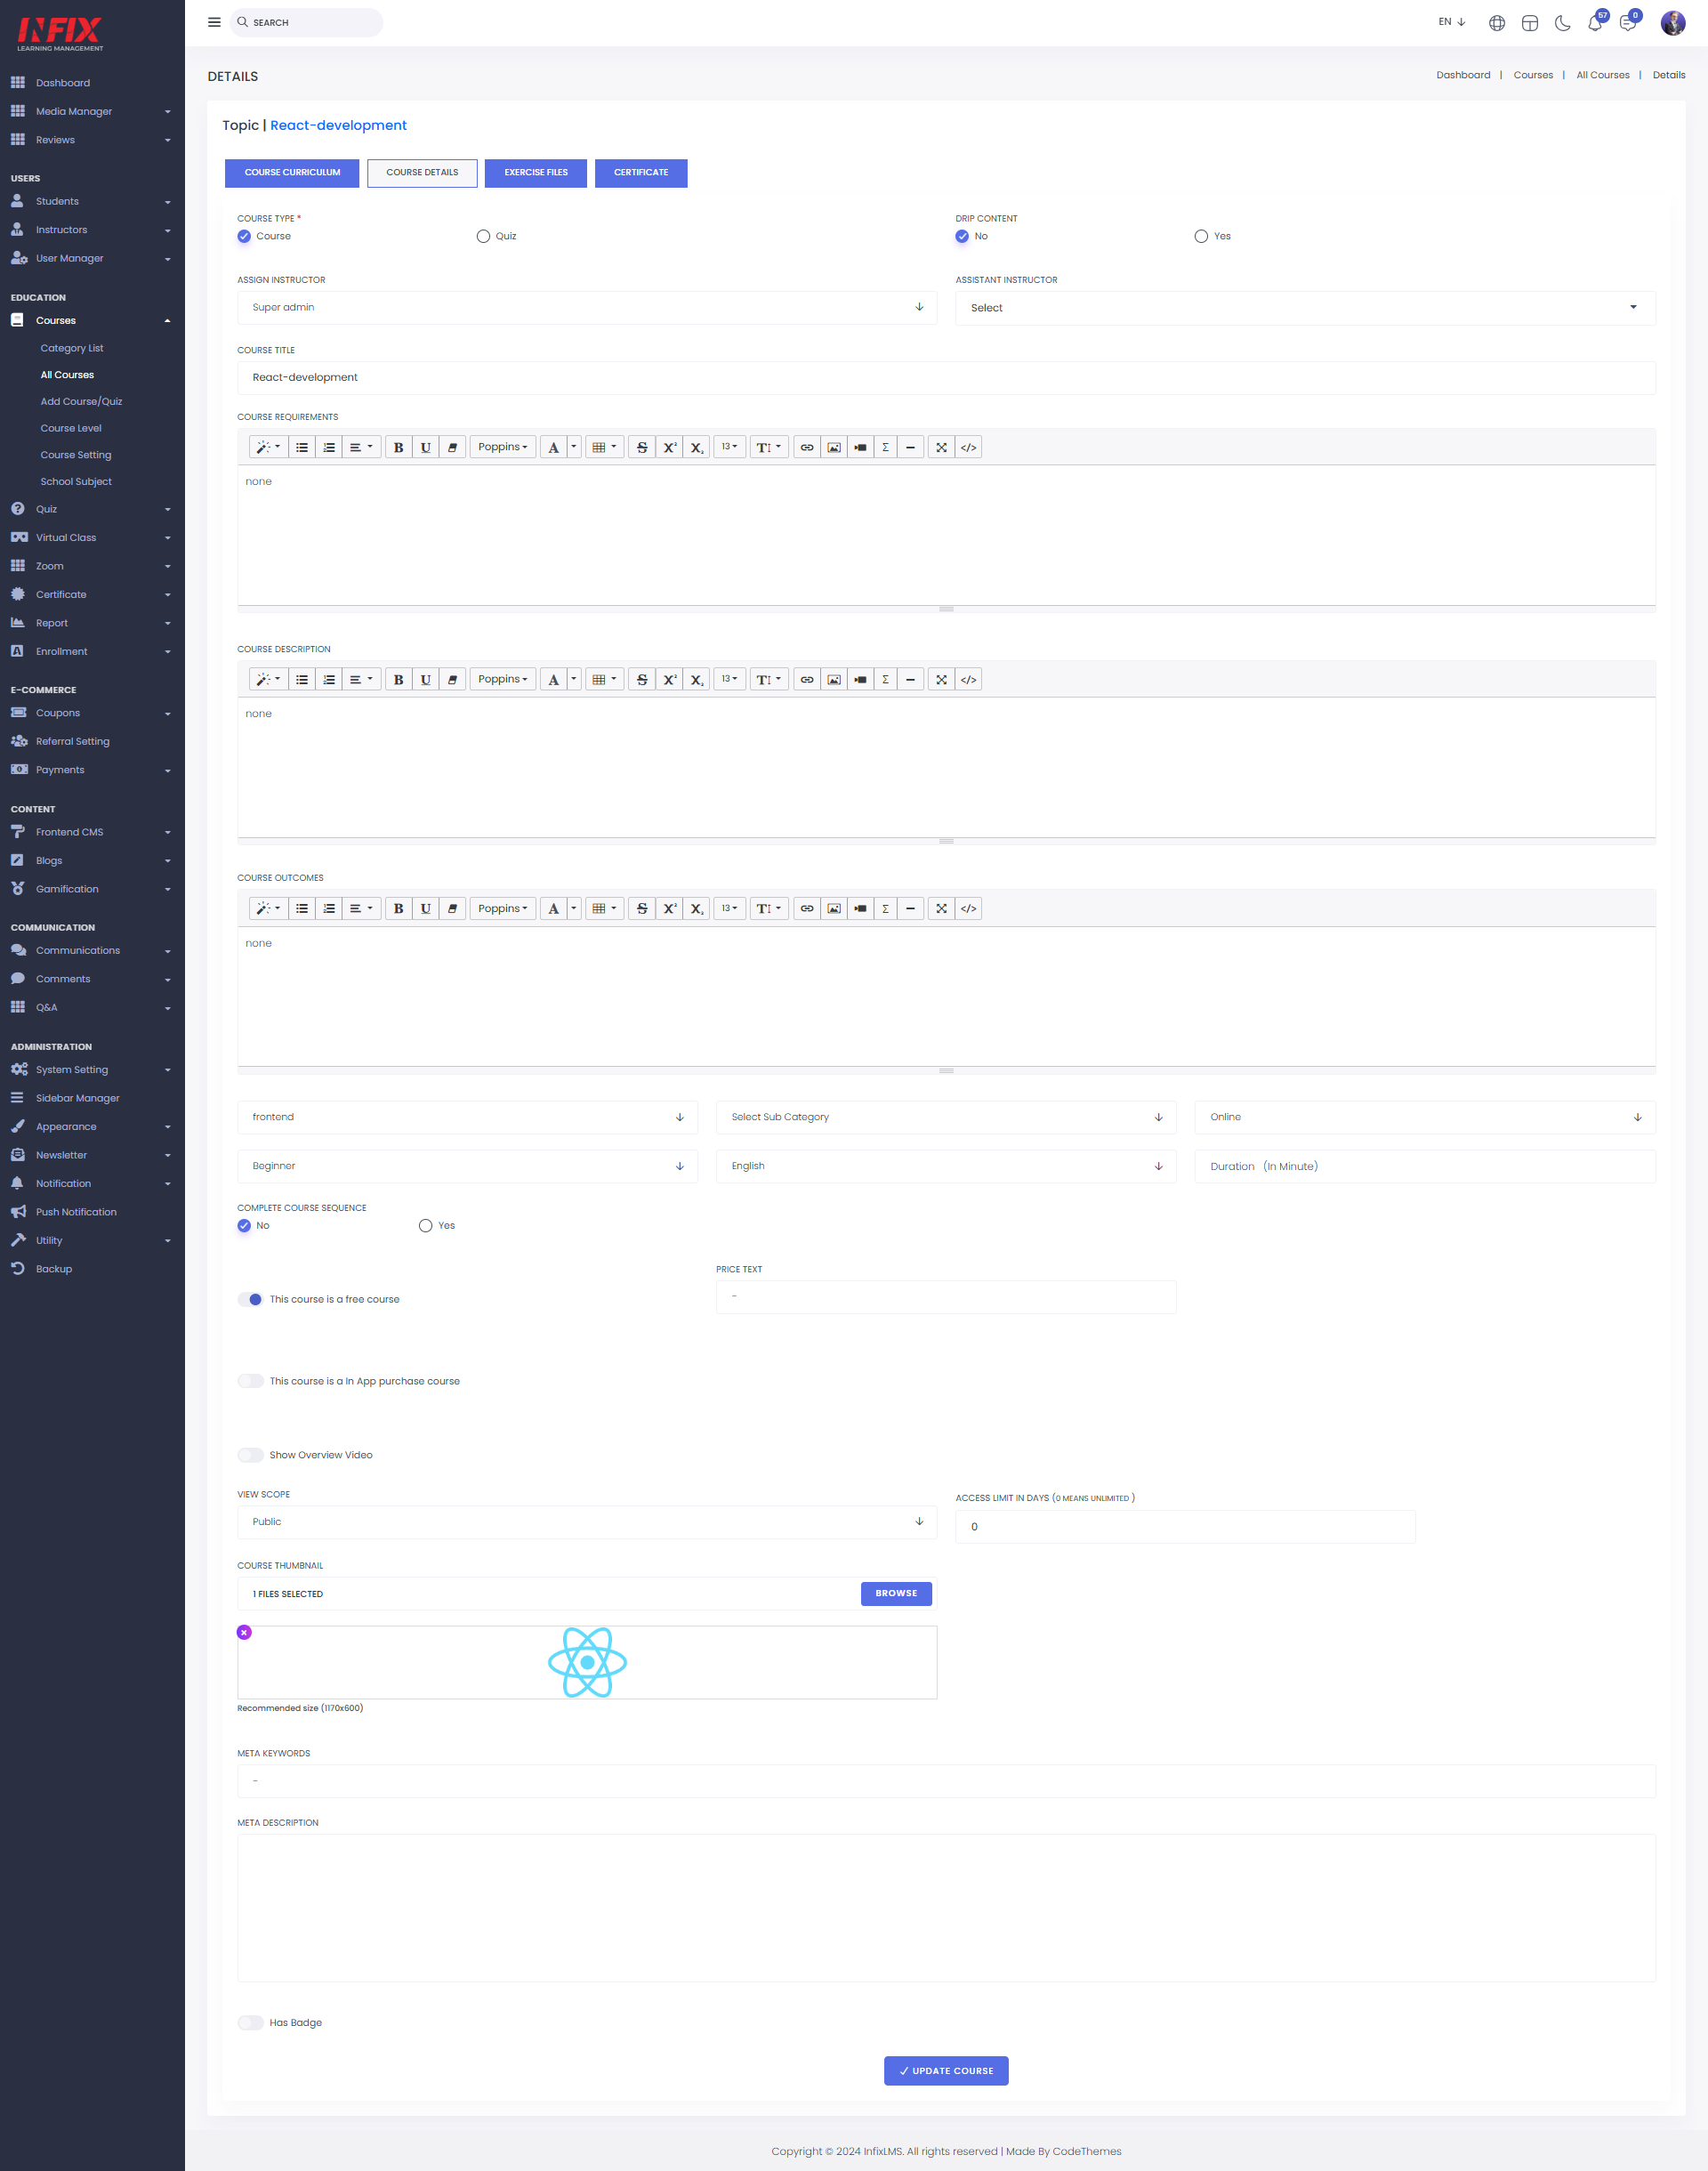
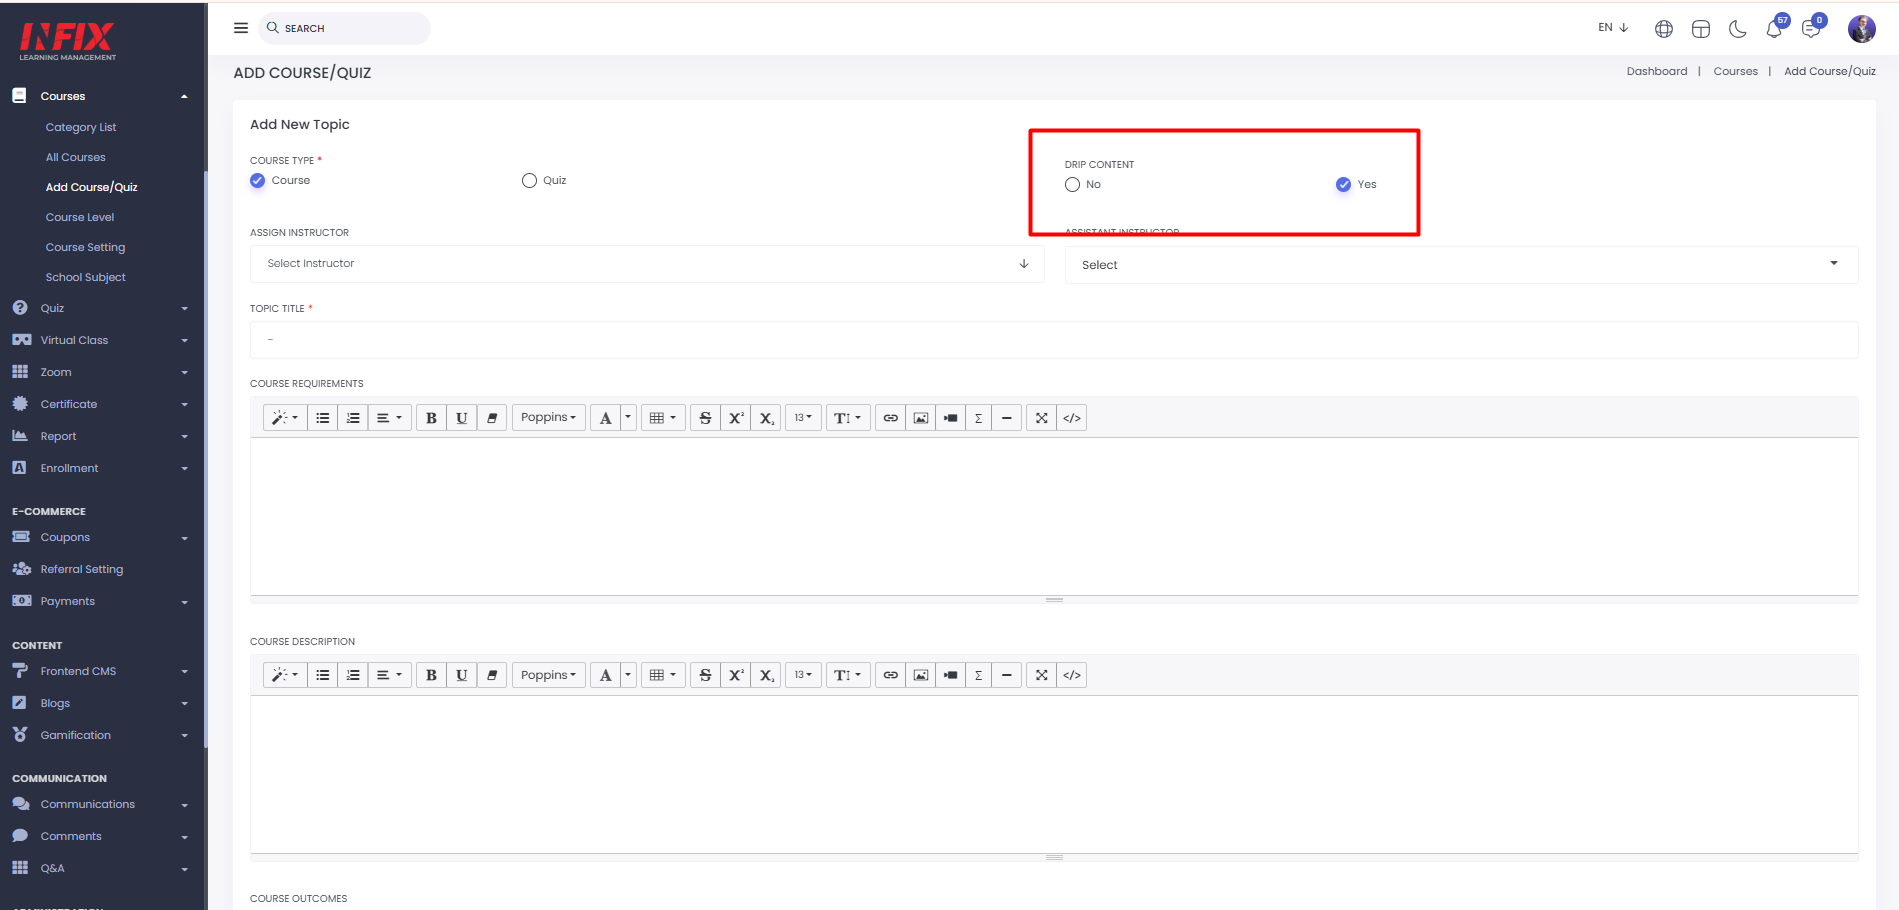
Add New Course : To create a new course or quiz, click on the "Add New Course/Quiz" button. This will open a new page where you can fill out the required form. Begin by selecting the course type and specifying whether the content is drip or not. Assign an instructor and, if applicable, an assistant instructor.
Provide the topic title, course requirements, description, and Course outcomes. Choose the appropriate category, subcategory, mode of delivery, level, and language. Set the course duration and indicate whether it must be completed in sequence.
Specify if the course is free or paid. For paid courses, set the price and, if applicable, the discounted price. Configure in-app purchase options and upload an overview video. Define the course's visibility scope and access limits. Finally, upload a thumbnail image for the course.
You can also optimize the course for search engines by adding meta keywords and a meta description. Once all the details are completed, click "Add." Your course or quiz will be successfully created.

Add Lesson: To add a lesson or quiz first you have to create a chapter , to create this first you have to go to the course list, click "Action," and select "Add Lesson."
Click on plus sign ,you will find the “Add Chapter ”option.
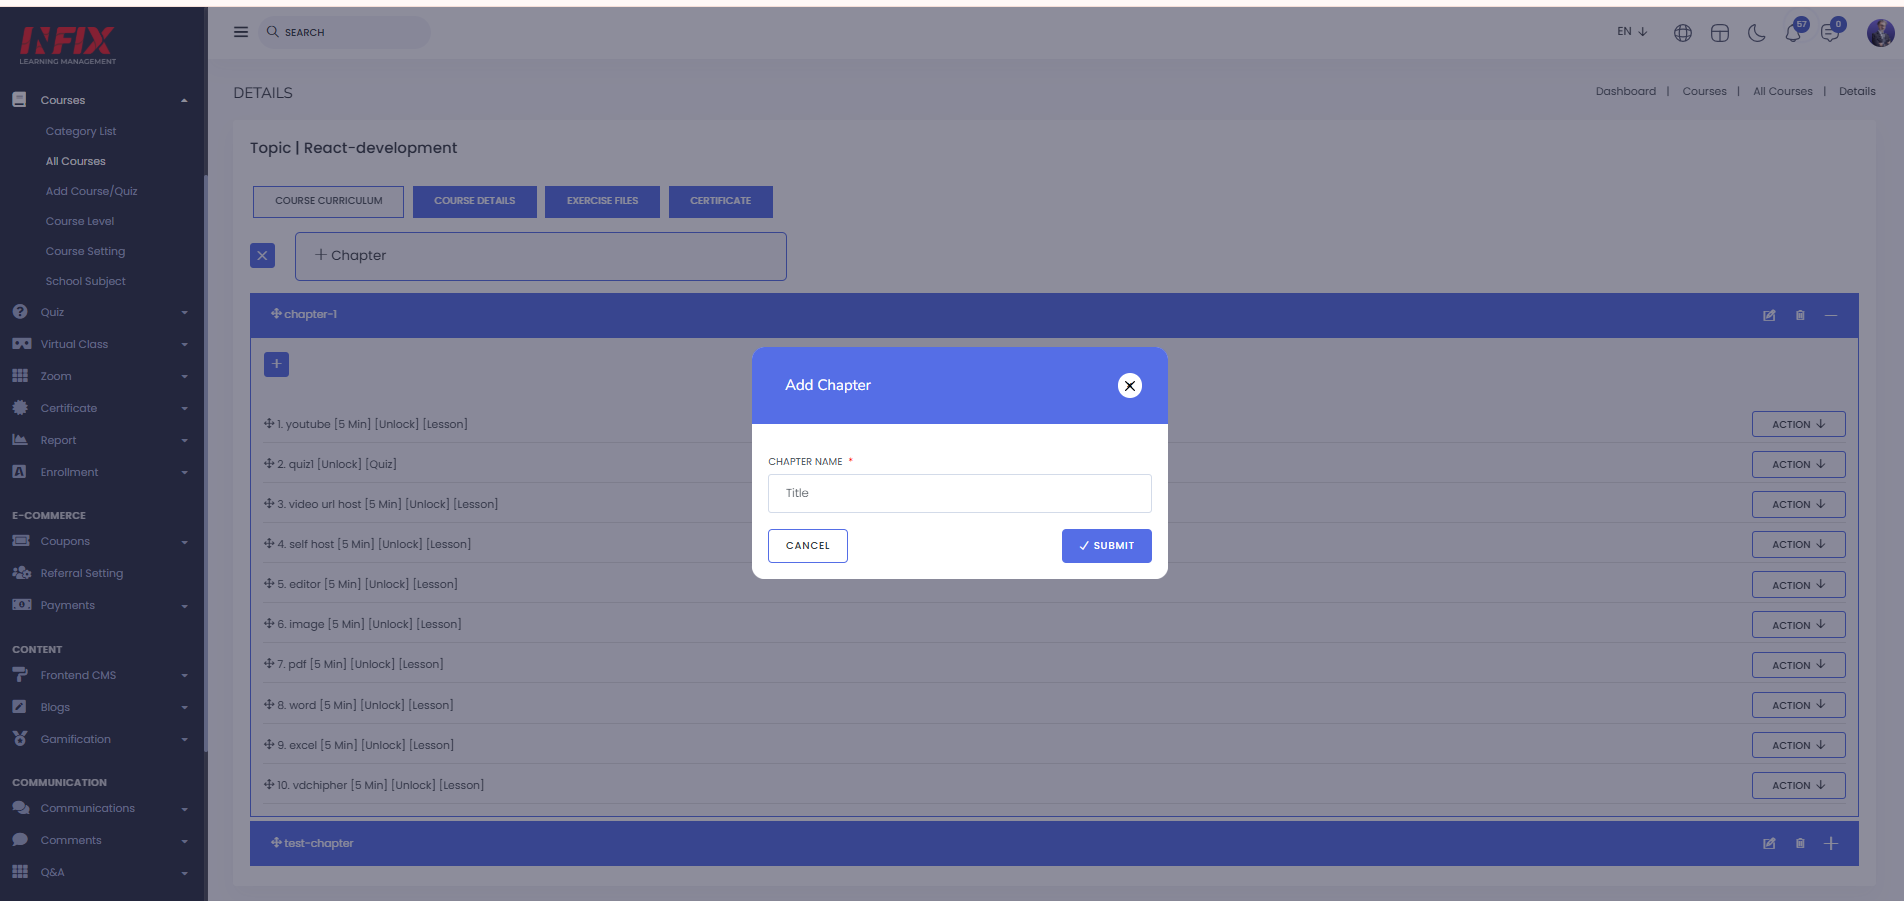
To create a chapter click on chapter and type the chapter name and save, chapter will be created successfully.

You can also edit and delete the chapter from here.
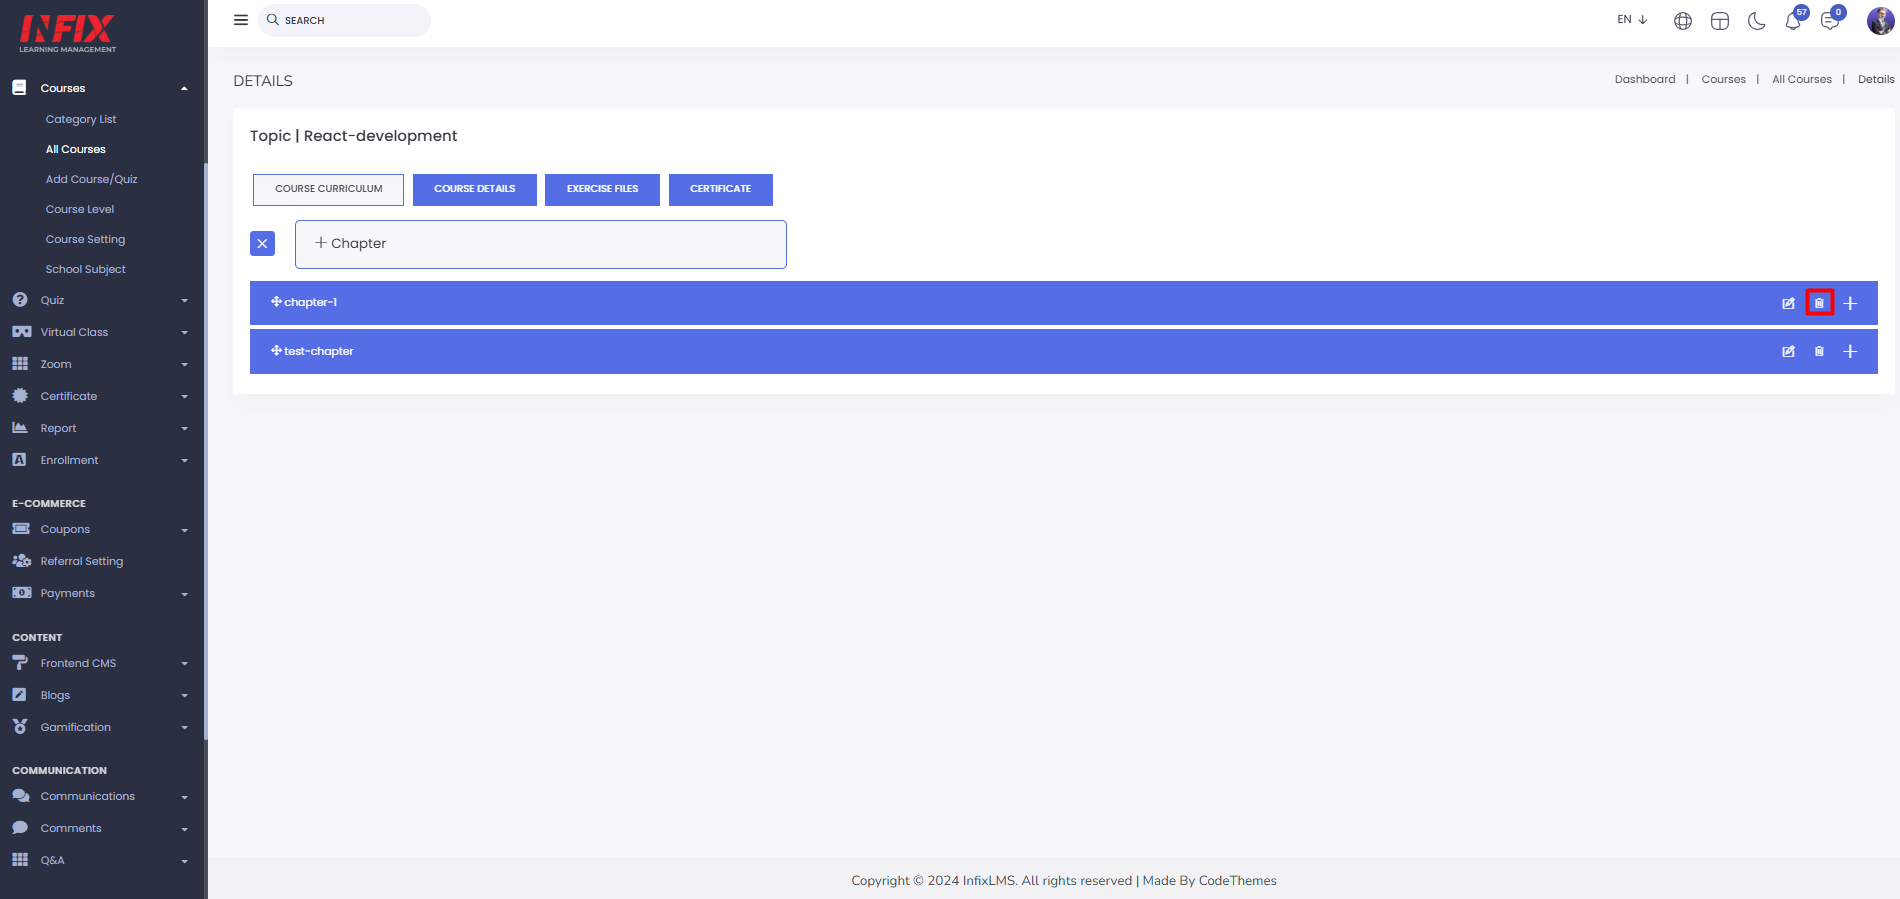
Click the plus sign next to the chapter where you want to add a new quiz or lesson.
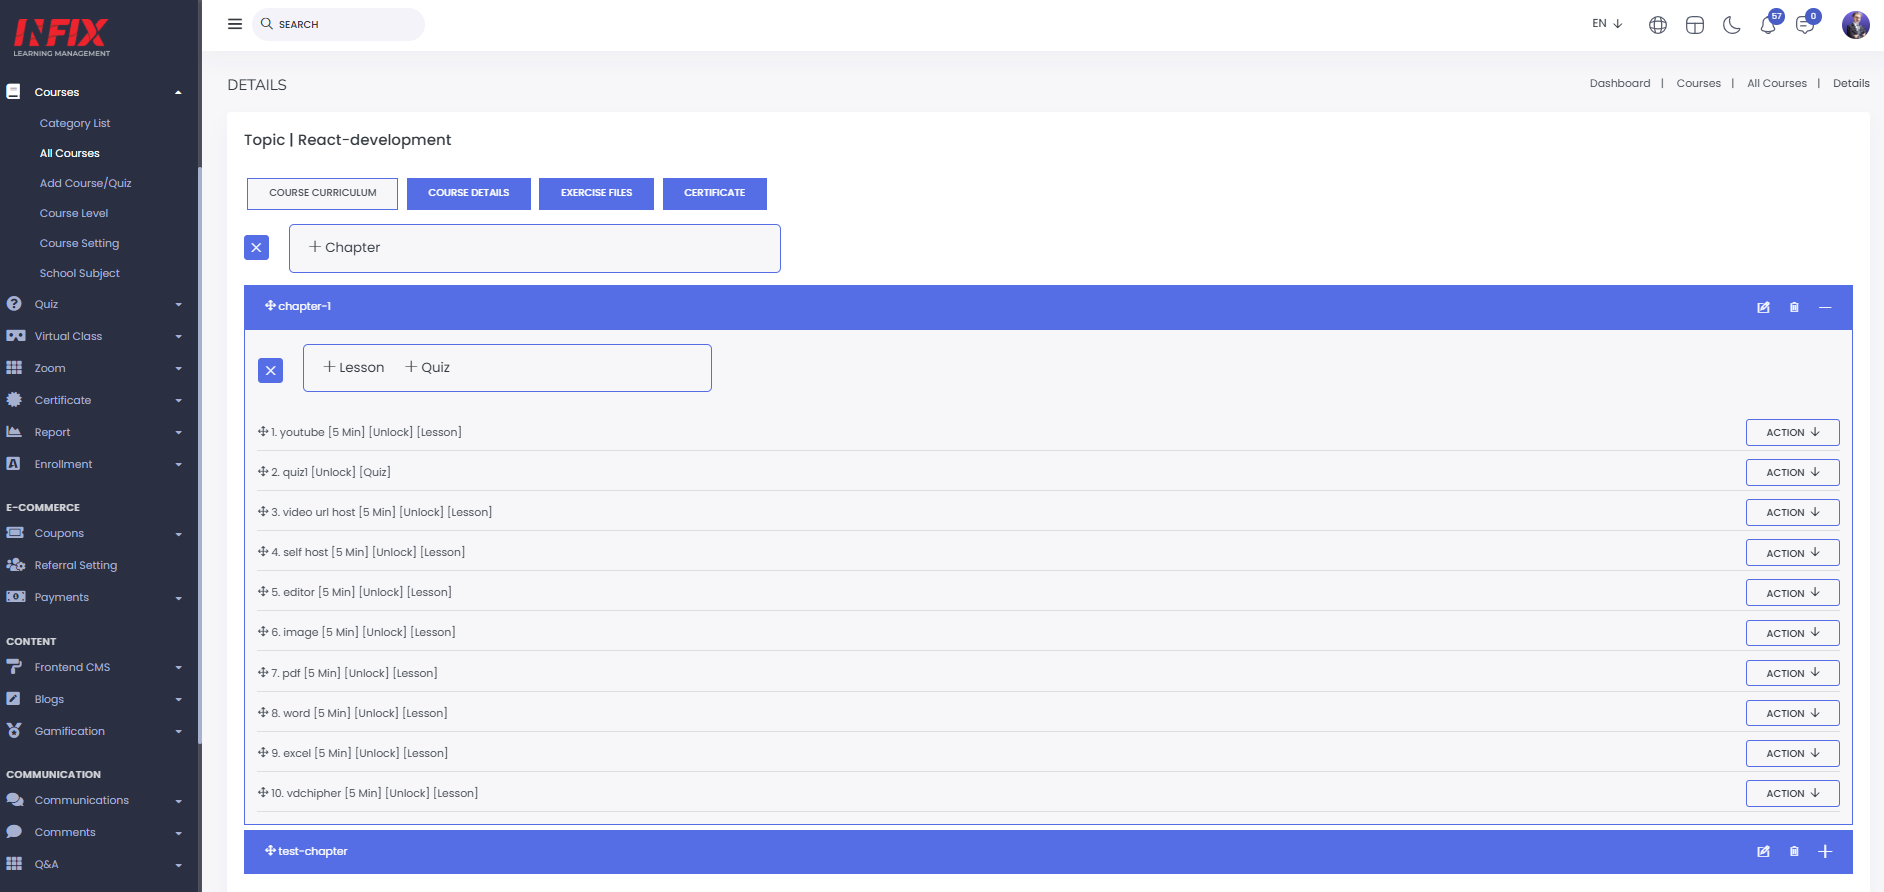
Here you can see the lesson list.
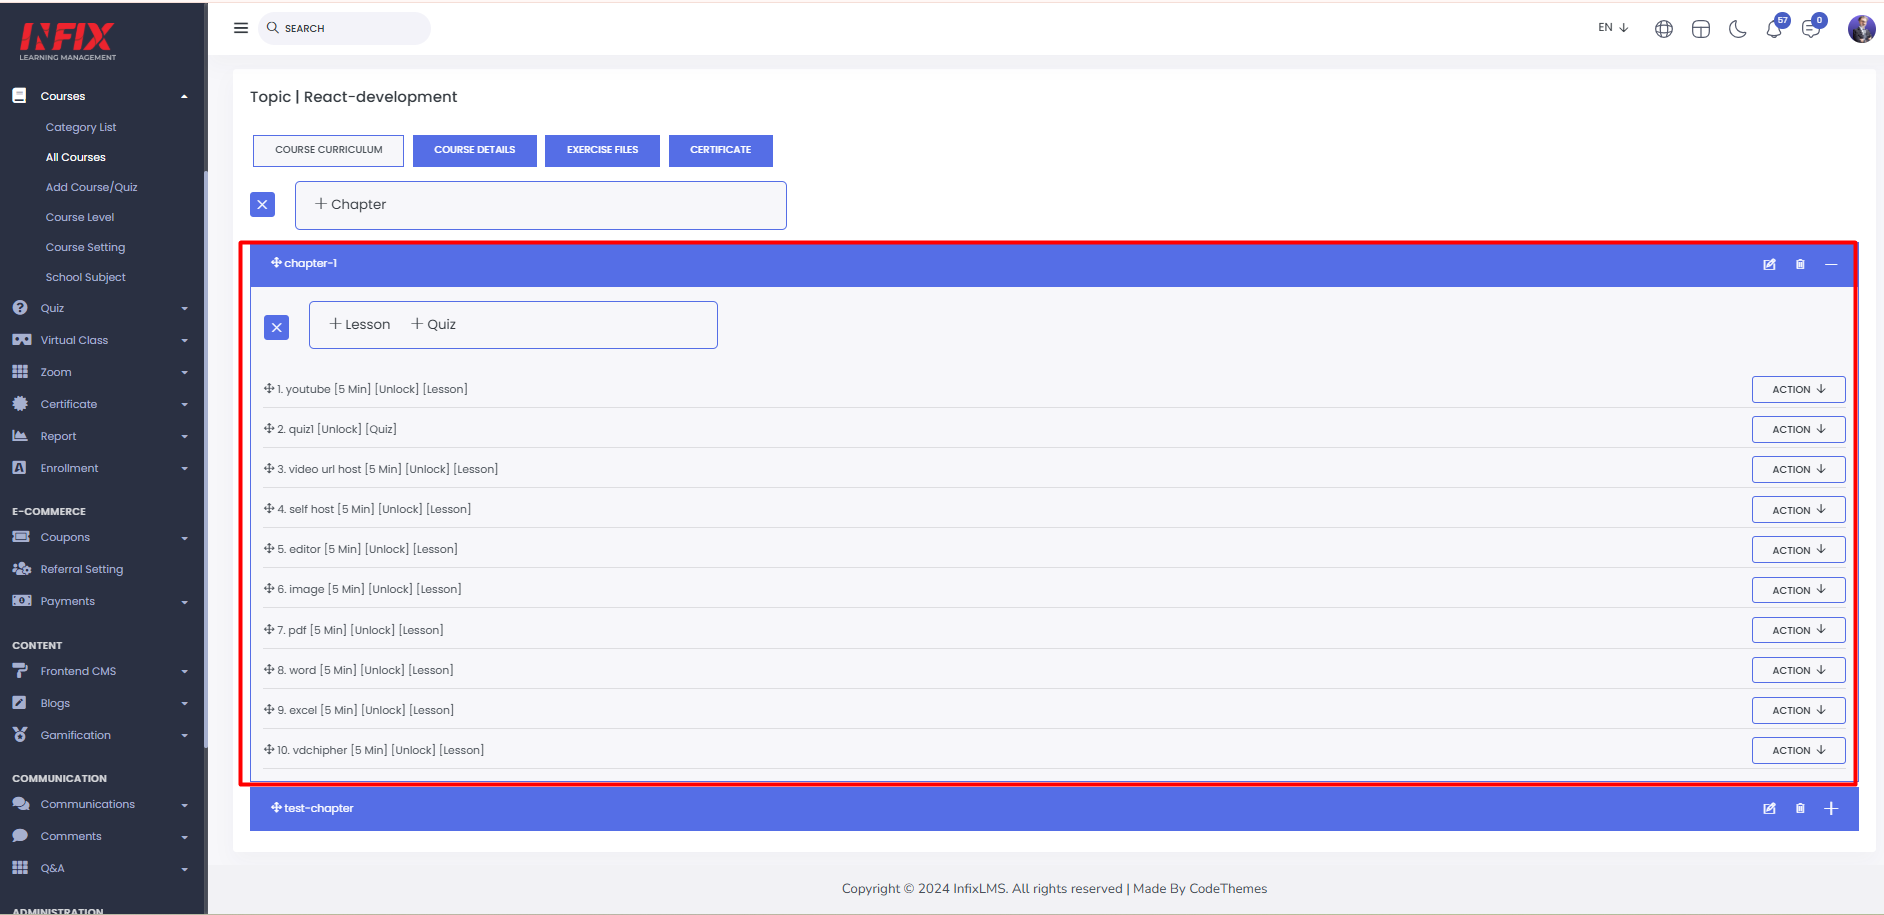
Clicking on the action button you can view ,edit and delete the lesson.

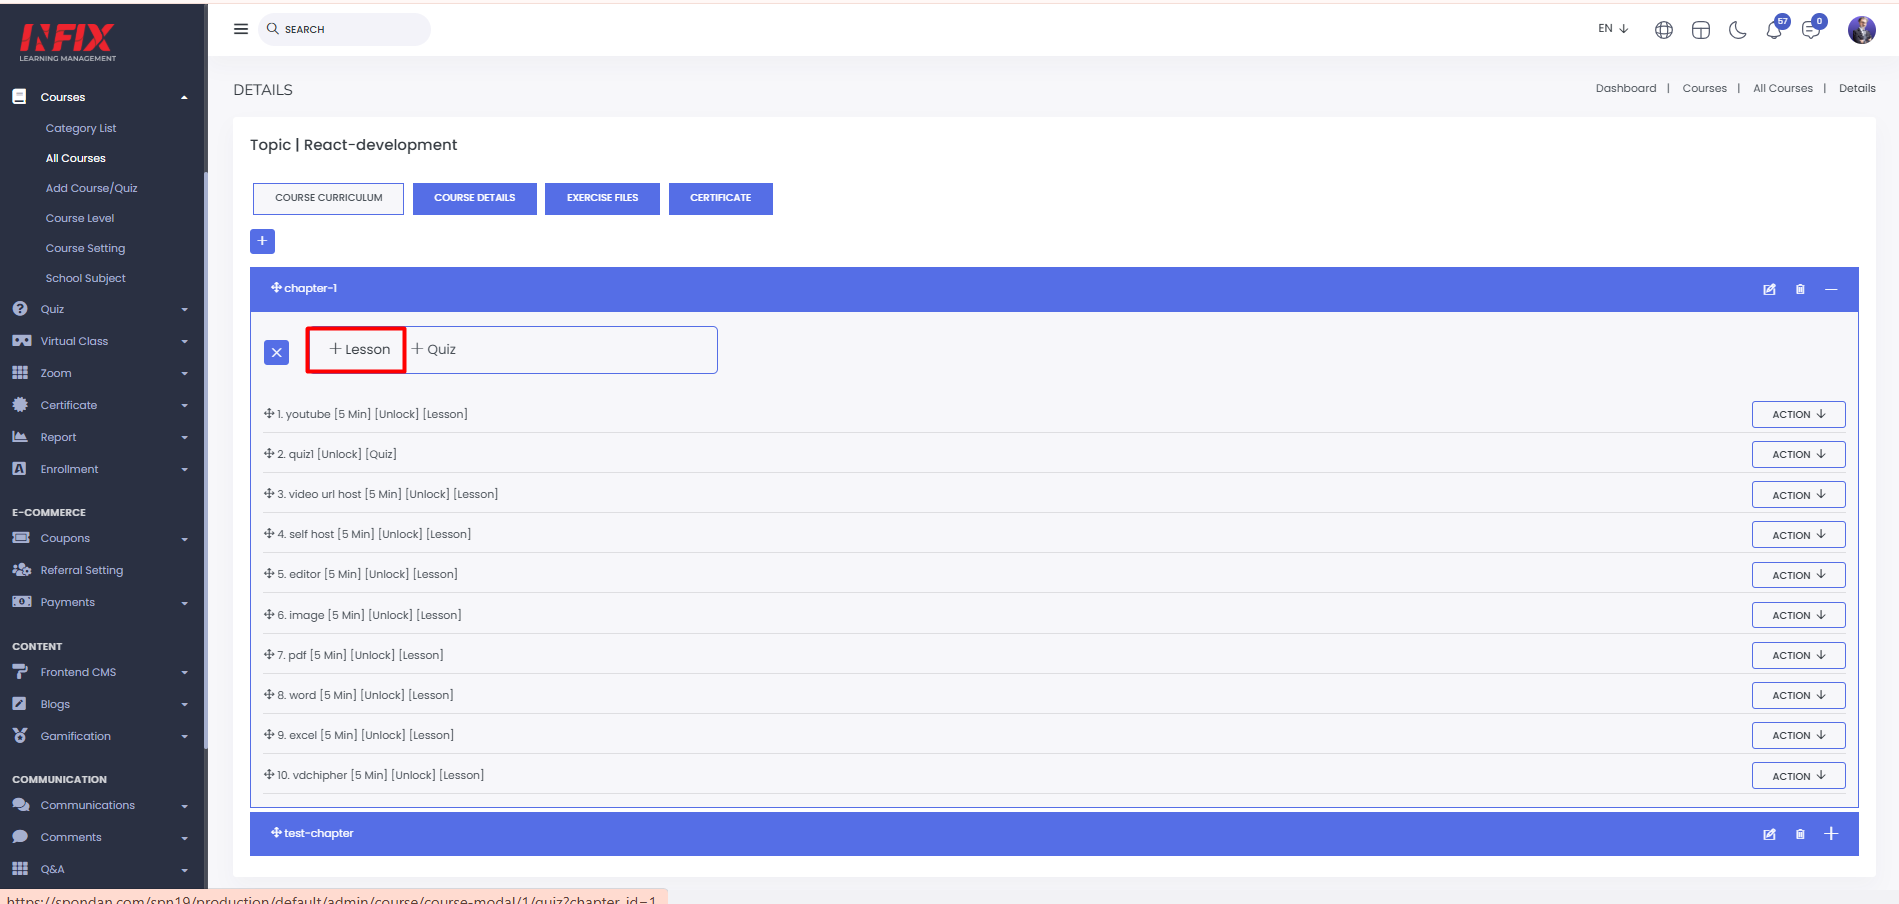
Click on the plus sign to add a new lesson.

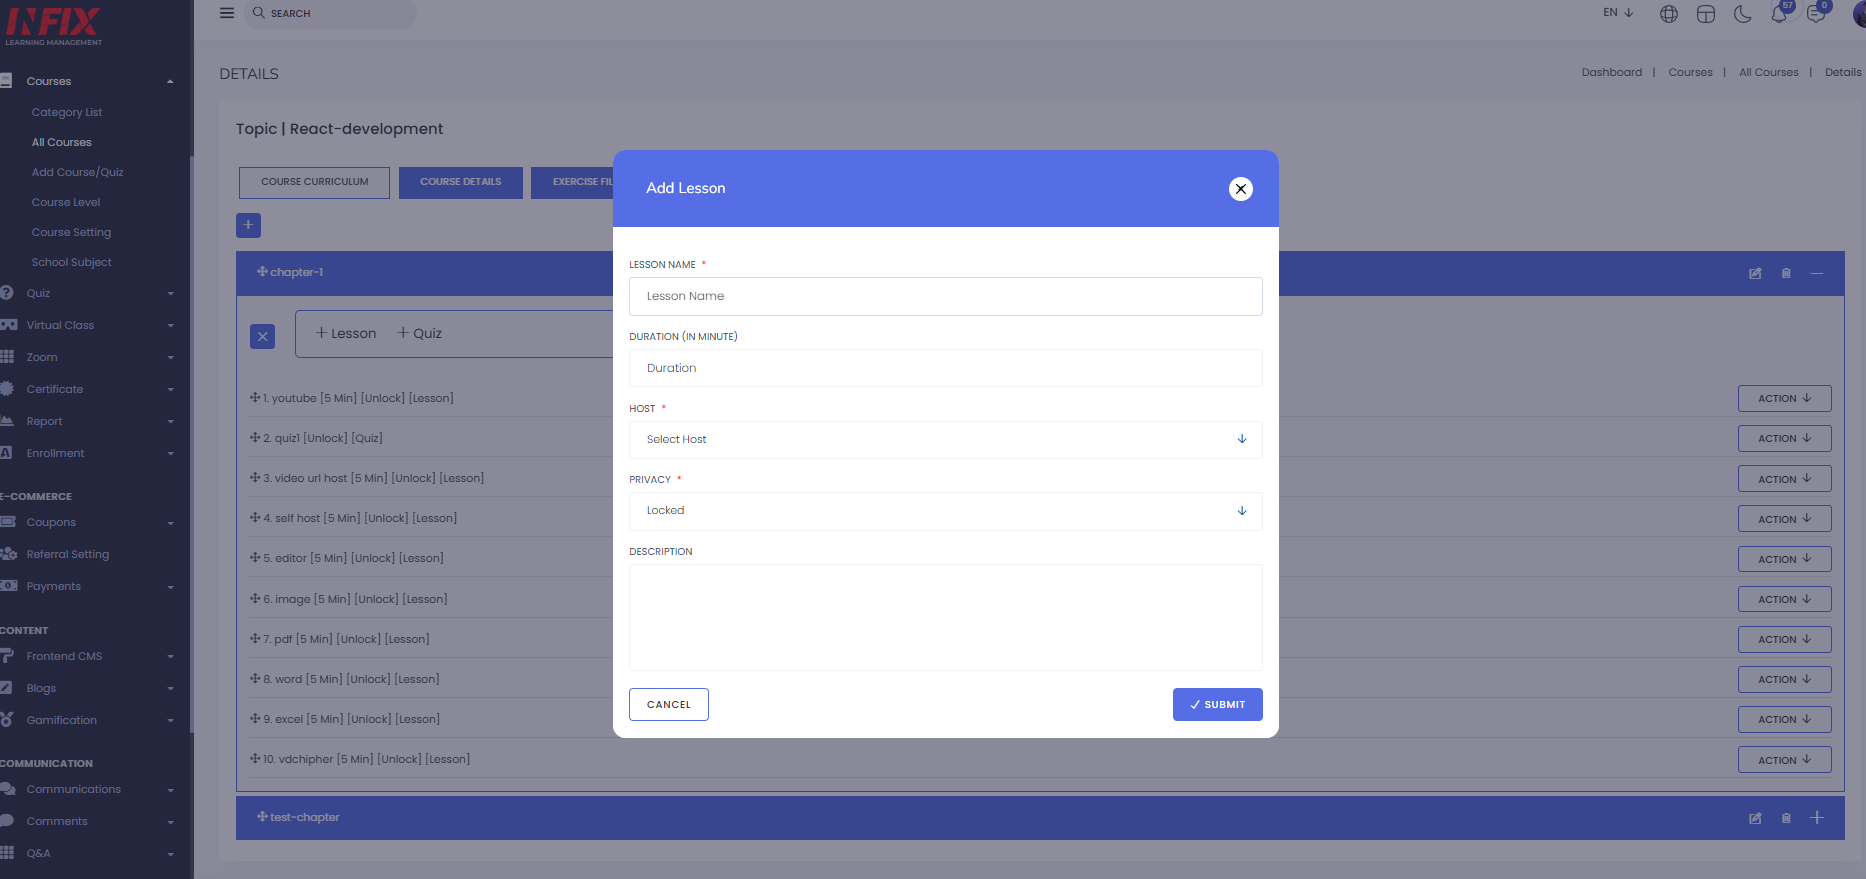
To create a new lesson click on “Lesson”.
Enter the lesson name, duration, host, privacy, and description, then click "Submit" to successfully create the lesson.
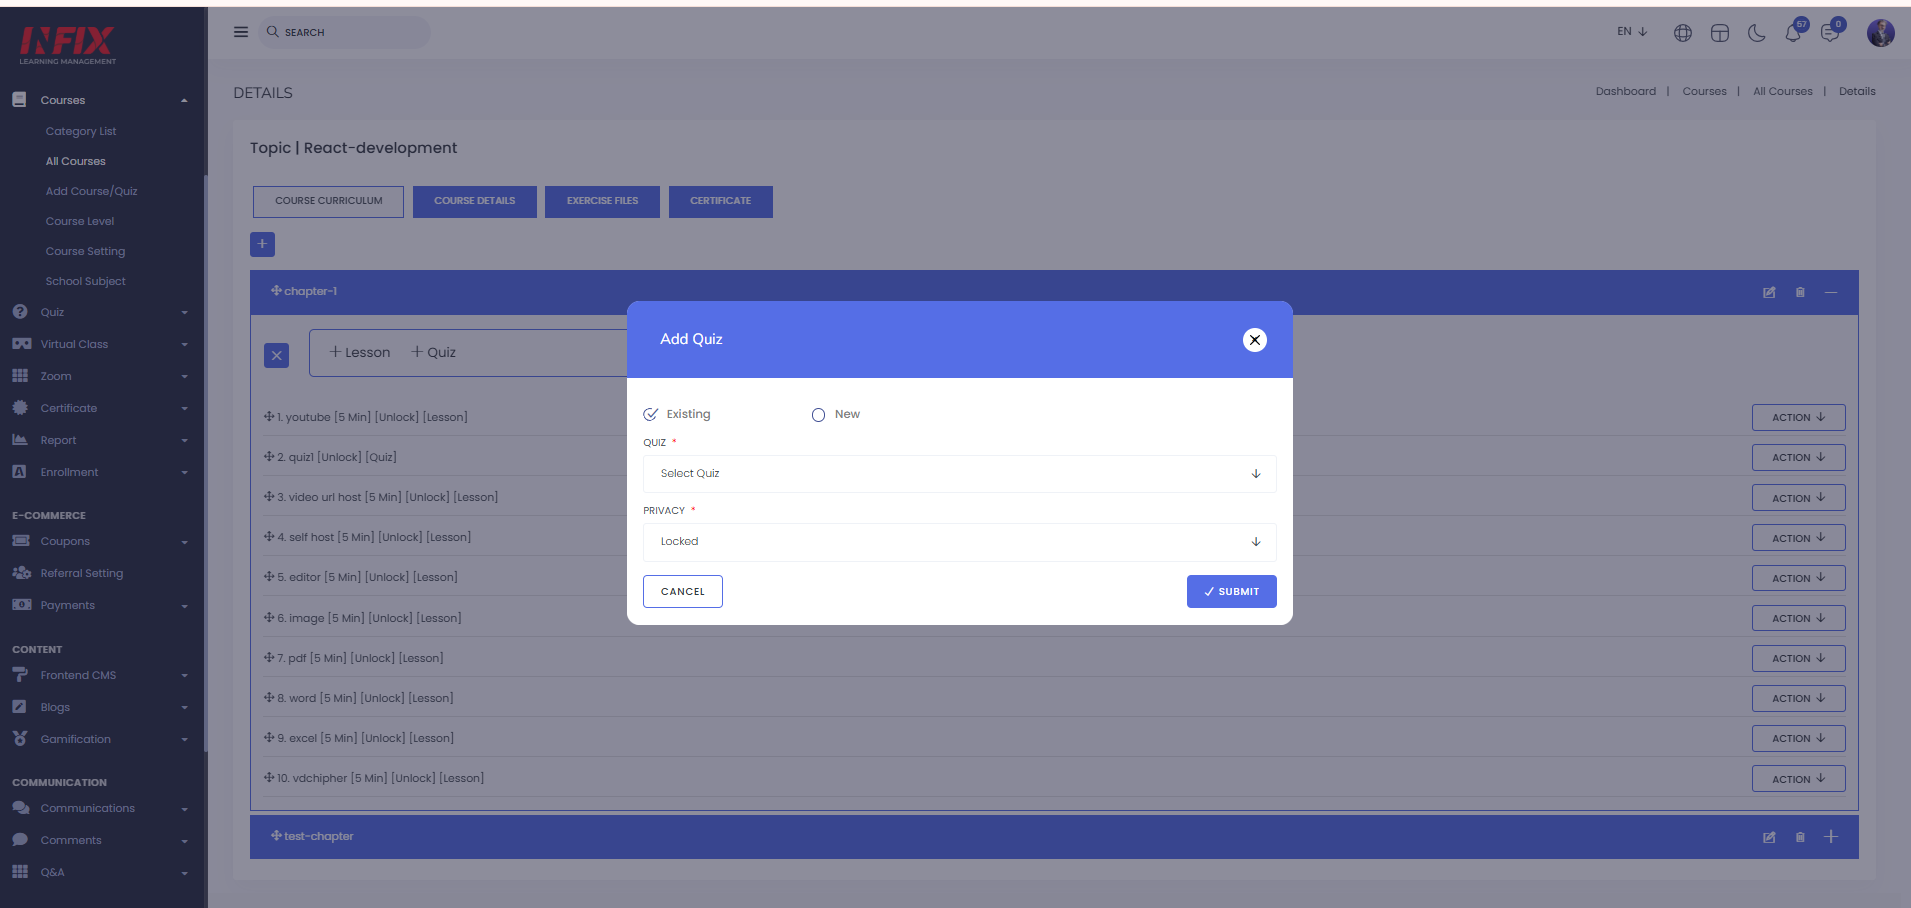
To create a new quiz click on quiz
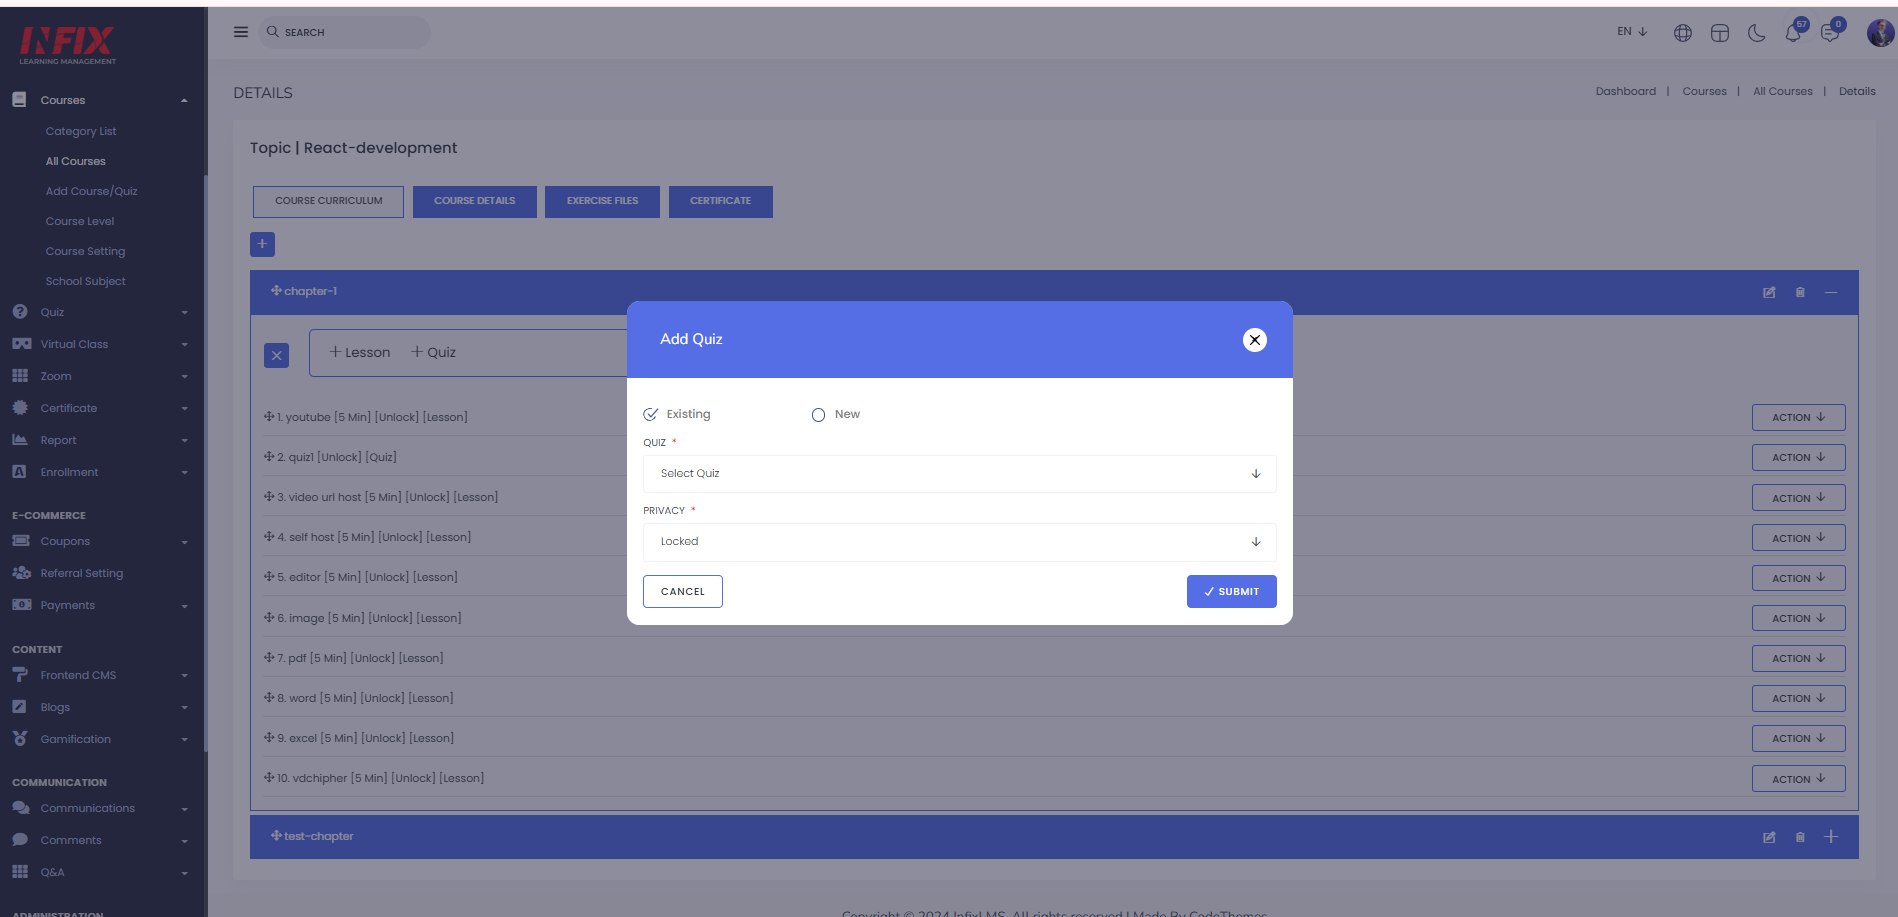
You can create both existing and new quizzes here. To create an existing quiz, simply click on it, select the quiz, set the privacy, and click "Save."
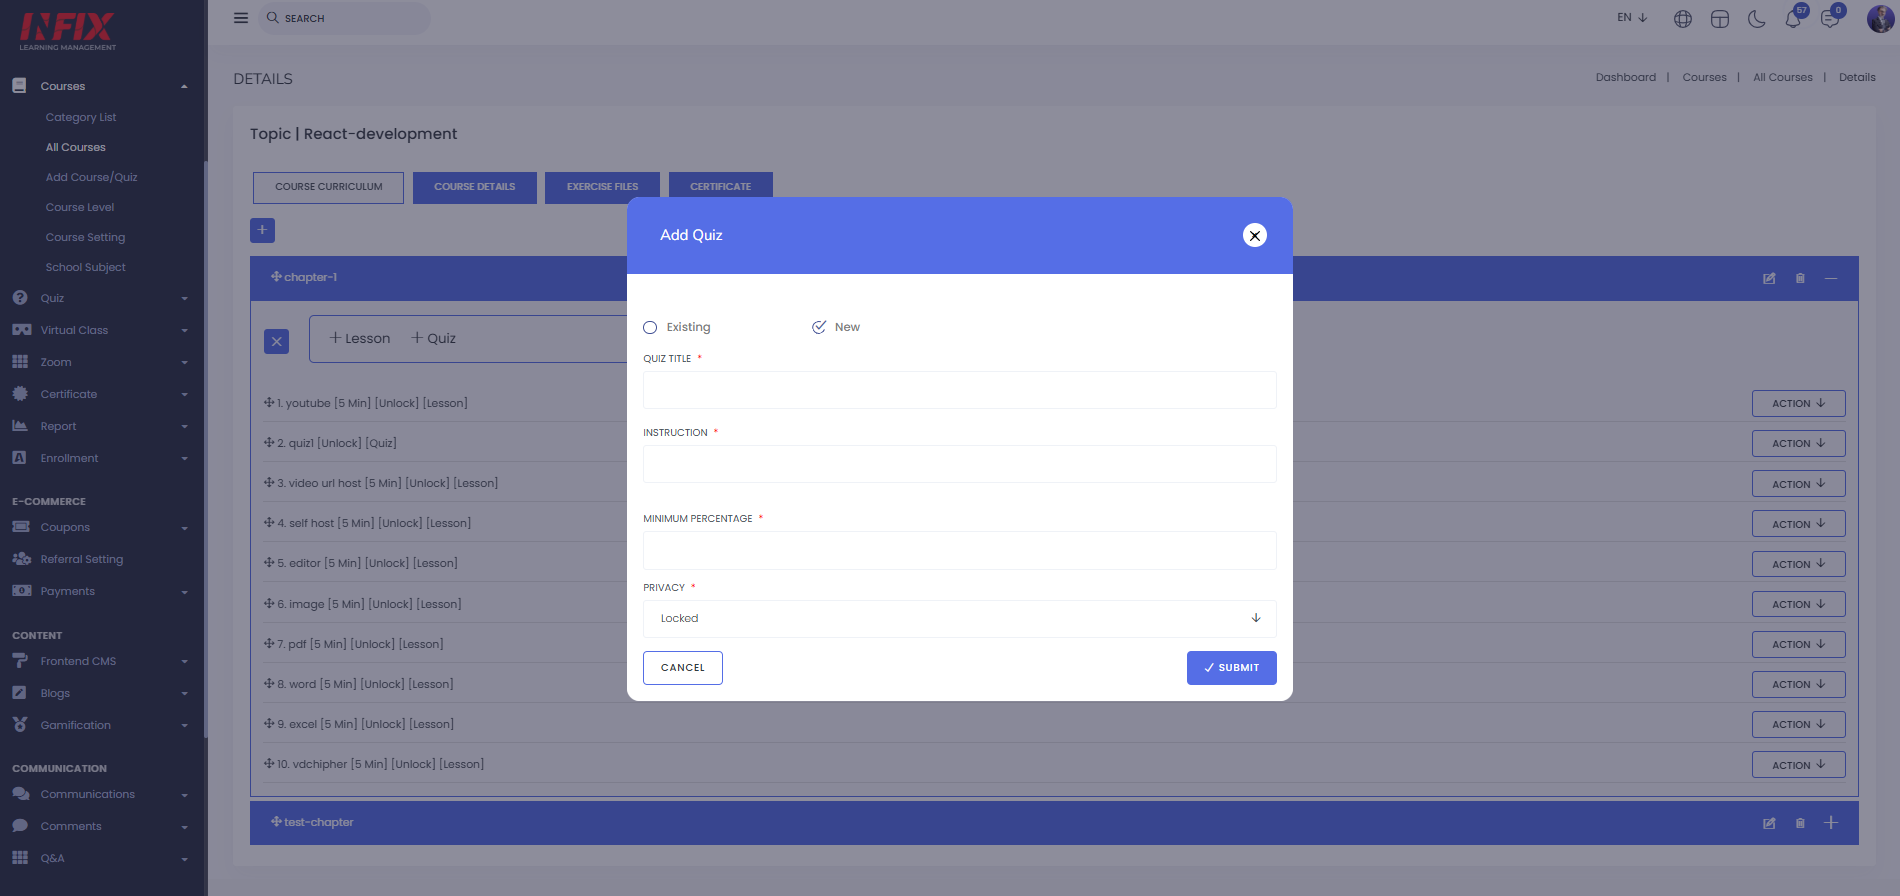
To create a new quiz, click "New," enter the quiz title, instructions, minimum percentage, and privacy settings, then click "Submit."
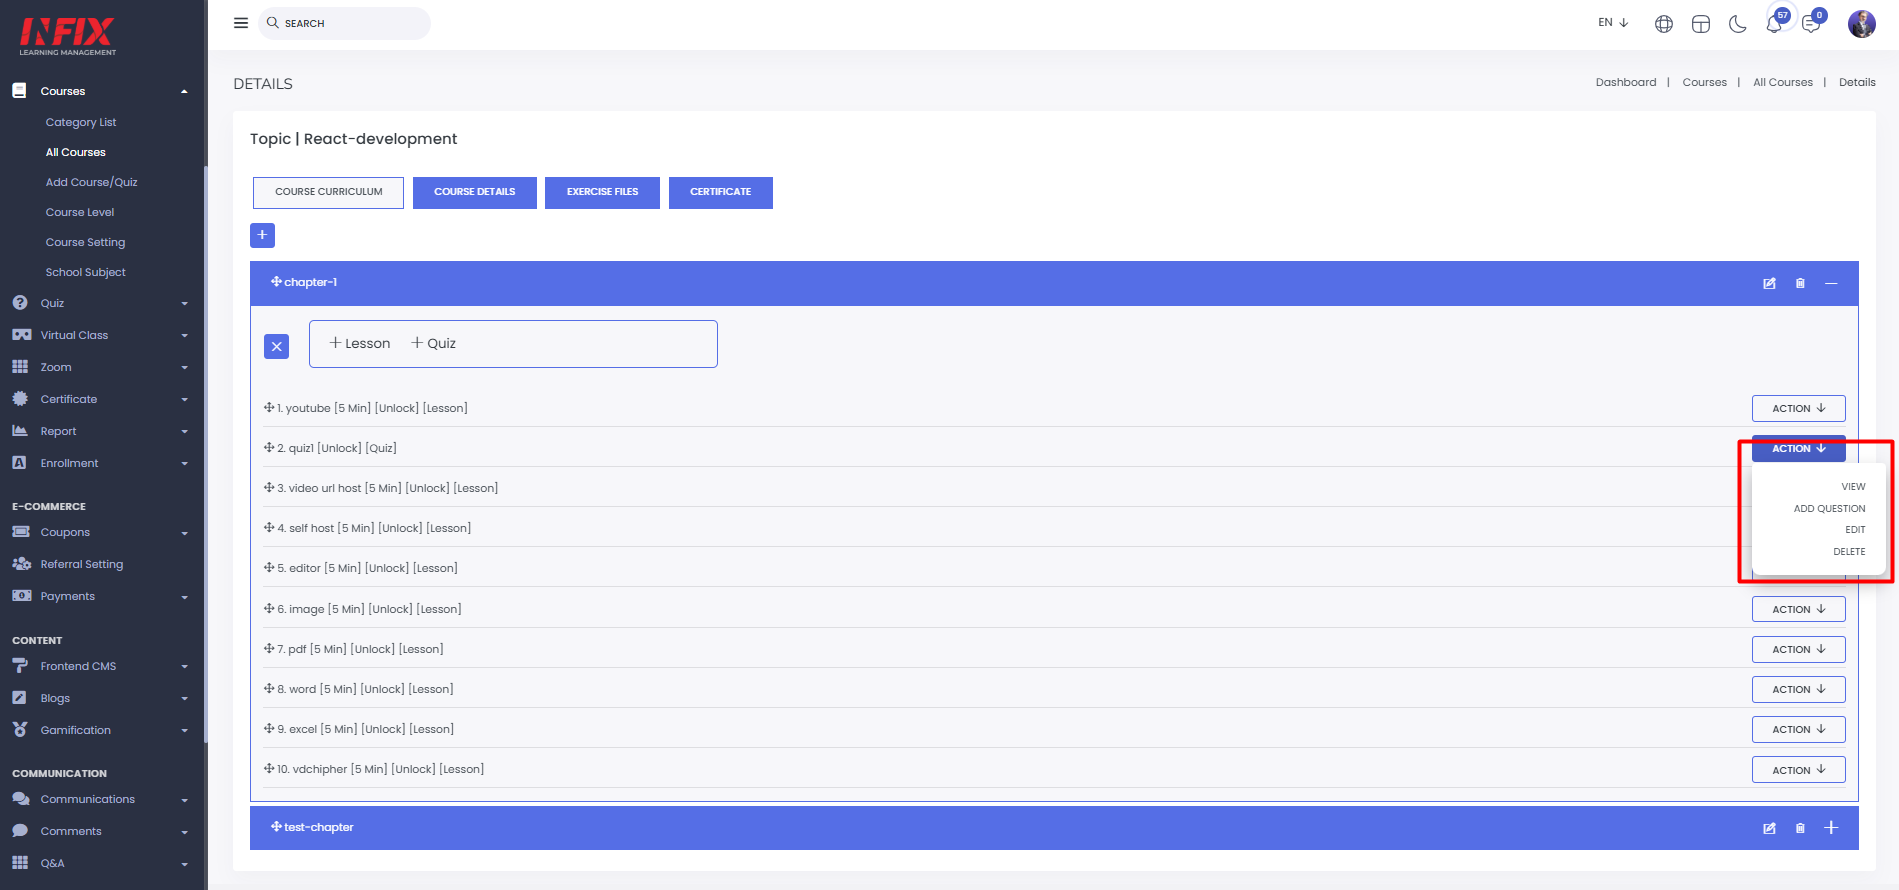
By clicking on “Action” you can view the quiz, add questions, edit and delete.
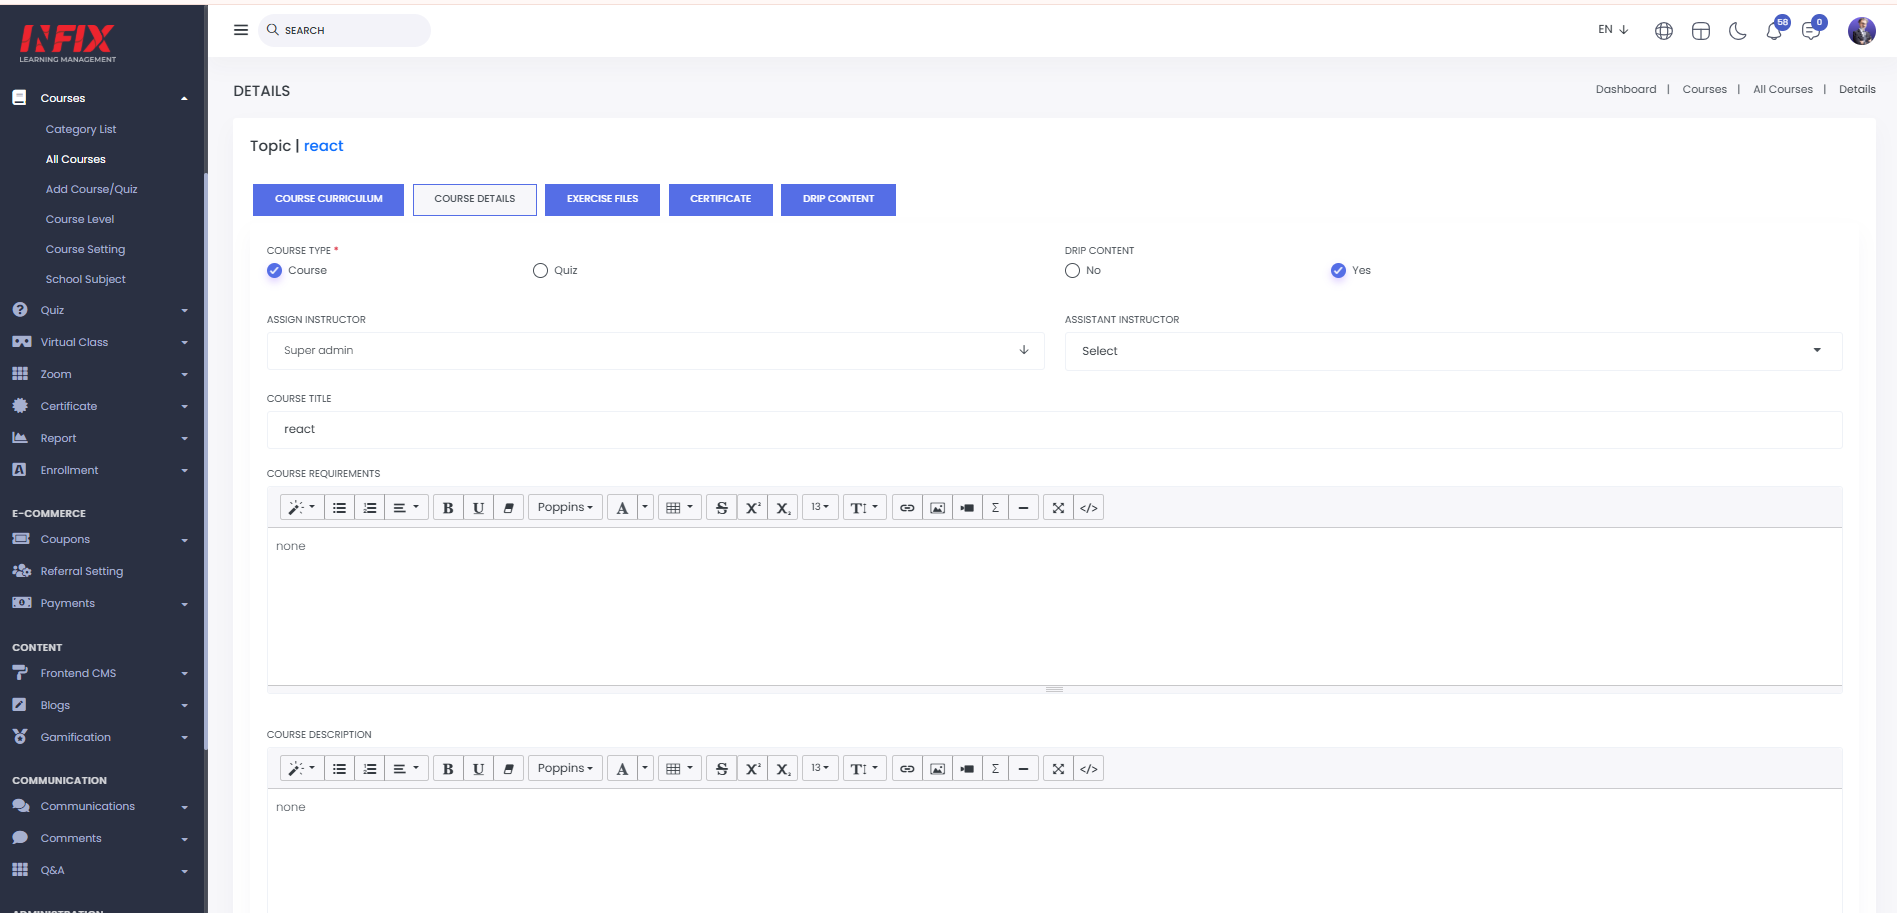
Course Details :You can see the course details by clicking here
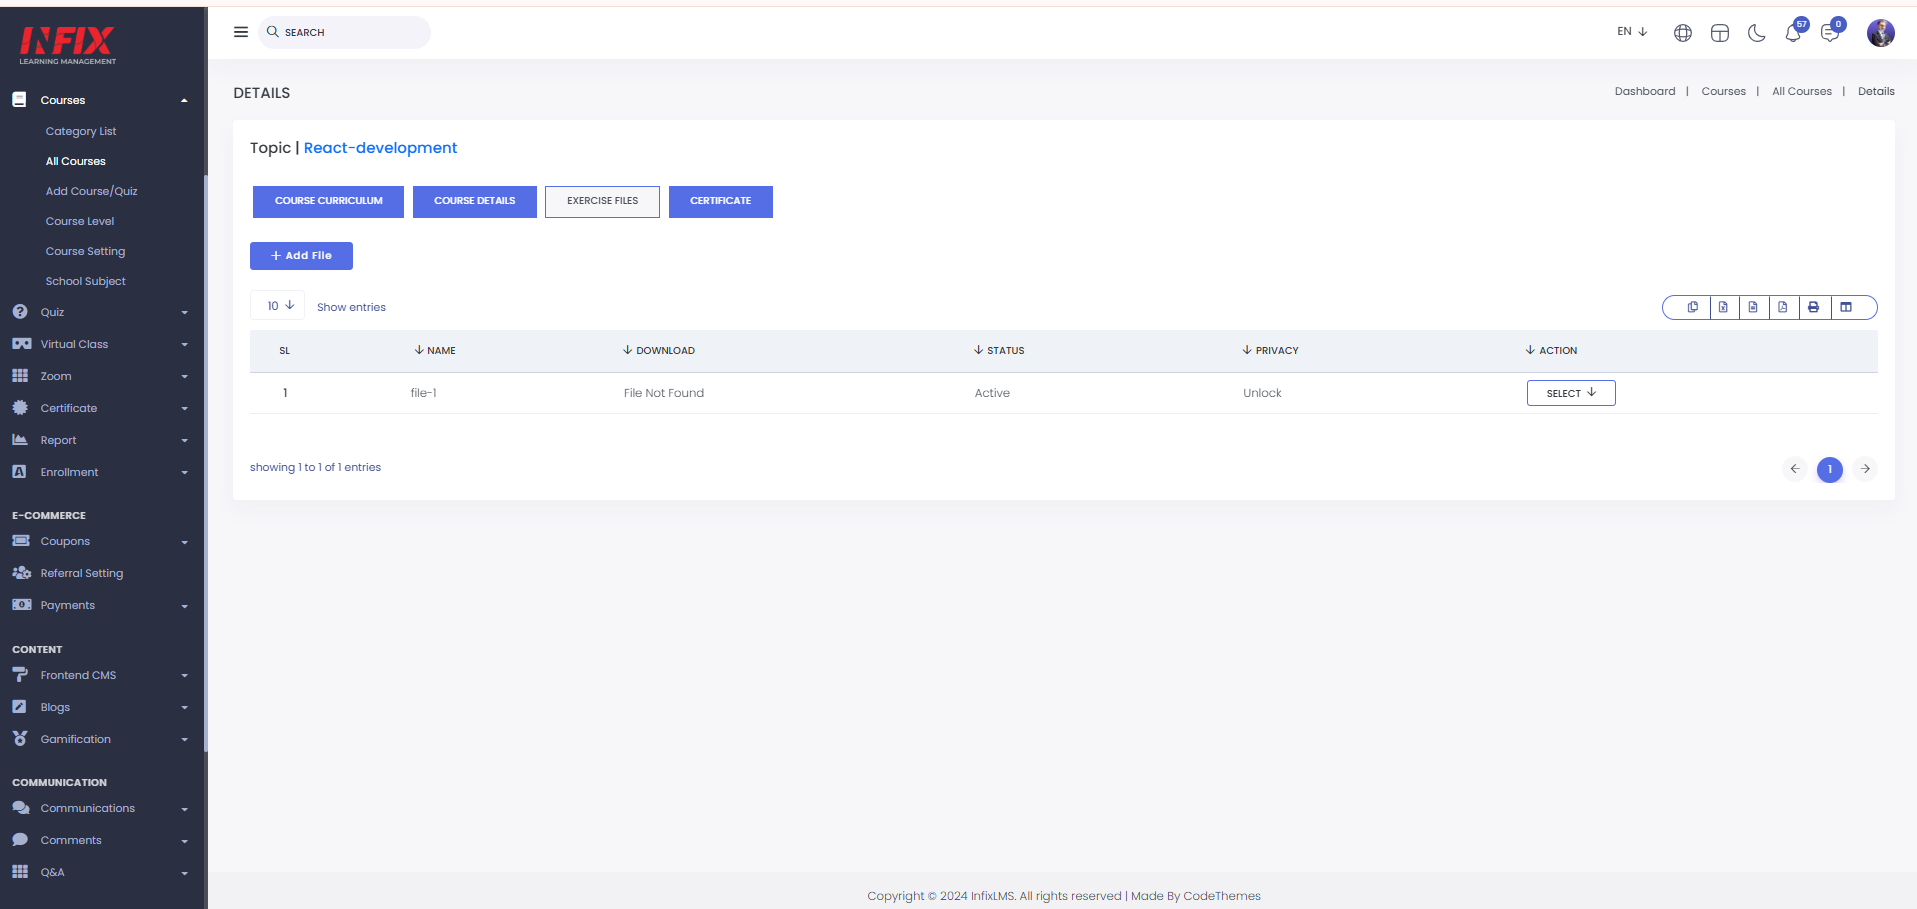
Exercise Files: Here you can see the exercise files list. You can add a new exercise file by clicking on “Add File”.
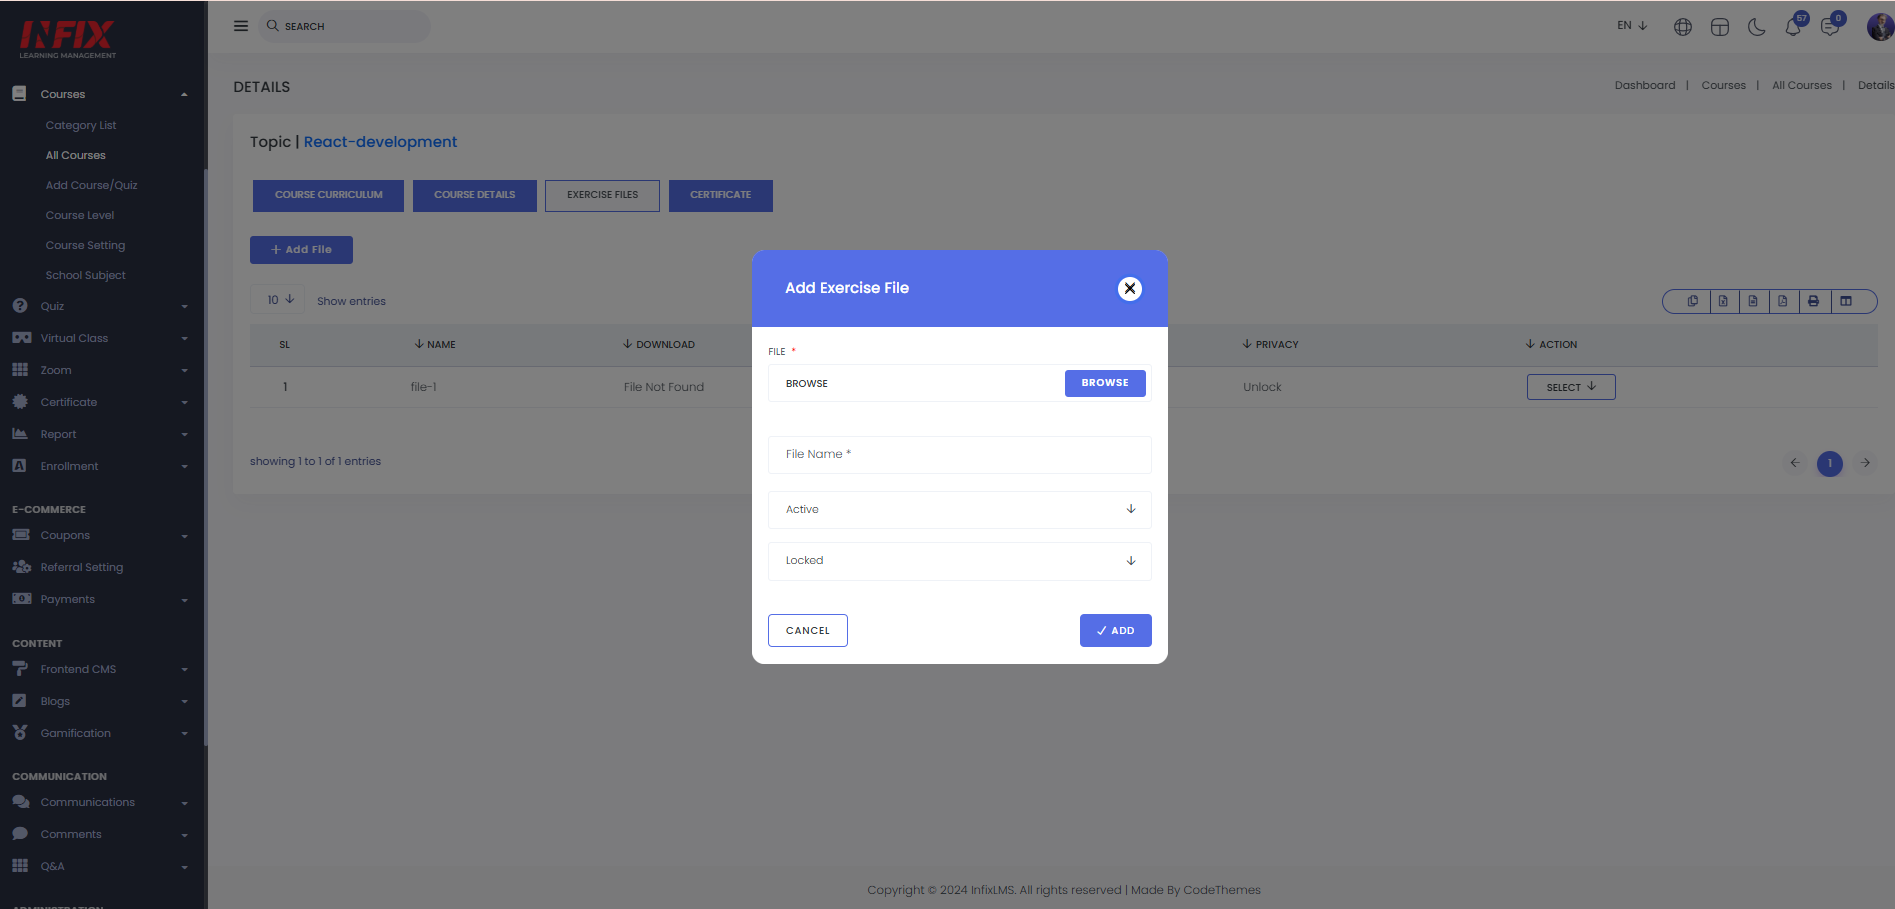
To add a new exercise file click on “Add file”. Then upload the file, set the name, set status & privacy then click on “Add”
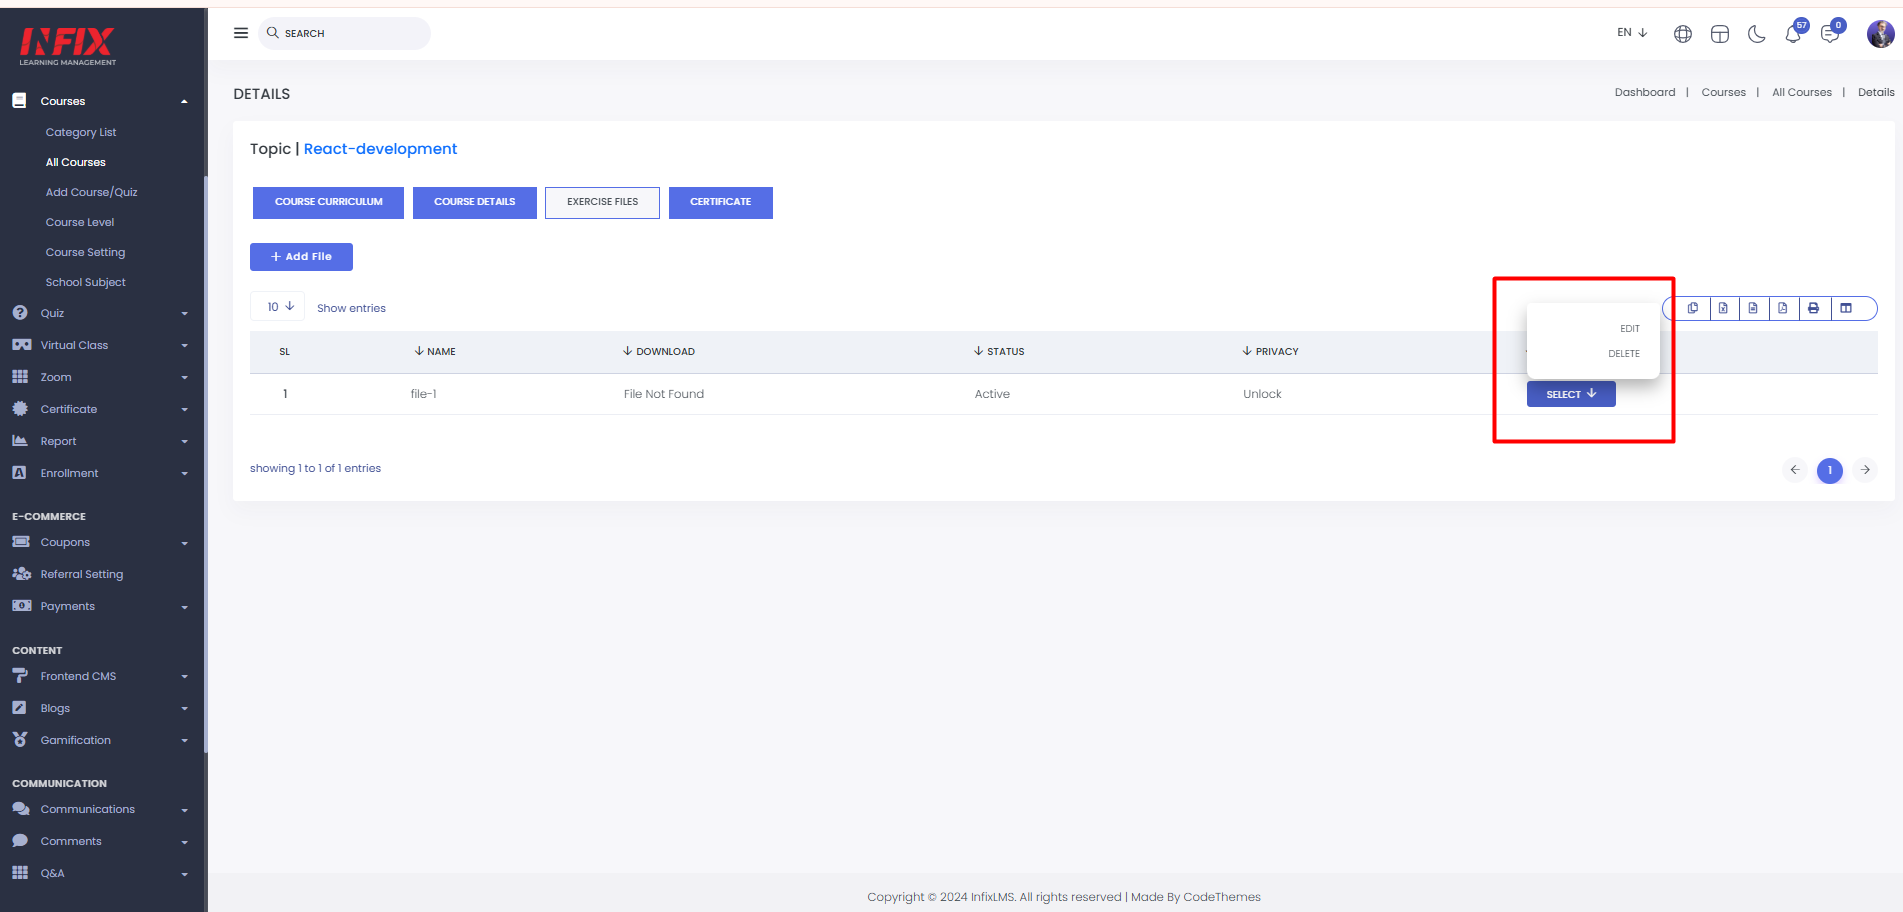
After clicking on “Select” you can edit and delete the file.
Certificate : From here you can assign a certificate for completing a course. Just select a certificate and click on “ Save certificate”, your certificate will be saved successfully.

You can purchase the course from the student panel. First login to the student panel then go to the course and select the course. By clicking the add to cart button you can add the course into your cart and you can direct buy the course by clicking the buy now button.
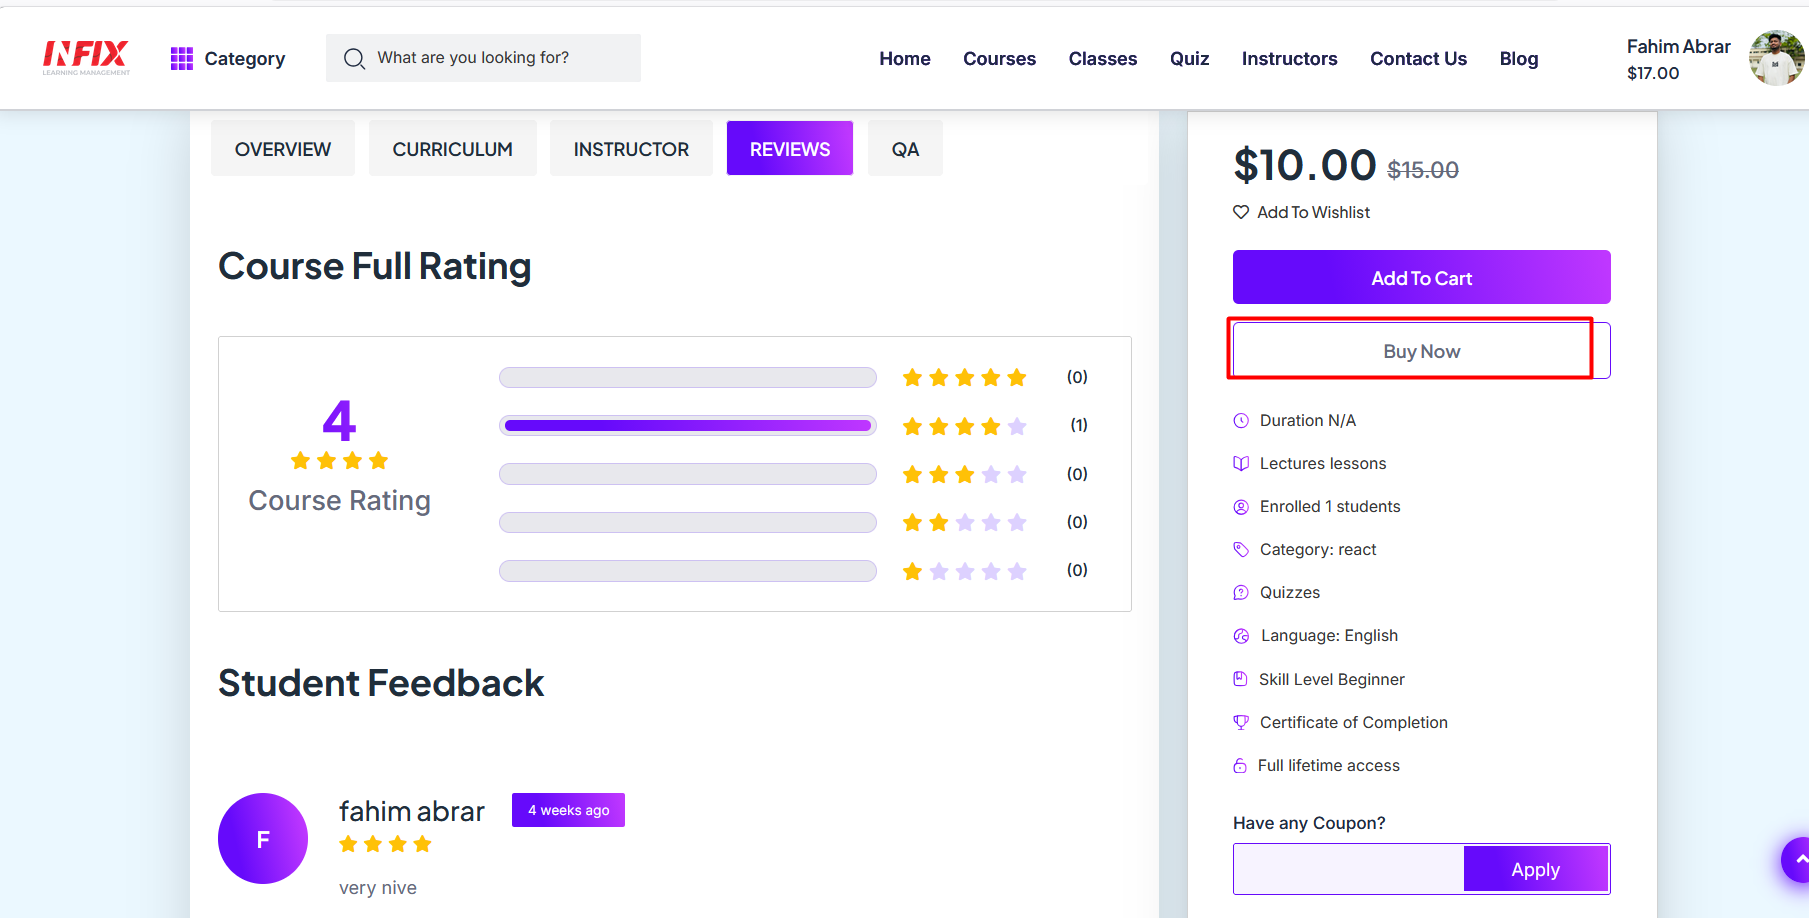
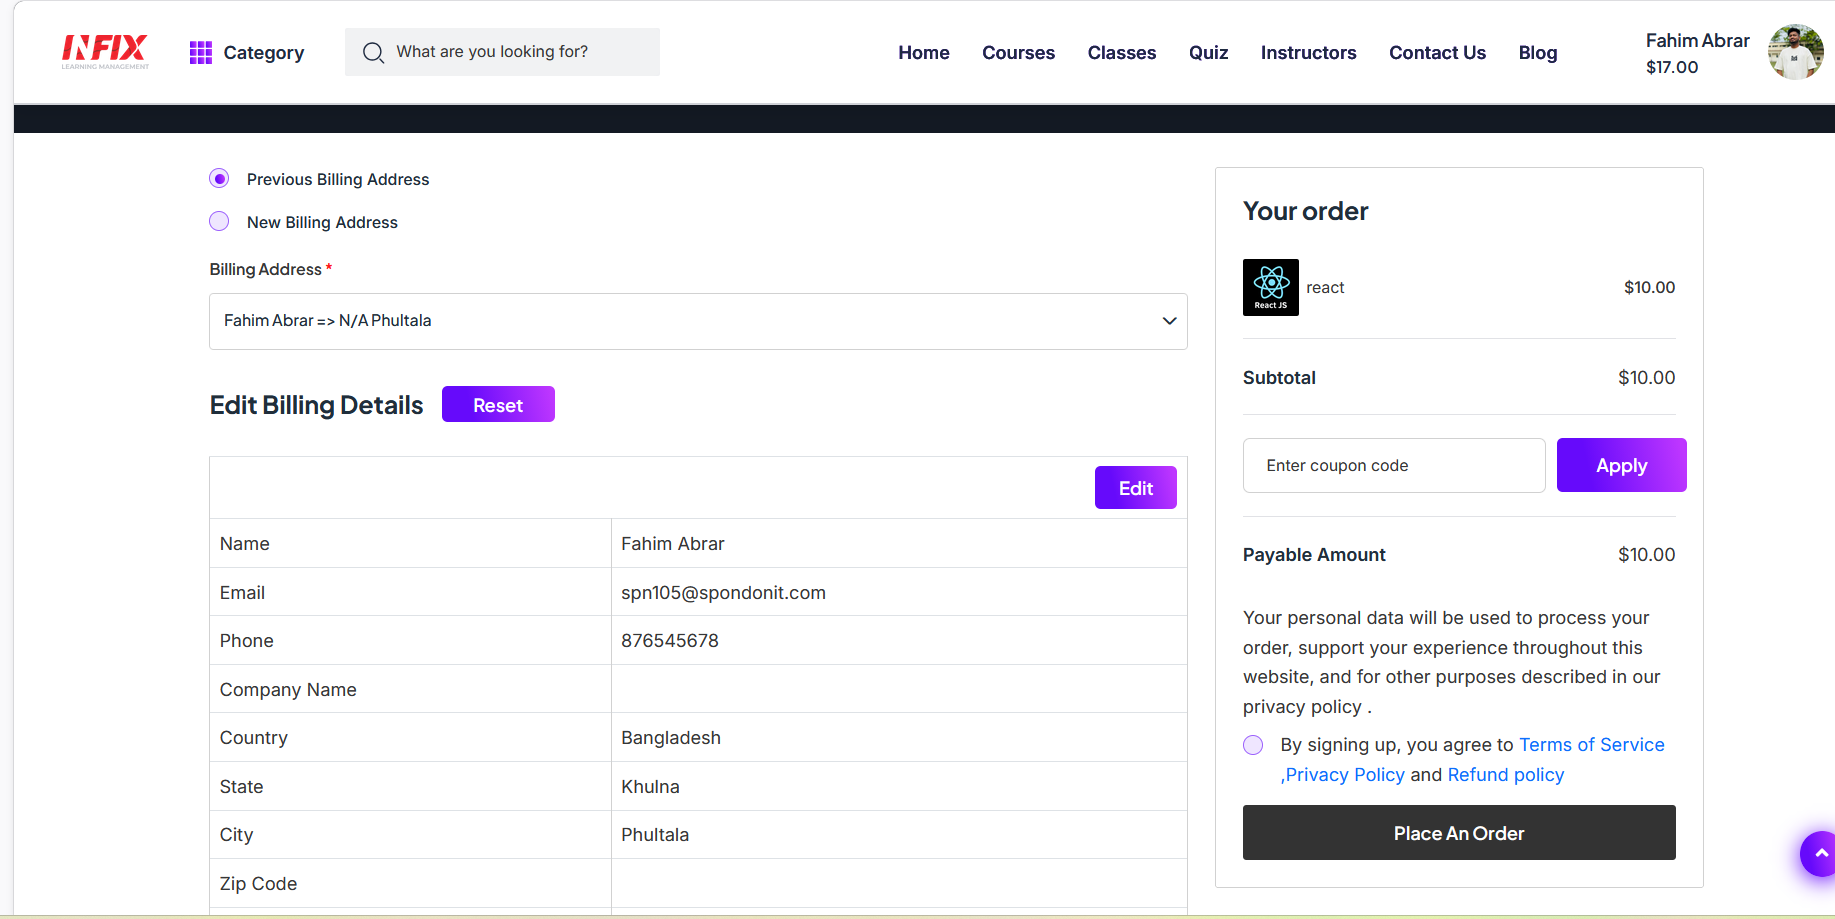
After clicking the buy now button just fill up the billing address and click on place order button.
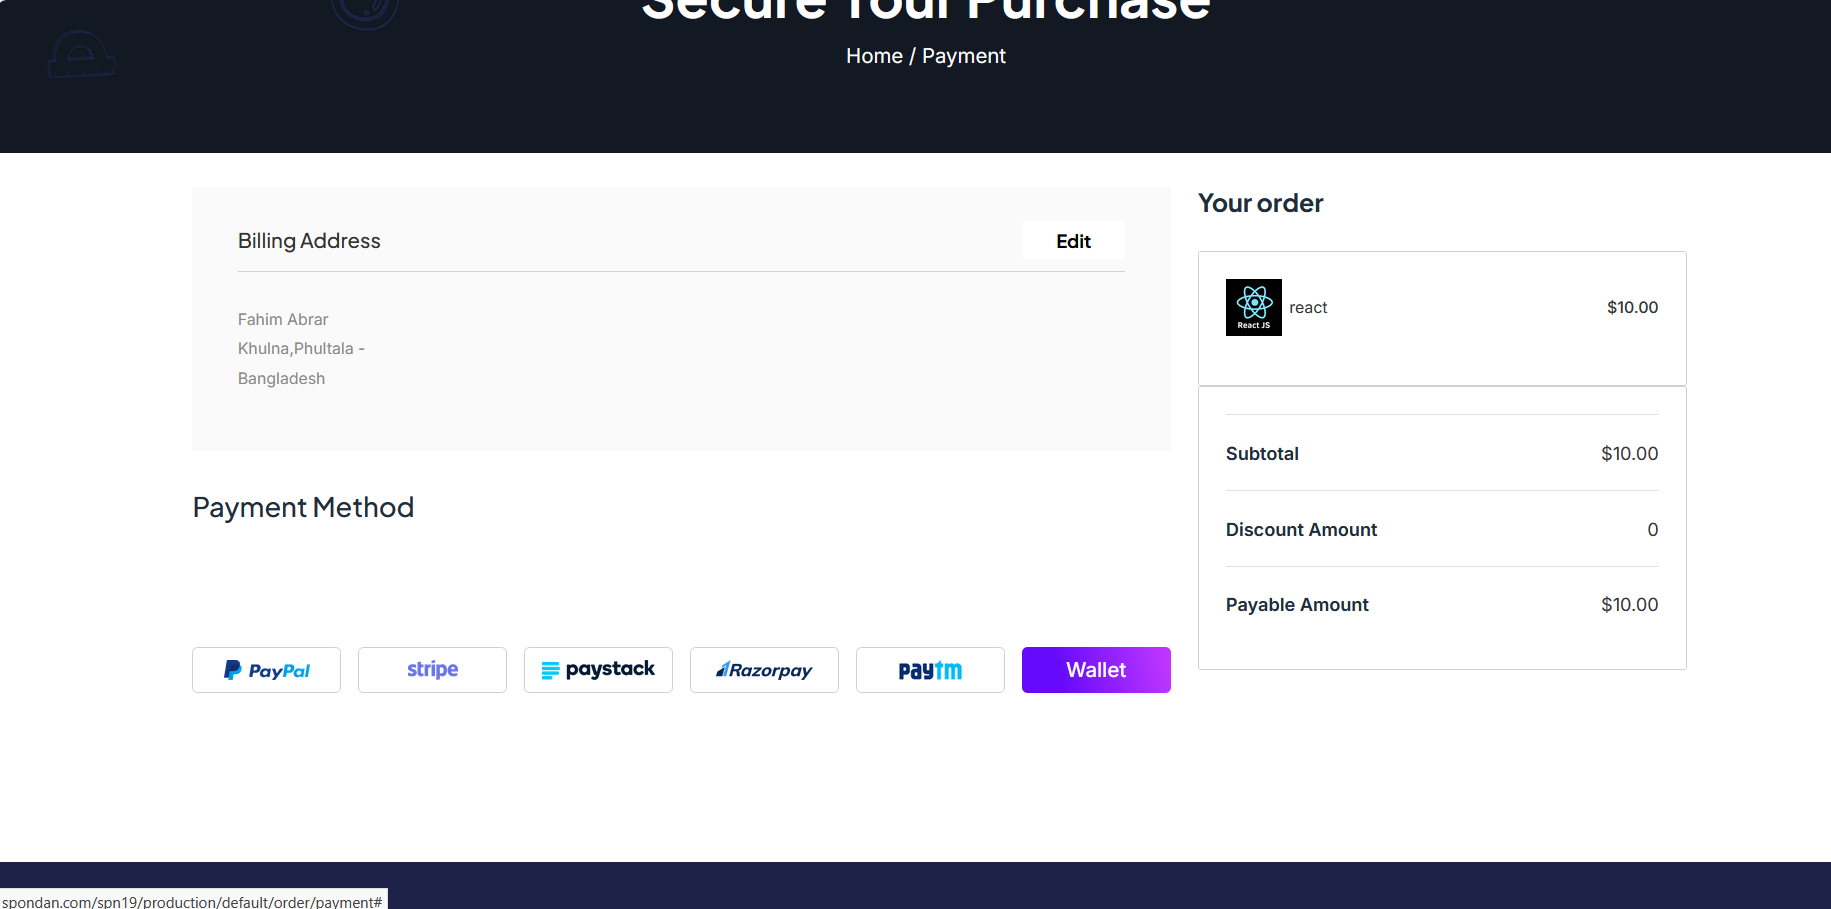
To pay, just select the payment method and do the payment your course will be enrolled successfully.
Drip content:
InfixLMS has a Drip content section that helps users come back because it allows them to consume small pieces of information simultaneously instead of reading everything all at once. Drip content is where you gradually release posts, pages, videos, and other content instead of giving it away all at once. This makes it easier for people to absorb the information they need without feeling overwhelmed by all the information on the page or website.
Drip Content Setting:
You can choose to release your published curriculum sections on a specific date, or a specific amount of days after a student enrolls. This means that a student will not be able to access this section until it has been "dripped" to them.
Short Direction: {InfixLMS> Dashboard> All Course> Drip Content> Course Edit For Drip Content> Drip Content Settings> Name> Specific Date> Mark Date or Days> Days After Enrollment> Save> Drip Content Sequence For Student Panel.}
If you want to sequentially publish your course or any type of content with Dripped wise then mark it as ‘Yes’ to your drip configure.
1- Drip Content can be ‘Yes’ or ‘No’.
2- Course Edit For Drip Content Configuration.
3- Drip Content Settings
4- Name as shown drip content list.
5- Specific Date
6- Mark the Date or Days
7- Input a specific number of Days After Enrollment will publish drip content.
8- Save it.
9- Drip Content Sequence For Student Panel that only shows the content in publish date or days & other content will not access the user without date or day confirmation.
Course Edit For Drip Content:
If you want to add existing courses including drip content then go to the InfixLMS dashboard to find the Course section to click on the All course listed to edit any of the courses for configuring drip.
Drip Content Configure Specific Date or Days:
Drip settings are set by the number of days. If you wish to release content over weeks or months, calculate the number of days or Date you wish to pass before your customers can access your dripped Modules.
Drip Content Sequence For Student Panel:
Drip-feeding learning content means that you offer a timed delivery. Instead of having all the modules available to learners as soon as they have made the purchase, knowledge entrepreneurs choose the number of days that need to pass before unlocking a new instalment.
Therefore, one of the best ways to enhance learning engagement and promote practice retrieval is to drip-feed regular microbursts of content, giving the power of continuous learning to your participants.
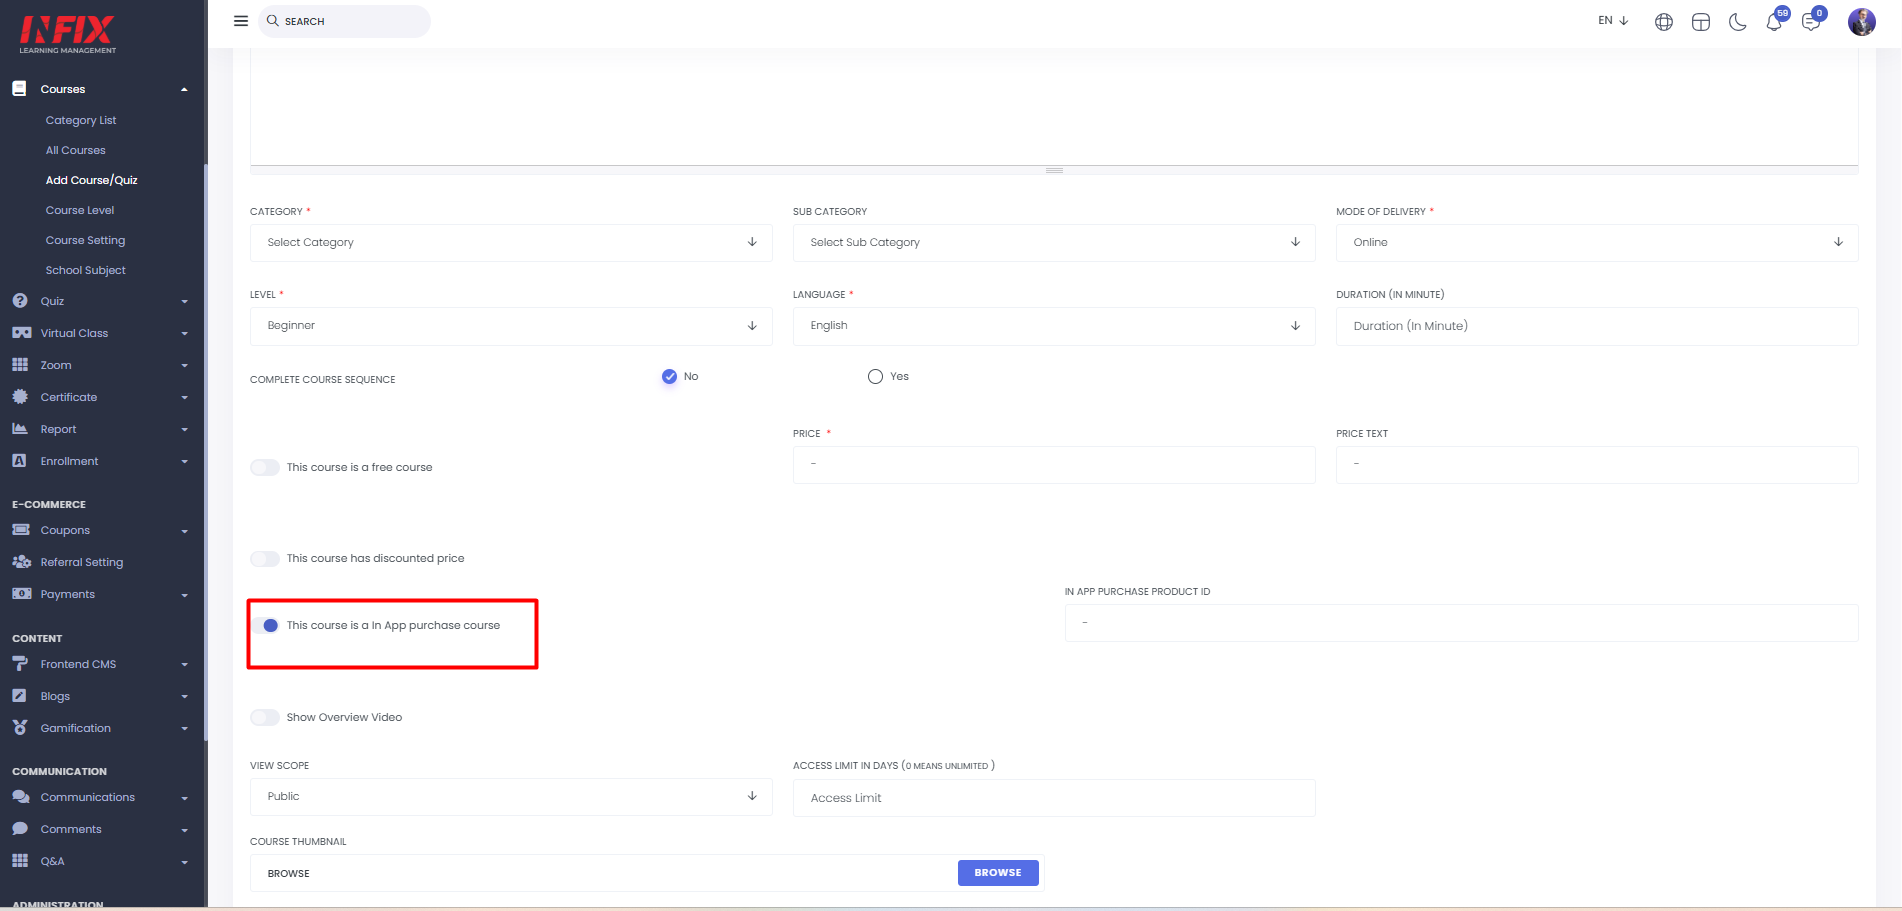
In App Purchase Course:
An "in-app purchase course ID" in InfixLMS for iOS users typically refers to a unique identifier associated with a specific course or content that can be purchased within a mobile app. This ID helps the app identify the course or content that a user wants to buy.
Here's how it generally works:
Course or Content Identification: Each course or piece of premium content in the InfixLMS system is assigned a unique course ID. This ID distinguishes it from other courses.
In-App Purchase Integration: When the InfixLMS system offers courses or content for sale within its iOS app, it uses Apple's in-app purchase system. This system allows users to make purchases securely through the App Store.
Linking Course to Purchase: The in-app purchase course ID is used to link the specific course or content to the corresponding purchase option in the app.
Payment Processing: When a user decides to purchase a course or content, the app uses the in-app purchase course ID to initiate the payment process through Apple's App Store. The user is charged for the content, and once the payment is confirmed, they gain access to the purchased course.
Access to Content: After a successful purchase, the user can access and use the course or content they've bought within the app.
In summary, the in-app purchase course ID serves as a behind-the-scenes identifier that helps connect courses or content with their respective purchase options in the iOS app, facilitating a seamless and secure buying experience for users.
Configure in-app purchase settings
Overview for configuring in-app purchases
If you want to know how to work it then click on the link below:
In-app purchase course ID:
If you want to add an in-app purchase course ID then go to the InfixLMS dashboard to find the add new course to scroll down & you will see the ‘’This course is an In-App purchase course’’. When you click on the enable button to pun on the IOS purchased ID.
Course reminder:
A Course Reminder can be set on any course that has a Feedback activity, which is designed to give a learner the opportunity to record their learning experience. The Course Reminder is essentially an invitation to a learner to complete the course. The initial course reminder invitation will be triggered by the requirements in the Course completion settings. There is also the option to set up reminders based on the completion of individual activities within a course.
The Benefits For Course Reminder:
When admin creates a course that time puts any number of days, like 7 days, 30 days, 365 days.
Those who are enrolled will receive notification of the ending date.
After the end date, students can't access that course Or are not able to generate a certificate.
Each of the courses individually has the option to put the days.
The Follow Work Step Procedure:
Add the day input field in the add/edit course page. It will apply only for (course/quiz)
Show access day on the course details page.
access day count from the enrollment date.
After expiration validity can’t access the course.
After expiration can’t download the certificate.
Add an email template for the reminder.
Setting for when (days before the deadline) to send mail.
Create a command to check the validity.
Apply for a corn job.
Apply in the main application as an optional feature.
It is possible to have multiple feedback activities within a course and therefore have multiple reminders based on completion of different activity elements within a course.
Add Course:
If you want to set the course reminder then first you have to create a course then you will see the course reminder option.
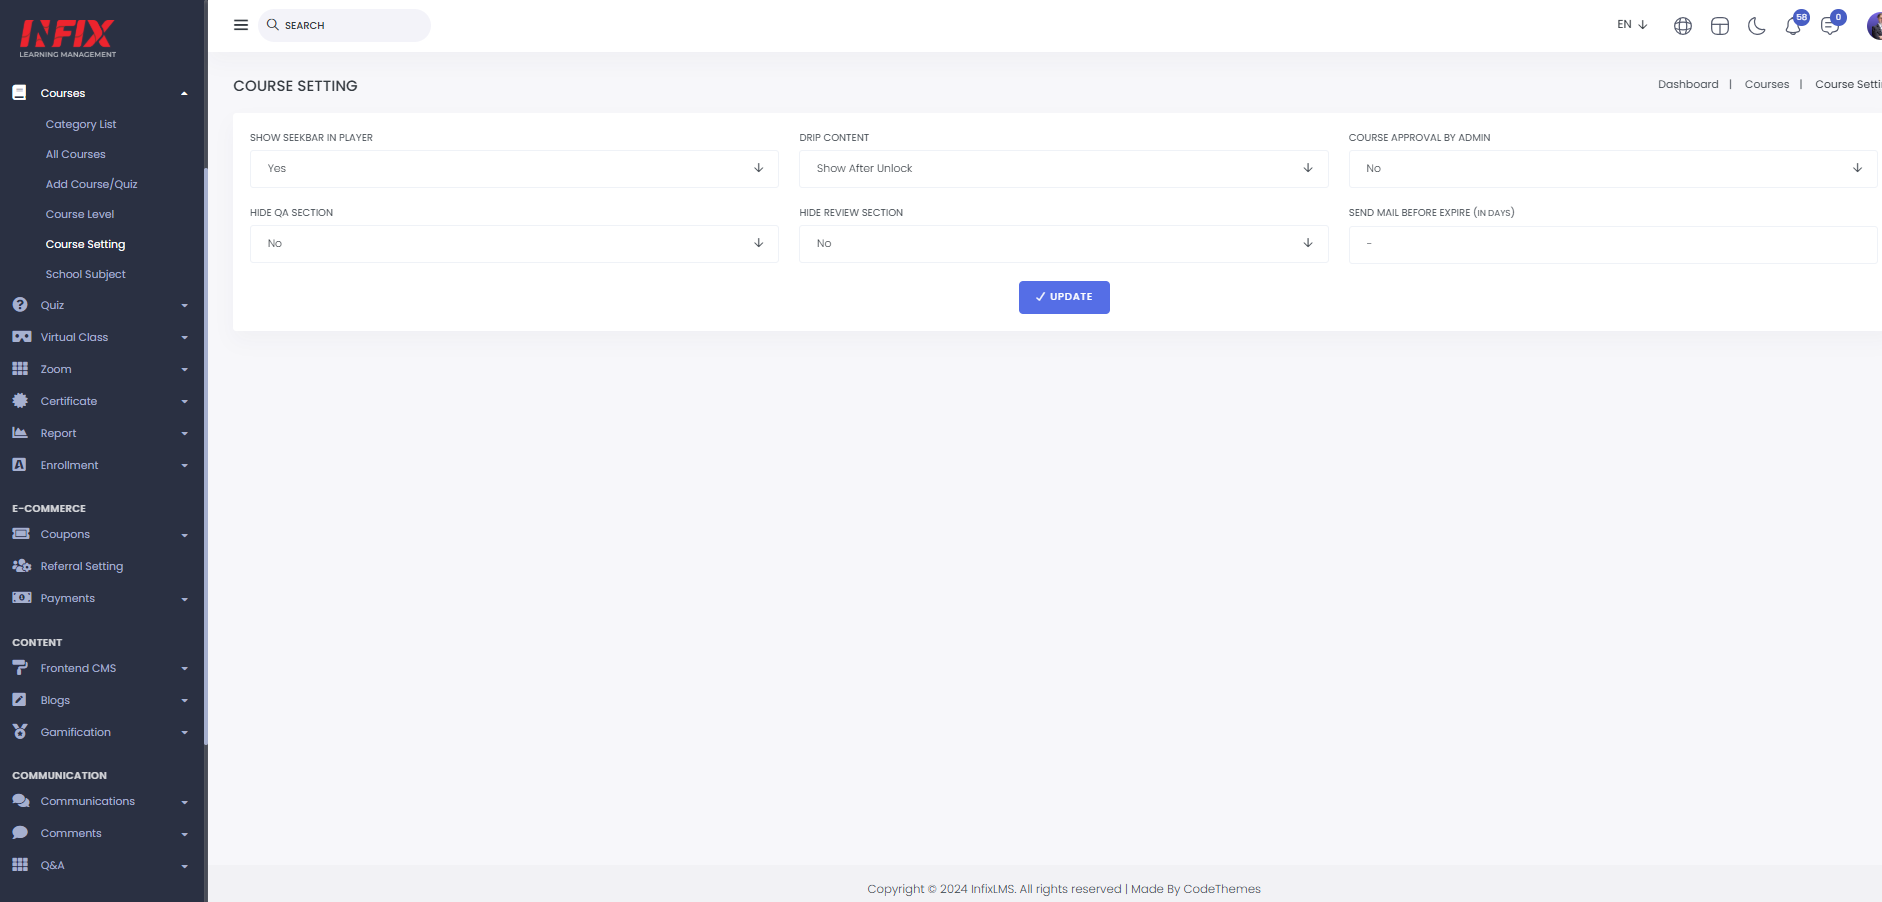
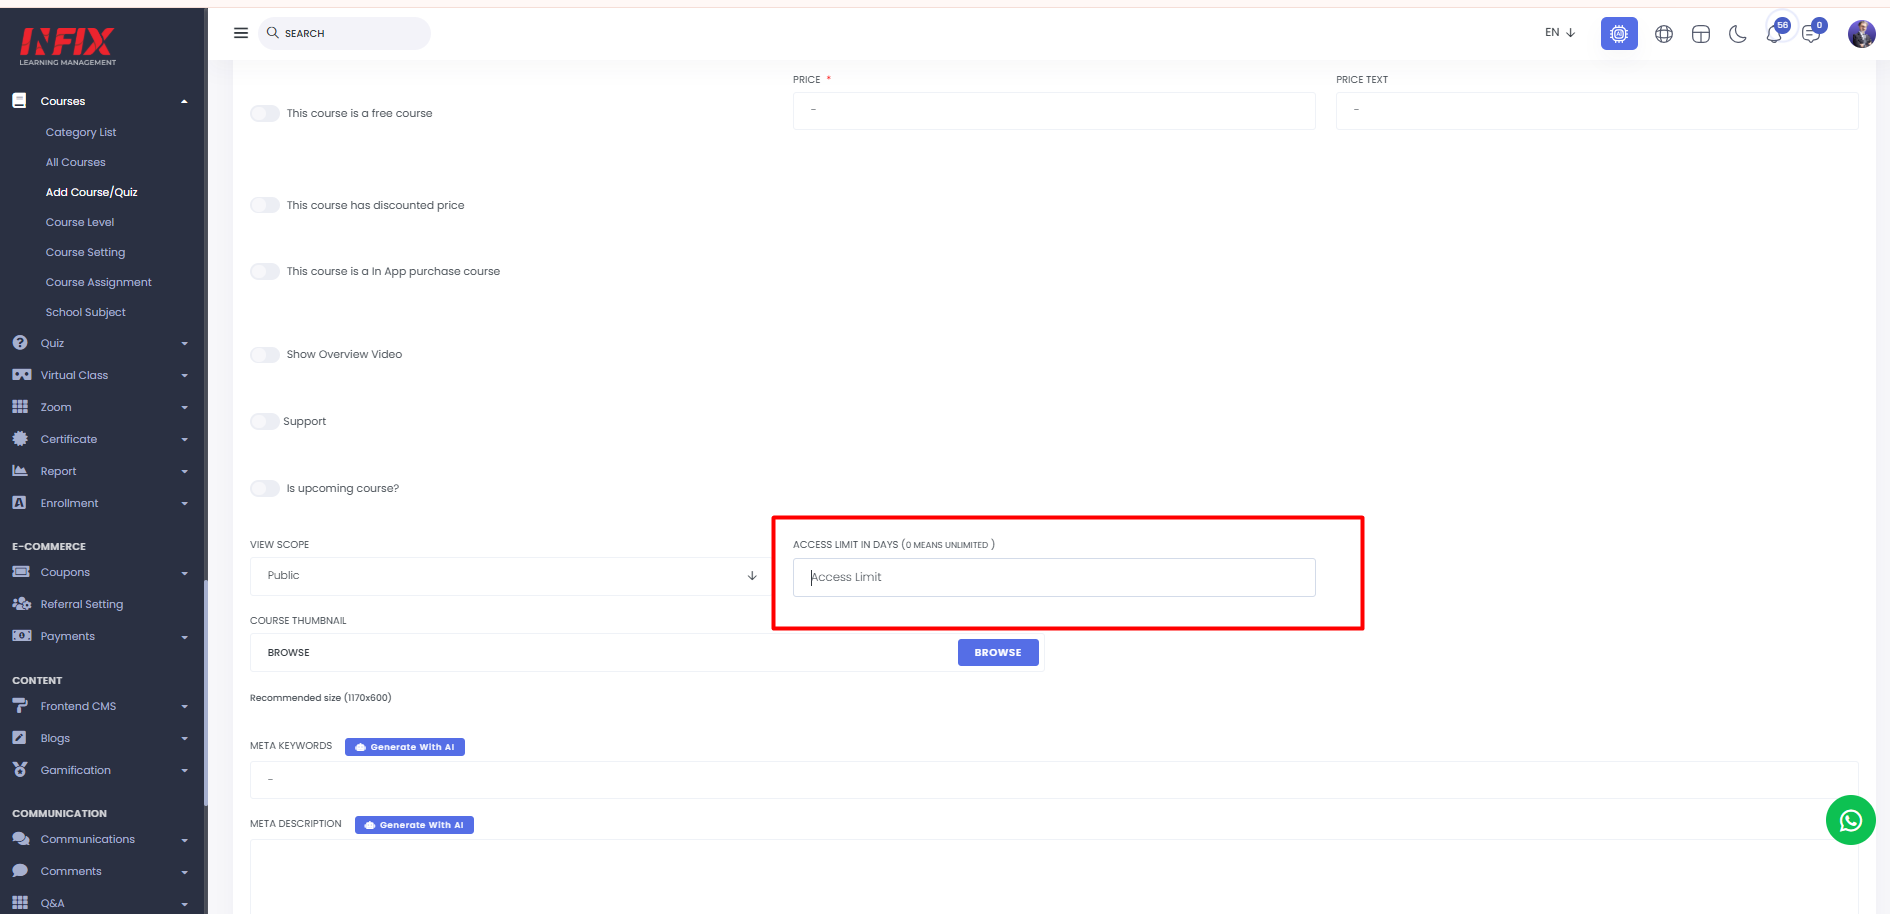
Access Limit in Days:
If you want to set the access limit in days for the courses then follow the picture below.
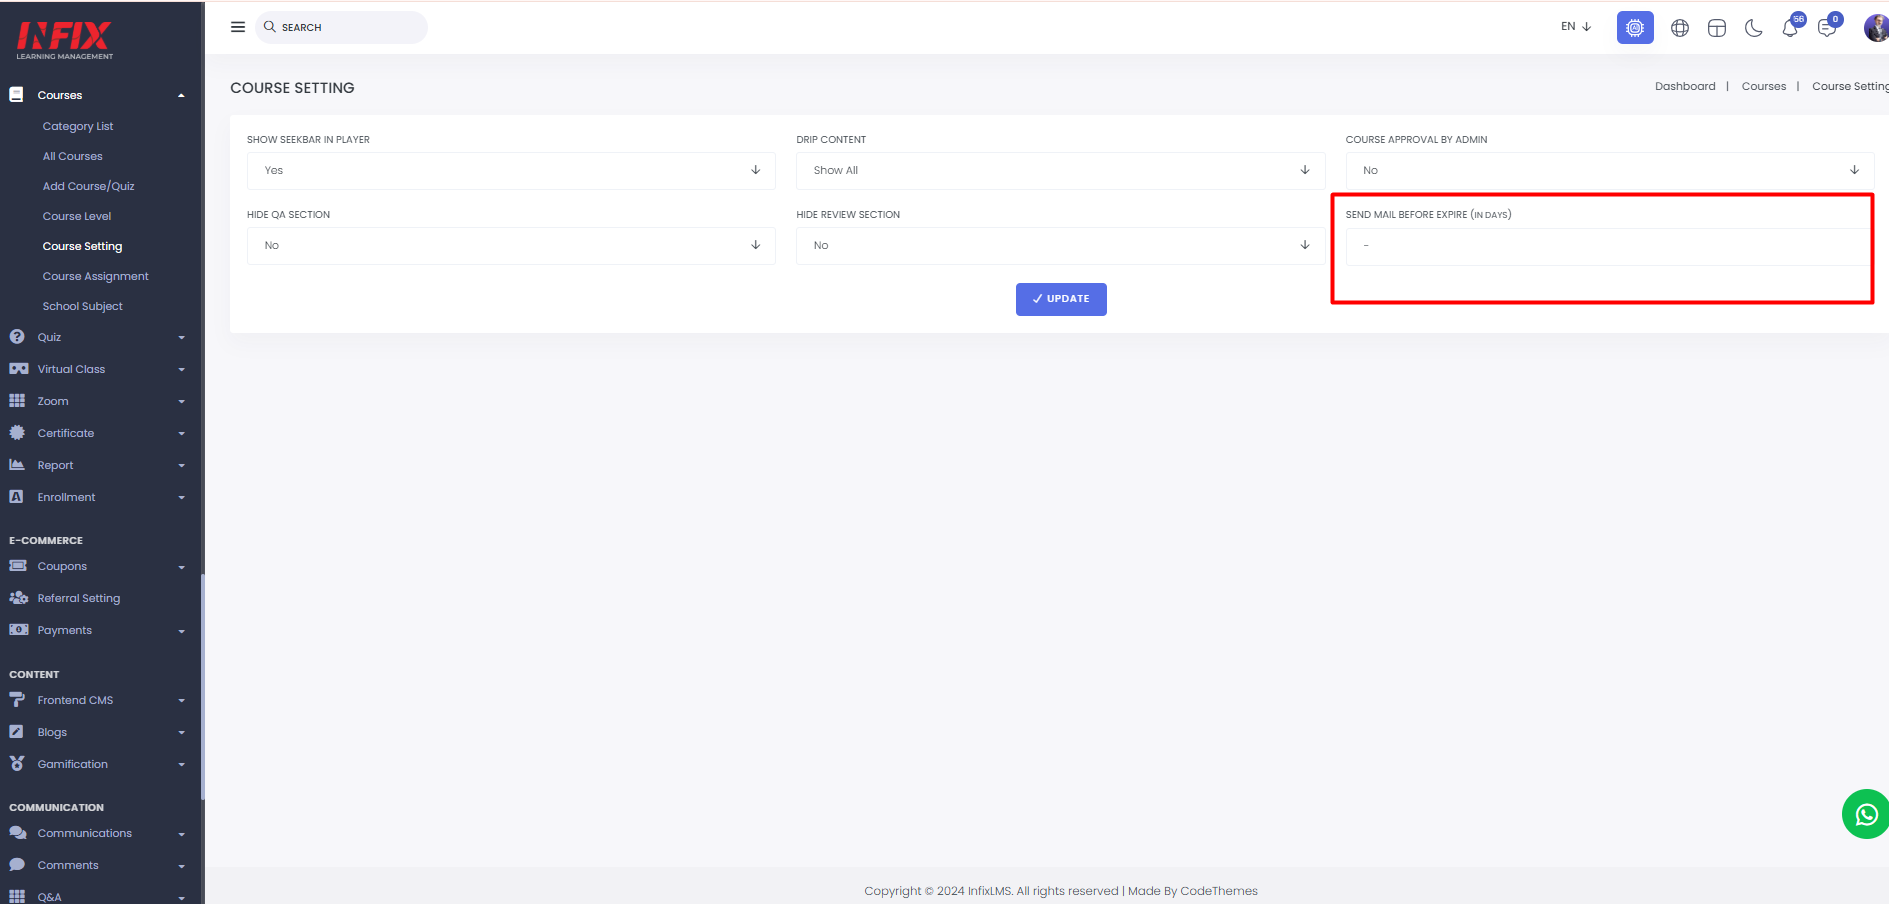
Send Mail Before Expire:
If you want to set the automatic email notification to send students to remind them their course validation expires soon then you have to go to the InfixLMS dashboard to find the course, click on the course setting & put the number of days this course exists on this website. It will remind the user to finish the course immediately.
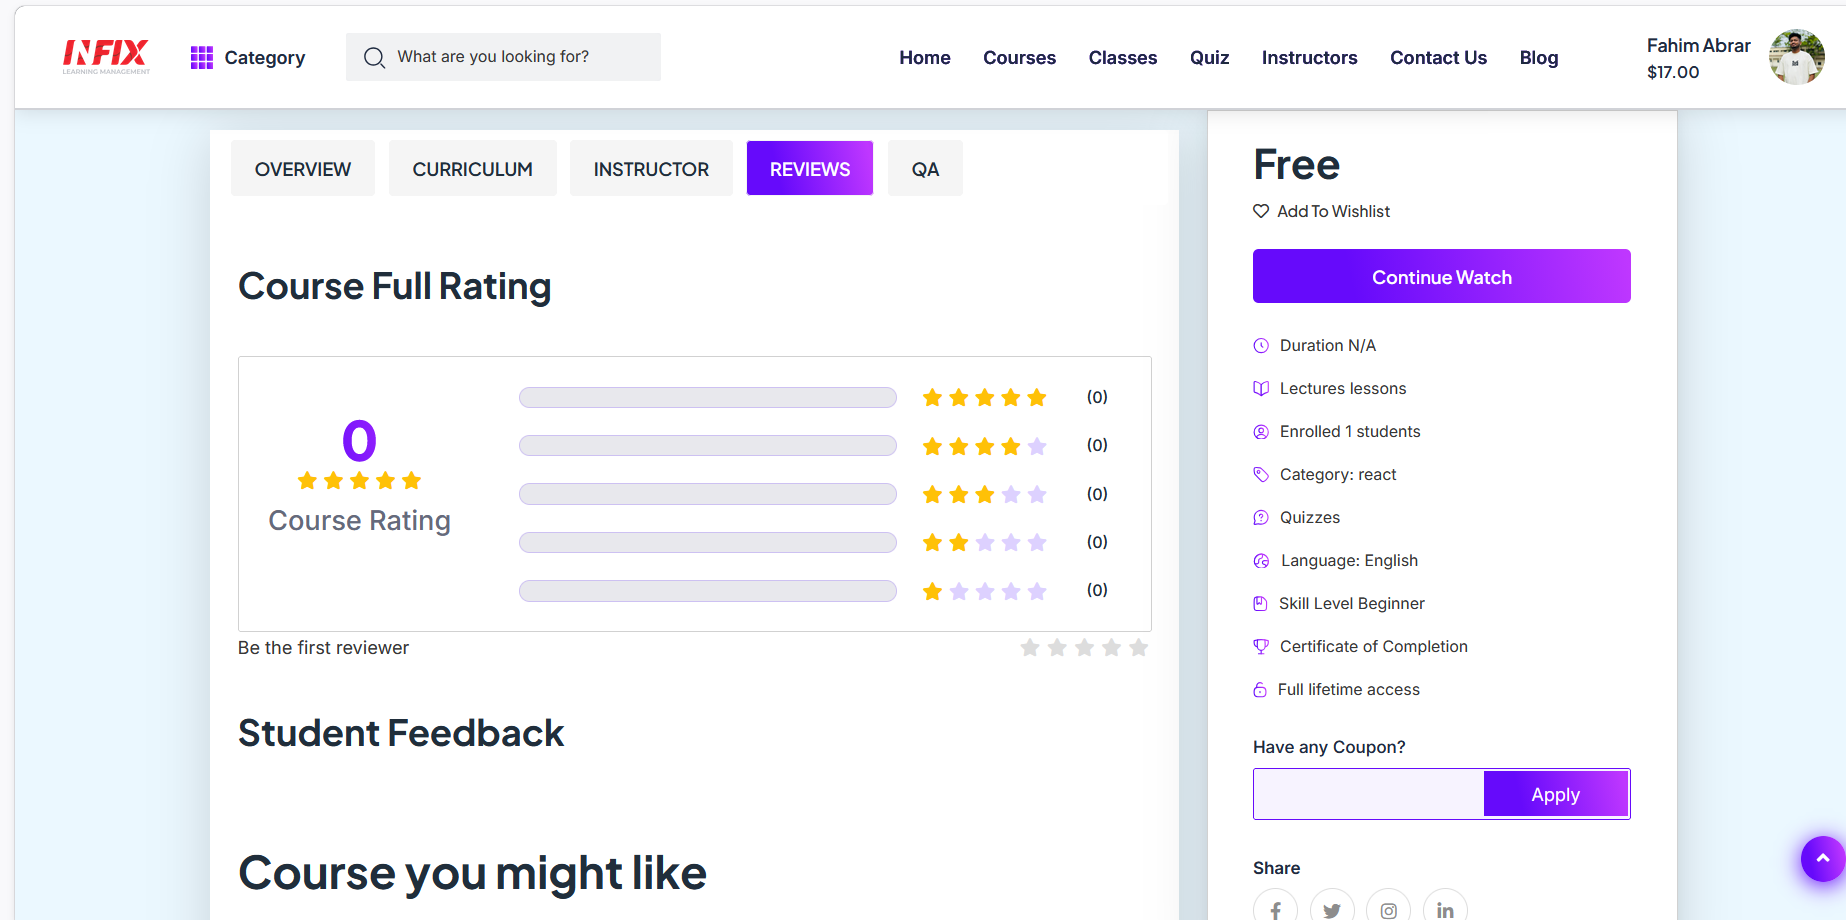
Course Access in Total days reminder:
When a user wants to enroll in the courses or if they want to check the remaining days of this course then they will find the total expired day countability
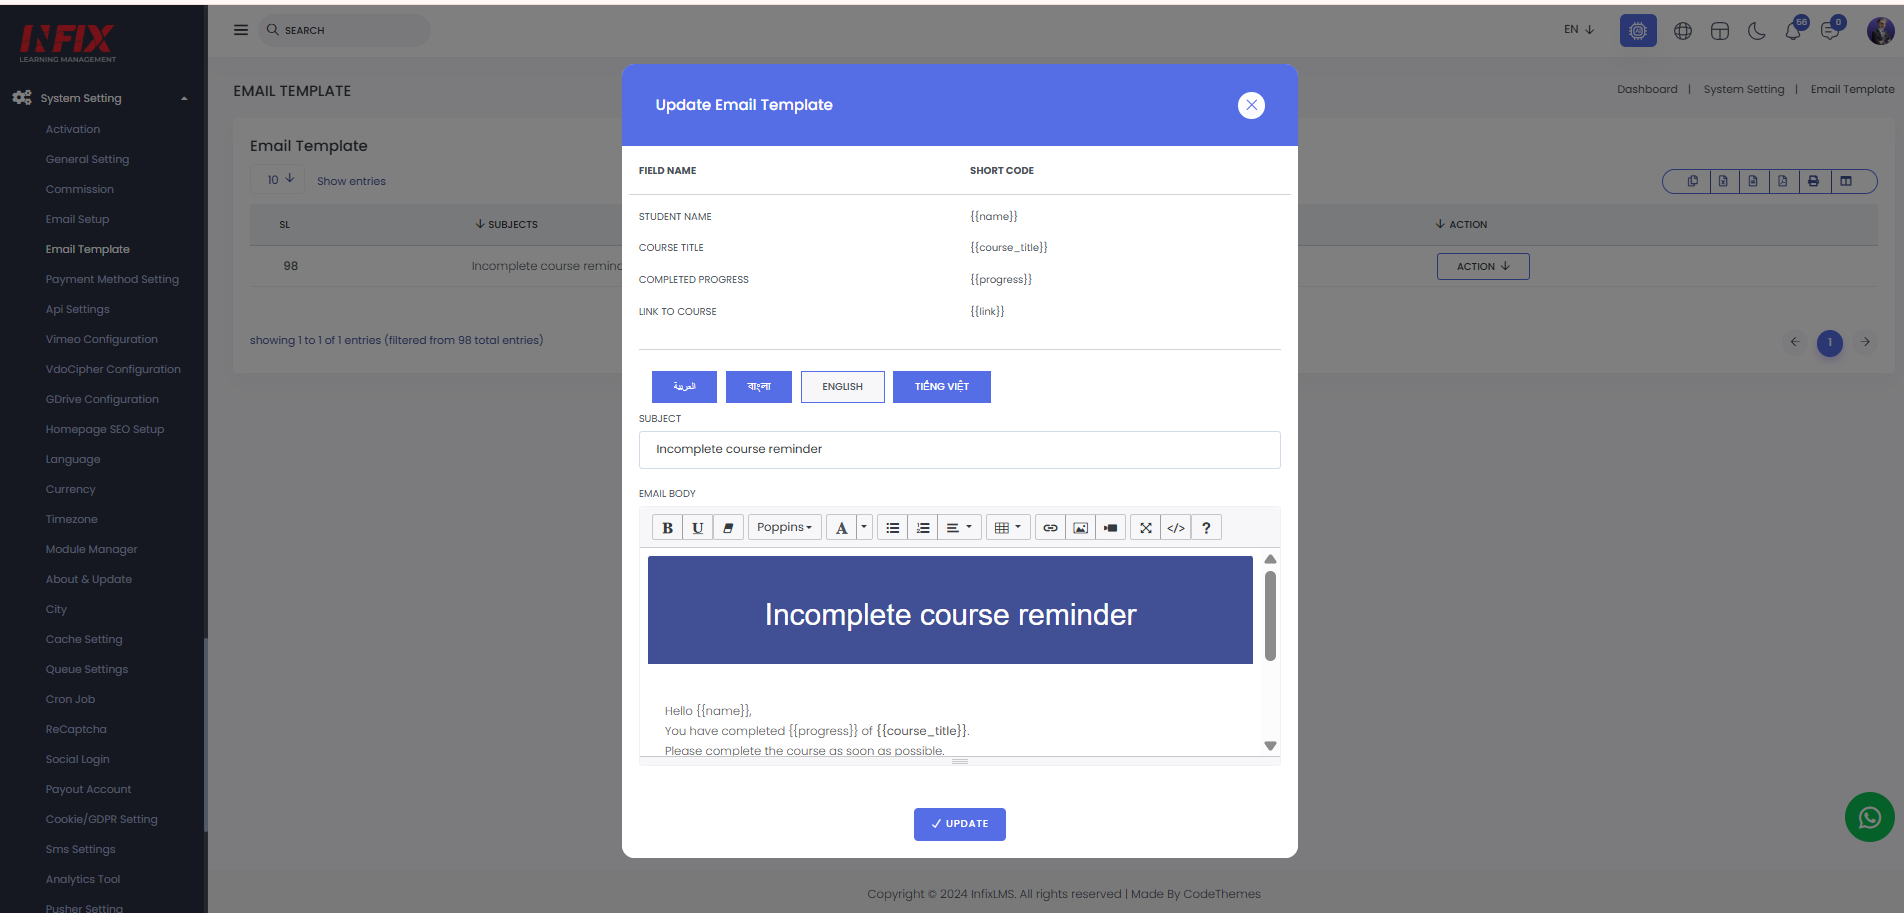
Email Template For Course Reminder:
If you want to create a new email template for course reminders then go to the InifxLMS dashboard to system settings to find the build template. You have to find the Course Expire Soon section to click on the action for edit, you will see the update email templet bar.
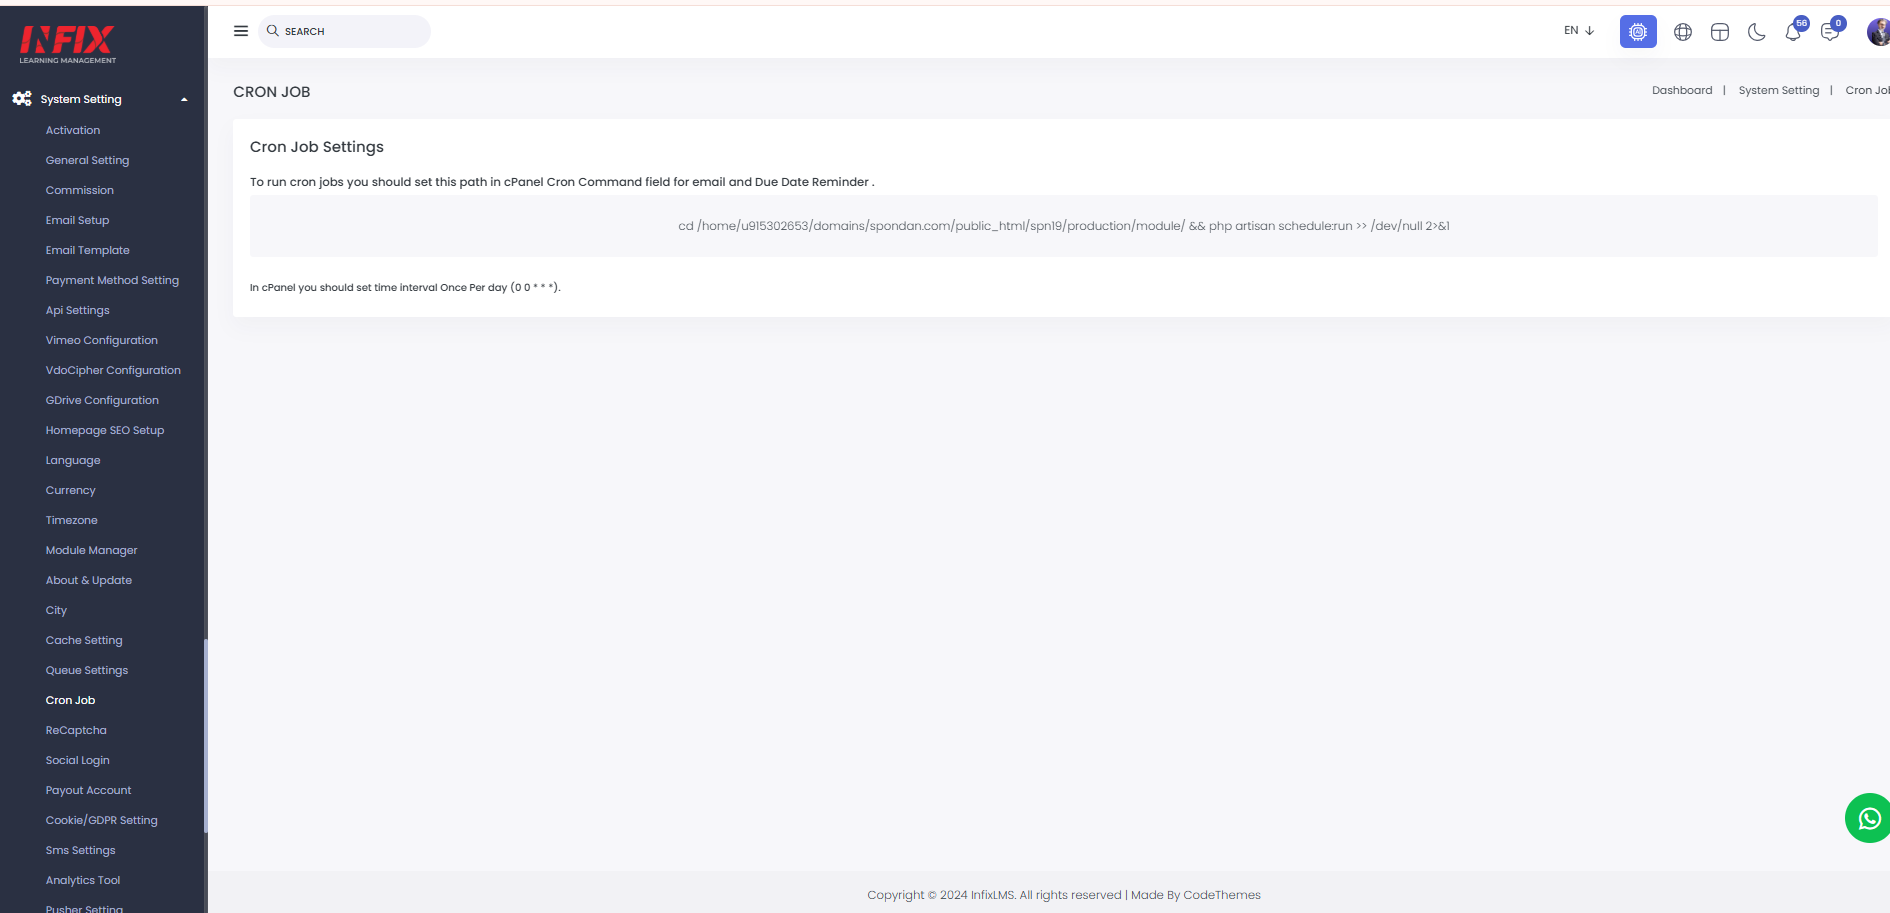
Corn Job:
If you want to run this section then you have to generate the corn job link. A cron job is a Linux command used for scheduling tasks to be executed sometime in the future. This is normally used to schedule a job that is executed periodically – for example, to send out a notice every morning. Some scripts.