First Setp:
Please download the updated file from where you purchased the application. The zip file is inside two files in it called the vendor and another is the update dot.
Second step: The user will have to log in to the cPanel or server and then go to the project folder. Rename your existing vendor folder to something like vendor_old as a precaution (after the update is complete, you can delete the vendor_old folder). The user will upload the “vendor.zip” file and then unzip it. folder name must be vendor.
Third step: Navigate to the following directories and manually delete files to clear the cache
bootstrap/cache directory storage/framework/cache and storage/framework/views.01. cPanel login (in your case, login into your hosting server)


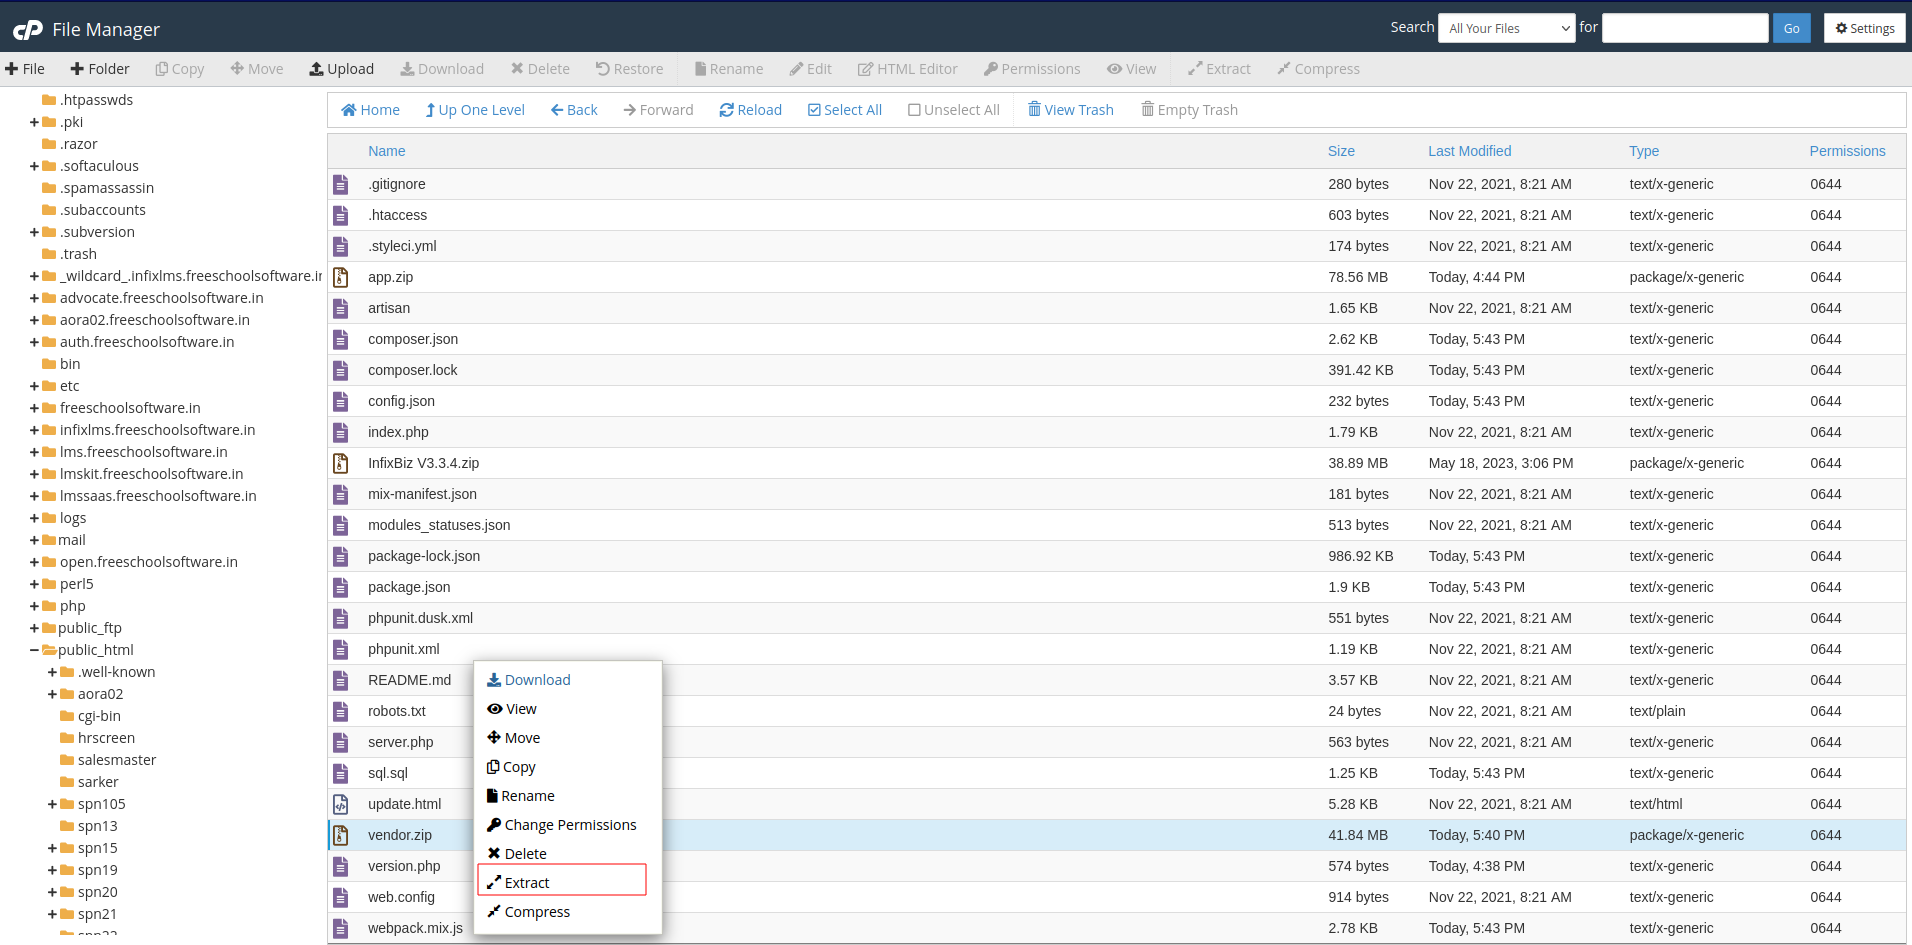
6. Extracting


8. Bootstrap to click on the Cache Folder

9. Bootstrap to select the cache folder to include all files deleted.

10. Delete confirmation

11. After deleting the bootstrap to the cache folder, including all files.


12. About & Update:
Log in to the user's application, then go to the general settings to find the About and Update section. If you upload it there, it will take the update.
yourdomain.com/setting/updateSystem
Congratulations!