If you are enrolled in the infixLMS on a course, a user officially joins it without paying a fee for the process of e-learning. This is applicable when a course is ongoing, meaning the student is currently taking it. All scheduled class sessions are included, whether students are present or absent & Admin can refund & cancel any of the courses.
The Advantage of Enrollment For Courses:
A student can officially join the course without purchasing.
Admin can refund any of course
User can check the Refund & Cancellation reason
Instructors can allow how many days for a refund after enrollment.
Students can Enable Refund Requests if the admin changes the status.
At a glance, the user can check the total Enrolled Student List.
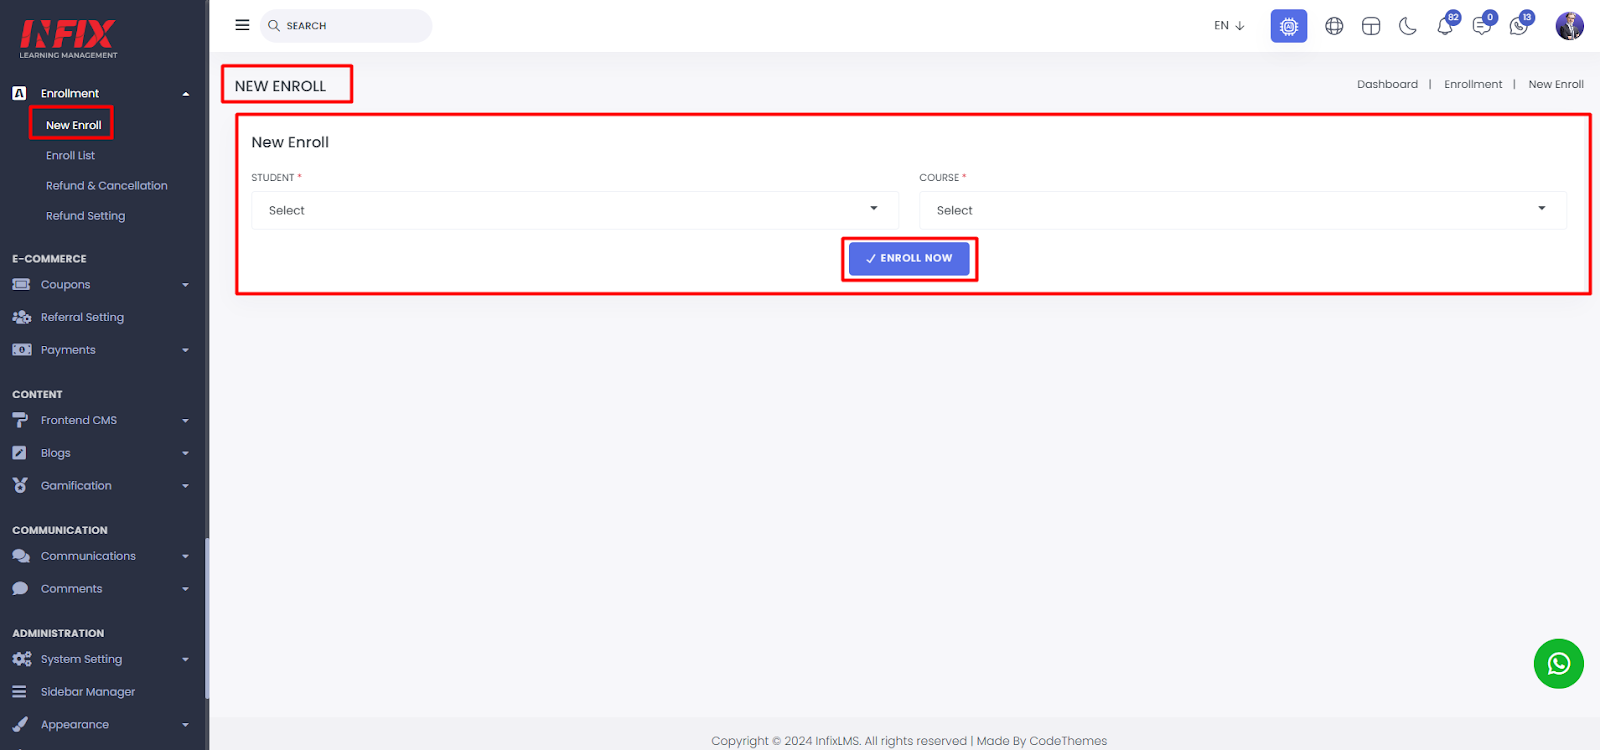
New Enroll:
If you want to assign your course to the student without purchasing then select the student list from students & choose the course to which you want to be admitted.
Short Direction: {InfixLMS> Dashboard> Enrollment> New Enroll> Student> Course> Enroll Now.}
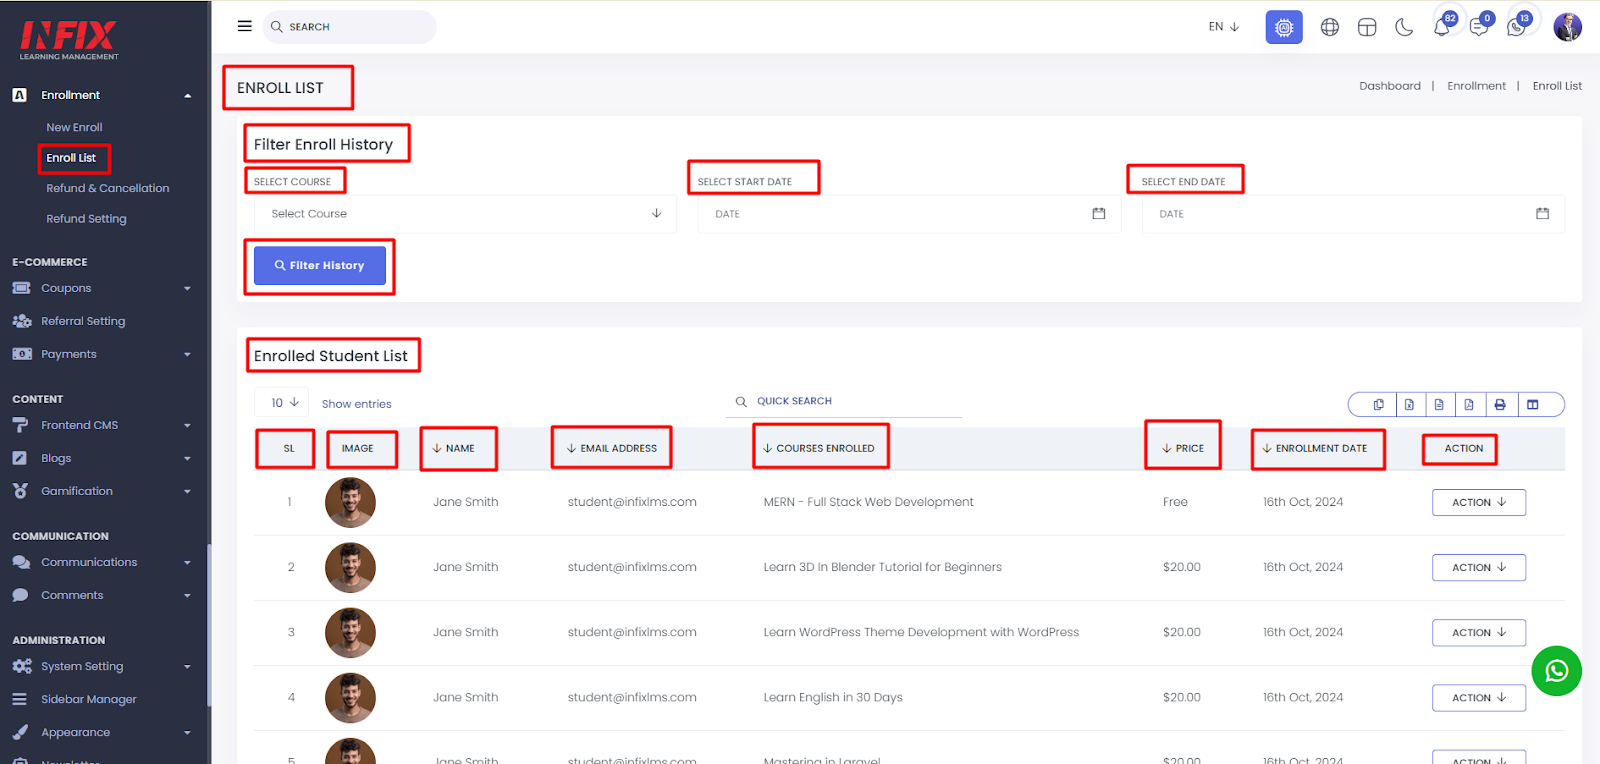
Enroll List for Refund Course:
If the admin or instructor wants to refund or cancel this course that they already enrolled for the student then go to the InfixLMS dashboard to find the enrollment to click on the enroll list.
Short Direction: {InfixLMS> Dashboard> Enroll List> Filter Enroll History> Select course> Select start date> Select end date> Filter history> Enrolled Student List> SL > Image> Name> Email Address> Courses Enrolled> Price> Enrollment date> Action for refund or cancel a course.}
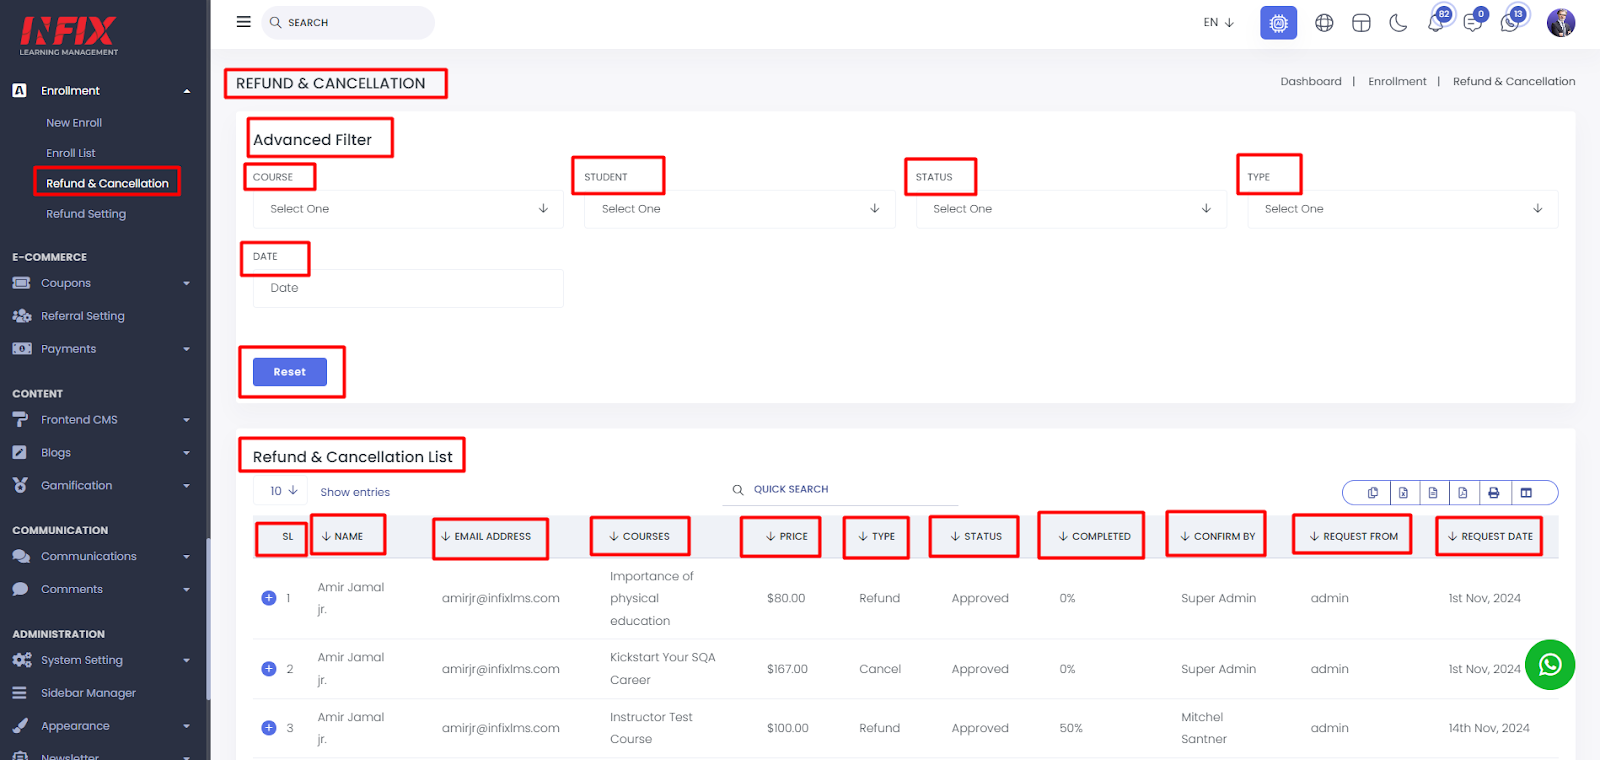
Refund & Cancellation:
Here is where the admin can find the reason for the refund & cancellation of individual courses. Also, a user can be used to advance the filter easily to find the refund & cancellation reason.
Short Direction: {InfixLMS> Dashboard> Enrollment> Refund & Cancellation> Advanced Filter> Course> Student> Status> Type> Reset> Refund & Cancellation List> SL> Name> Email Address> Courses> Price> Type> Status> Confirm By> Request From> Request Date> Click Action for reason check.}
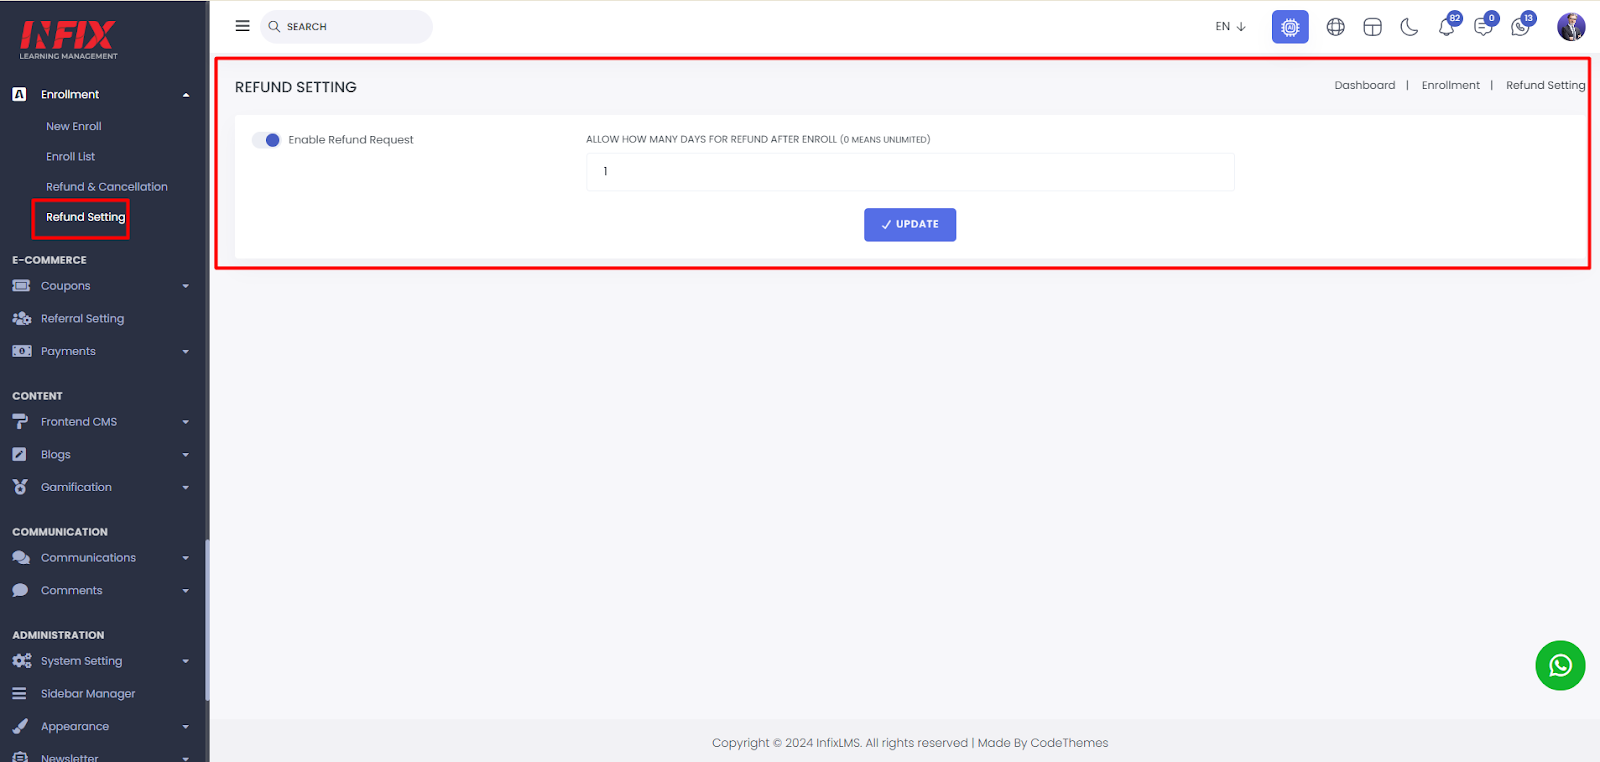
Refund Setting:
A user can manually change the status of the enable refund request or set the time to allow how many days for refund after enrollment.
Short Direction: {InfixLMS> Dashboard> Enrollment> Refund Setting> Enable or Disable refund request> Allow how many days for refund after enroll> Update it.}