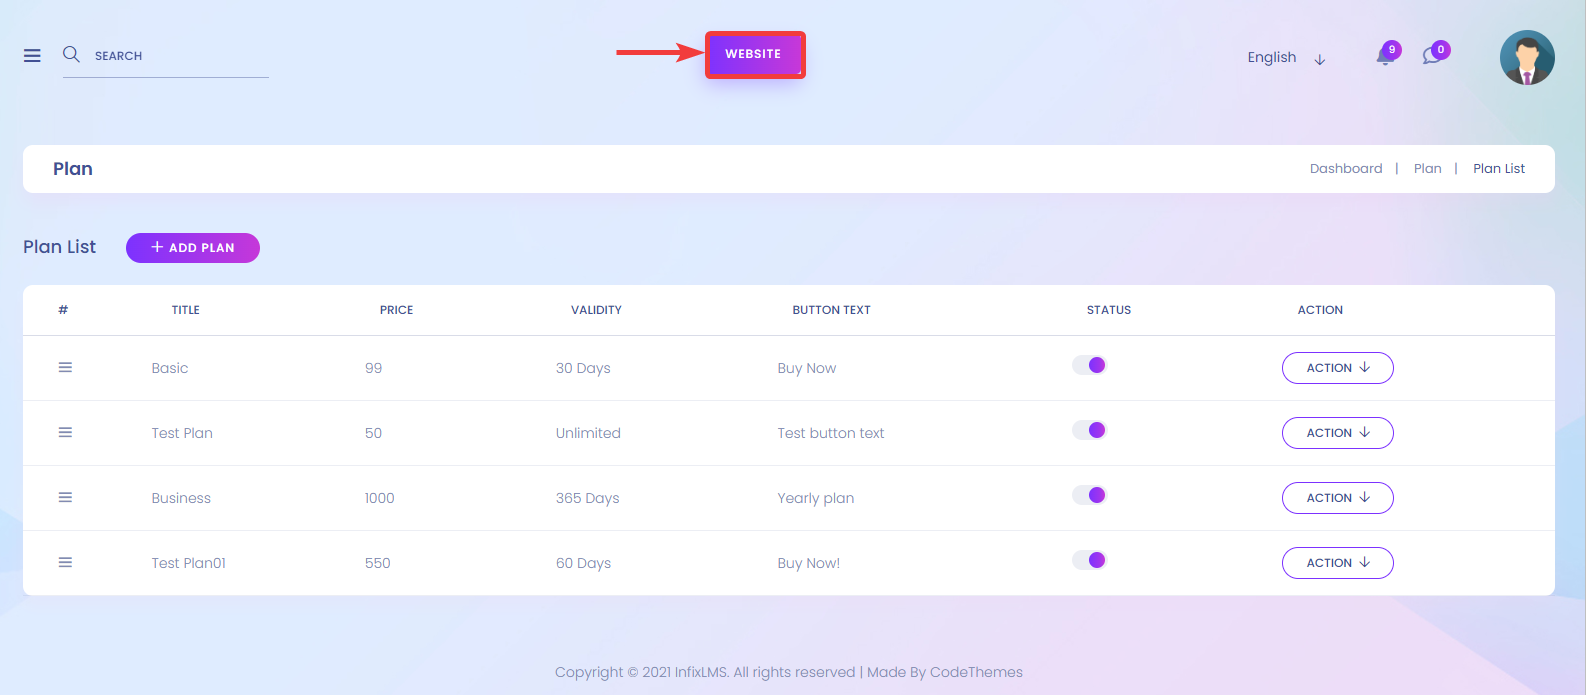
In this option, you can create personalized plans. You can activate and deactivate your configured plans and view, edit or delete your custom plans.
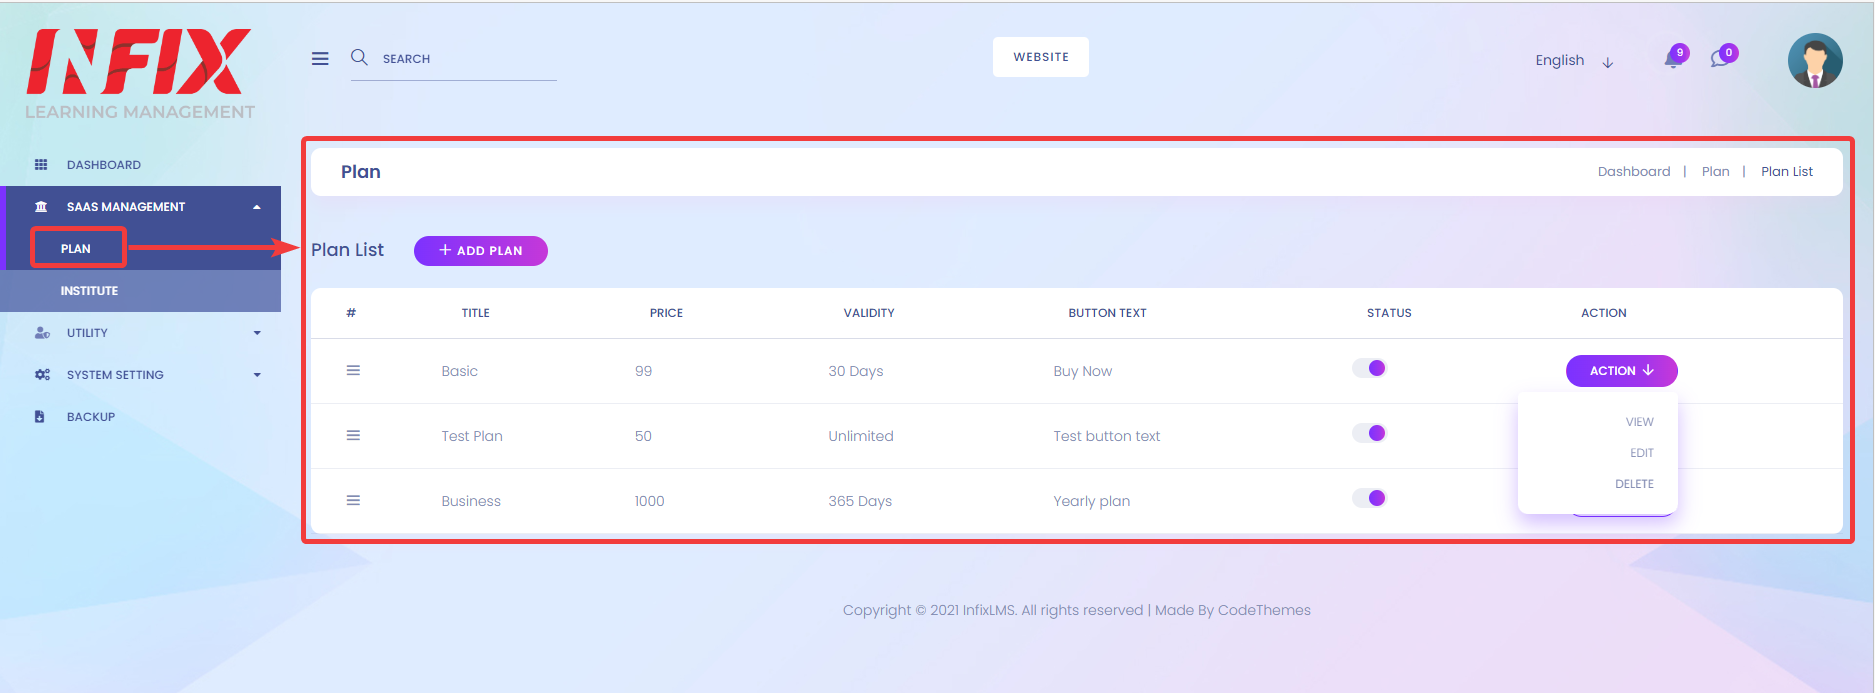
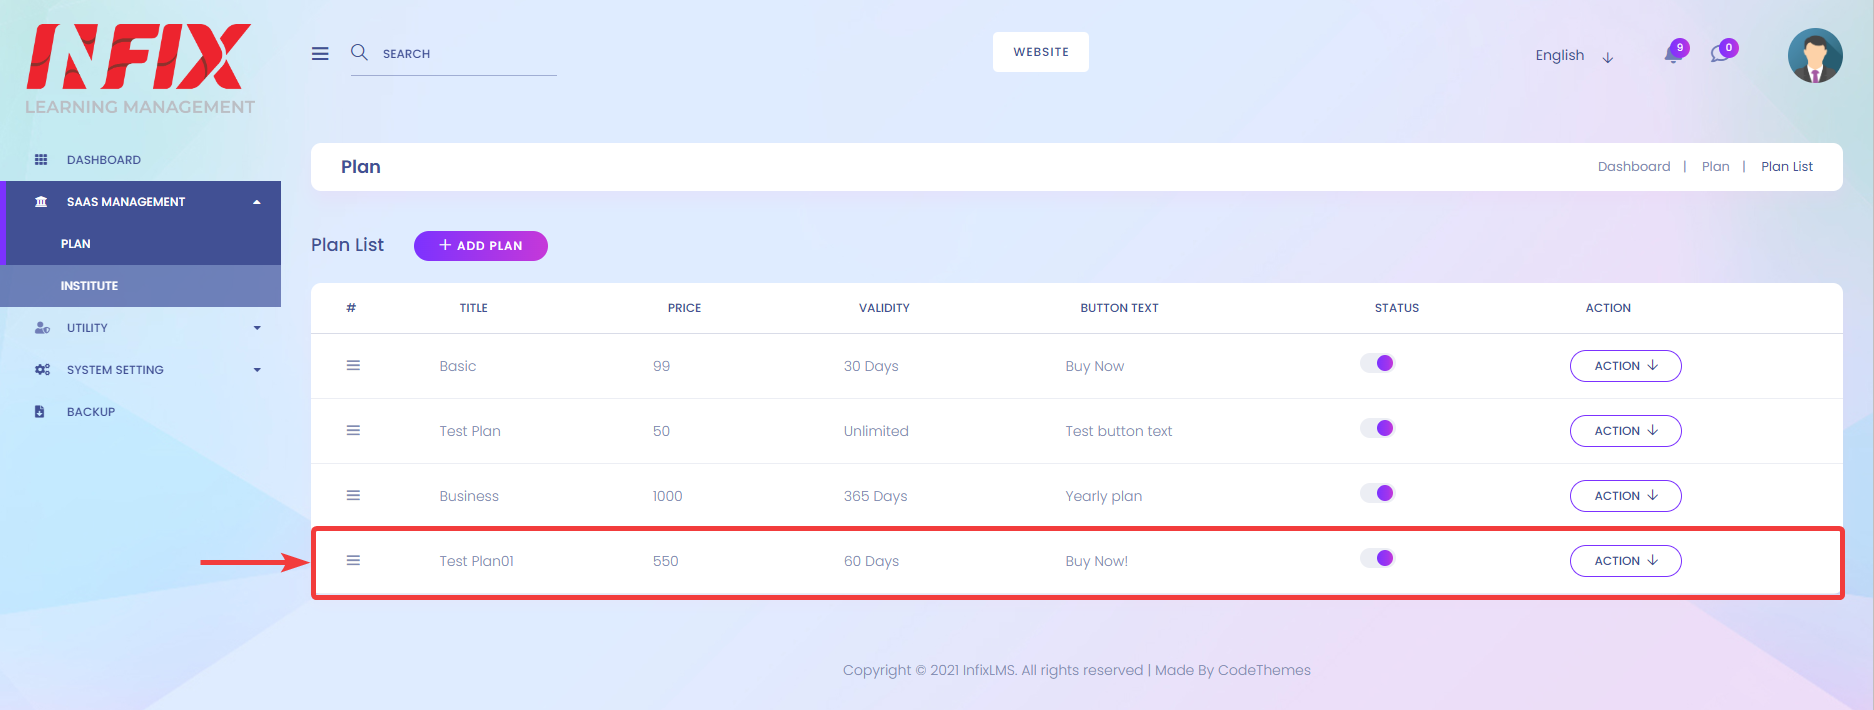
As you can see in this demo, there are 3 plans offered here - Basic[1], Test Plan[2], and Business[3] but you may not see anything added here, but You can easily add new plans.
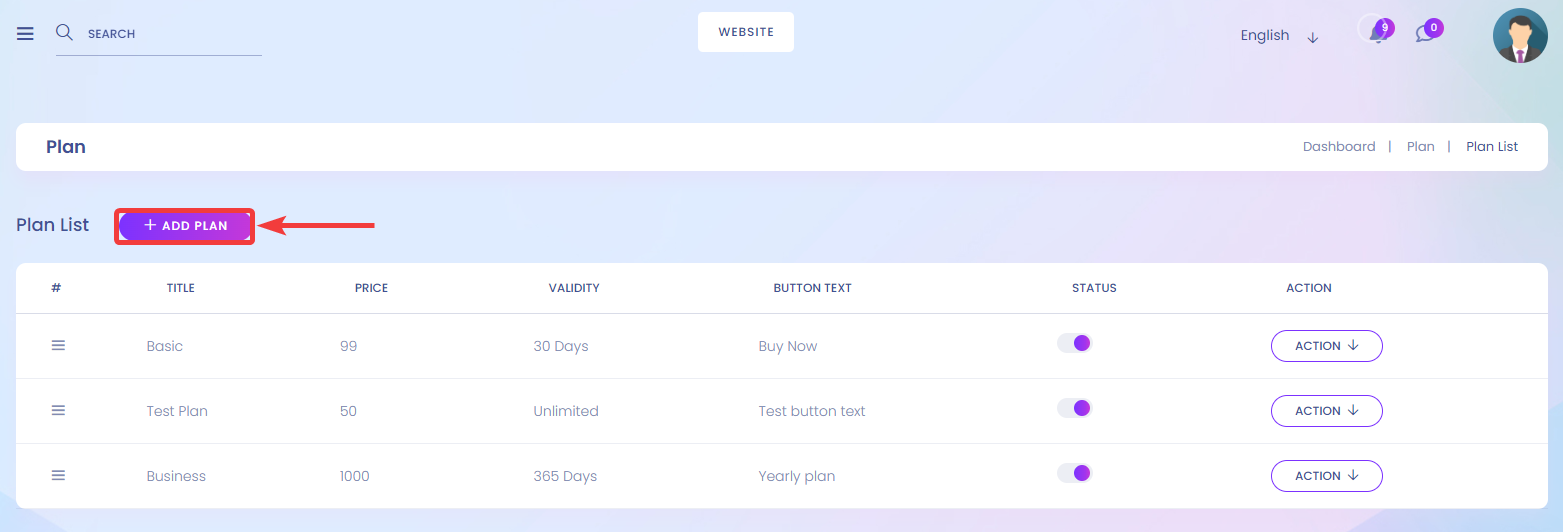
To create your personalized plans, click on the New Plan button.
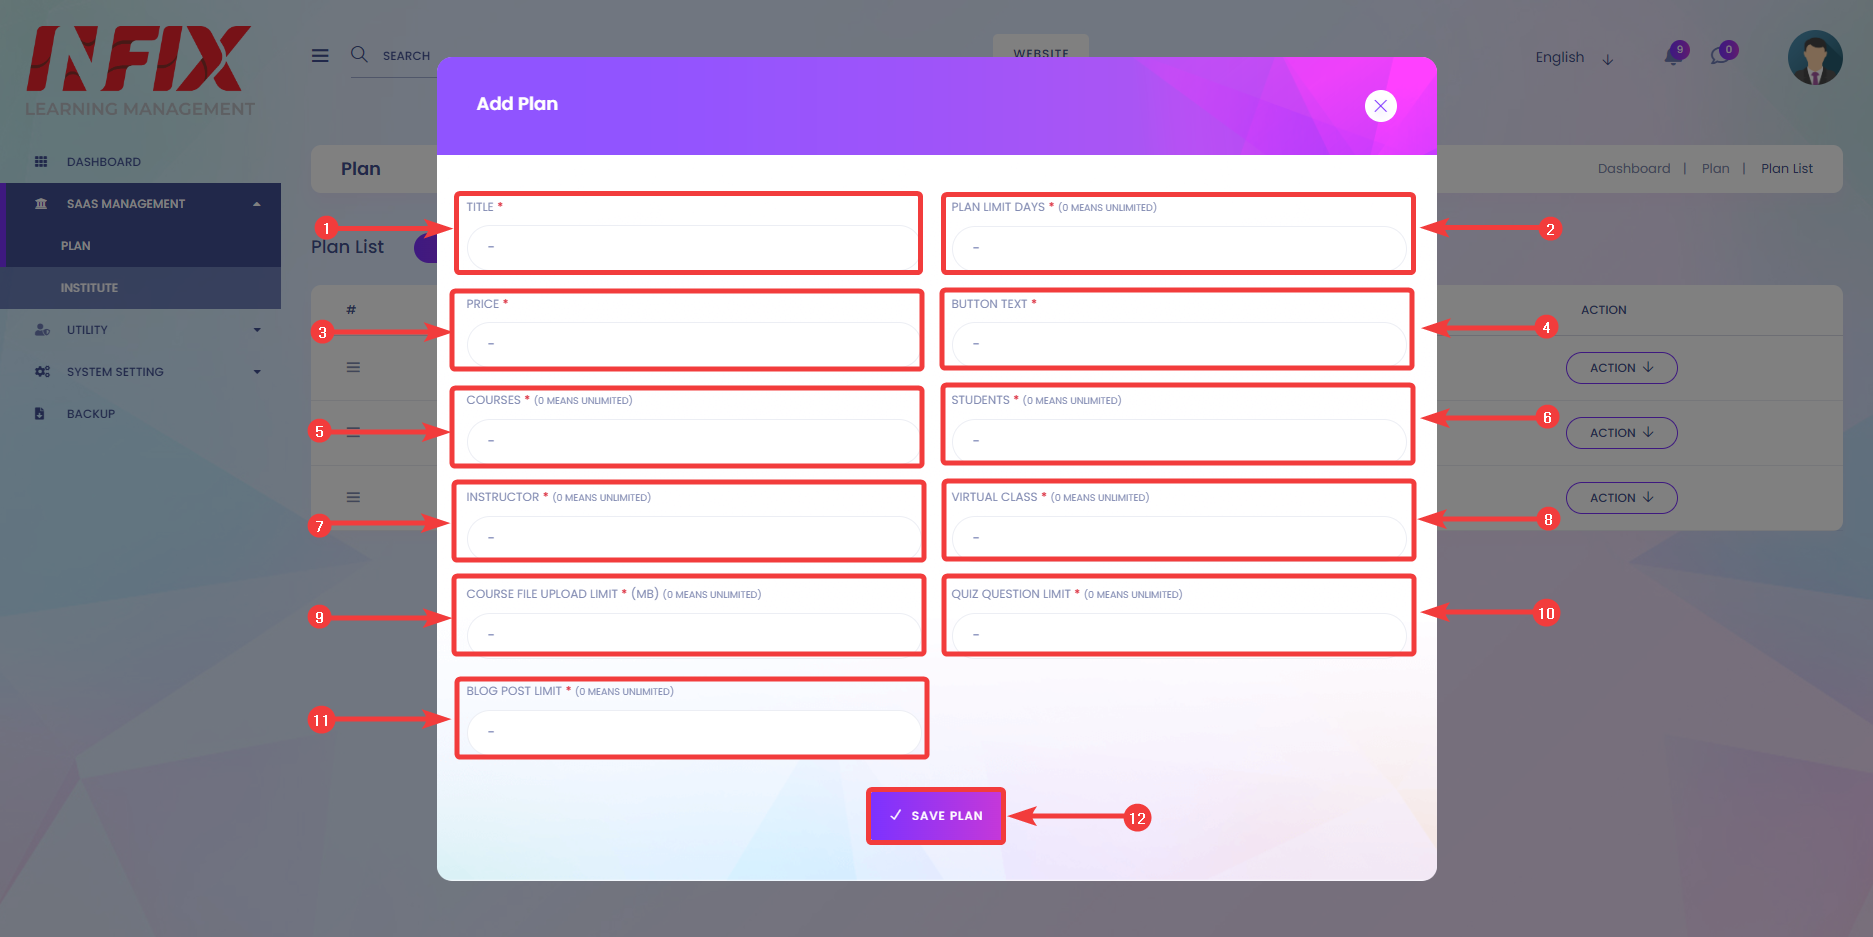
After clicking on New Plan, you will forward to another page where you can configure your plans with information like Title[1], Plan Limit Days[2], Price[3] of the plan, Button Text[4], Limit Courses[5], Limit Students[6], Limit Instructors[7], Limit number of Virtual Classes[8], Course File Upload Limit[9], Quiz Question limits[10] and Blog posts limit[11]. Finally, click the Save Plan[12] button to finish configuring your plans.
After clicking on Save Plan, You should see the new plan in the list of all plans.
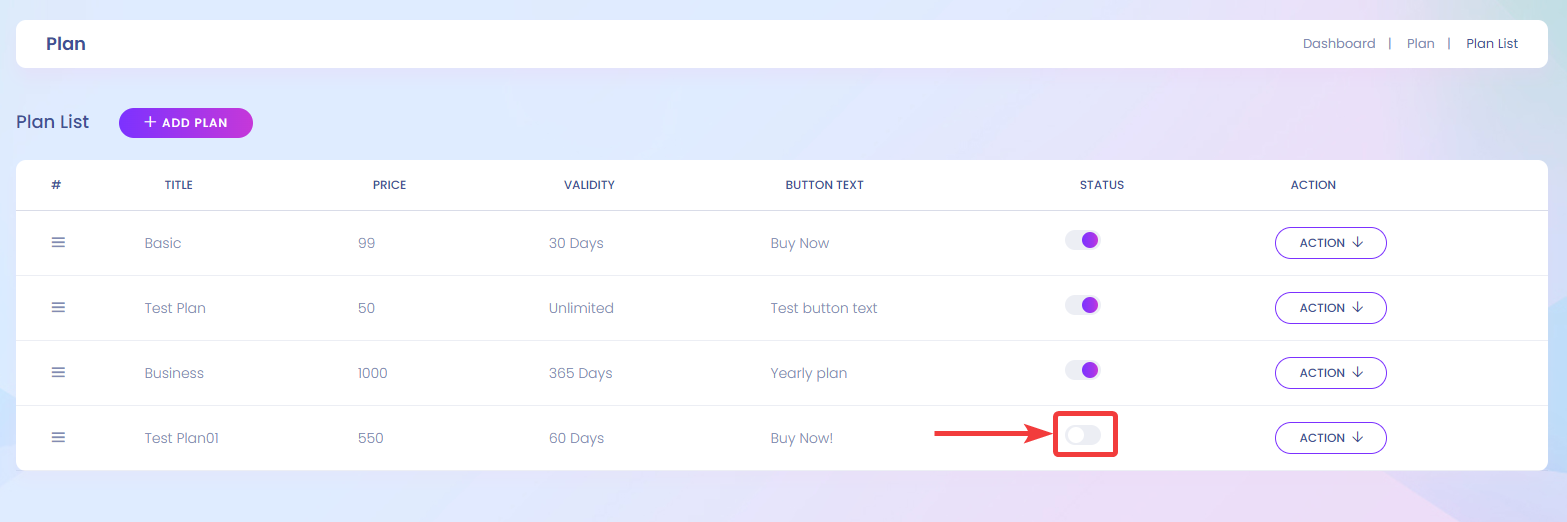
You can review the status of your Plan here.
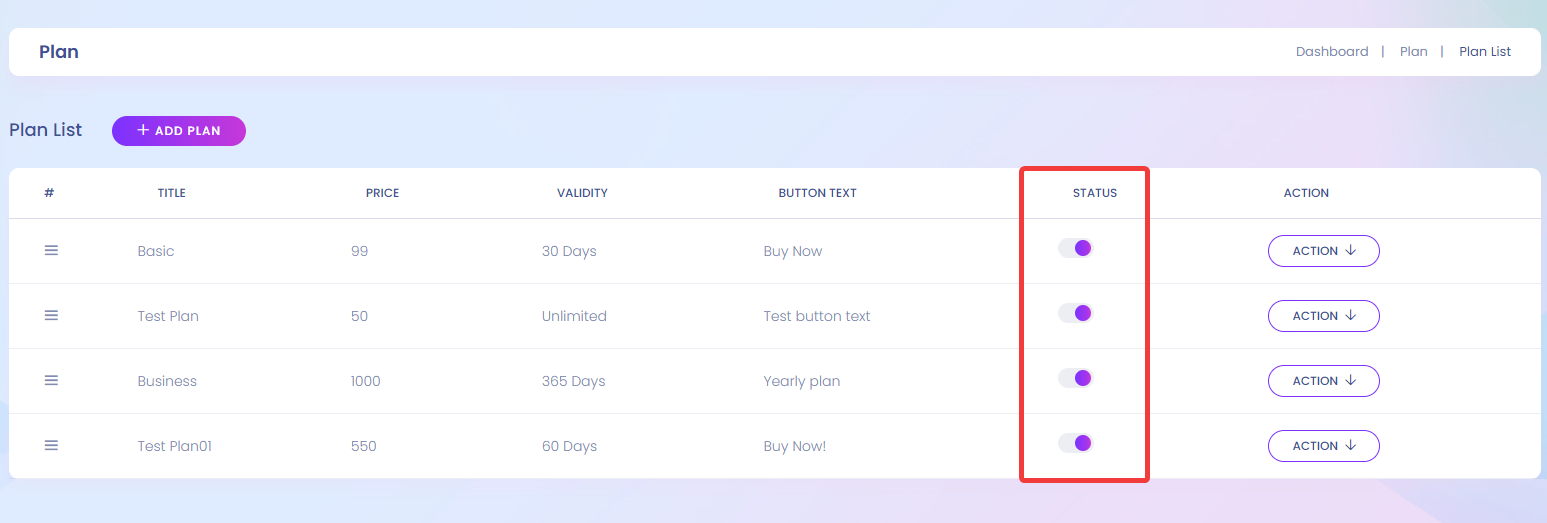
You can activate/deactivate your plans by clicking on the slide button.
Now, click on the Website Button to review the active plans.
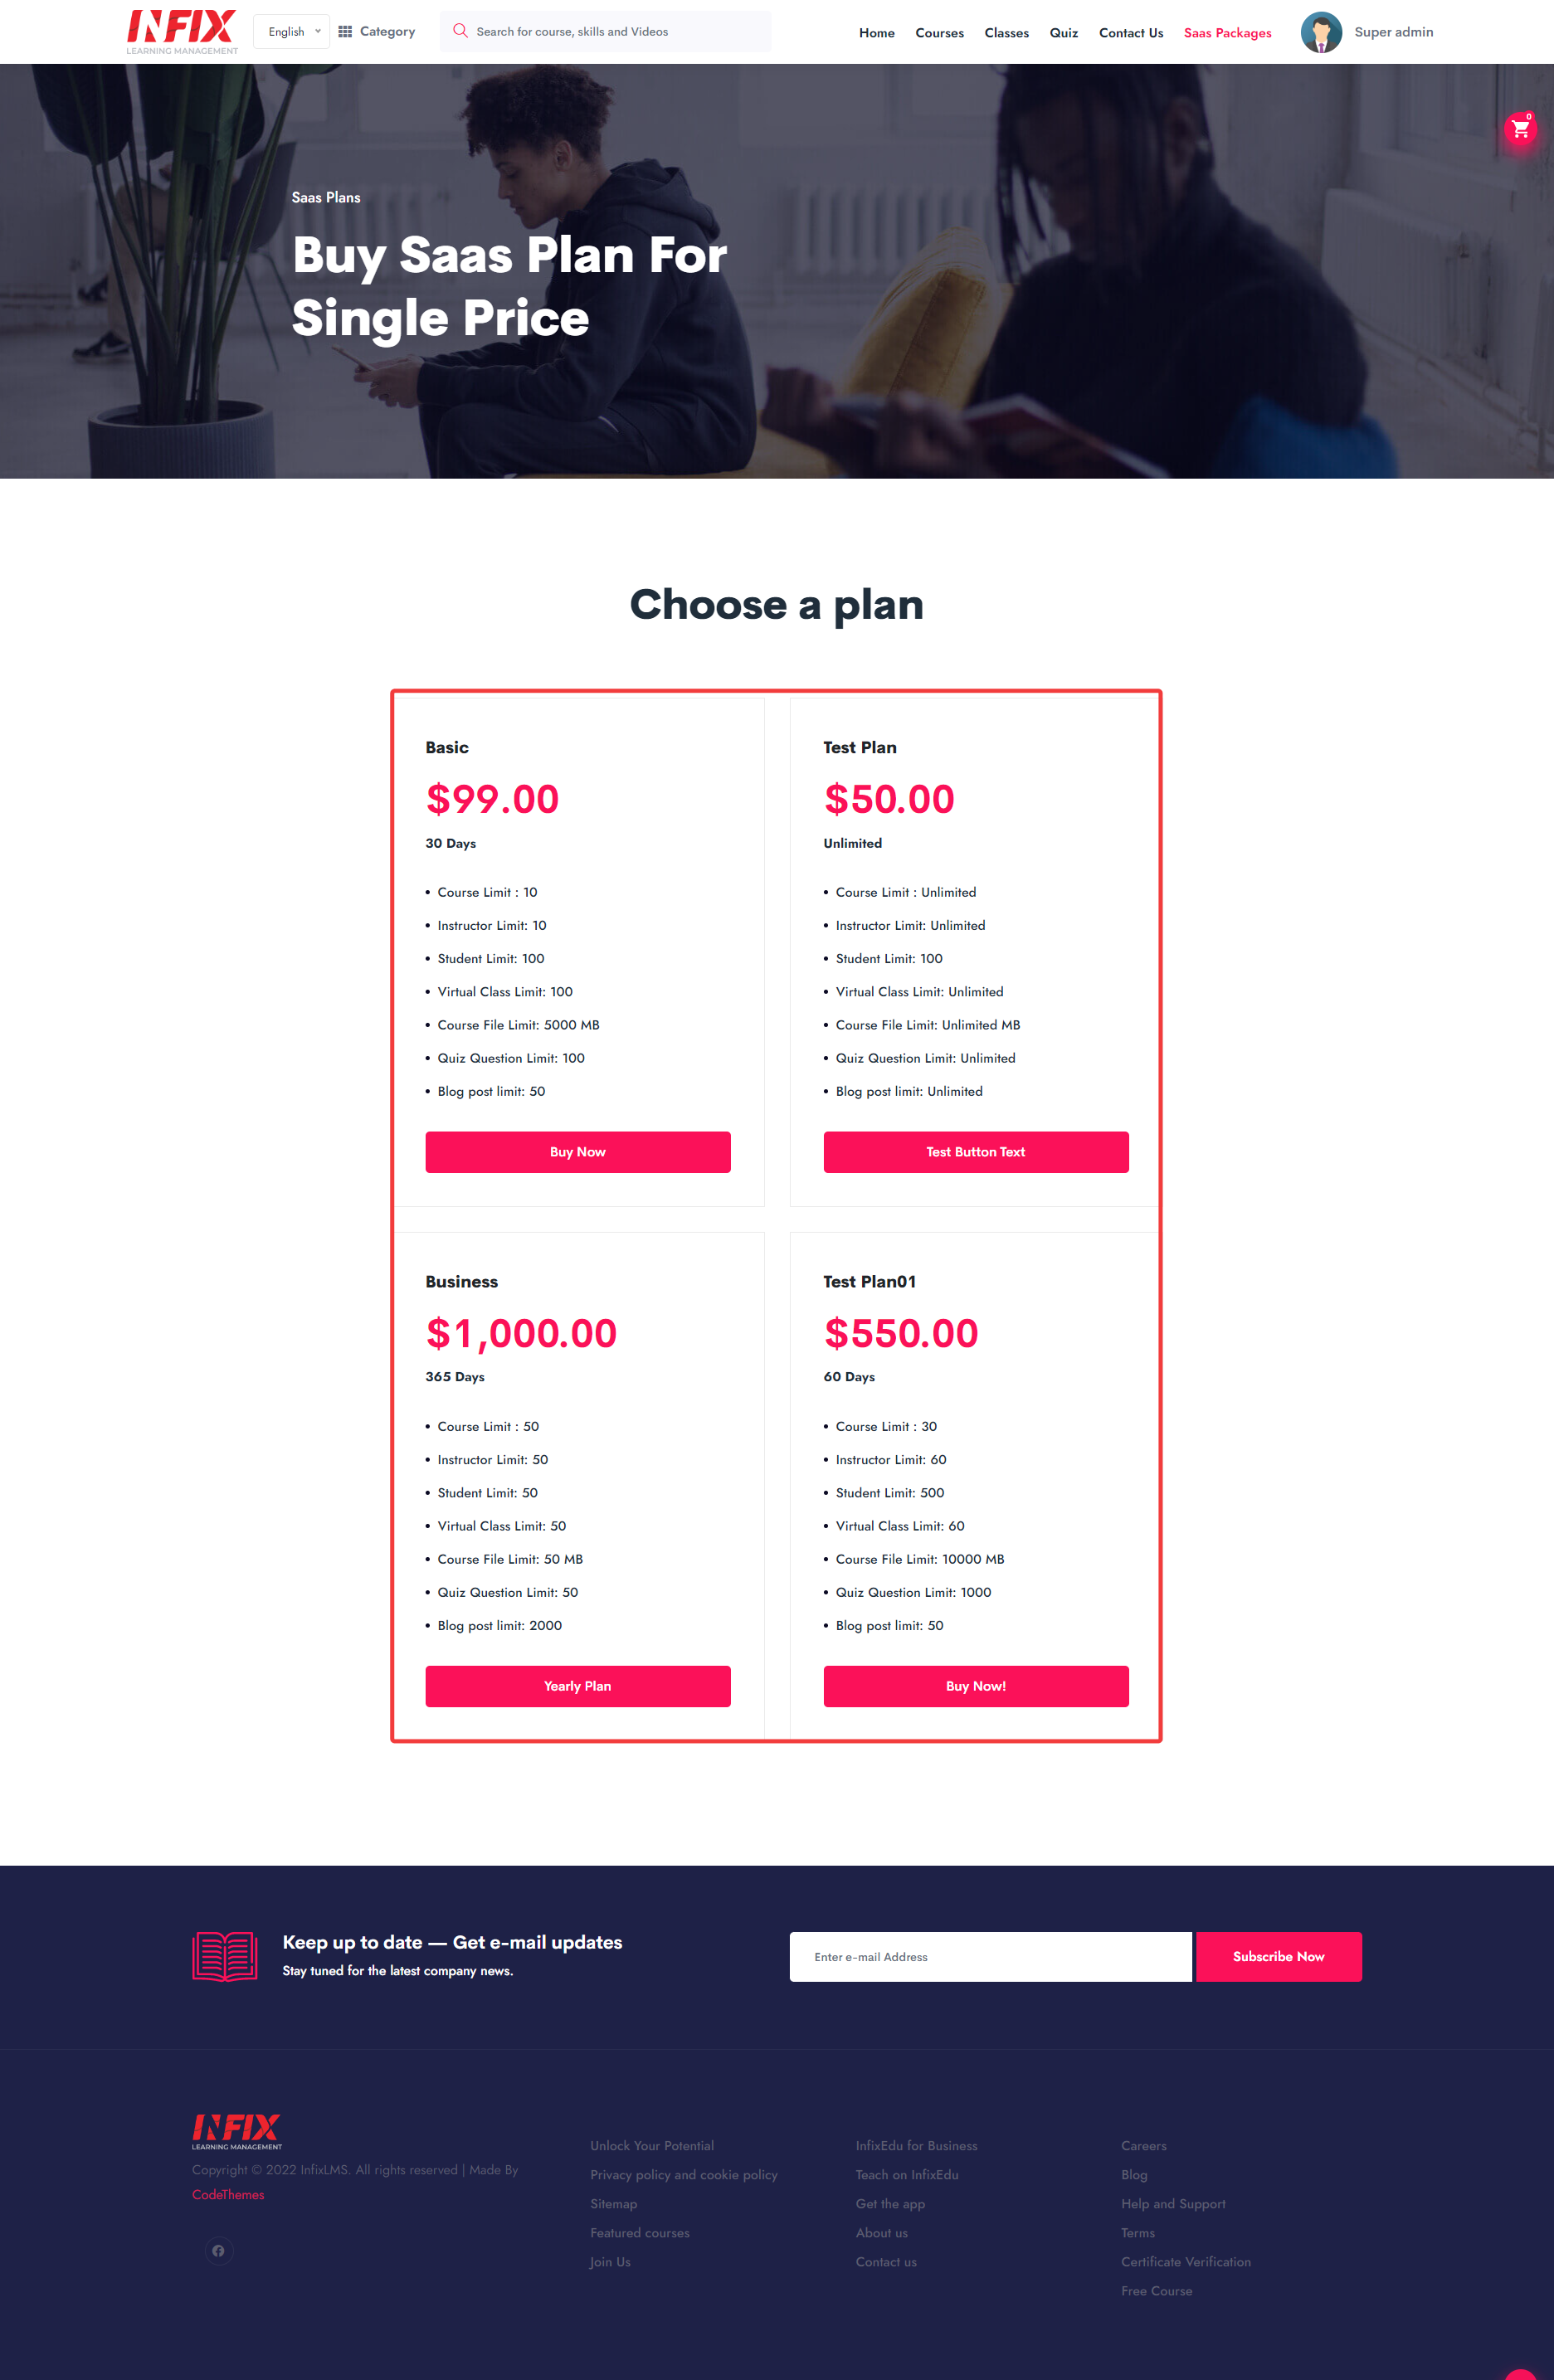
After clicking the button, you will be forwarded to the front page of InfixLMS SAAS.
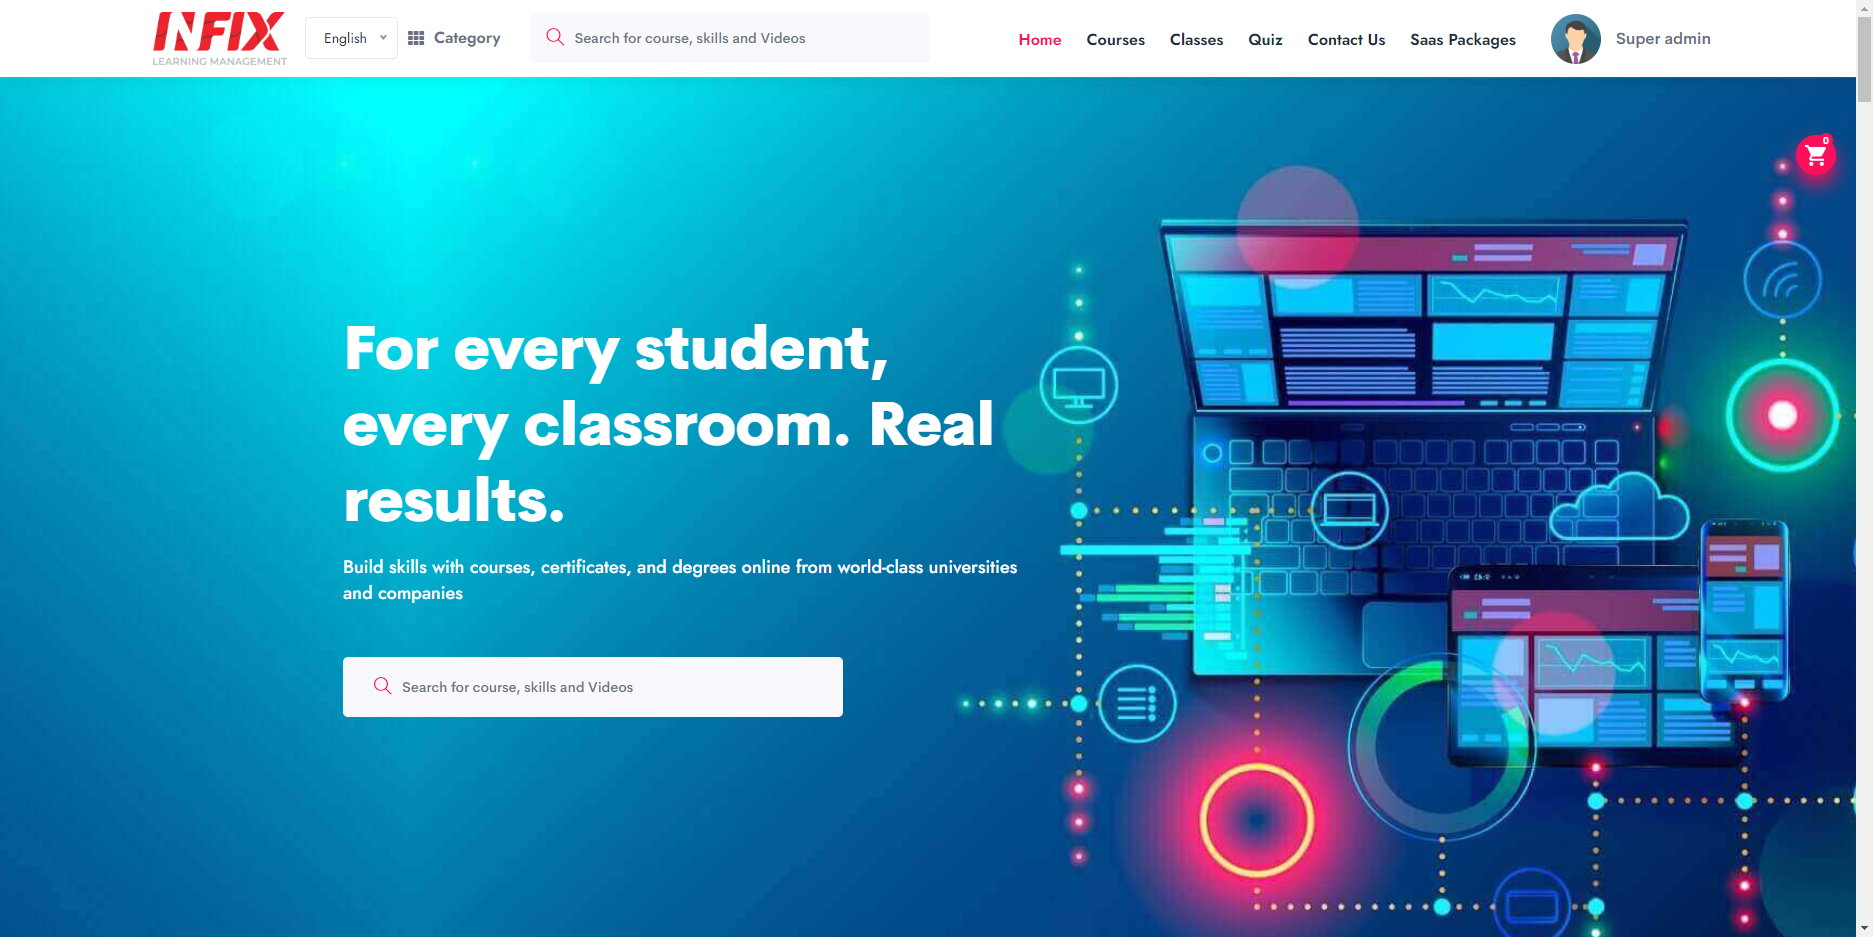
Now, click on the Saas Packages.

Then you will be forwarded to the Saas Packages page. Your users can see the feature you are offering in that specific Plan.