Upcoming Course: In the upcoming course module, you can view the upcoming courses. Any student can book a course directly from the upcoming section.
How to Install Upcoming Course Module in InfixLMS:
InfixLMS should be pre-installed on your server.
Purchase upcoming course Modules for InfixLMS from Codecanyon.
Download and install this upcoming course Module to your InfixLMS portal.
Advantages of the Using Upcoming Course Module:
Course Pre-Booking facility.
Allows you to enable Count Down for new Tutor LMS courses.
Allows you to set the coming soon end time.
Display the course coming soon on the single course page.
Add new upcoming courses from the course Setting.
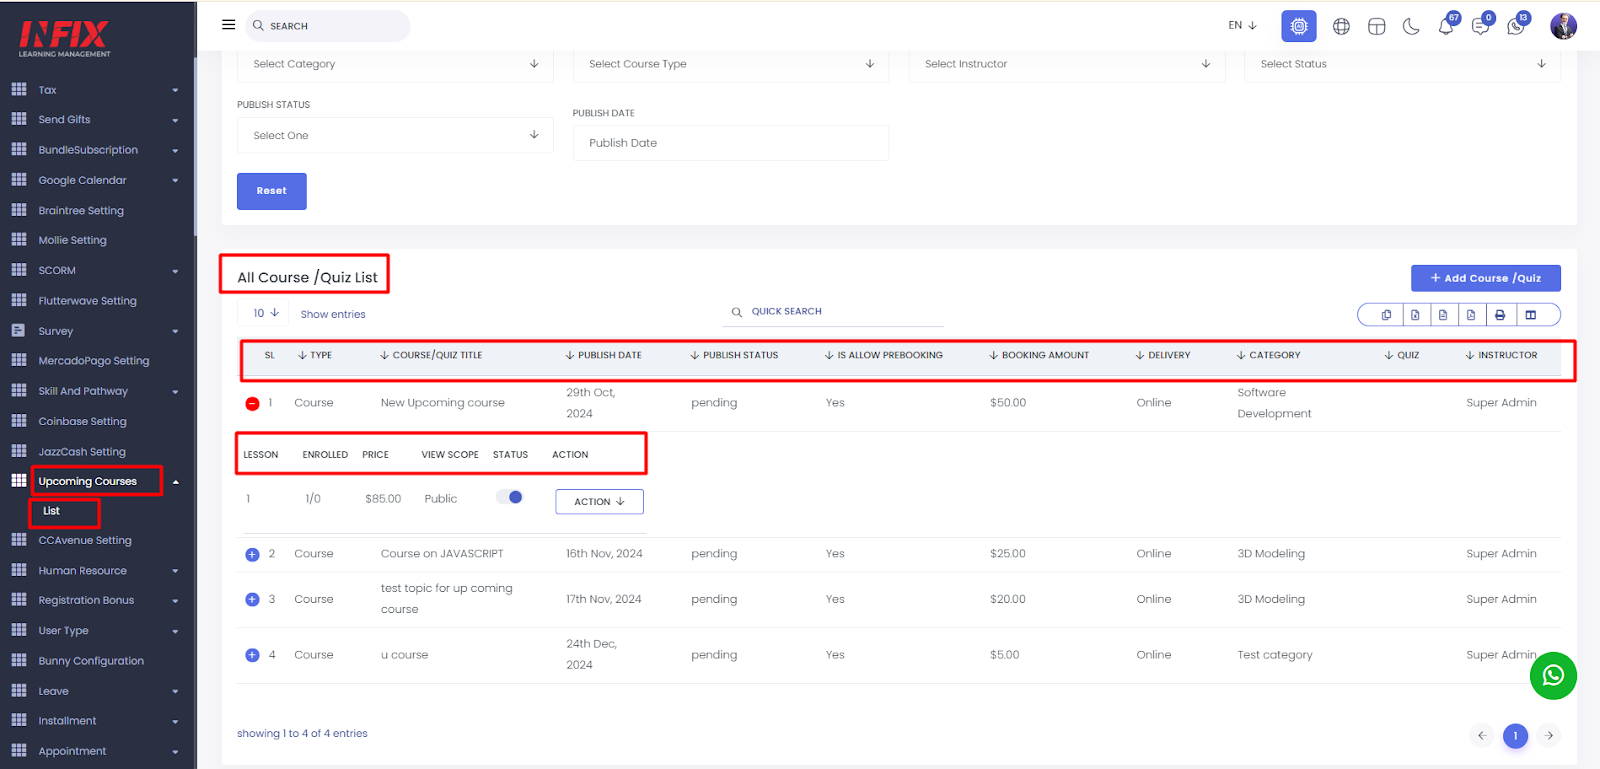
If you want to add a new upcoming course in InfixLMS then go to the upcoming course section to click on the add new course/ Quiz.
Upcoming course status Can users manually operate & set their pre-booking option with the booking amount?
Admin can check the total list of courses in the pre-booked section.
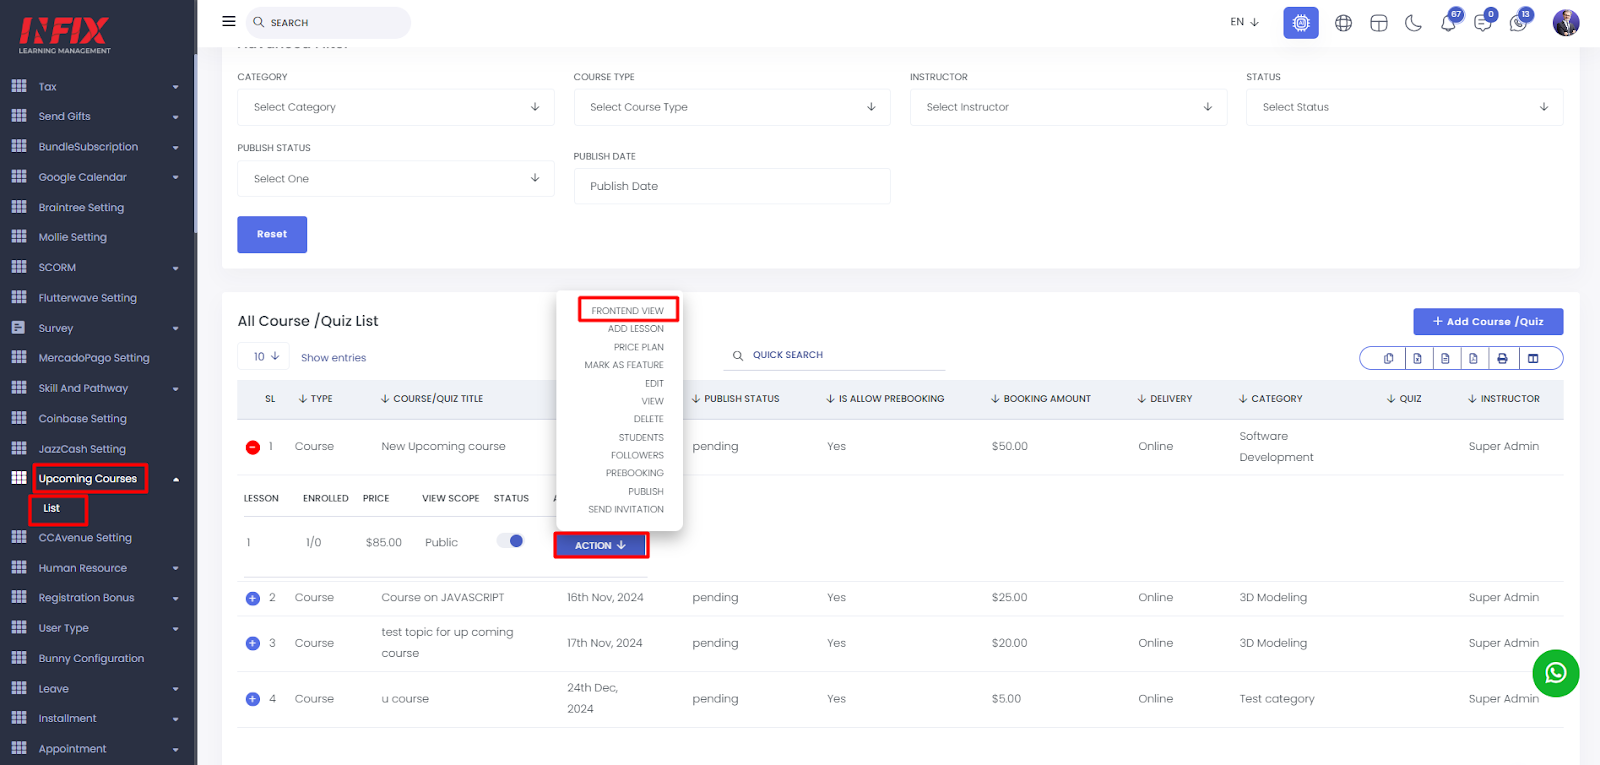
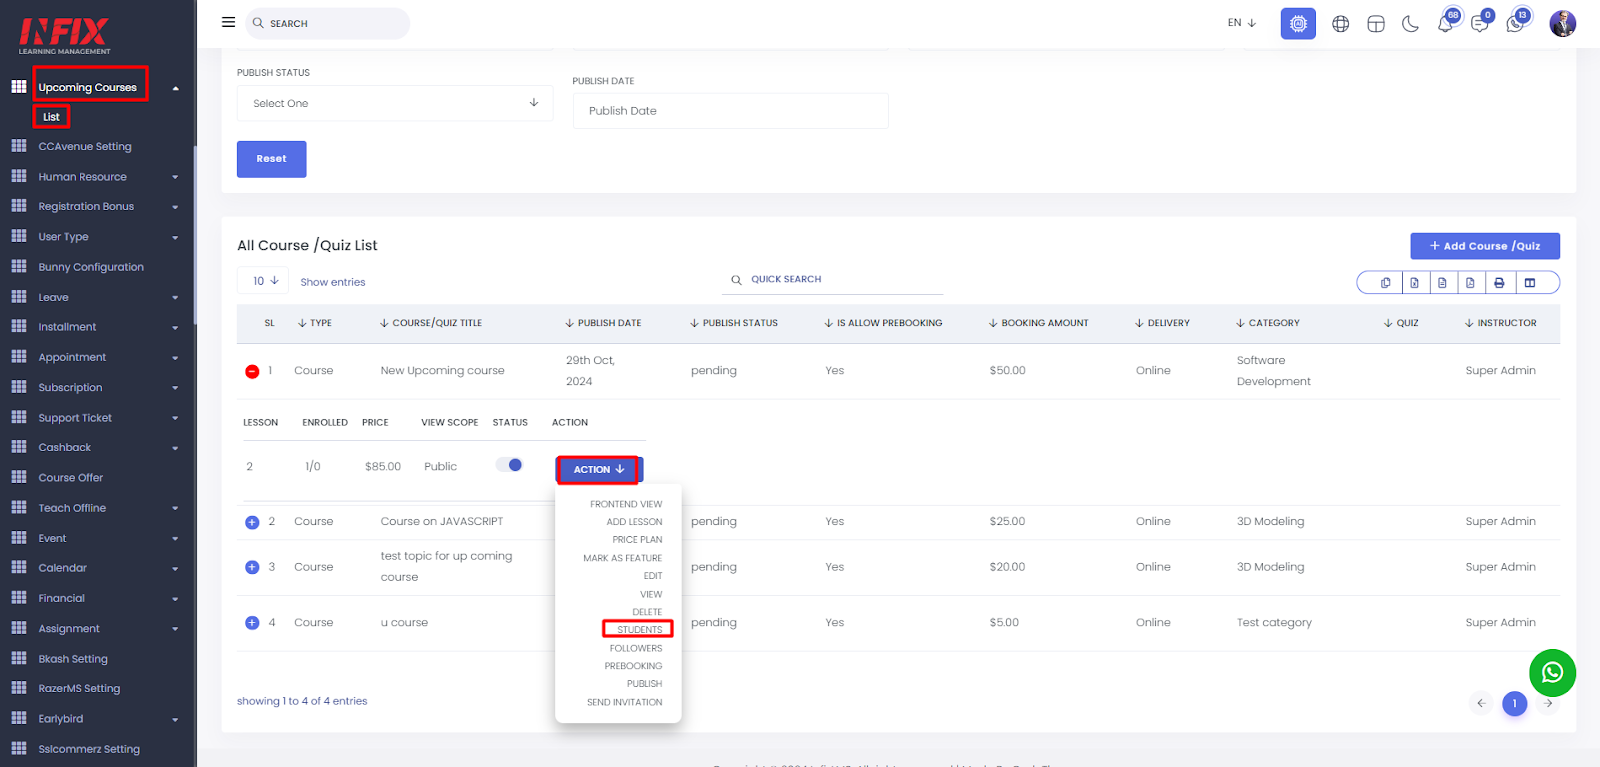
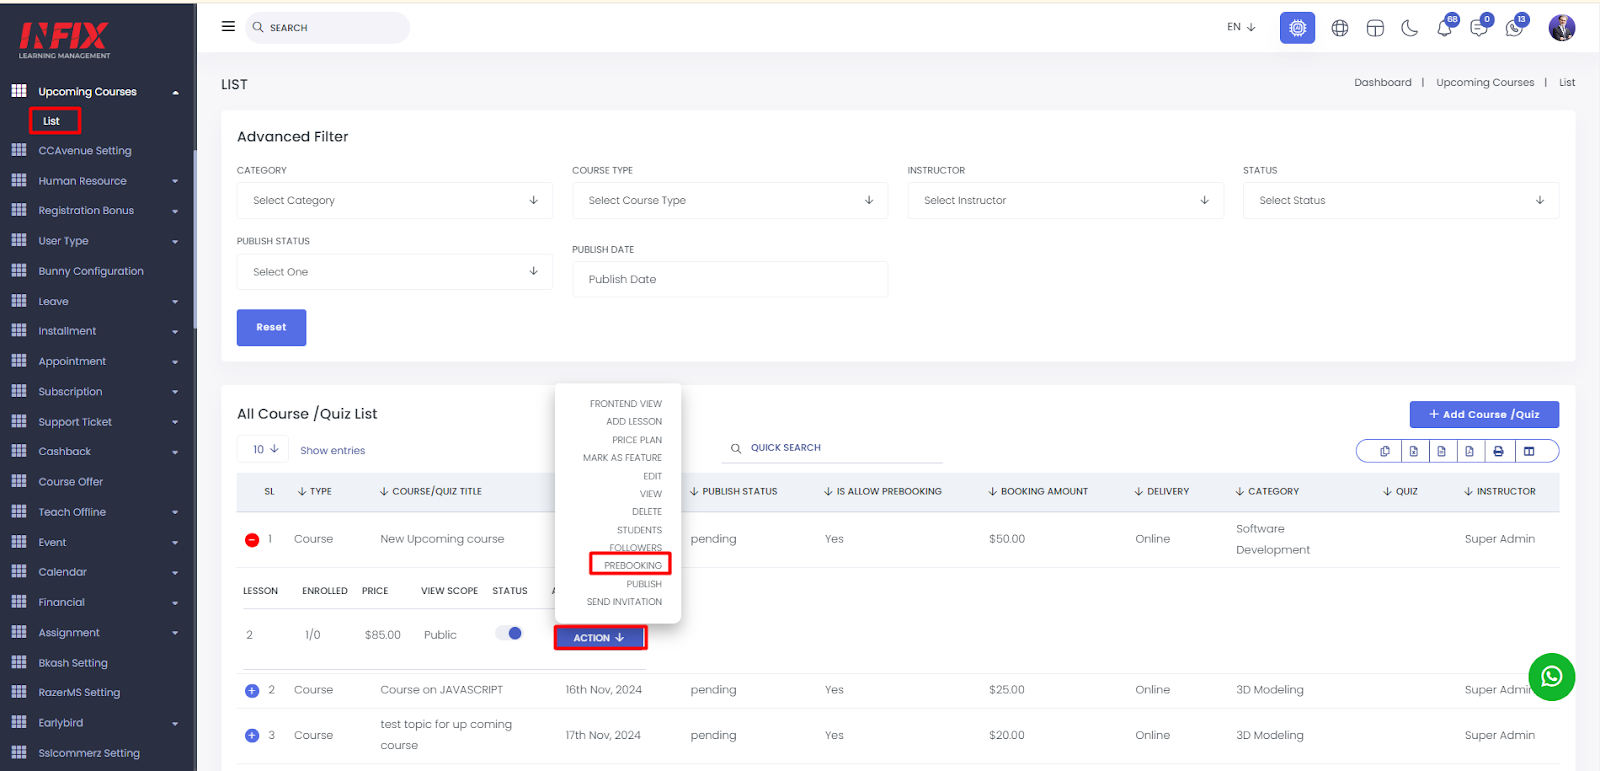
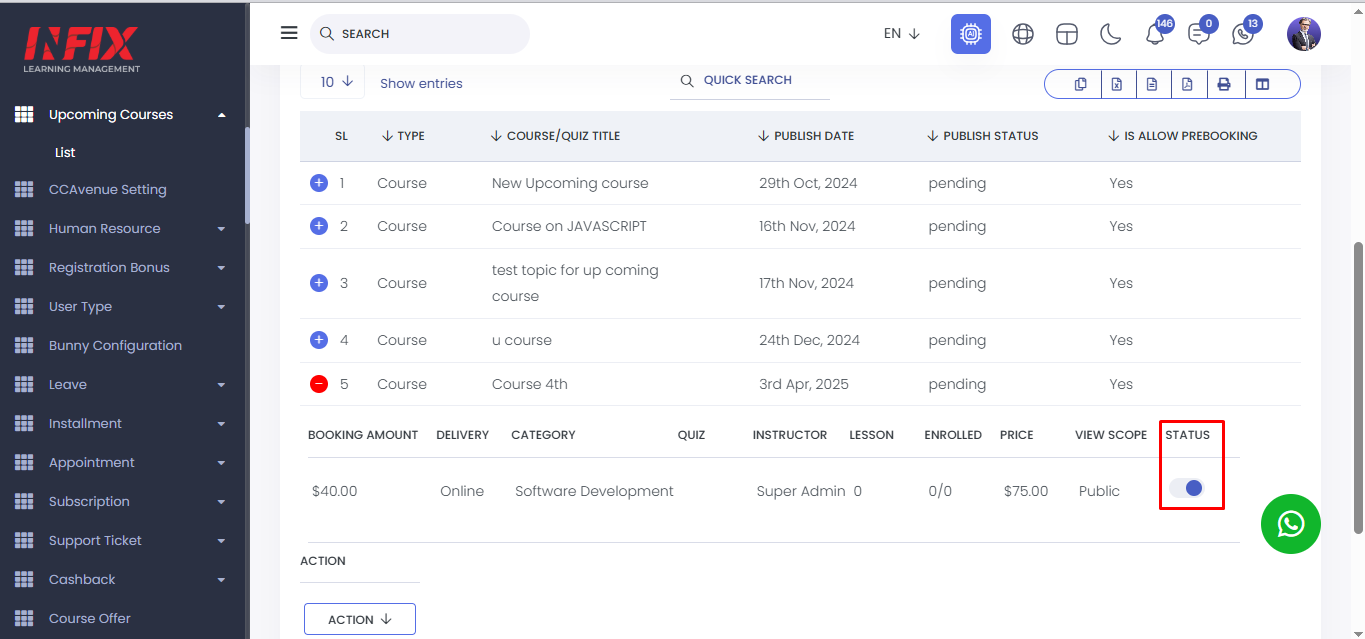
From here, you can view detailed information about the upcoming course, including the course type, title, publish date, publication status, pre-booking availability, booking amount, delivery method, category, quiz, instructor, lessons, number of enrolled participants, price, views, scope, status, and available actions.
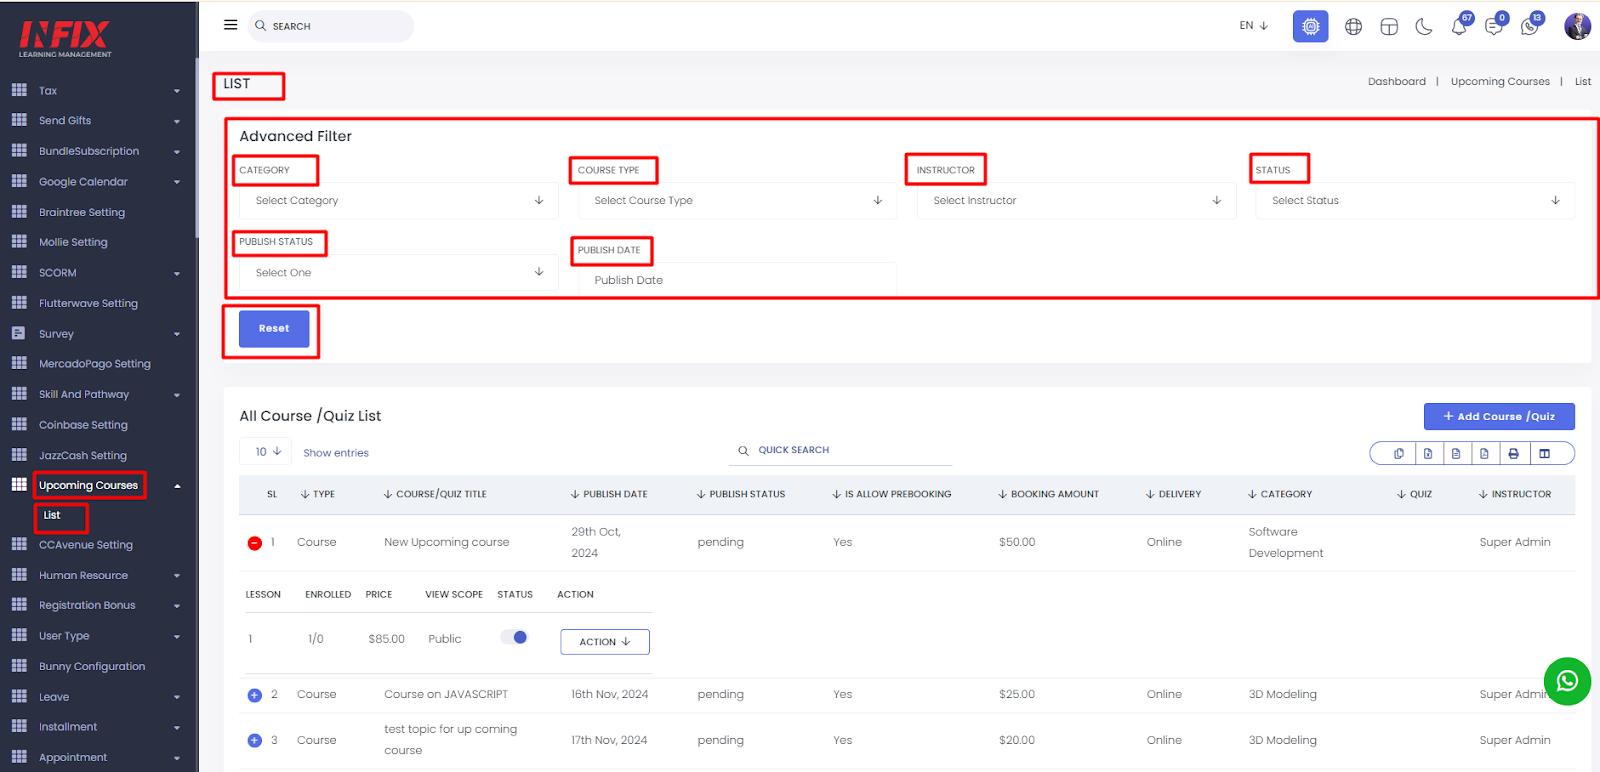
You can find specific courses using the advanced filter. It offers various filter options, such as category, course type, instructor, status, publication status, and publish date.
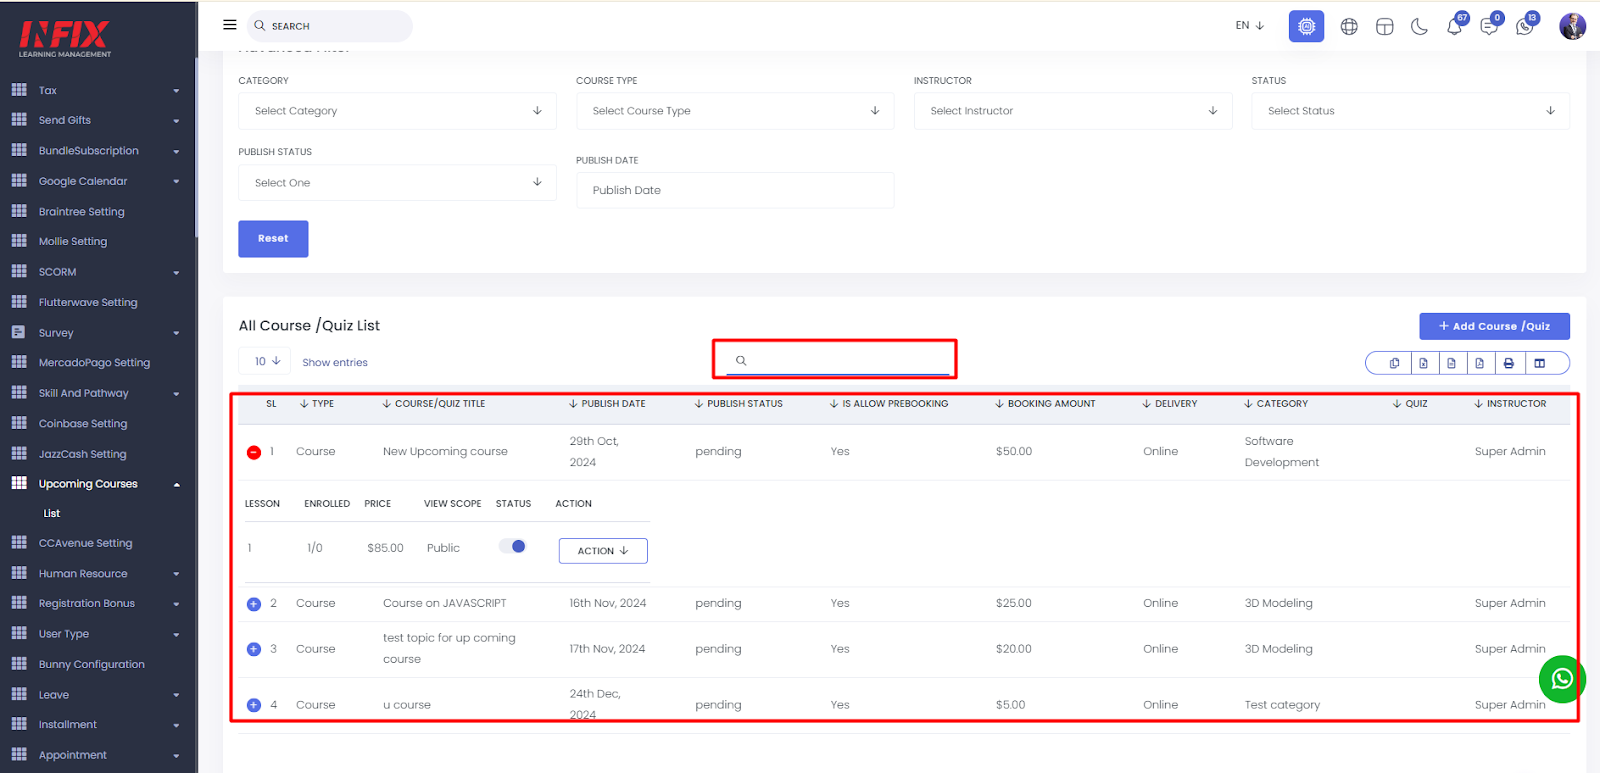
You can also find out anything by using the search functionality.
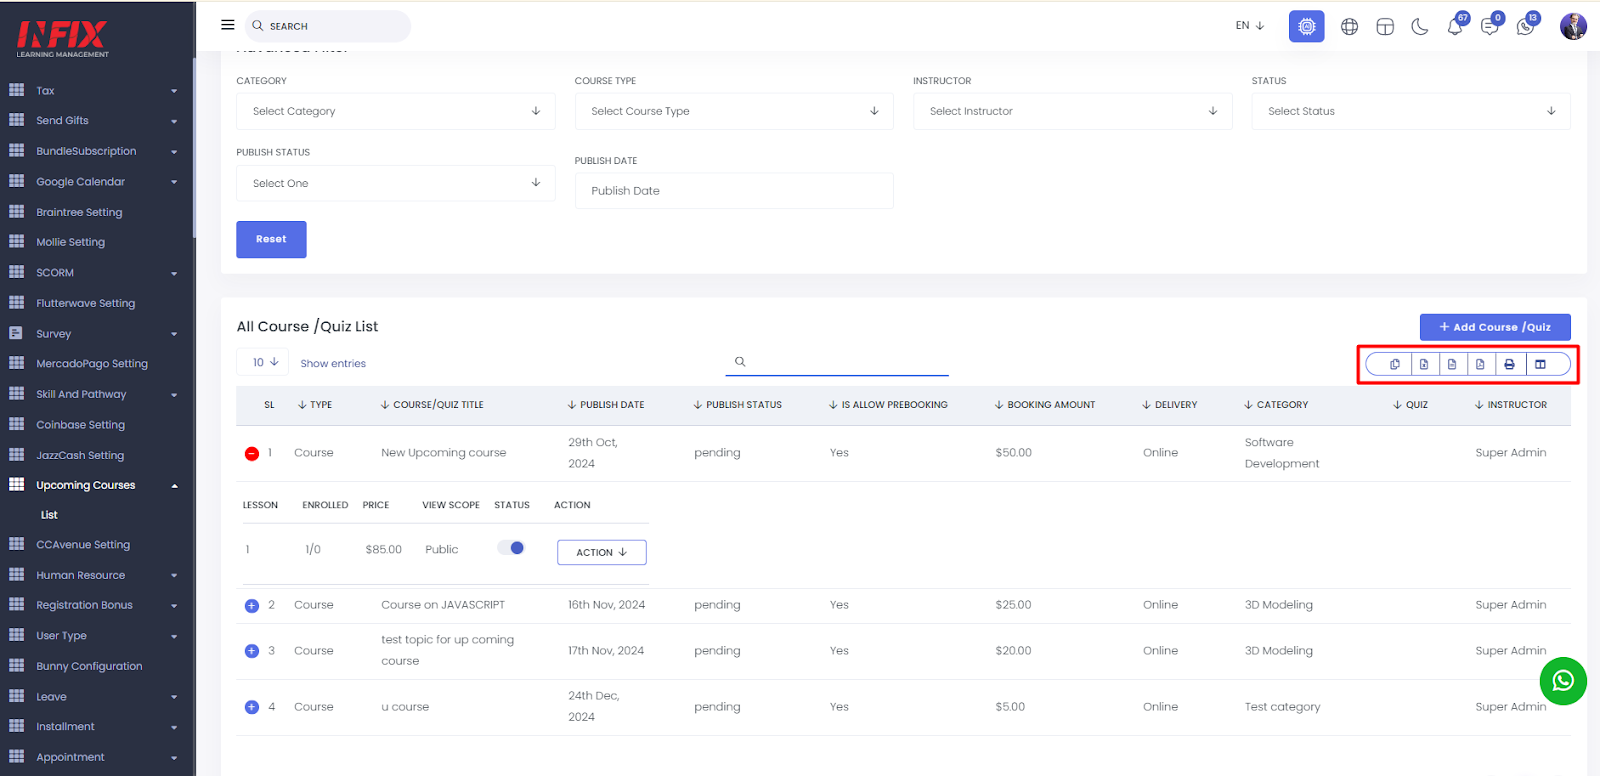
You can export the data table from here.
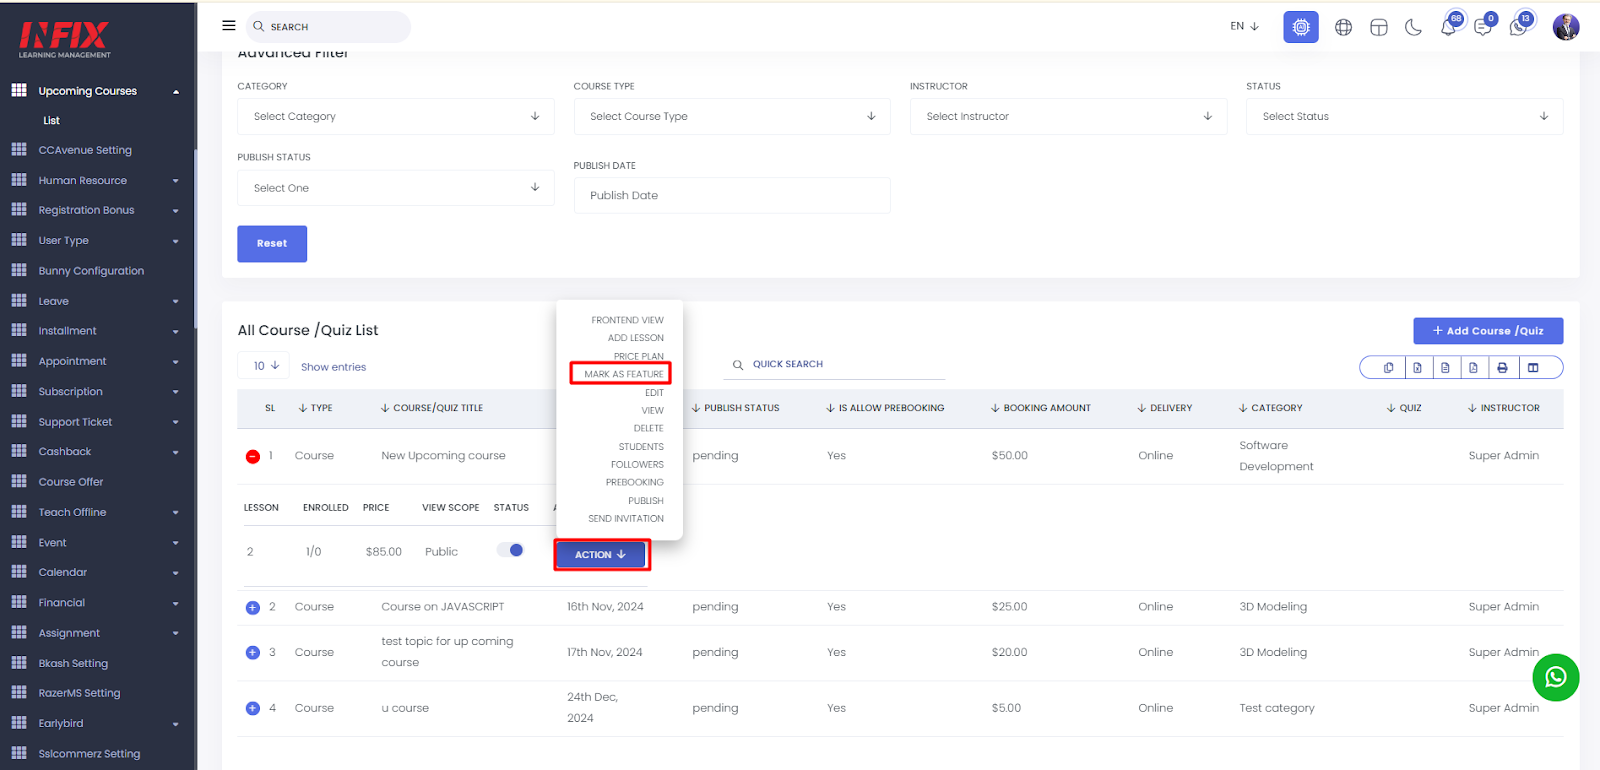
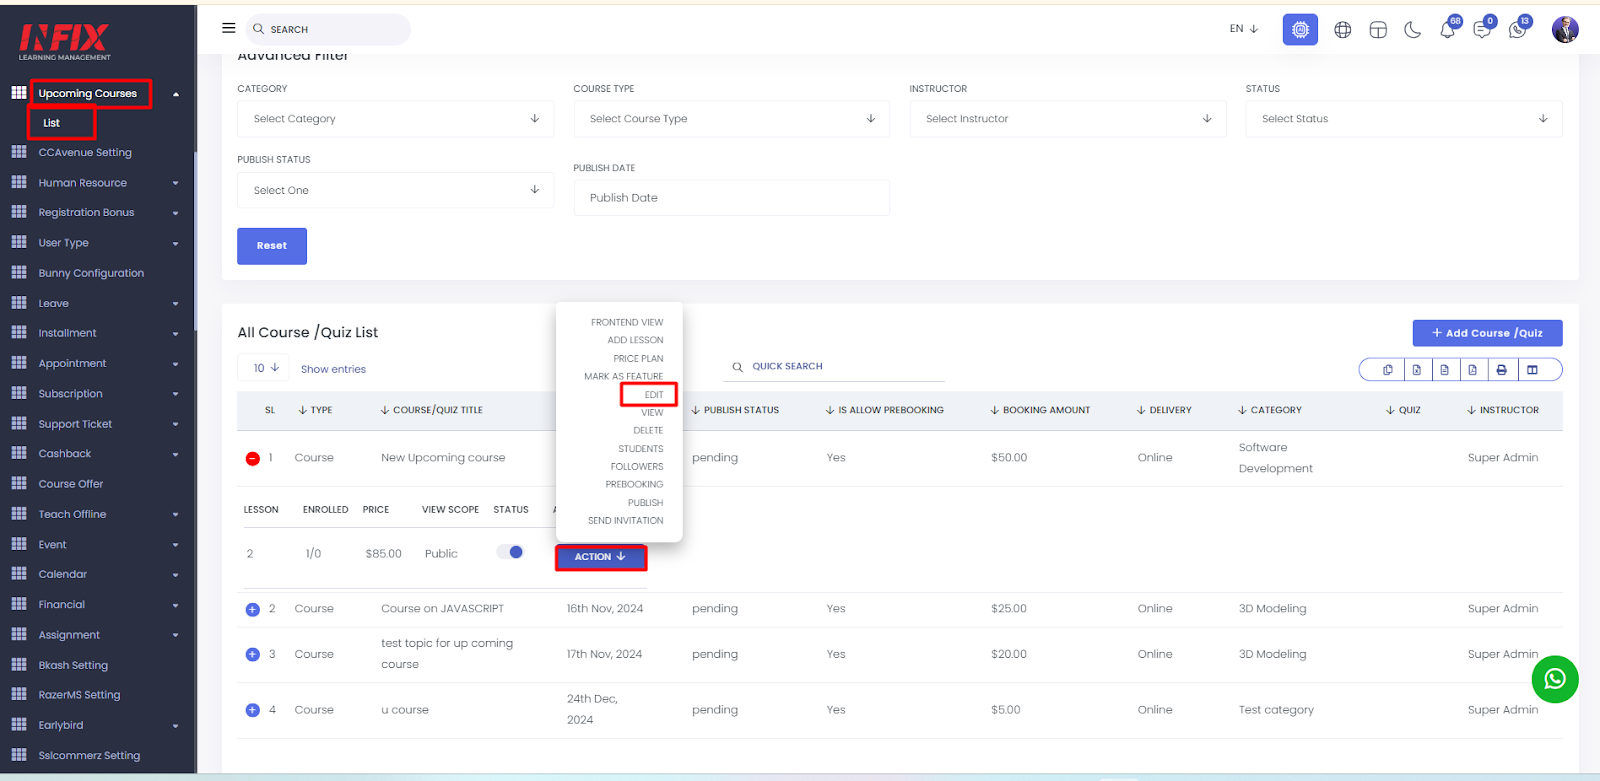
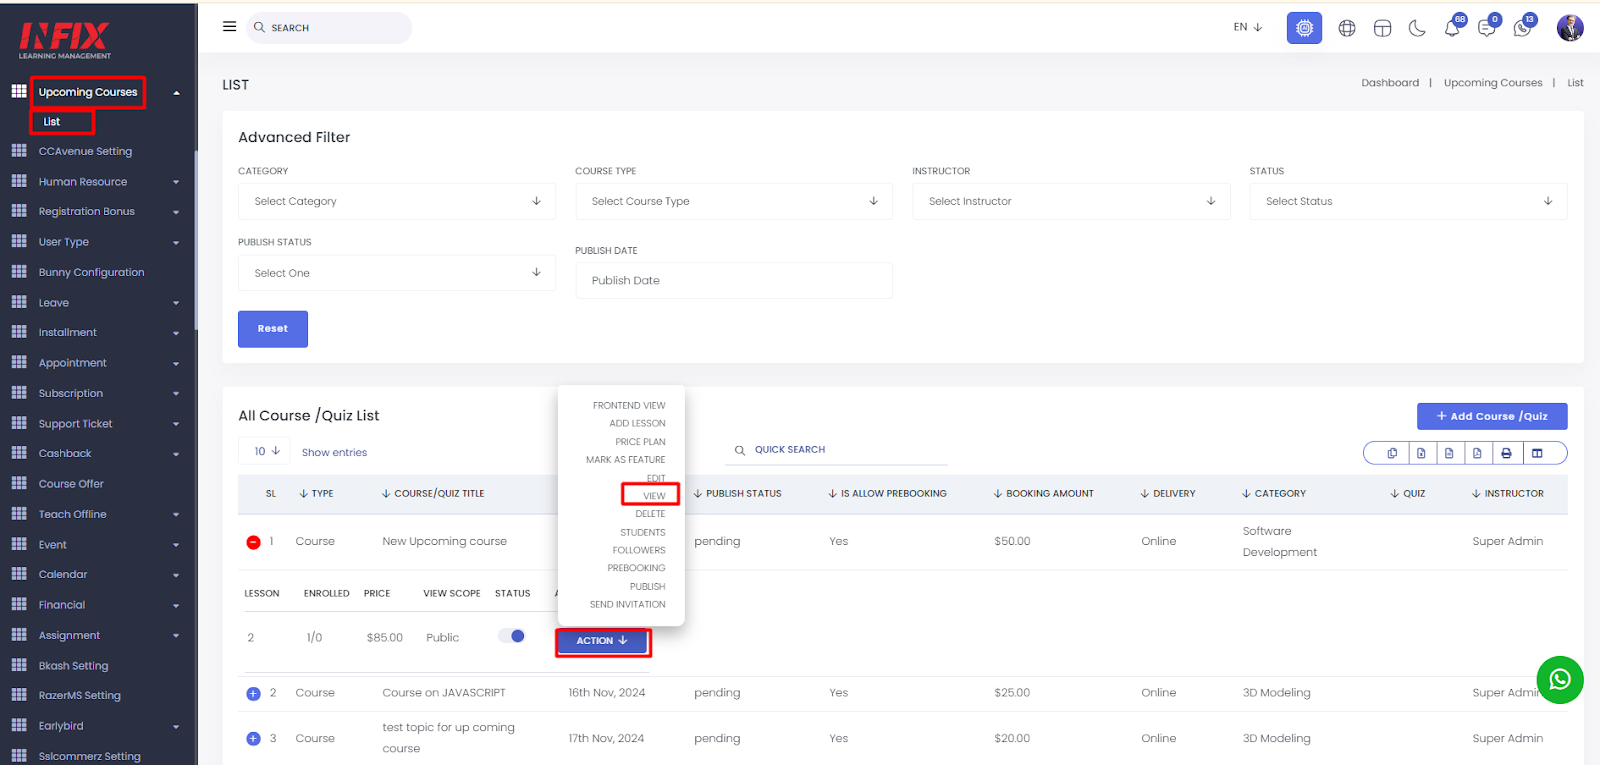
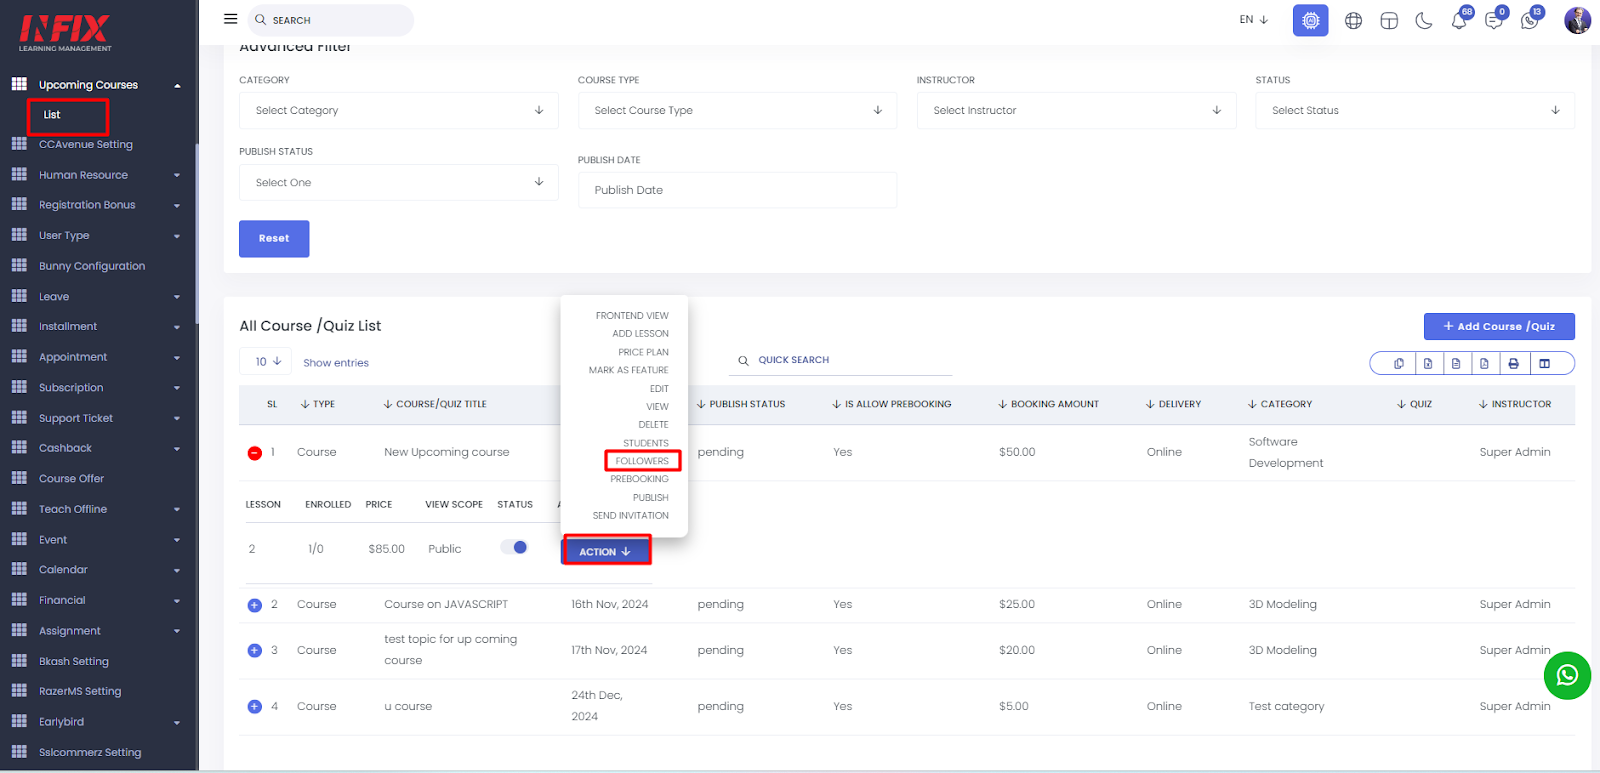
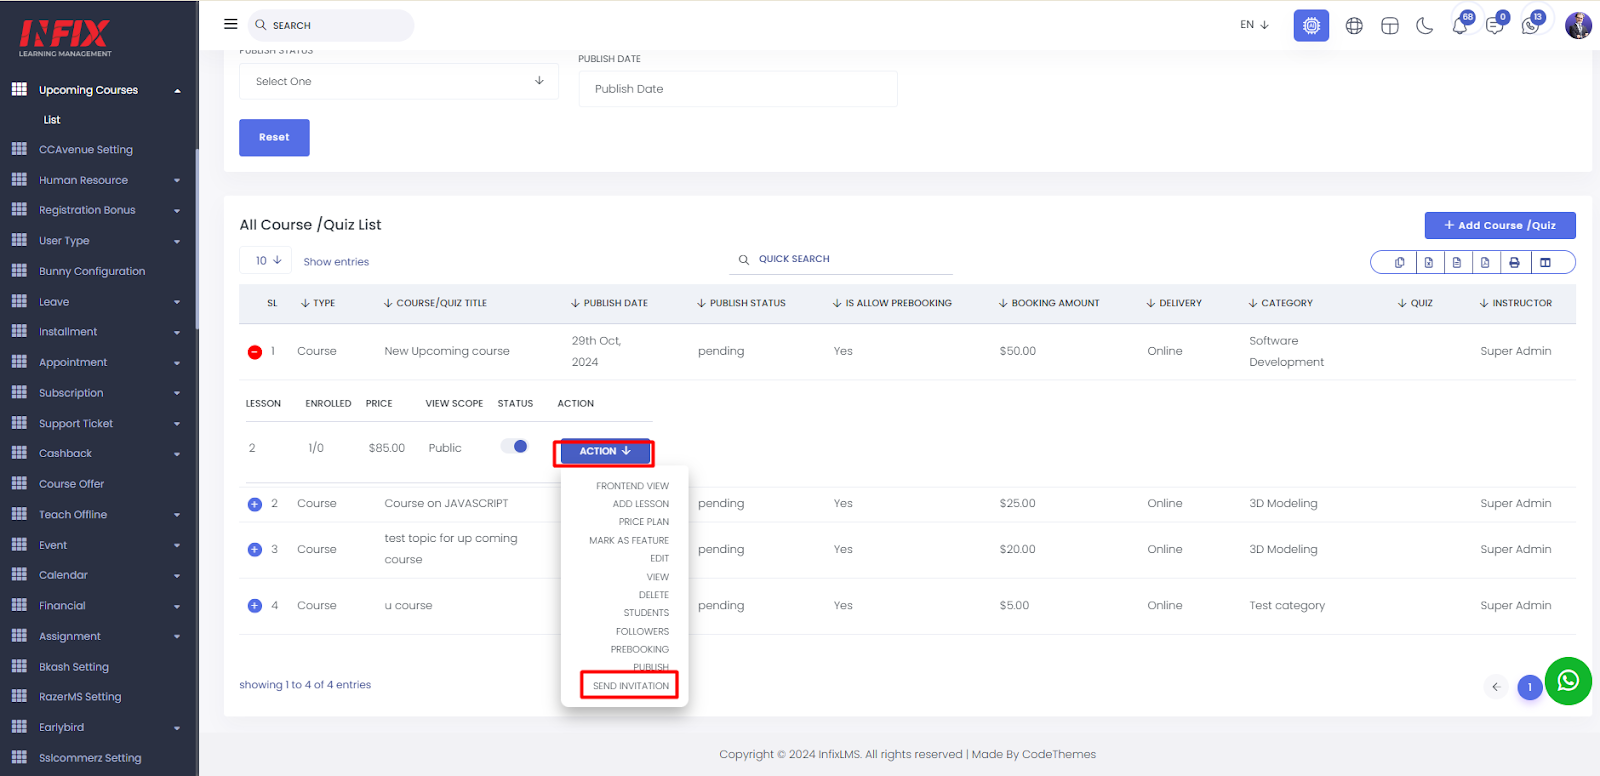
By clicking on the action button you can see different functionality.
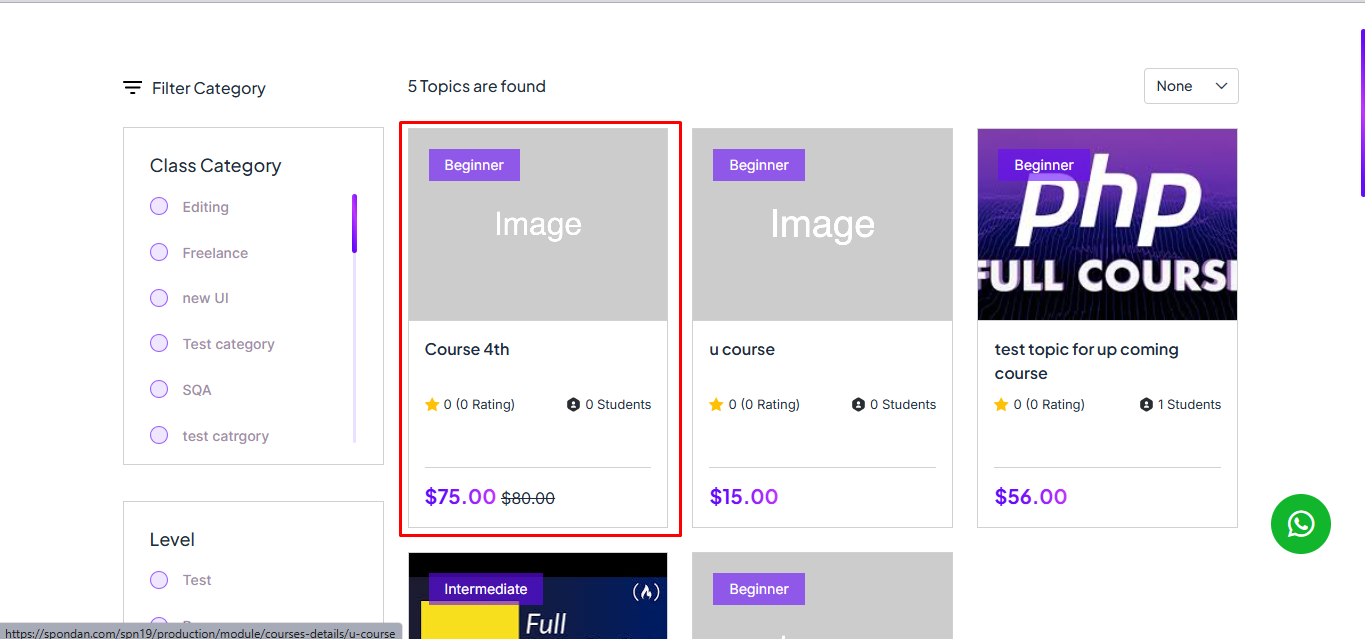
Frontend View: By clicking this, you can see the frontend view of the course.
If you toggle the status button, then the course will visible on the frontend of the upcoming course page.
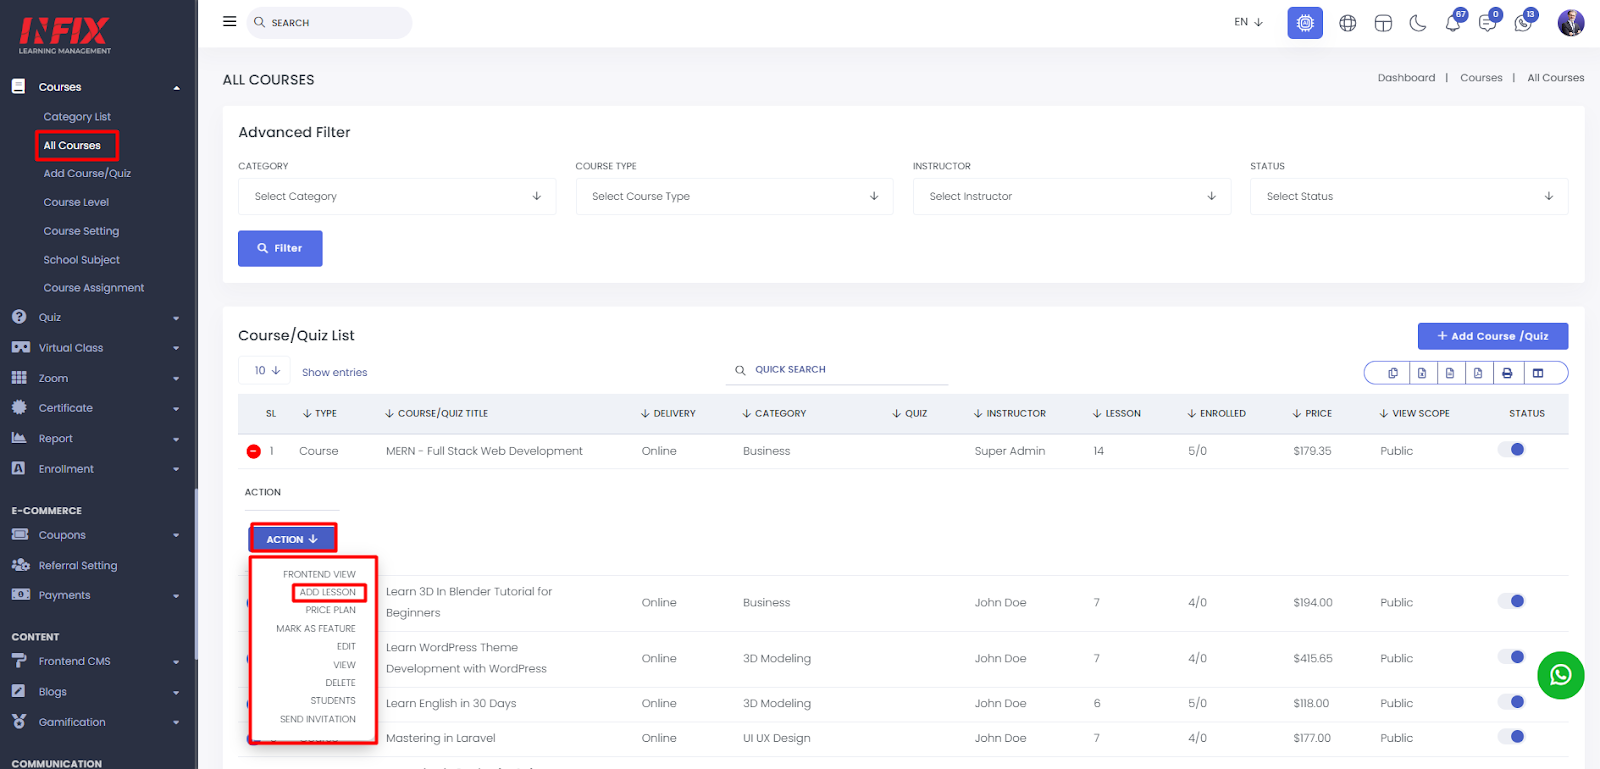
Add Lesson: By clicking this button, you can add a new lesson to the upcoming course.
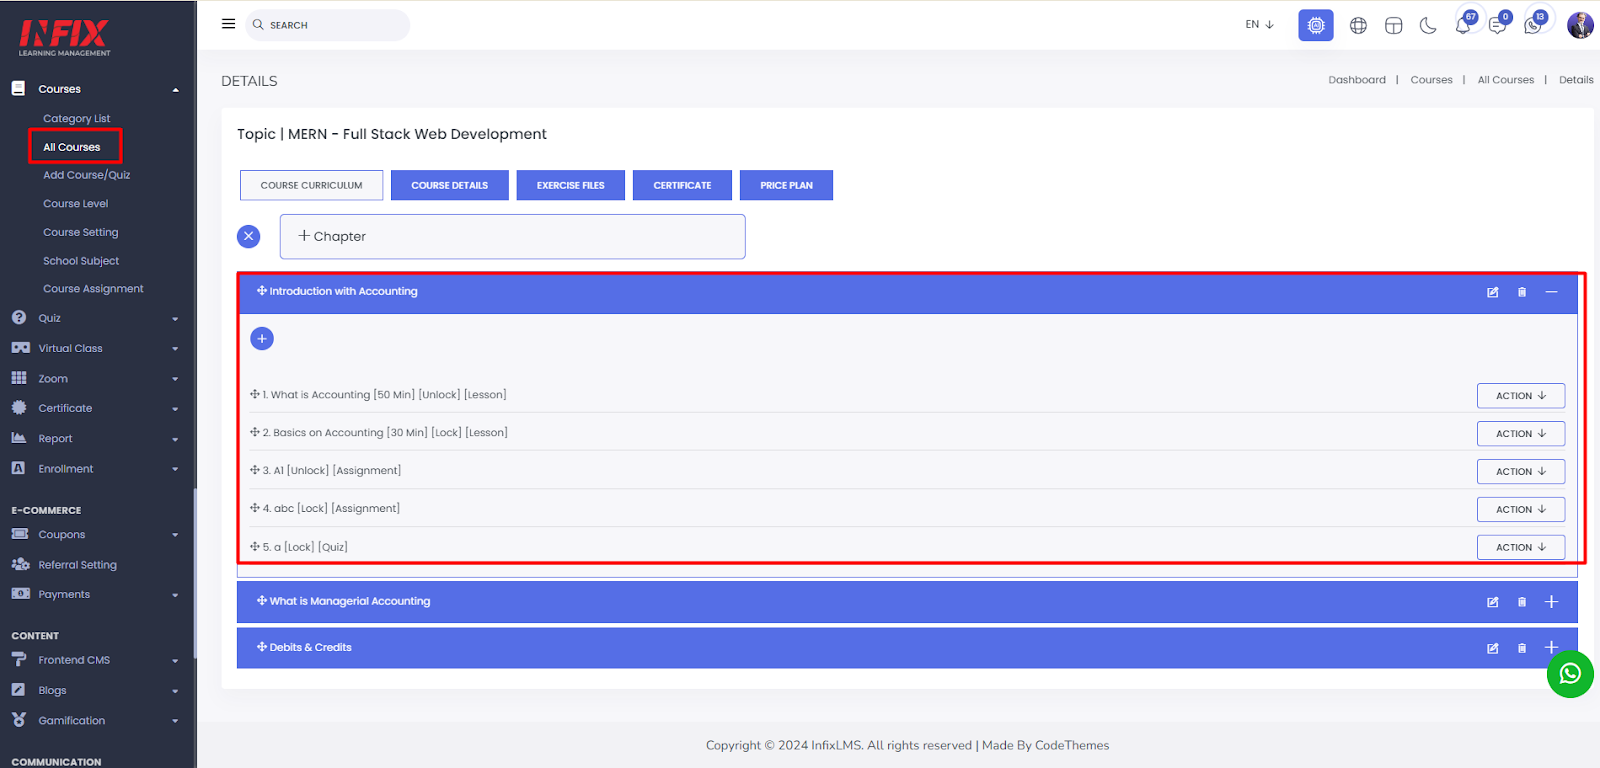
To add a lesson or quiz first you have to create a chapter , to create this first you have to go to the course list, click "Action," and select "Add Lesson." Then click on Plus sign to create a chapter.
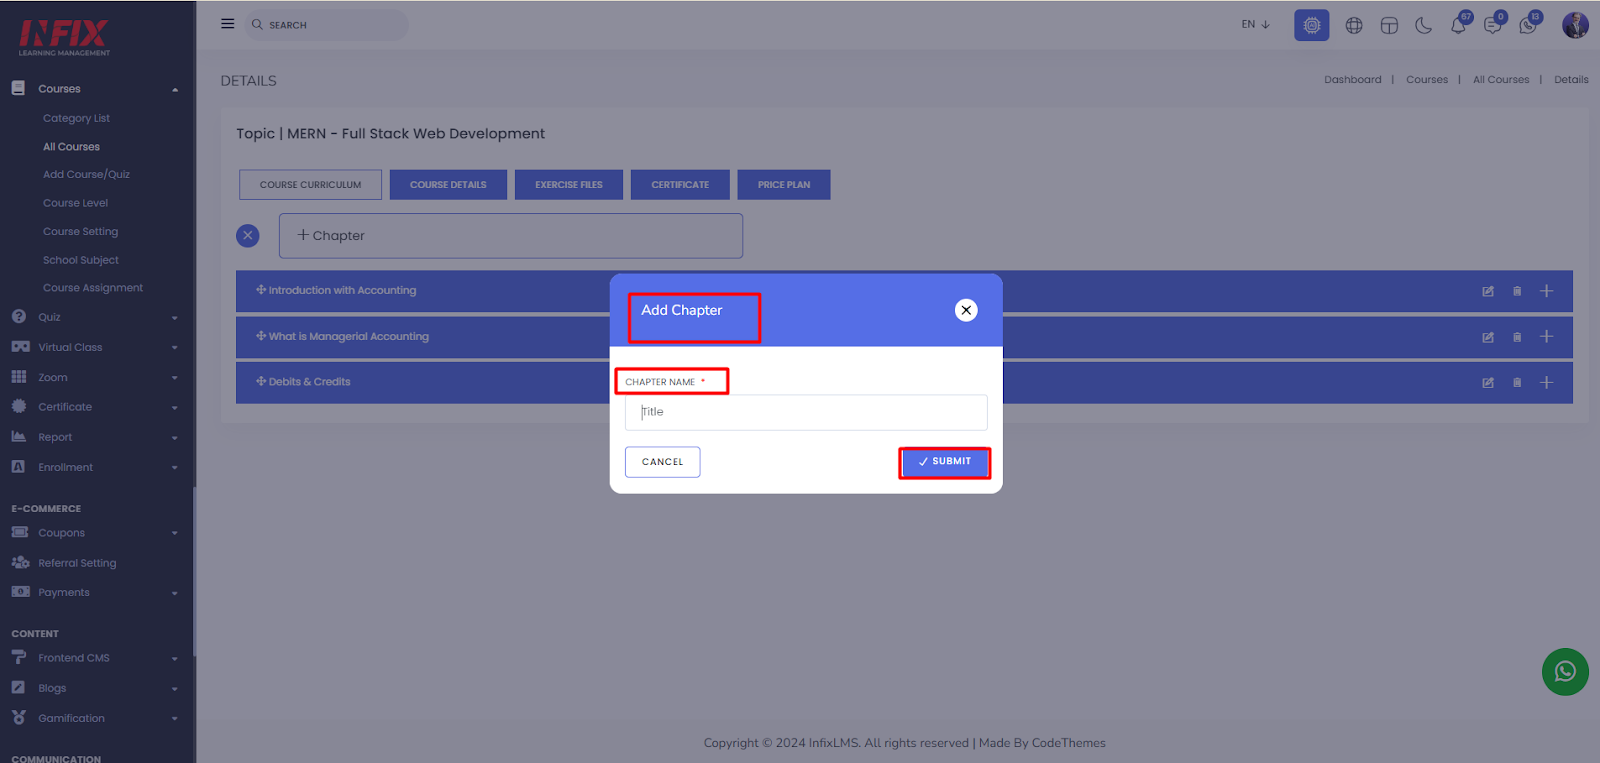
To create a chapter click on chapter and type the chapter name and save, chapter will be created successfully.
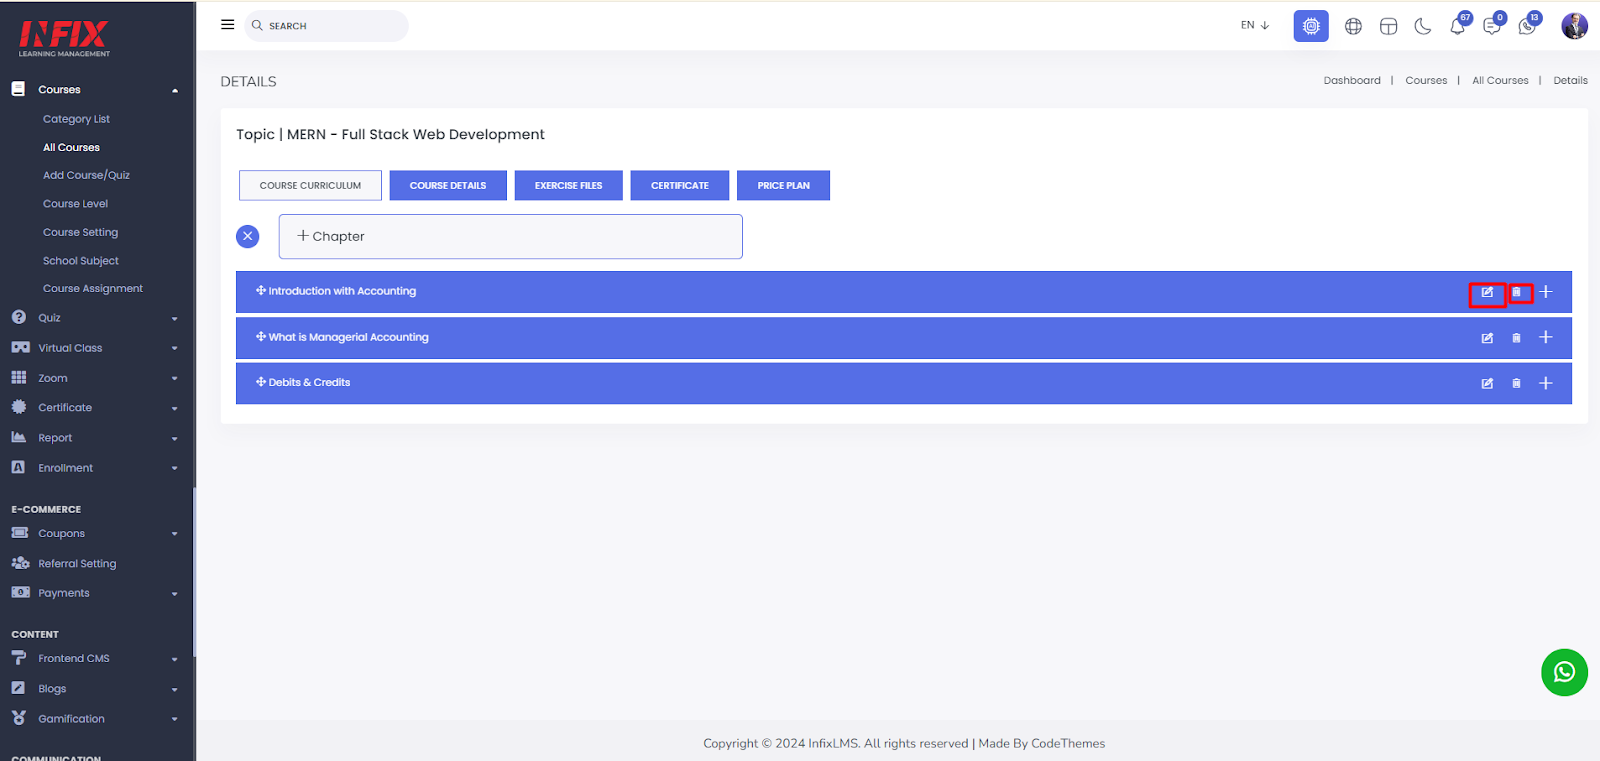
You can also edit and delete the chapter from here.
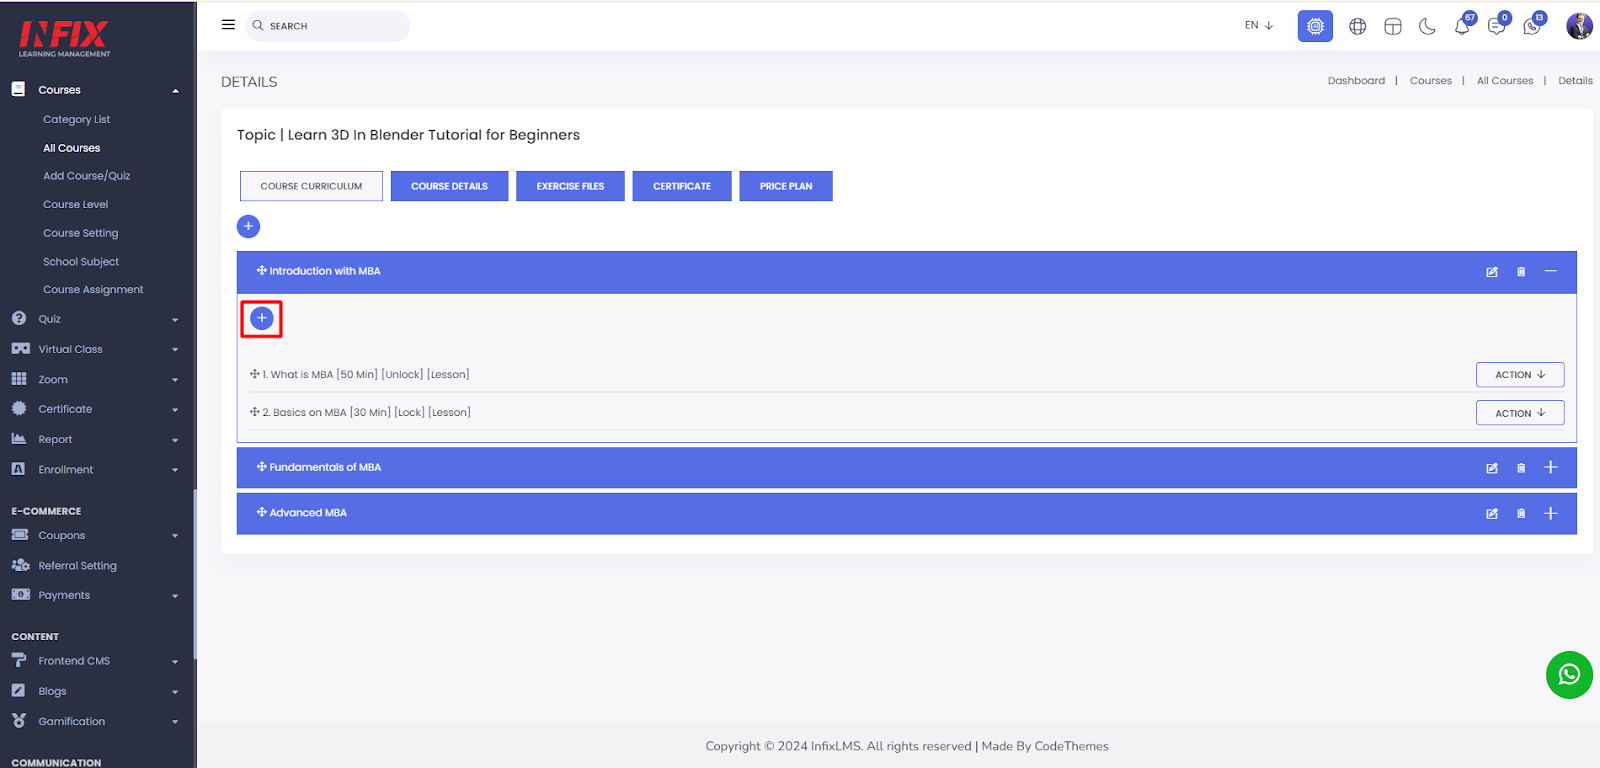
Click the plus sign next to the chapter where you want to add a new quiz or lesson.
Here you can see the lesson list.
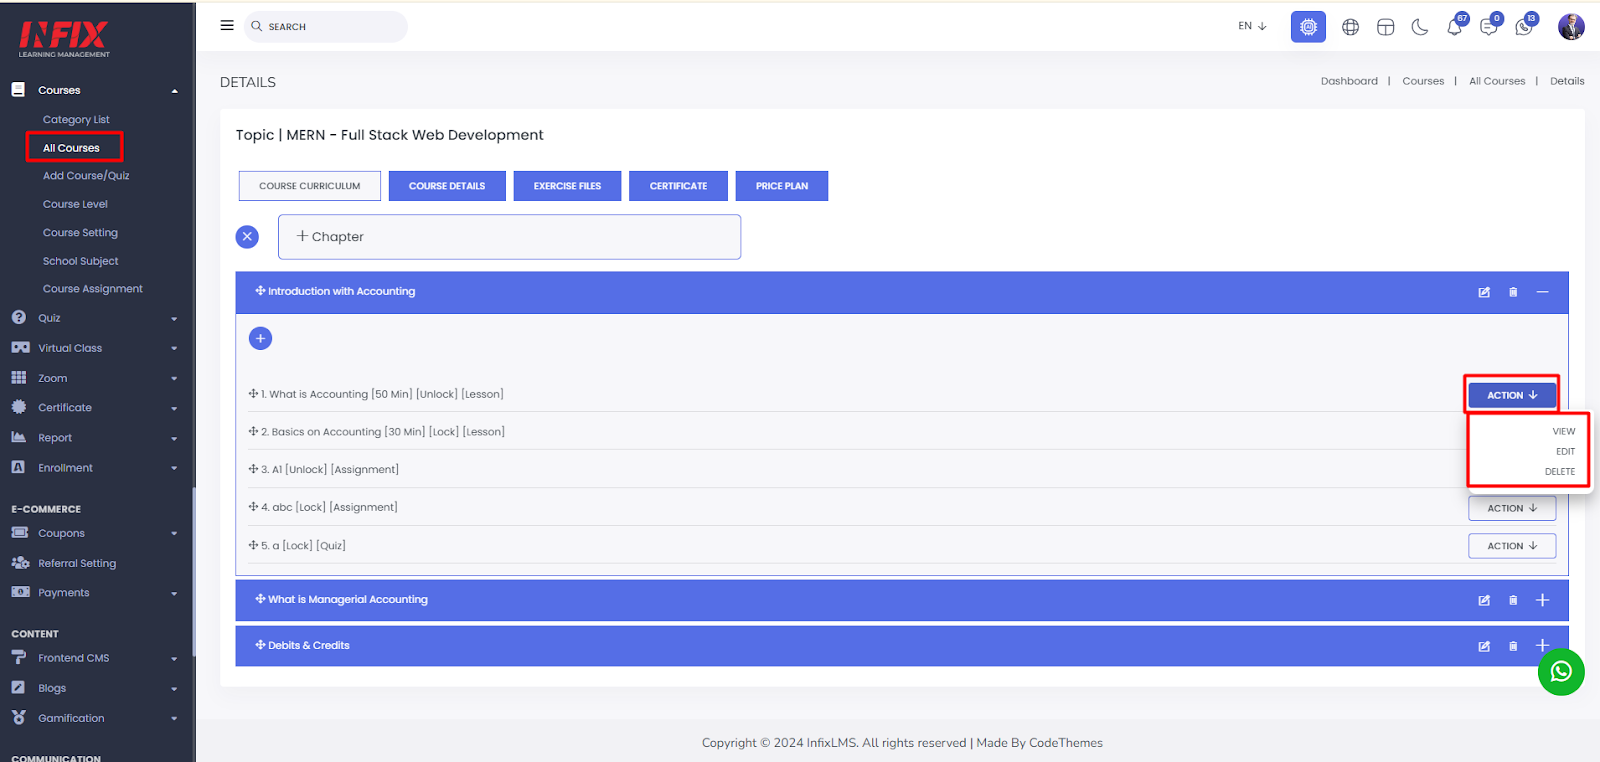
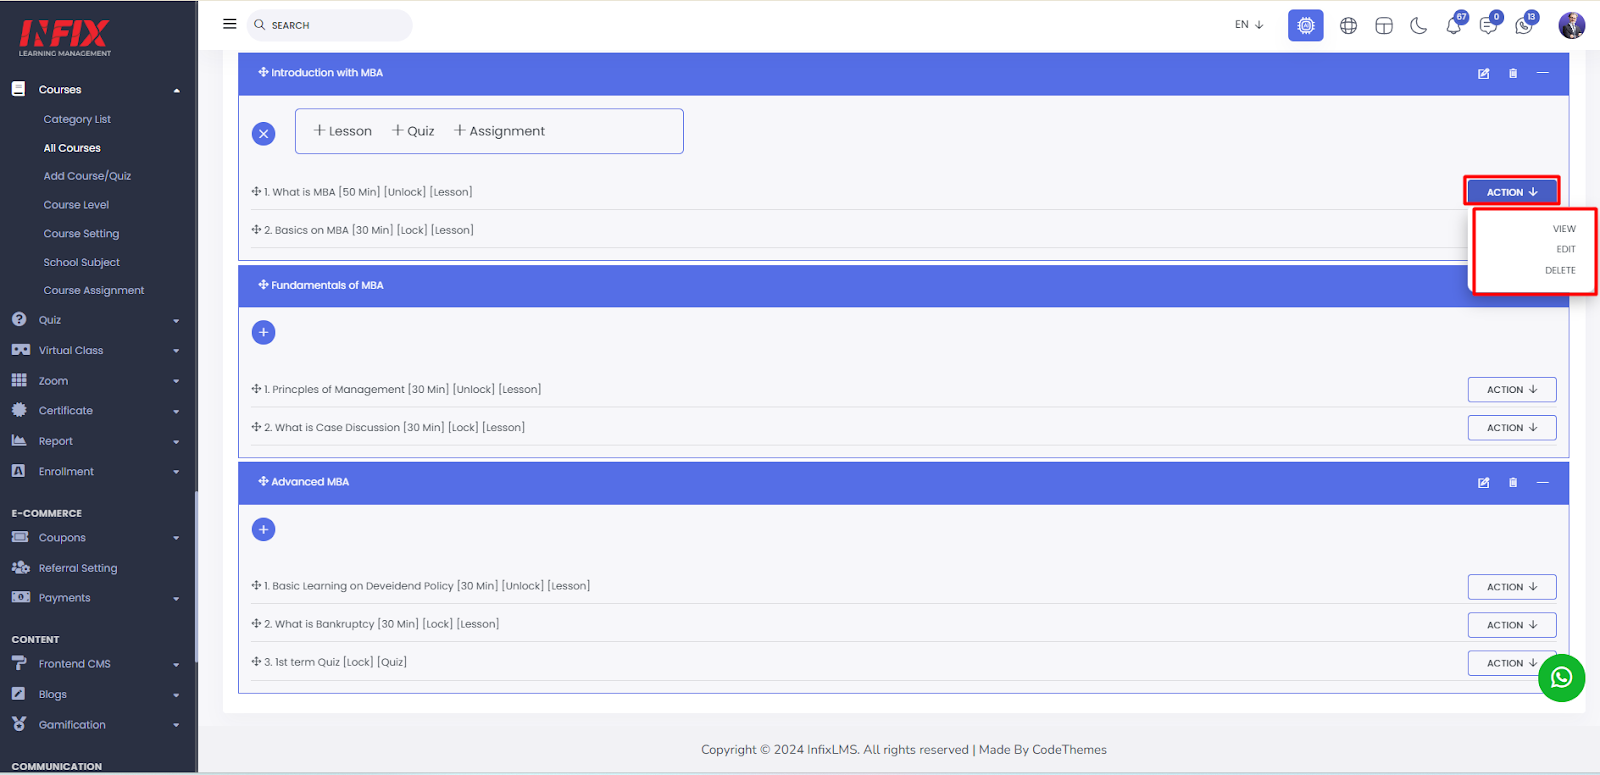
Clicking on the action button you can view ,edit and delete the lesson.
Click on the plus sign to add a new lesson.
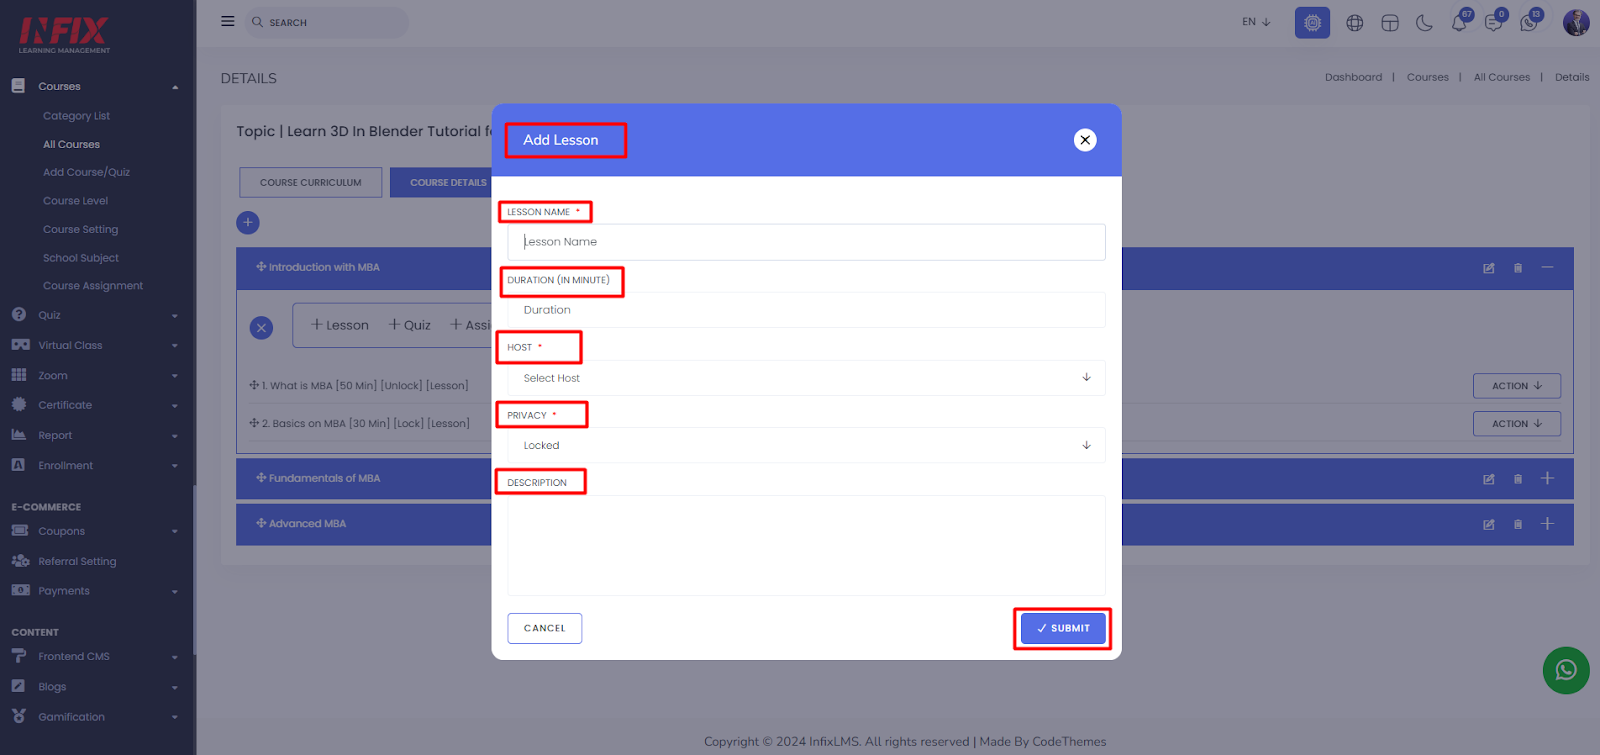
To create a new lesson click on “Lesson”.
Enter the lesson name, duration, host, privacy, and description, then click "Submit" to successfully create the lesson.
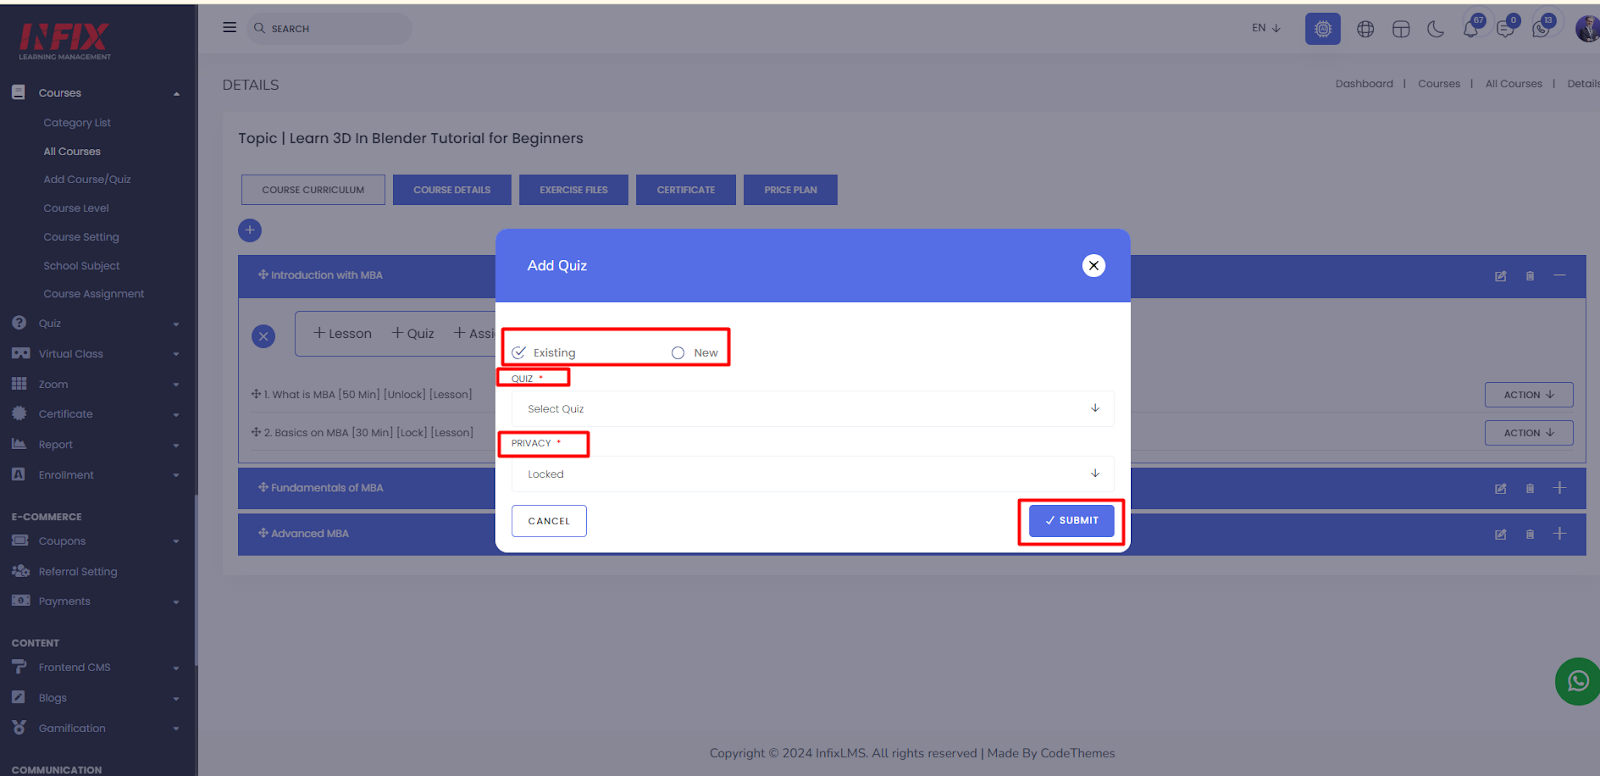
To create a new quiz click on quiz
You can create both existing and new quizzes here. To create an existing quiz, simply click on it, select the quiz, set the privacy, and click "Save."
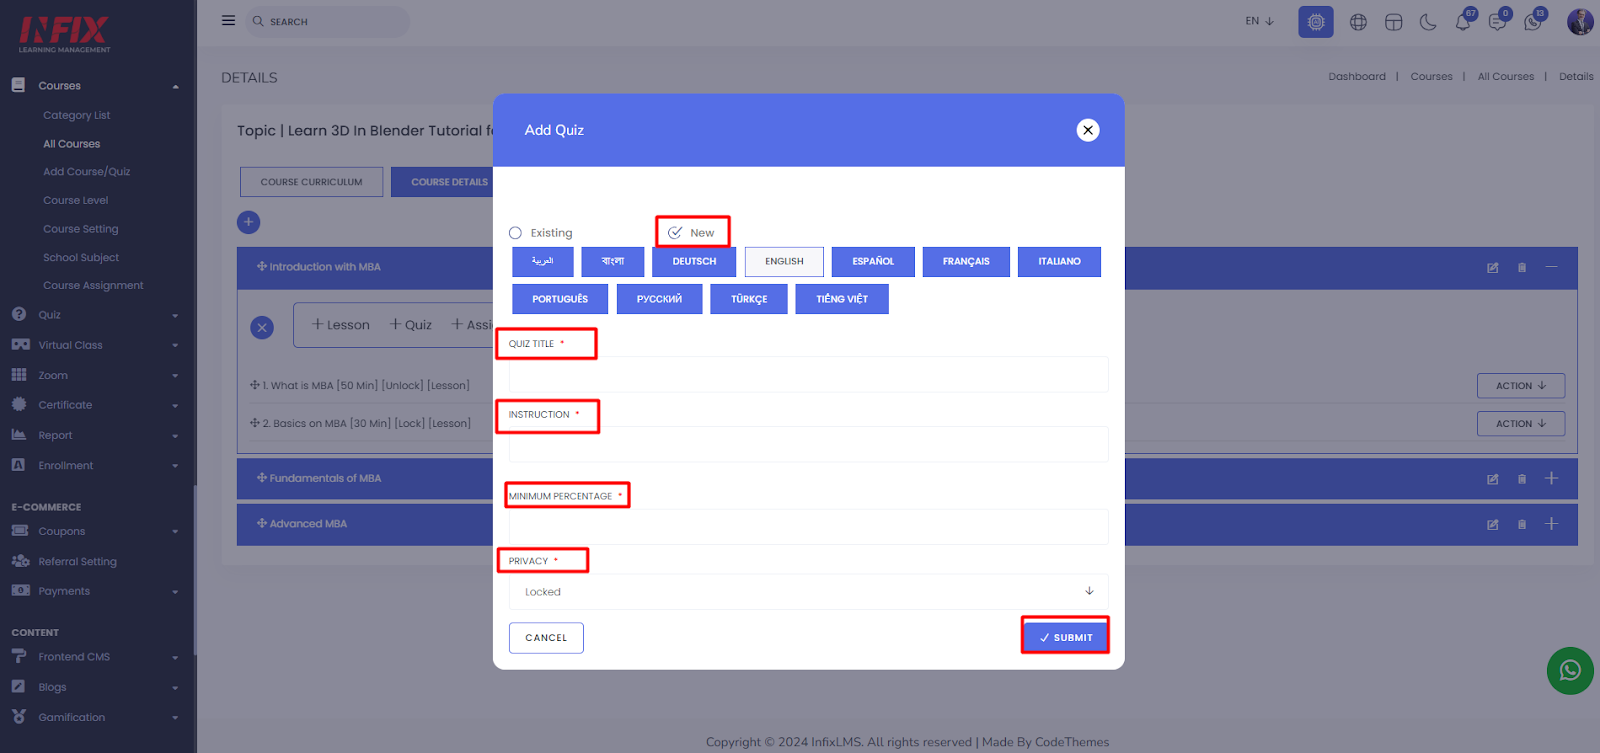
To create a new quiz, click "New," enter the quiz title, instructions, minimum percentage, and privacy settings, then click "Submit."
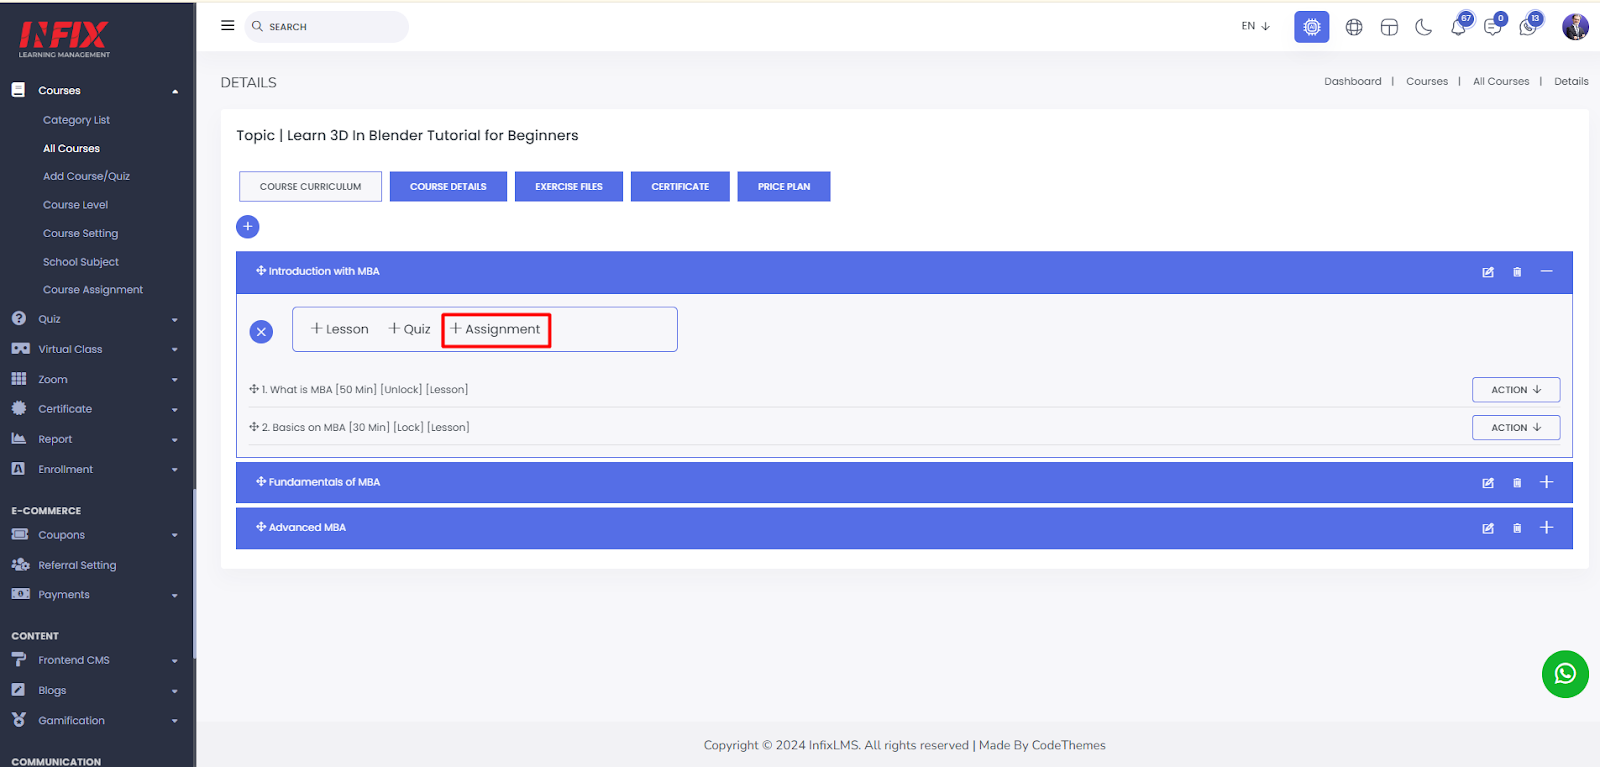
By Clicking on Assignment Button you can create a new assignment.
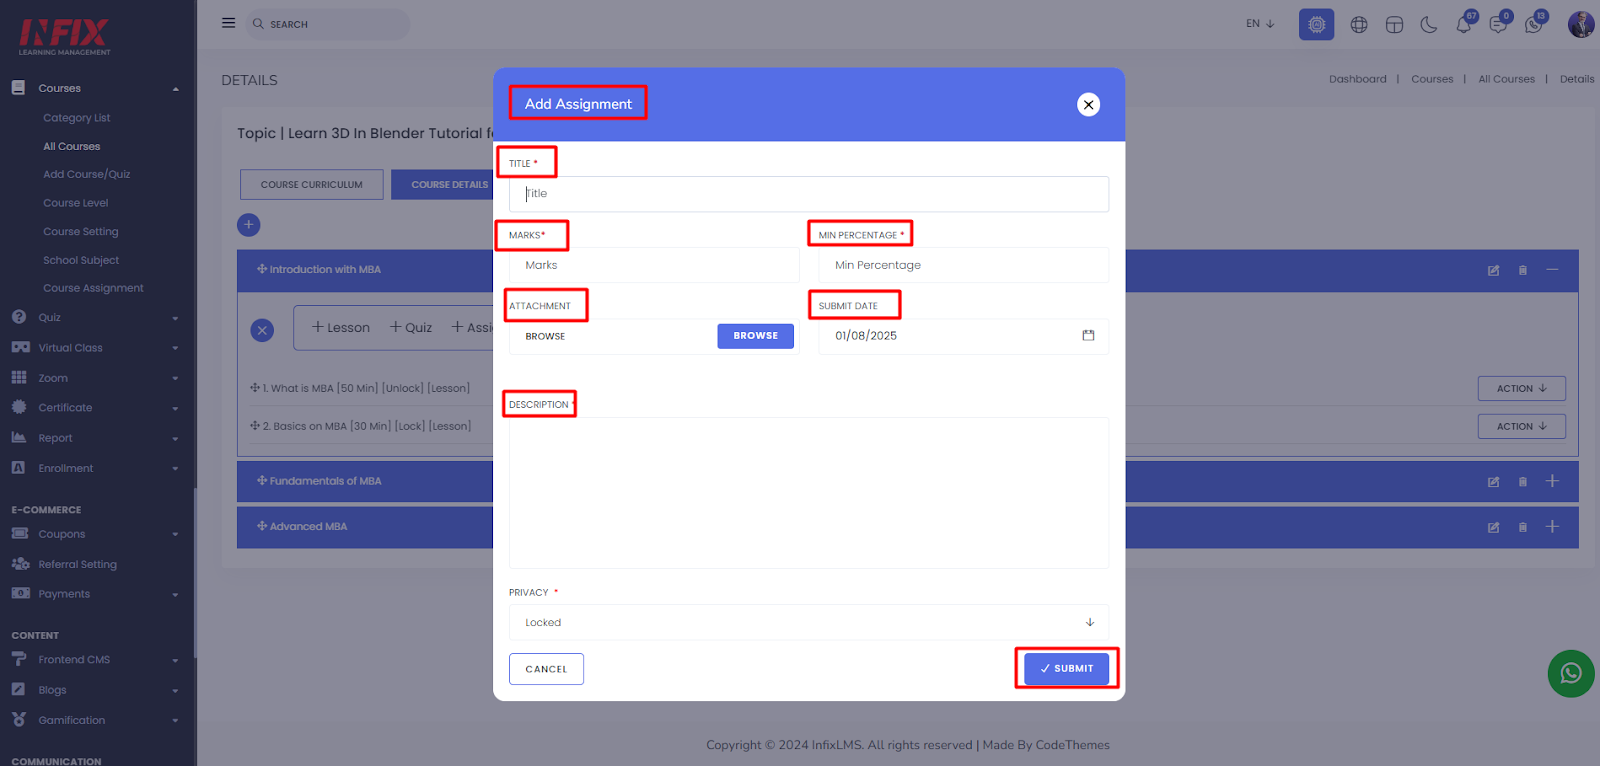
To set up the assignment, fill in the title, marks, minimum percentage, attachment, submit date, description, and privacy settings. After completing these fields, click "Submit" to successfully create the assignment.
By clicking the action button of a lesson you can view the lesson, edit the lesson and delete the lesson
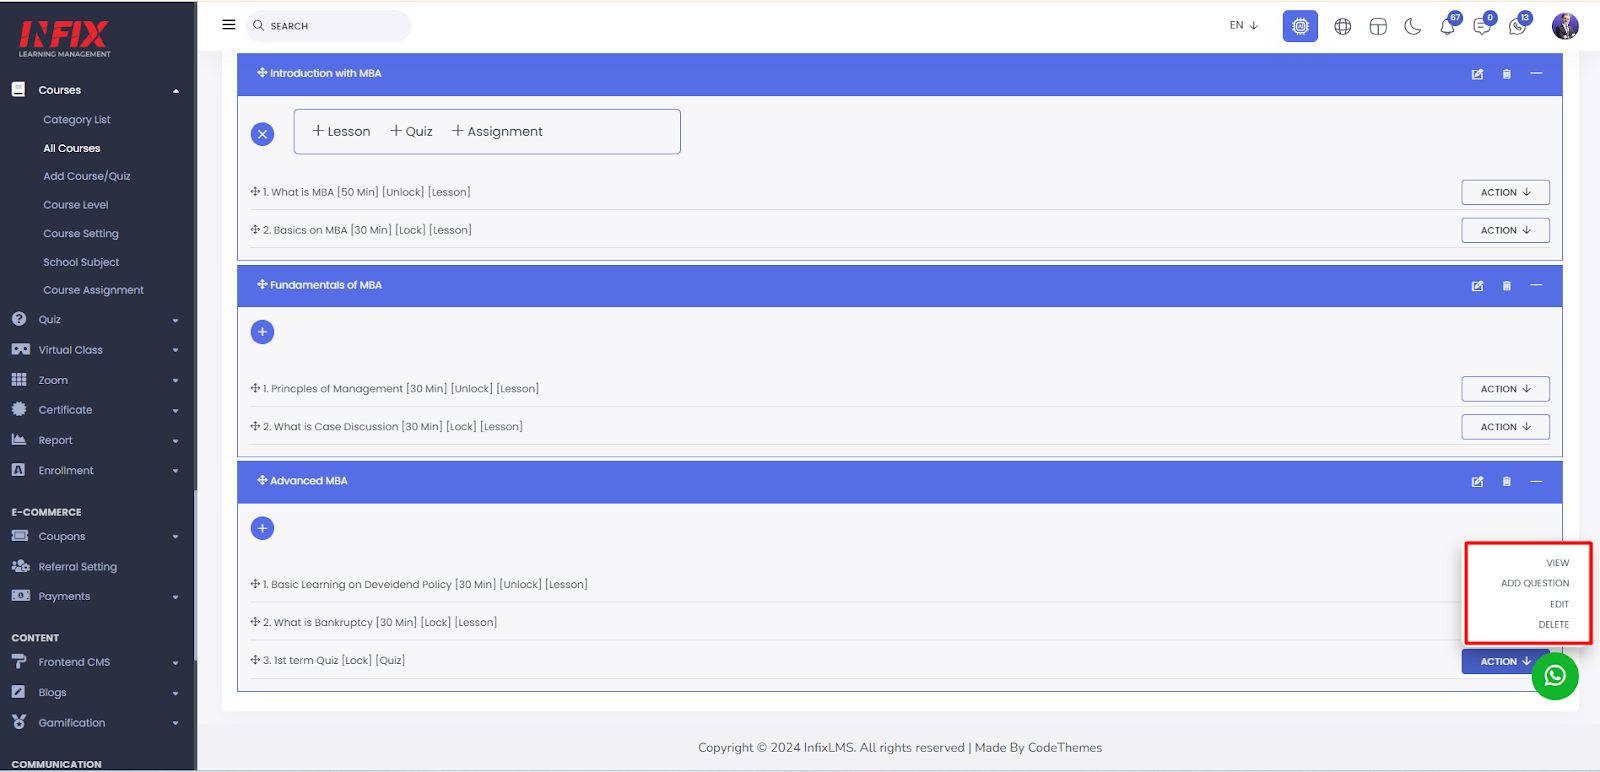
By clicking the action button of a quiz, you can view, edit, or delete the quiz. You can also set questions from here.
Add Question: From here you can add a question of a quiz.
By clicking the action button of an assignment, you can view, edit, or delete the assignment.
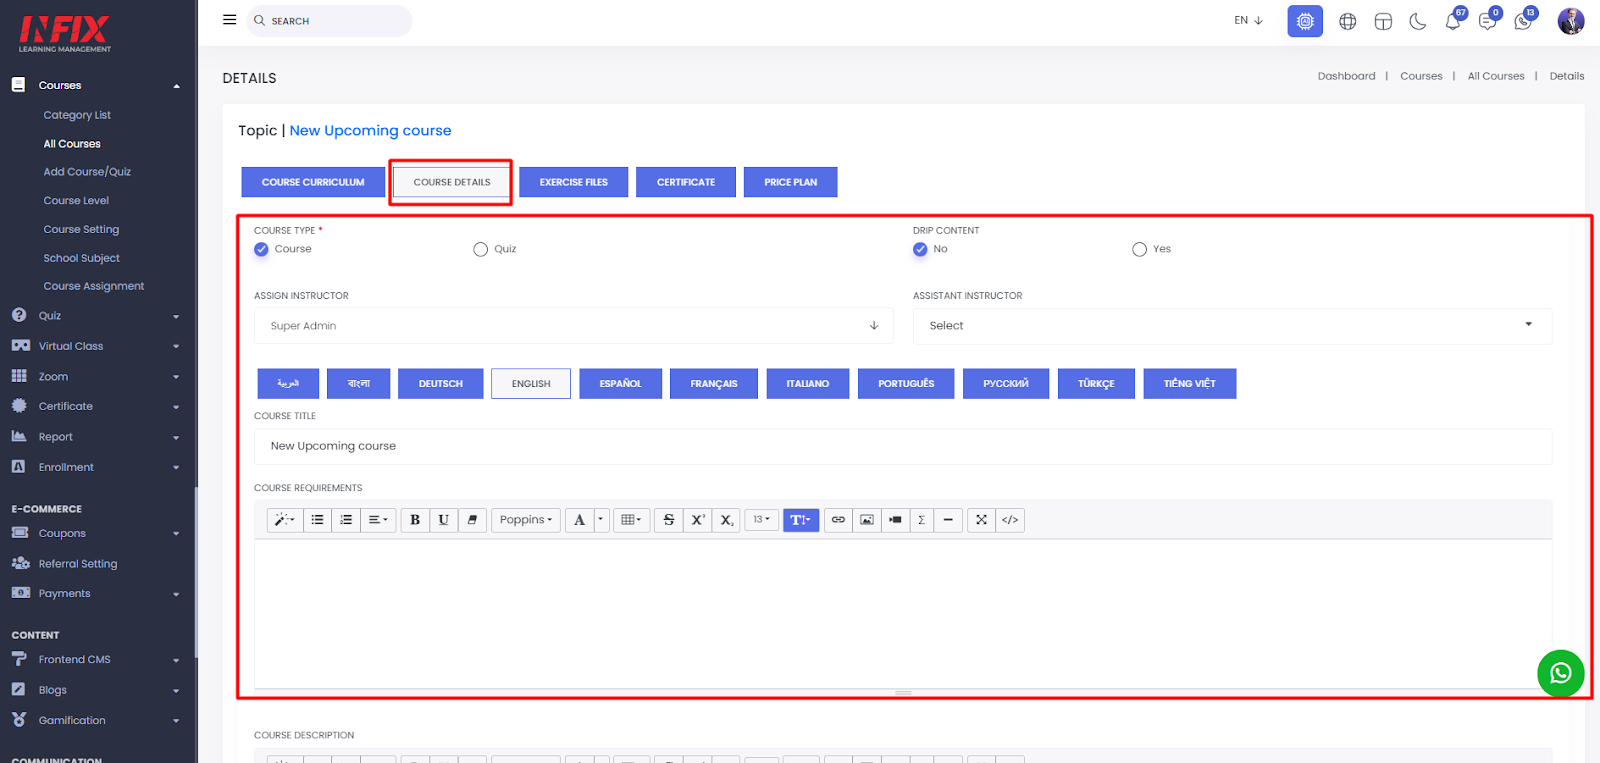
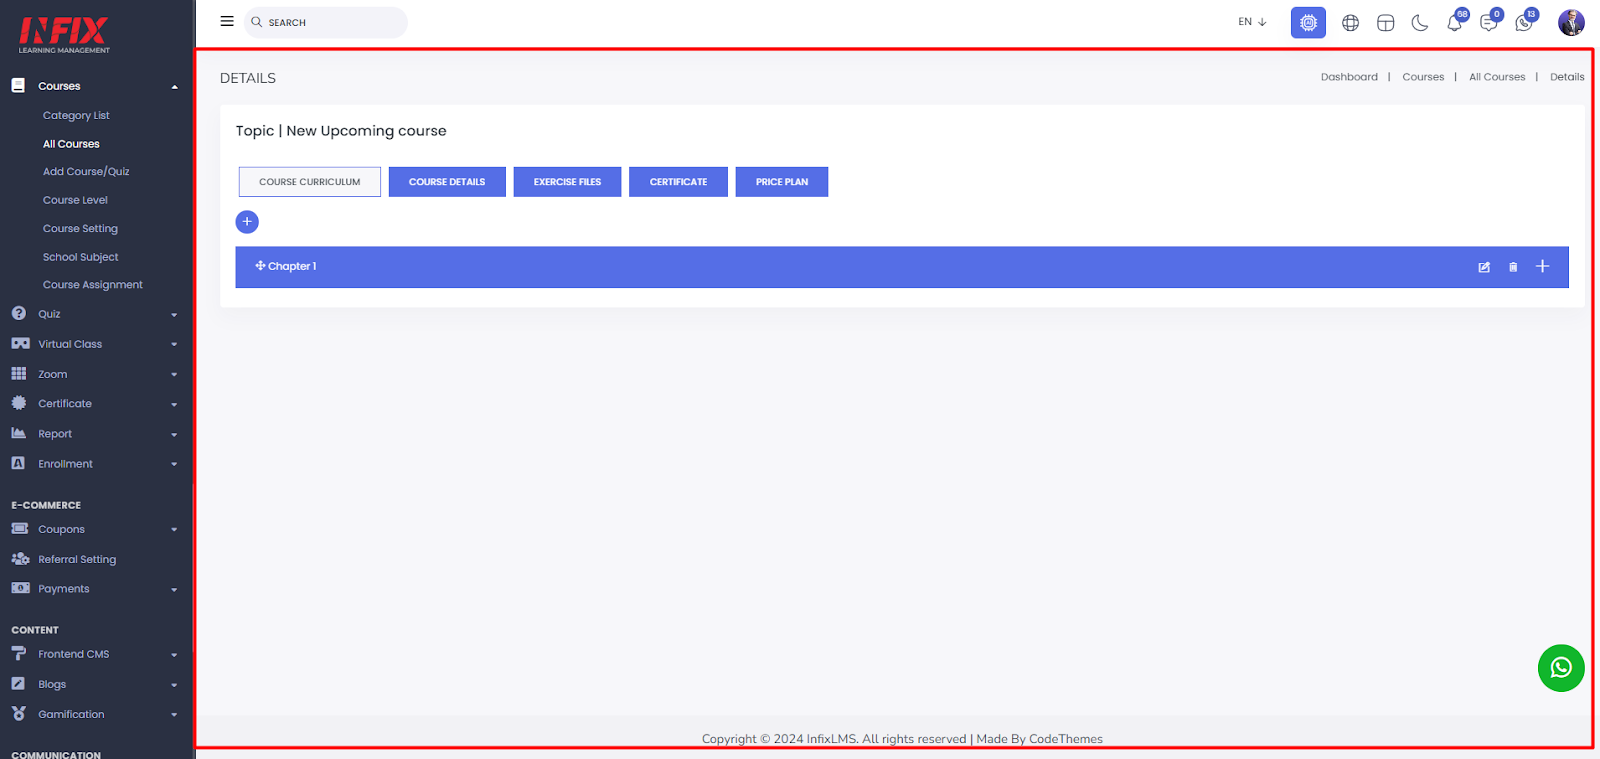
Course Details: By clicking on course details you can see all the course details.
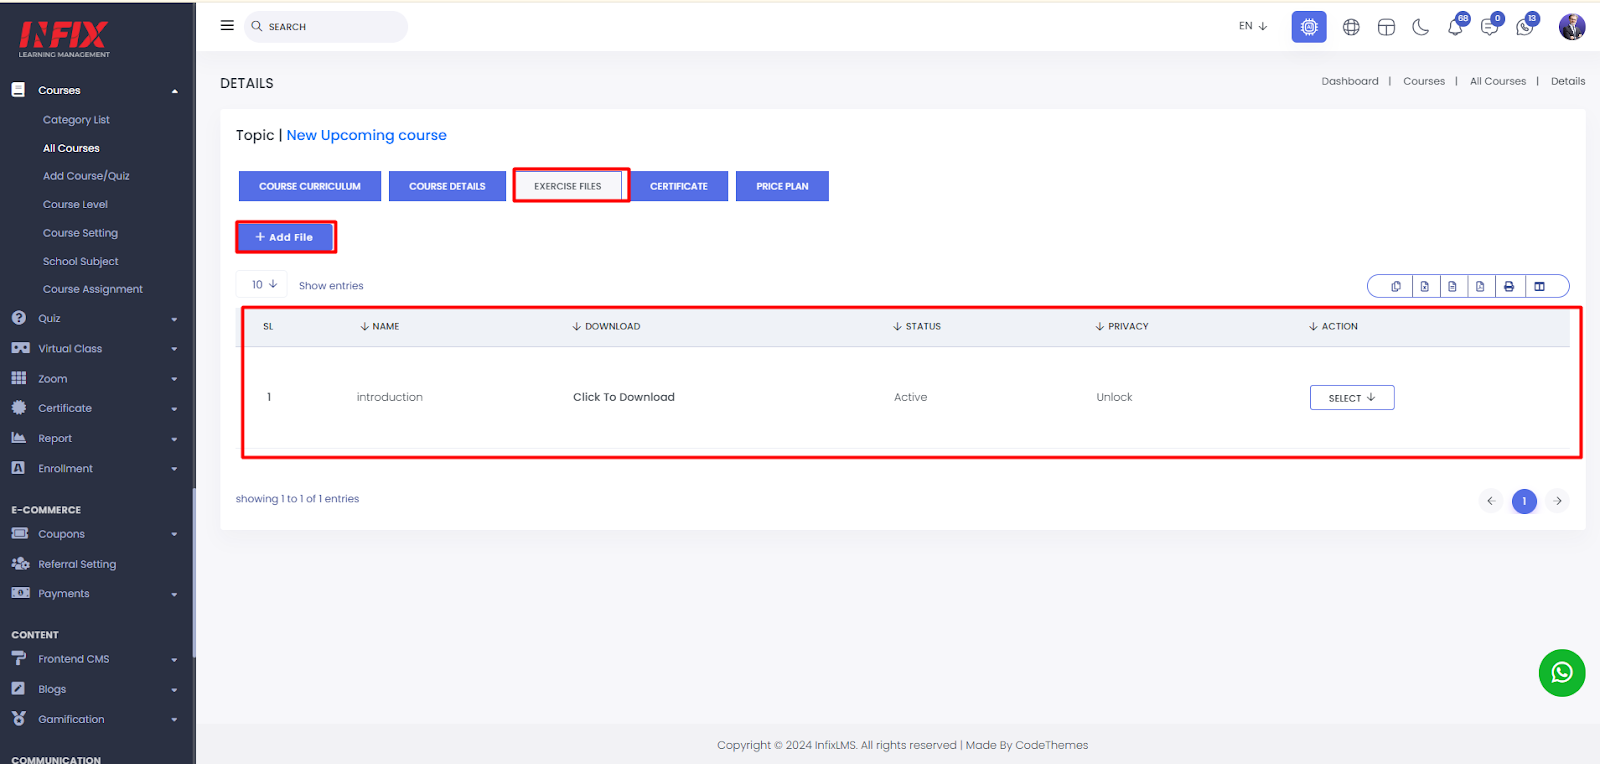
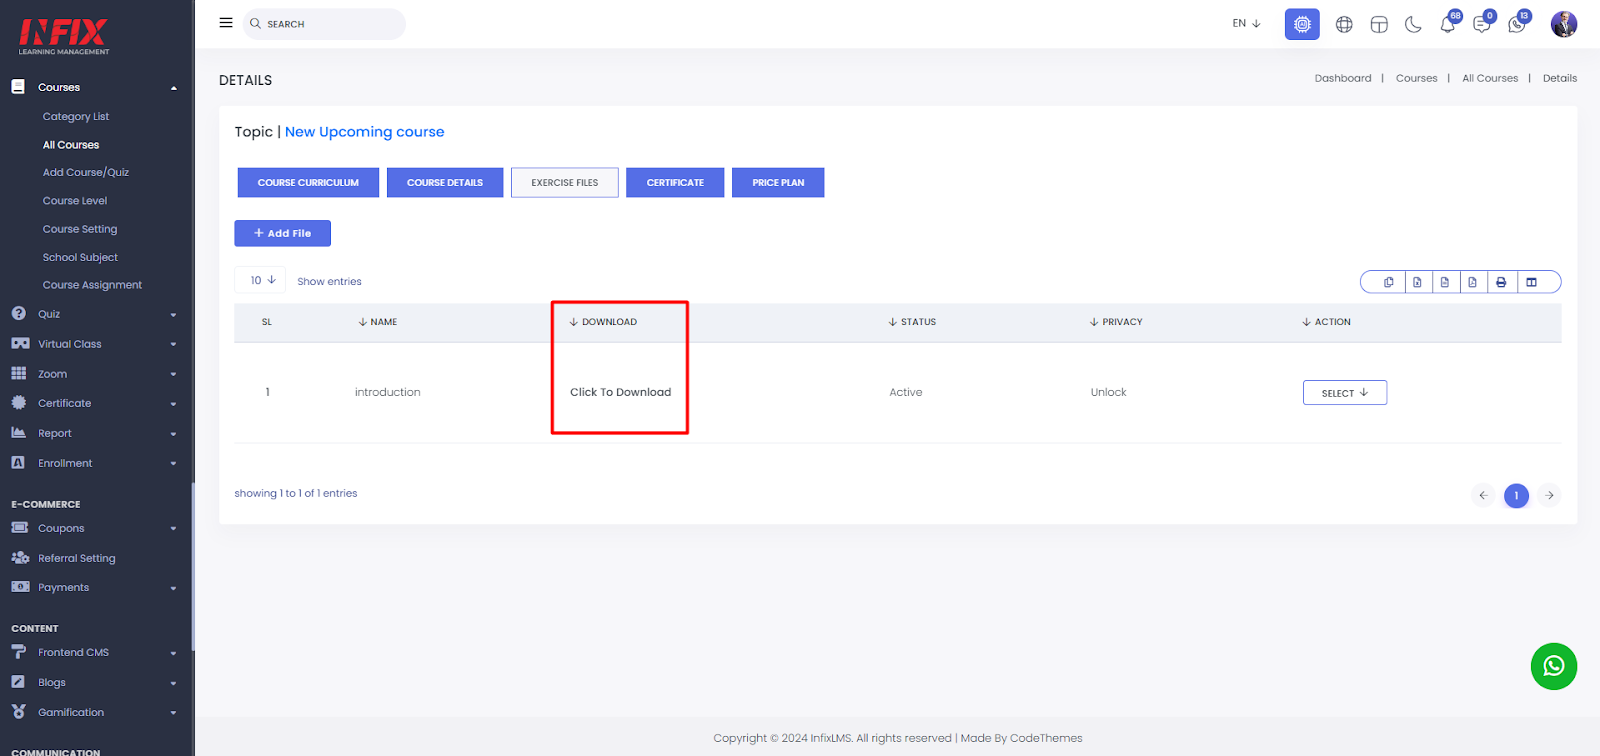
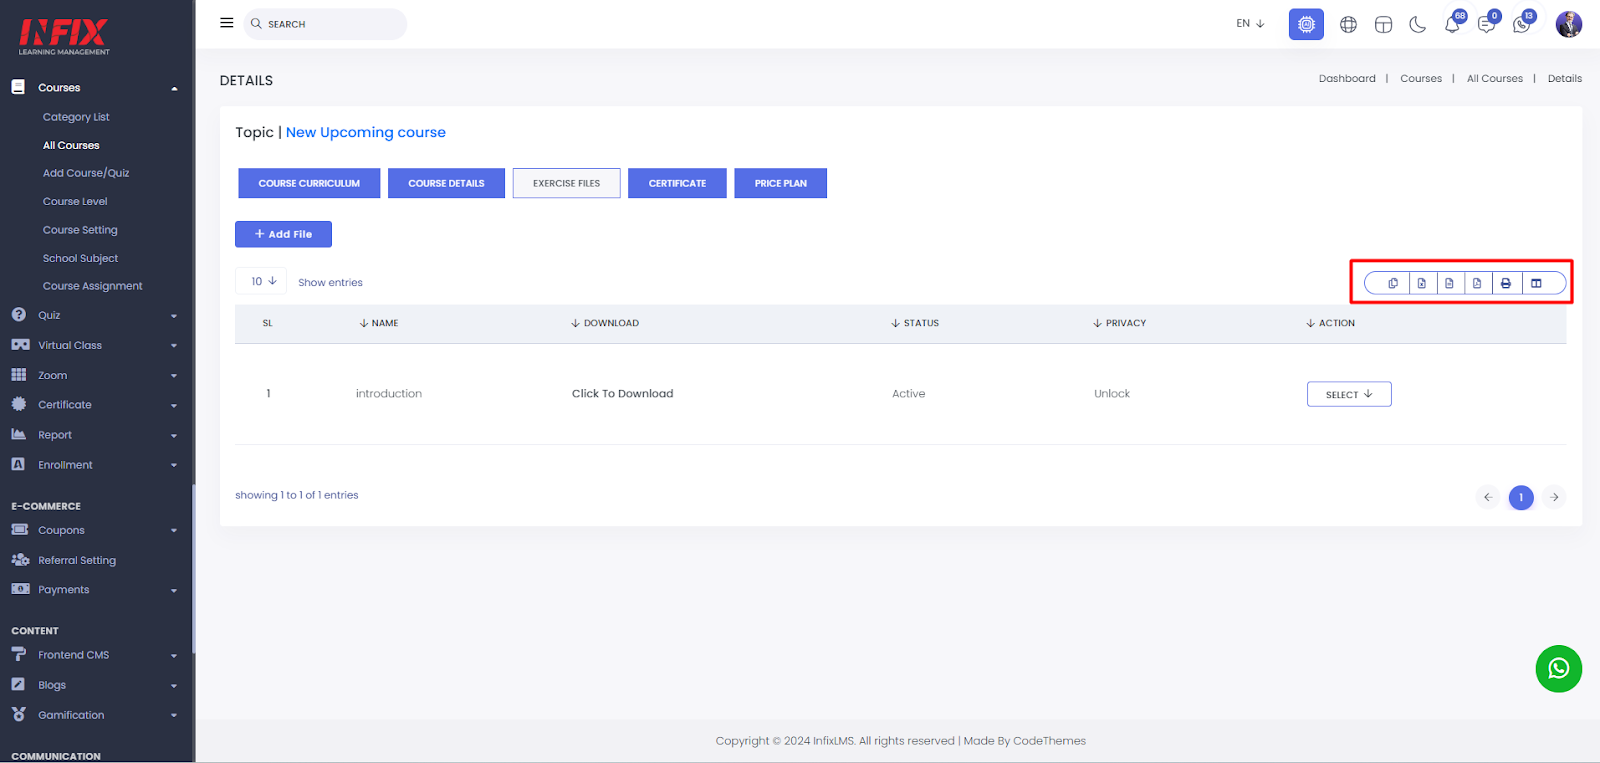
Exercise Files: Here you can see the exercise files list. You can add a new exercise file by clicking on “Add File”.
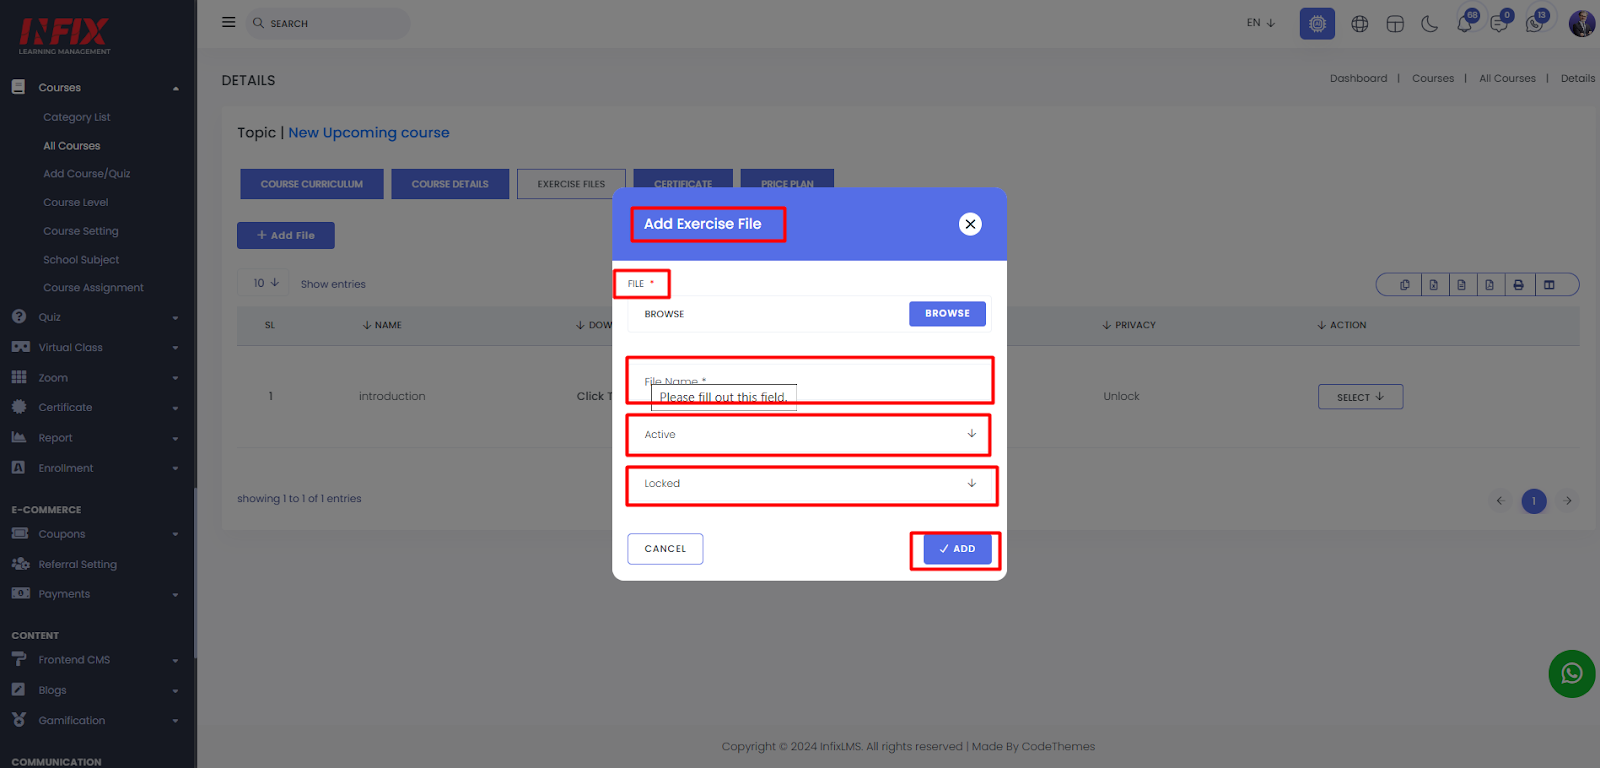
To add a new exercise file click on “Add file”. Then upload the file, set the name, set status & privacy then click on “Add”
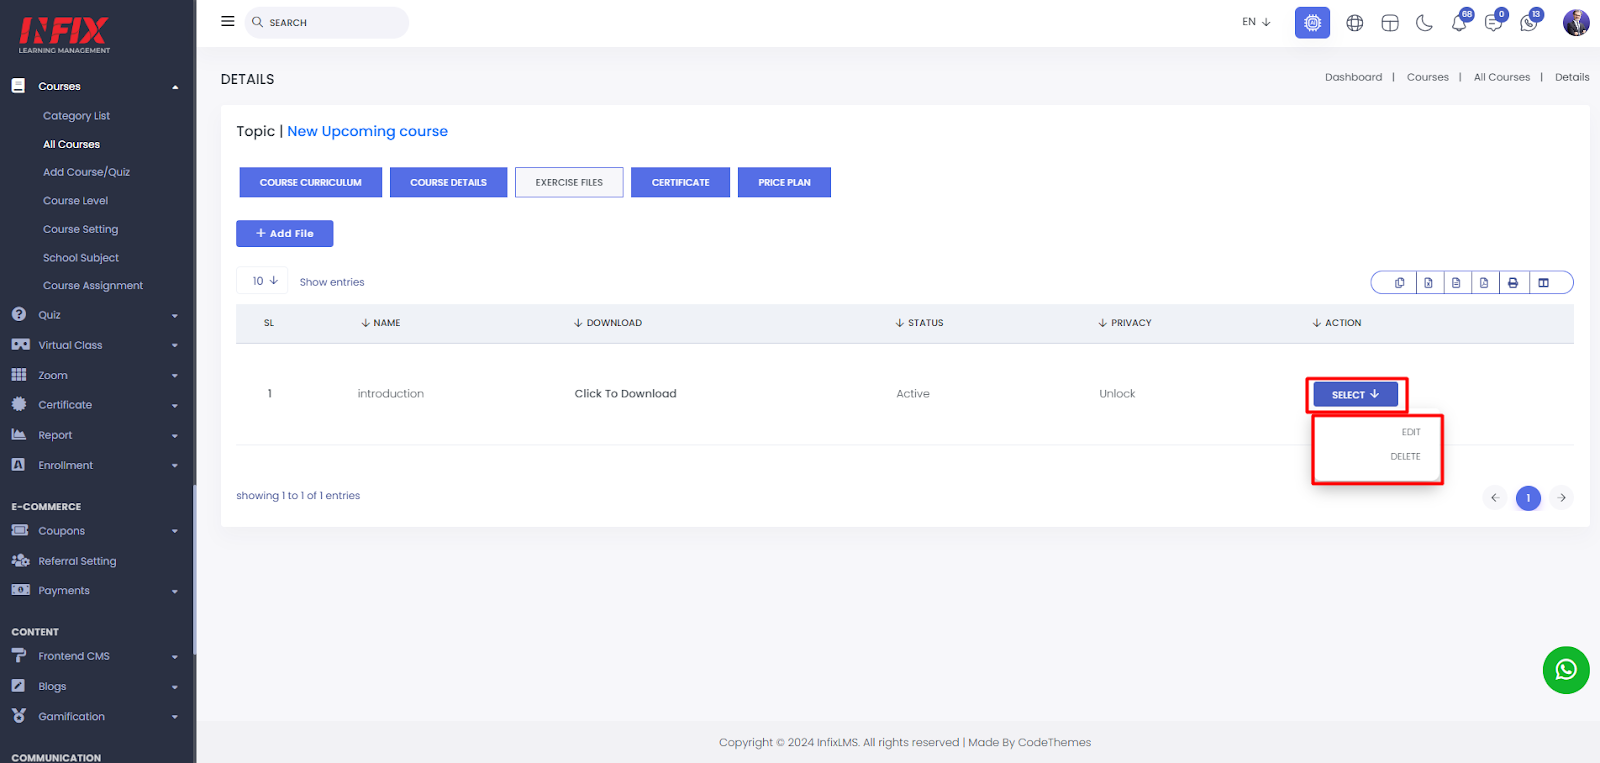
After clicking on “Select” you can edit and delete the file.
You can download the file from here.
You can export the data table from here.
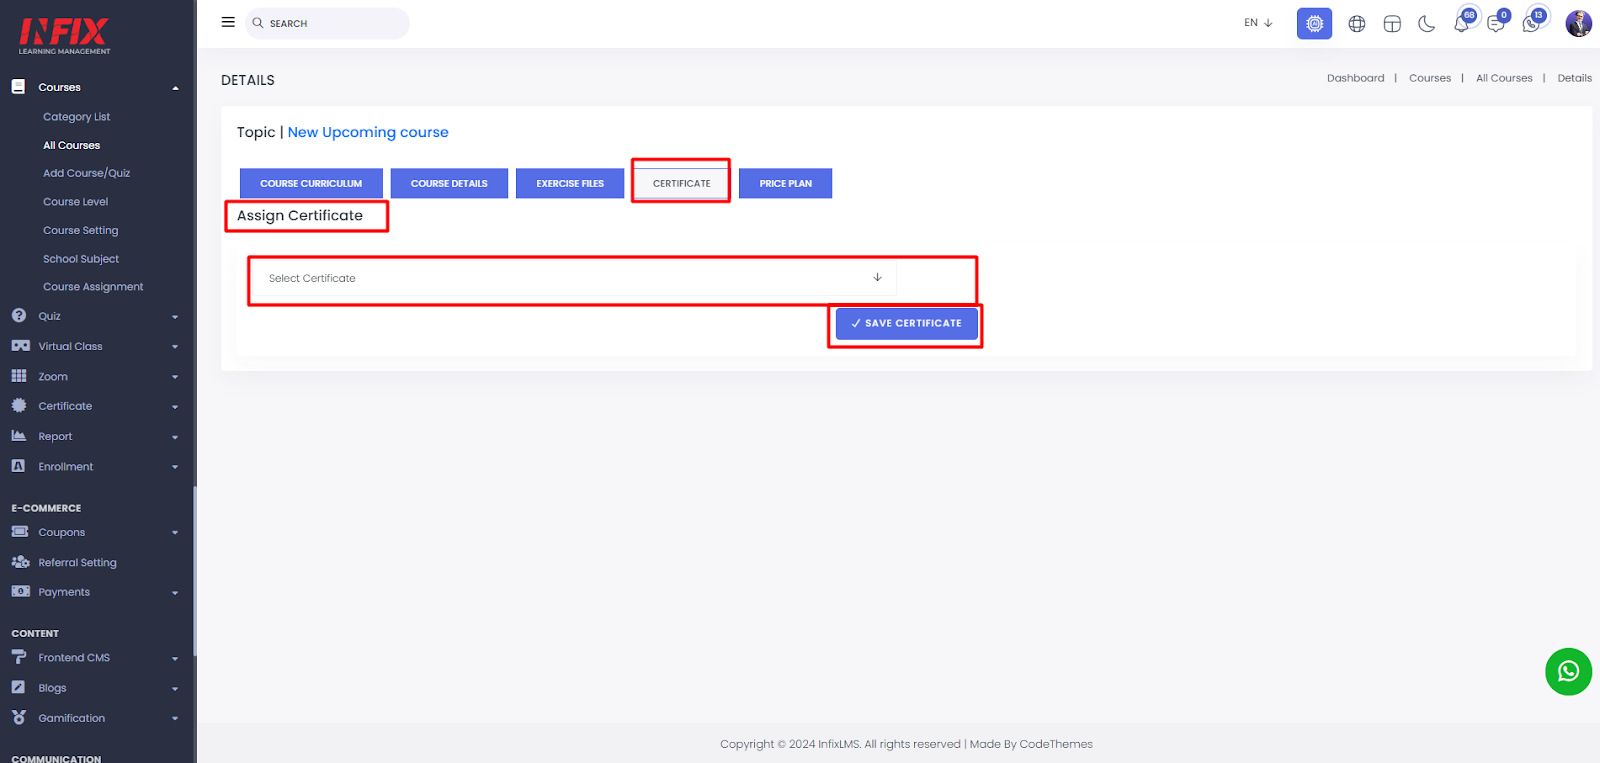
Certificate : From here you can assign a certificate for completing a course. Just select a certificate and click on “ Save certificate”, your certificate will be saved successfully.
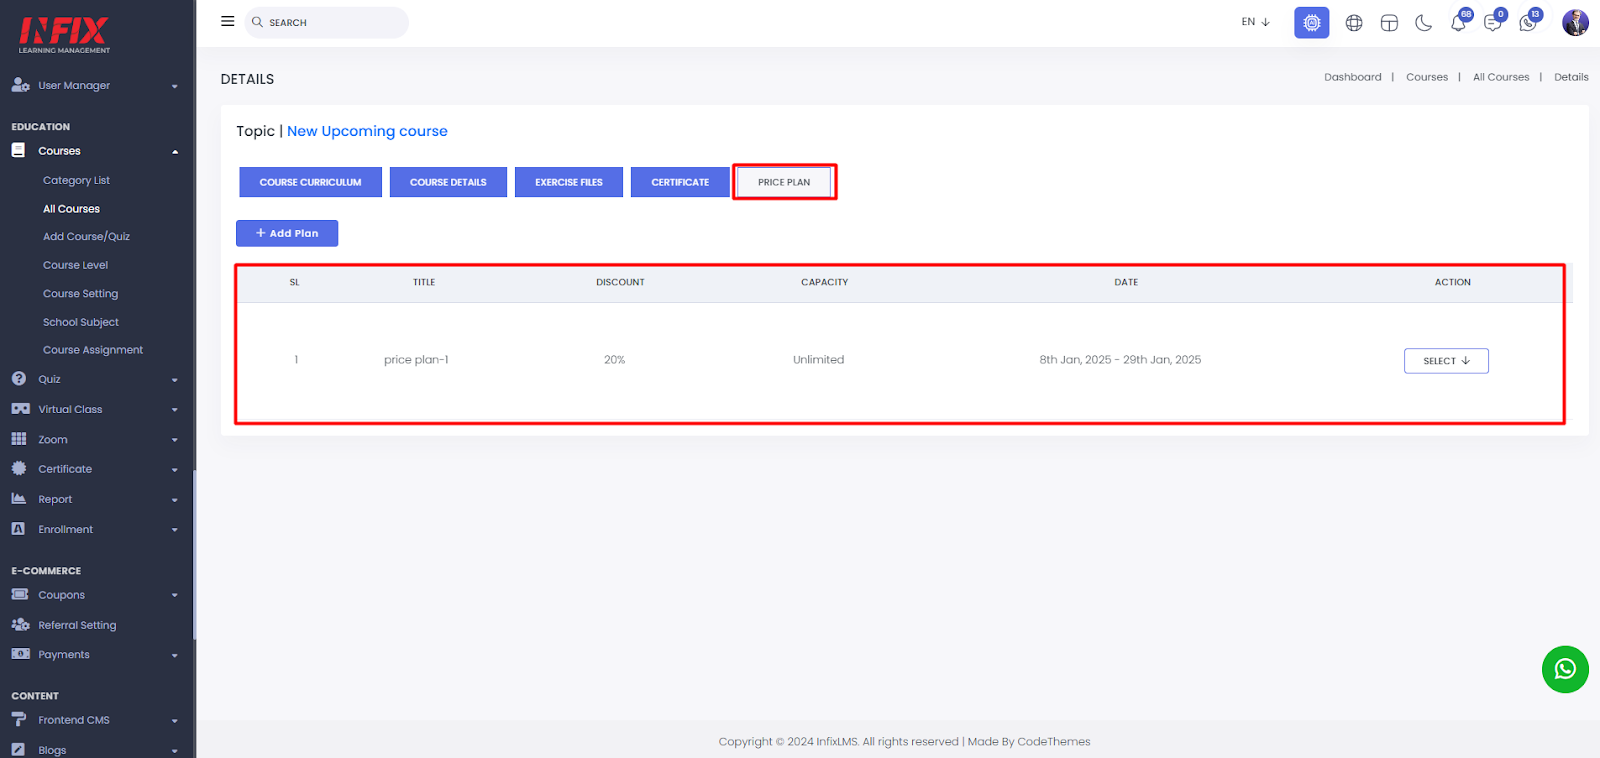
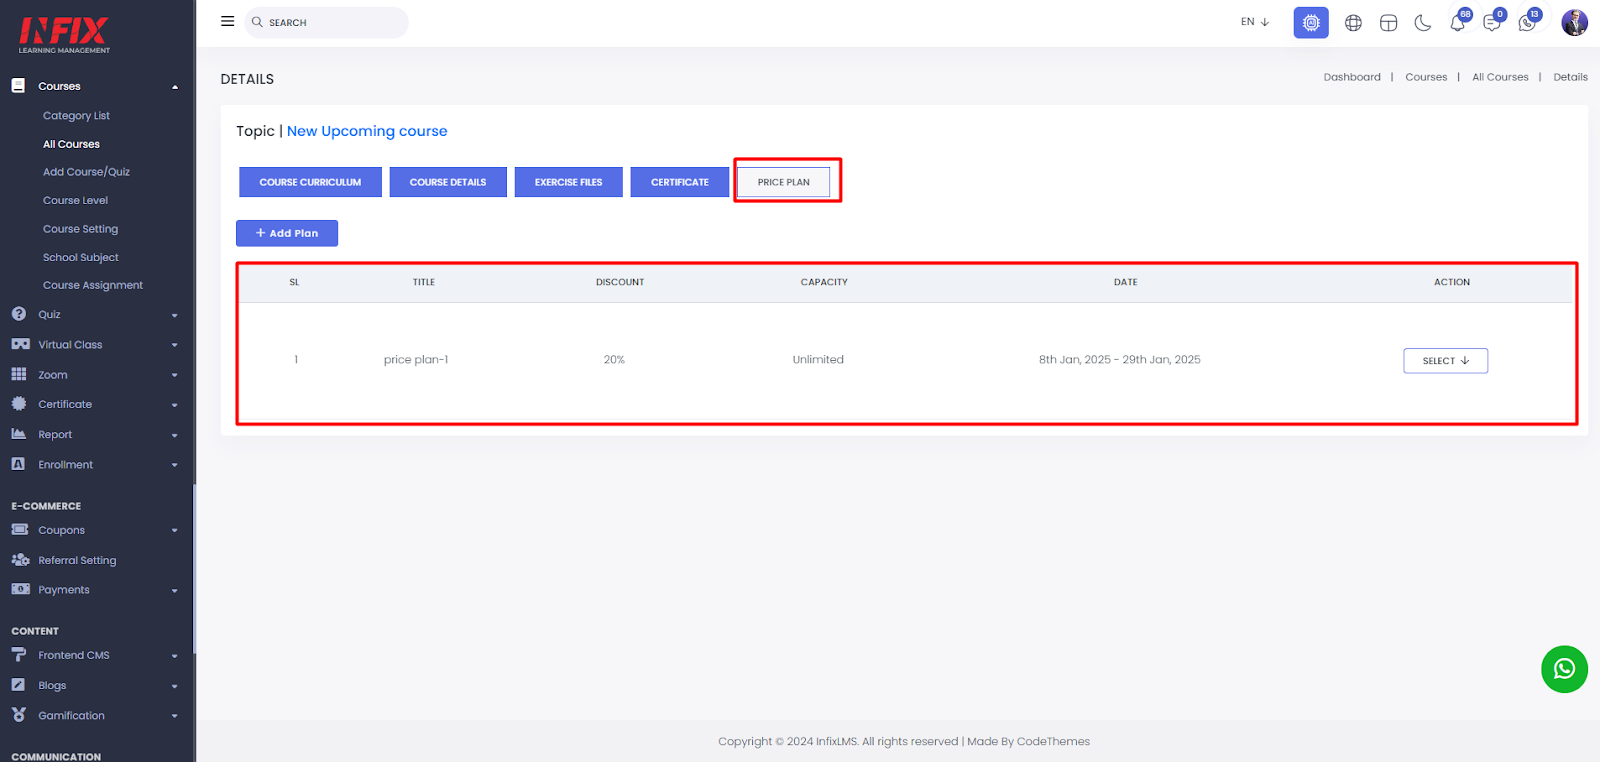
Price Plan: Here, you can view the price plan list, including details such as the title, discount, capacity, date, and available actions.
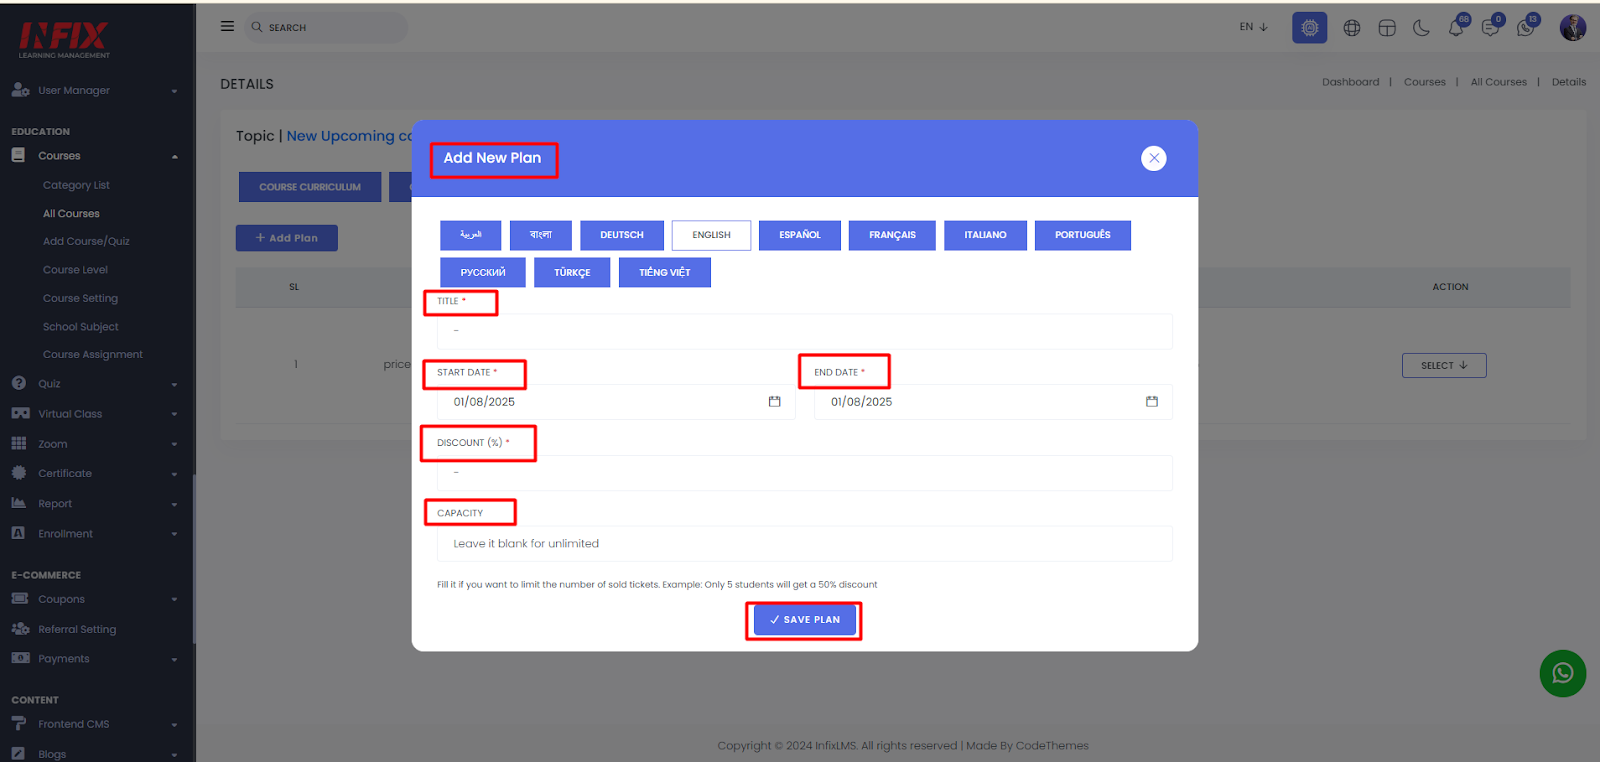
By clicking the "Add Plan" button, you can create a new price plan. Fill in the title, start date, end date, discount, and capacity. Once completed, click the "Save Plan" button to successfully create your price plan.
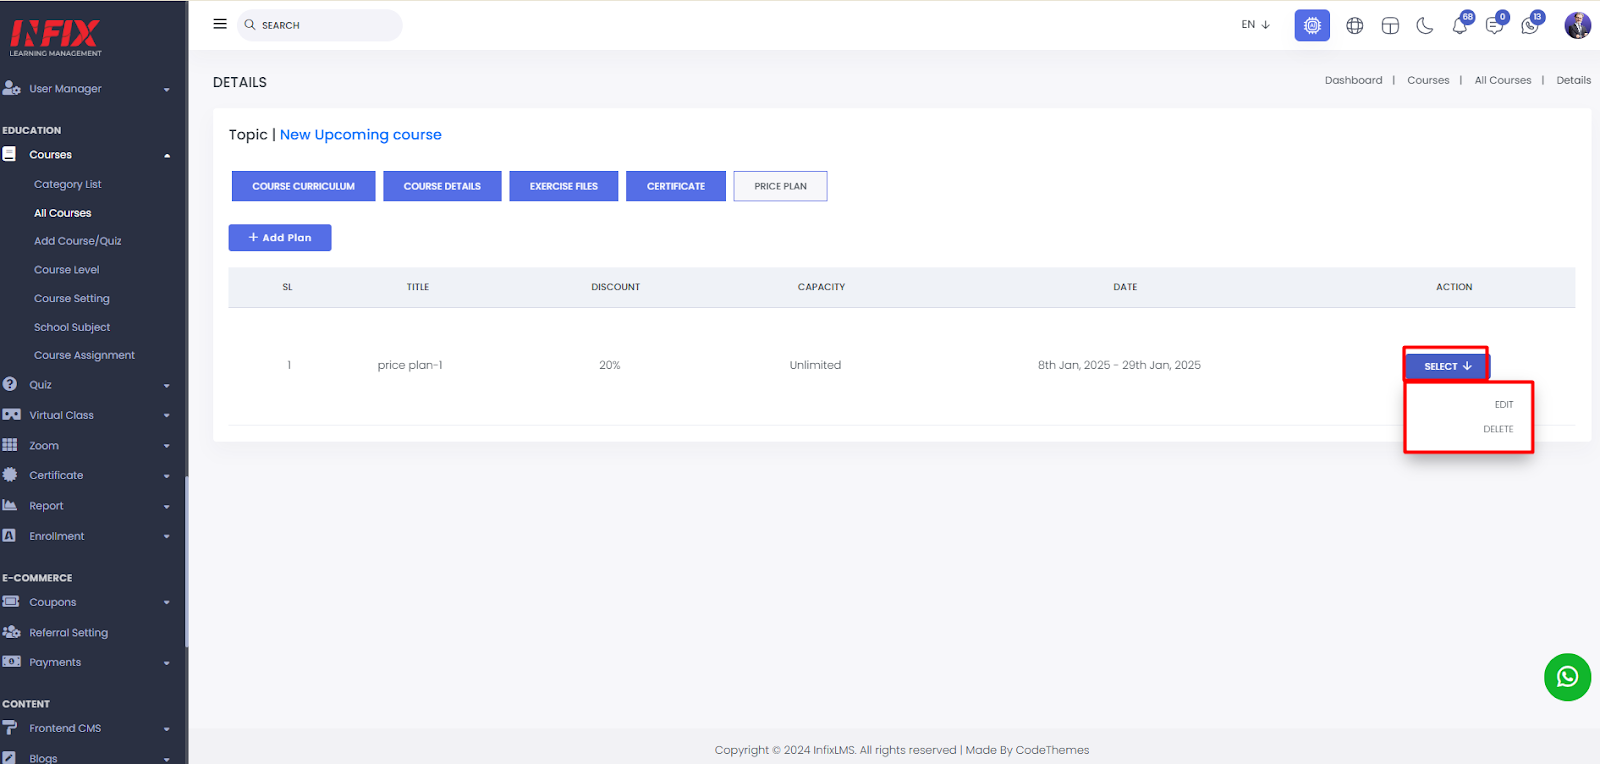
By clicking the "Select" button, you can edit or delete the price plan.
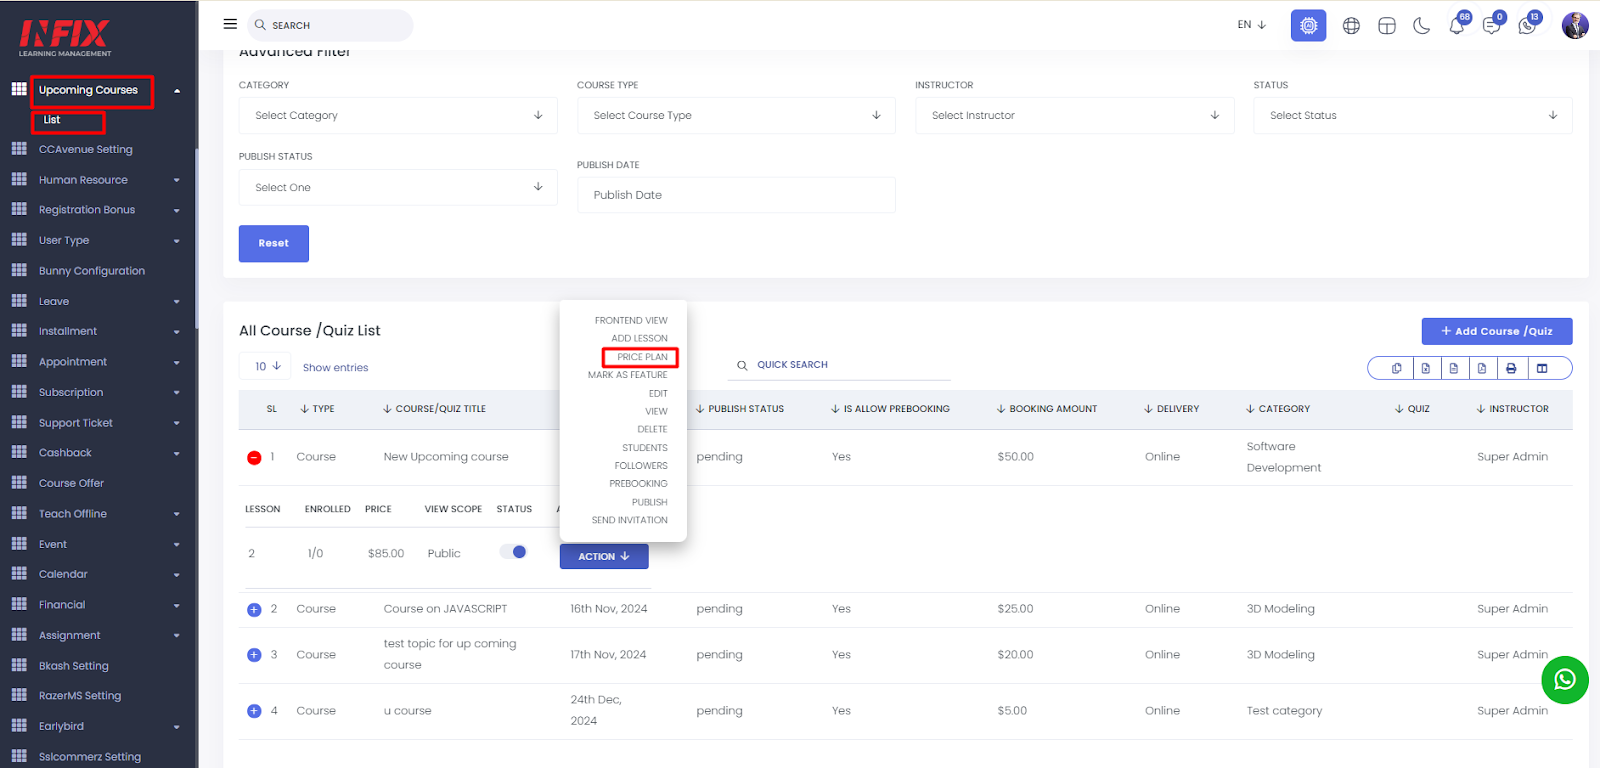
Price Plan: By clicking this, you can view all the price plans.
Make As Feature: By clicking this button, you can mark any course or quiz as featured.
Edit: By clicking on the edit button you can edit any course.
Delete: By clicking on delete button you can delete any course.
View: By clicking the "View" button, you can see the details of the course.
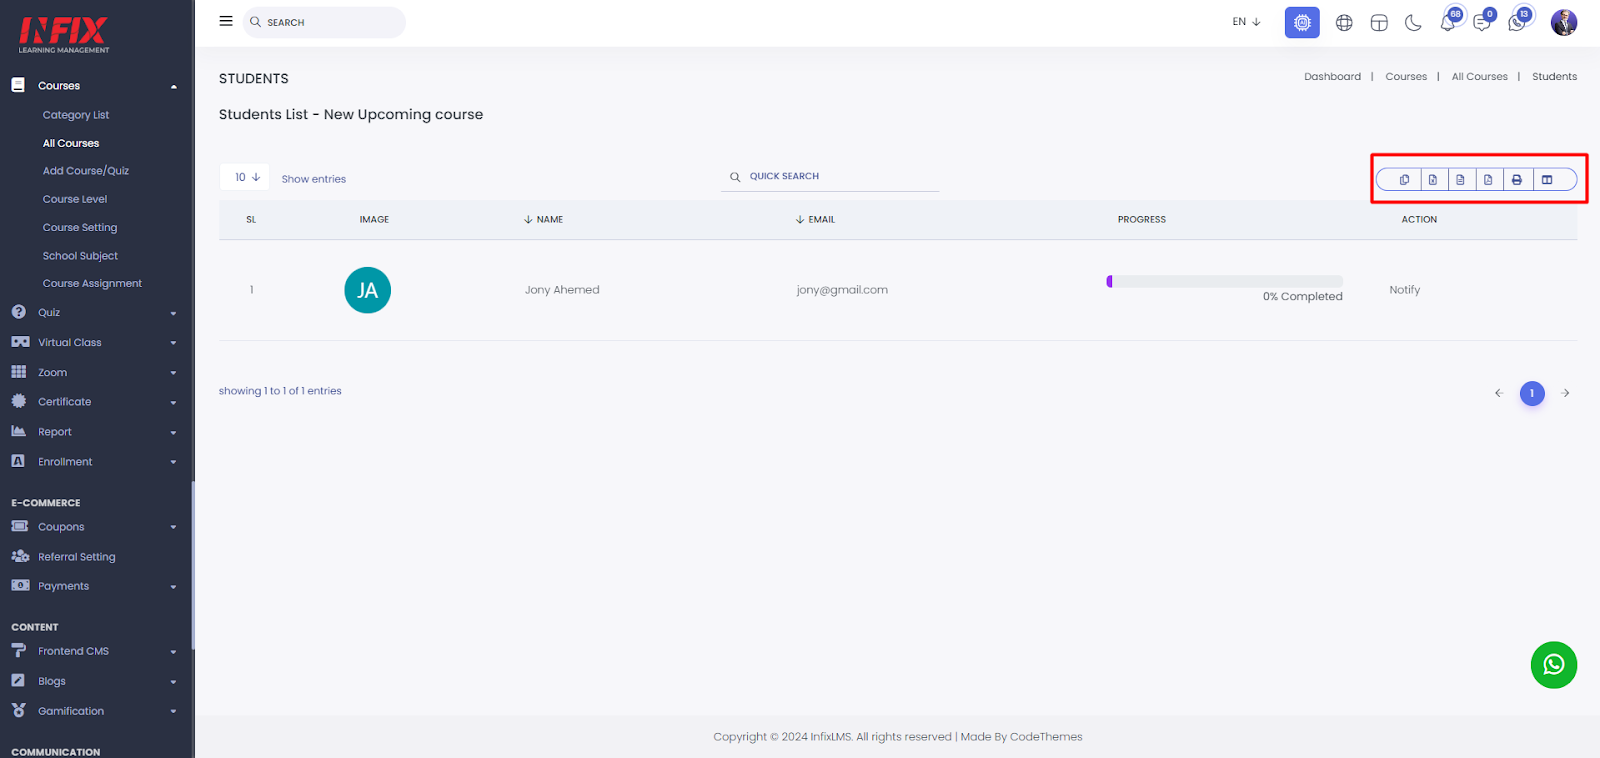
Student: By clicking the "Student" button, you can see the number of students who have enrolled in the course.
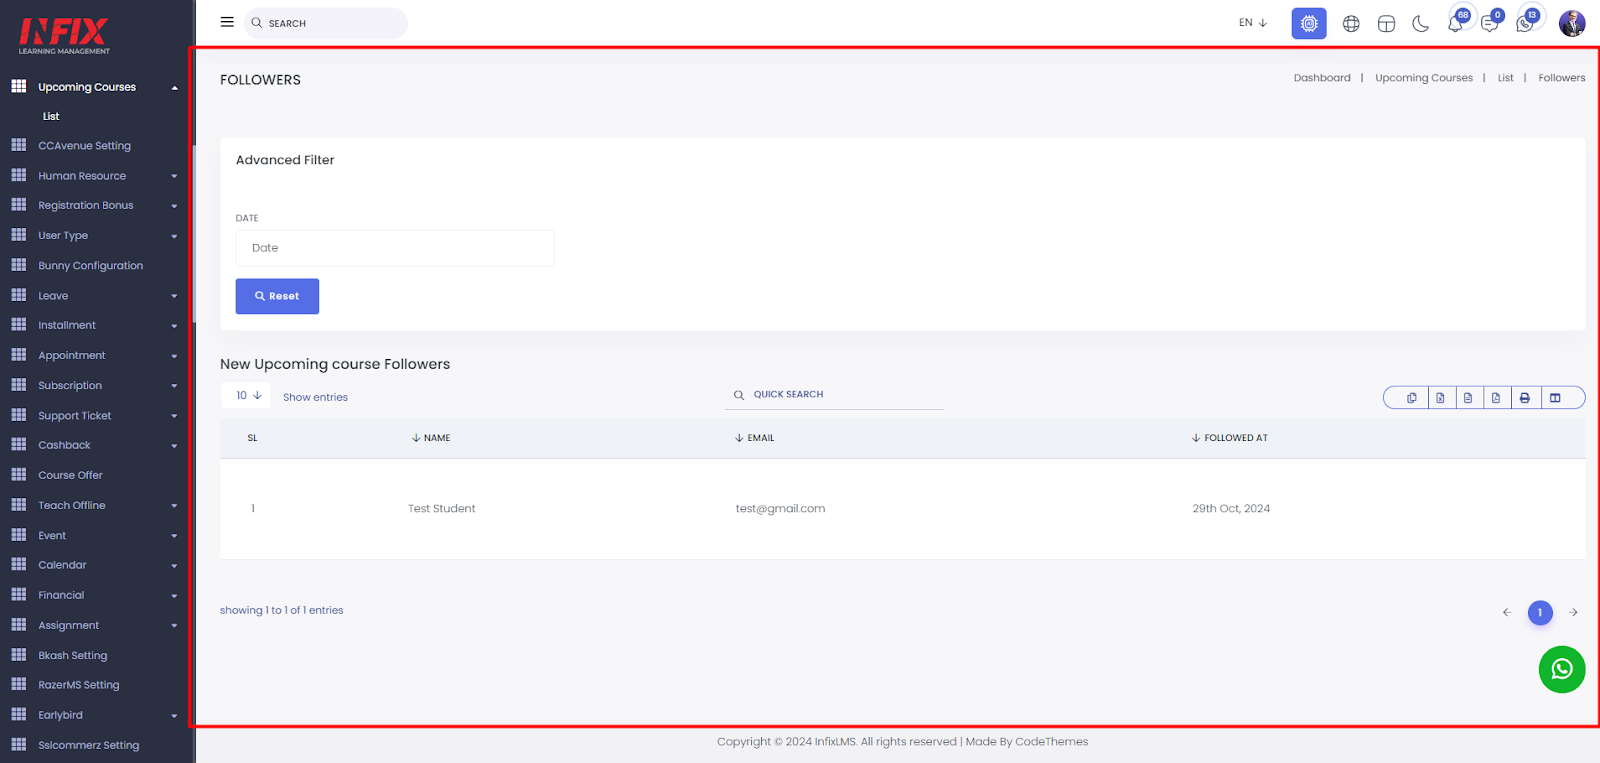
Followers: From here, you can see the individuals who are following the course.
Prebooking: By clicking this, you can see who has pre-booked the course.
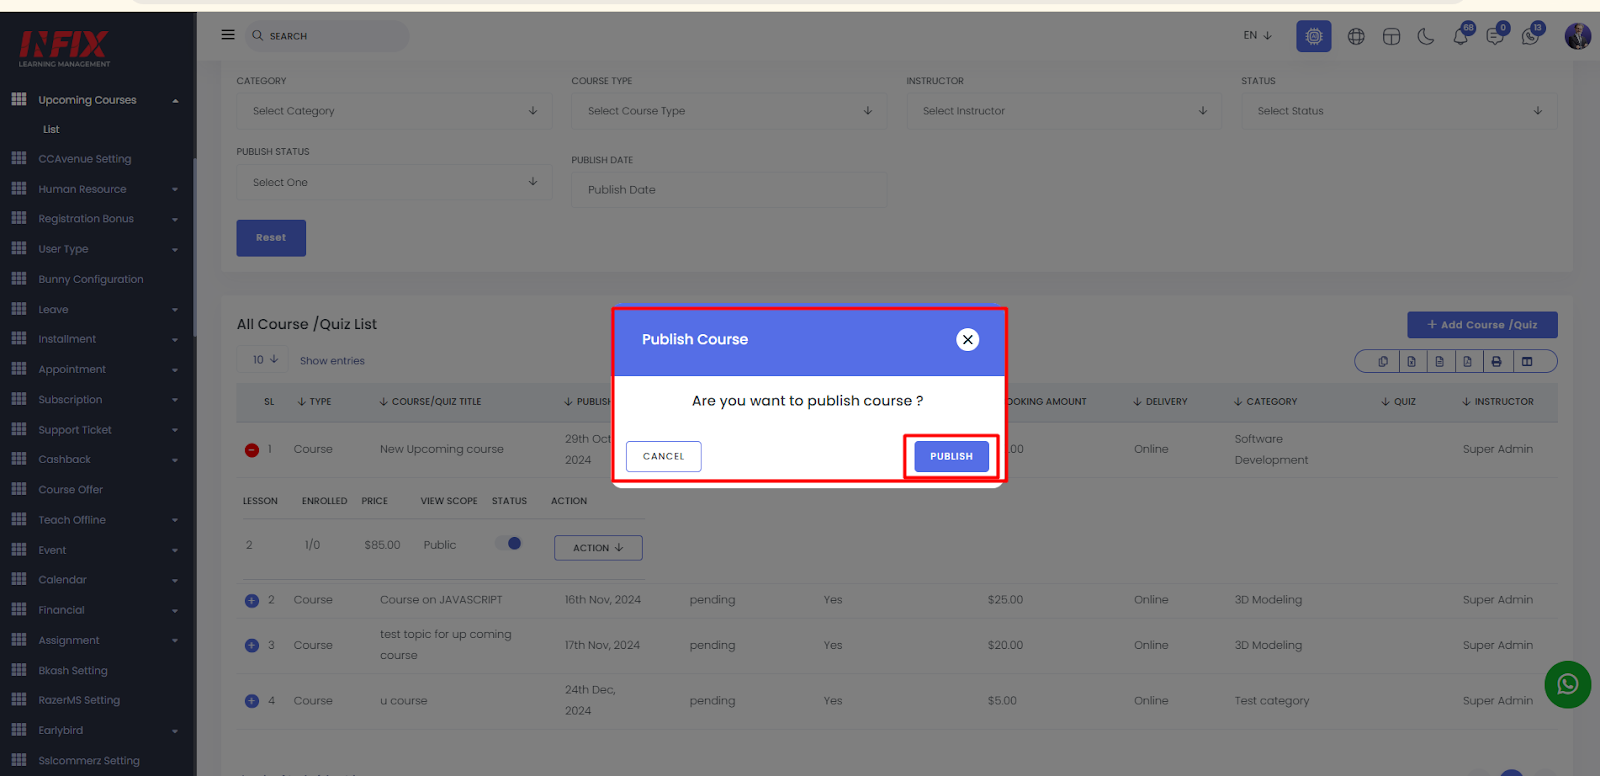
Publish: By clicking this button you can publish the course.
Send Invitation: By clicking this, you can send an invitation for the course.
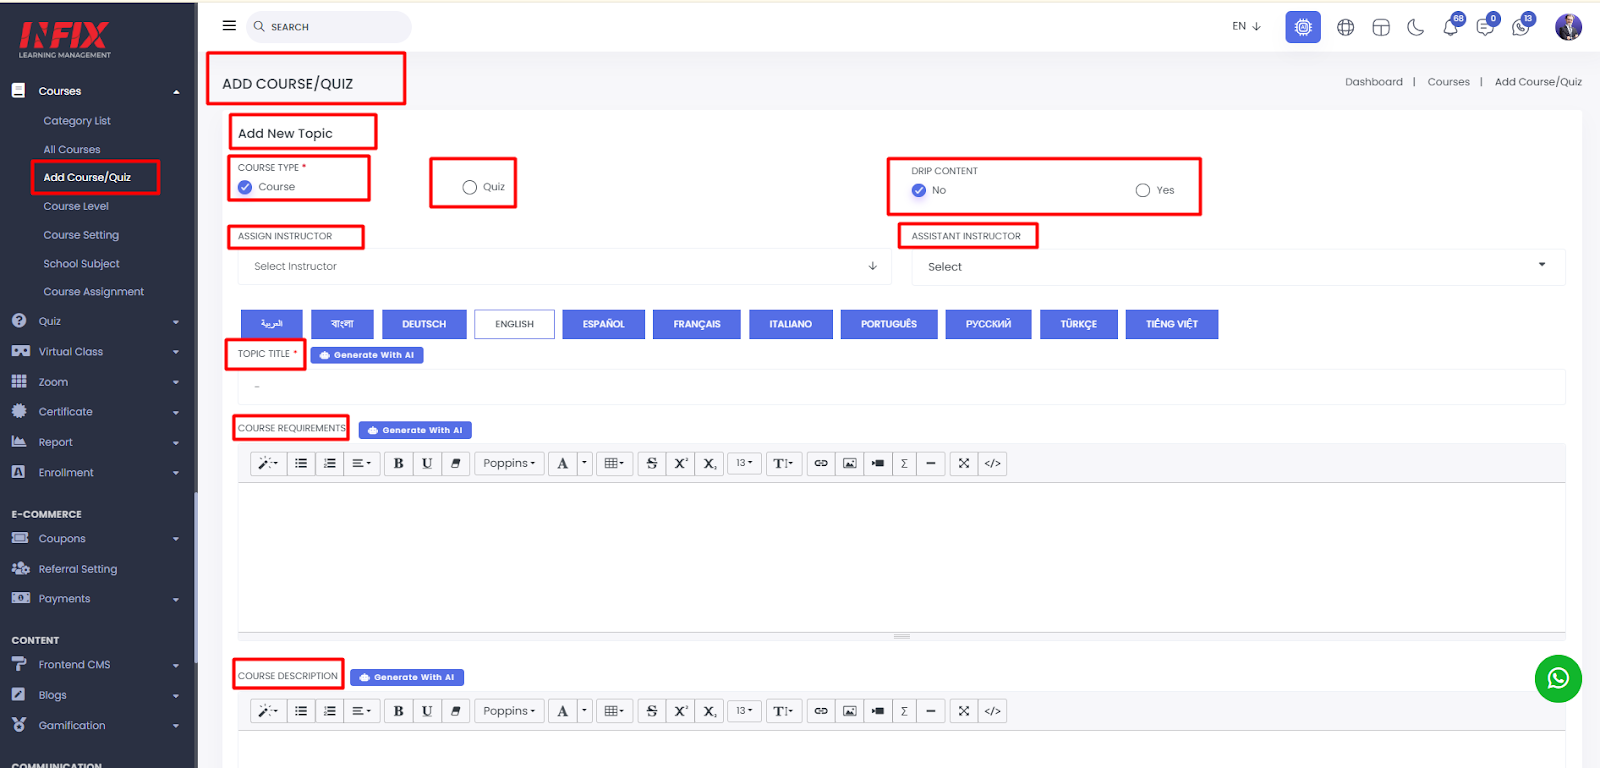
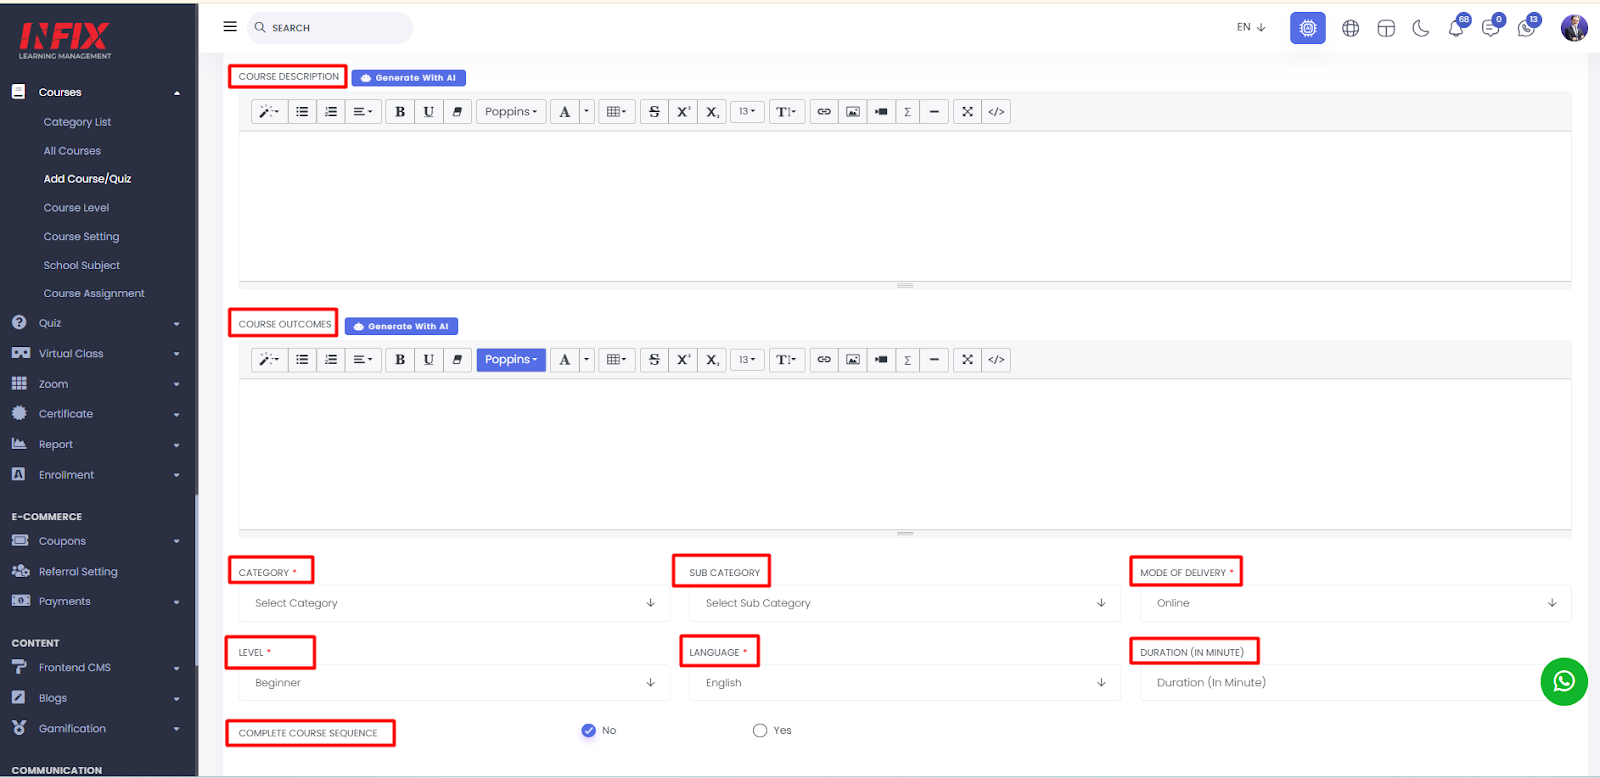
Add Course: To create a new course or quiz, click on the "Add New Course/Quiz" button. This will open a new page where you can fill out the required form. Begin by selecting the course type and specifying whether the content is drip or not. Assign an instructor and, if applicable, an assistant instructor.
Provide the topic title, course requirements, description, and Course outcomes. Choose the appropriate category, subcategory, mode of delivery, level, and language. Set the course duration and indicate whether it must be completed in sequence.
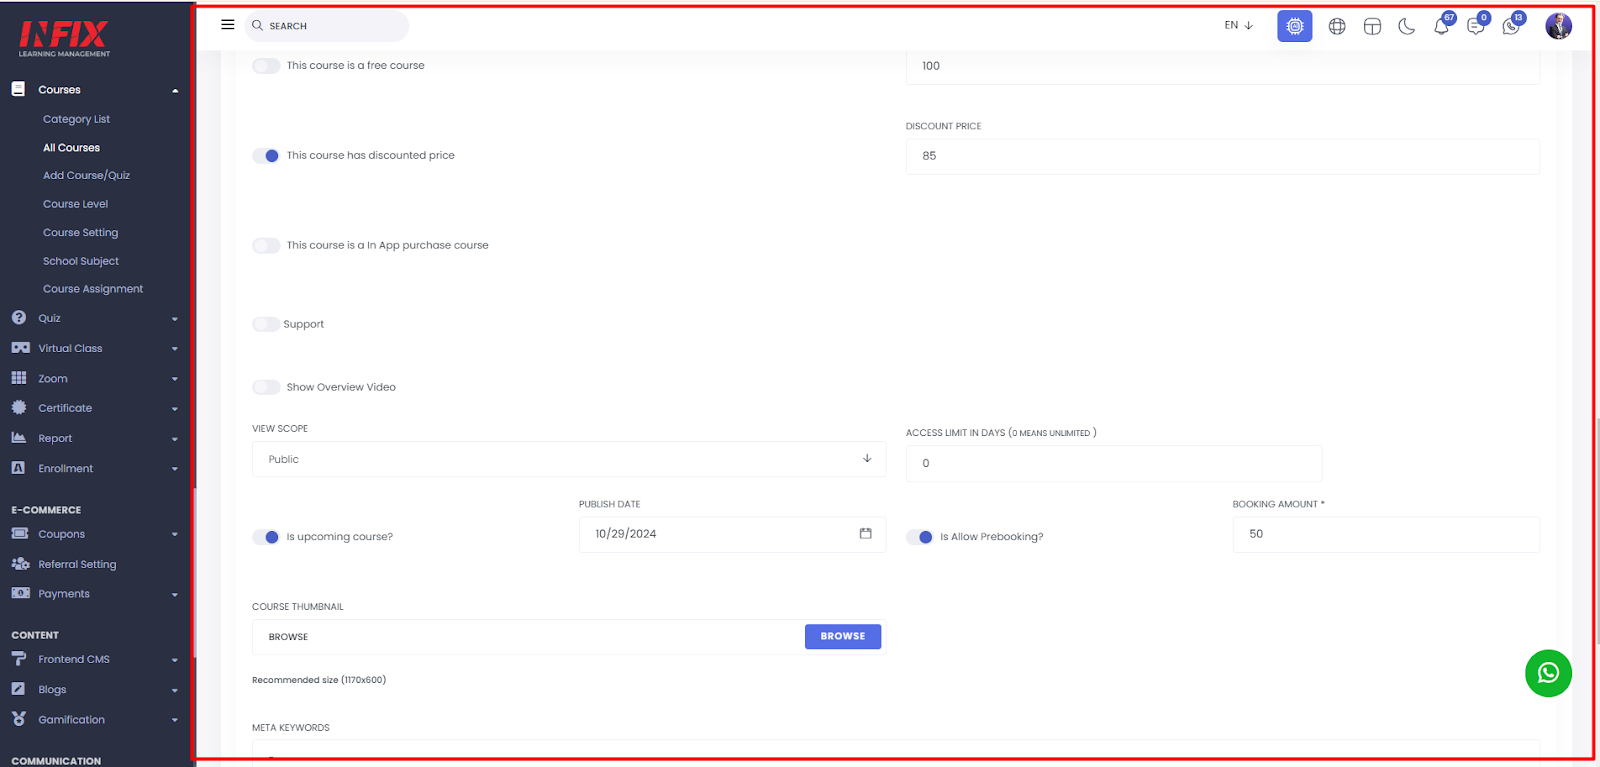
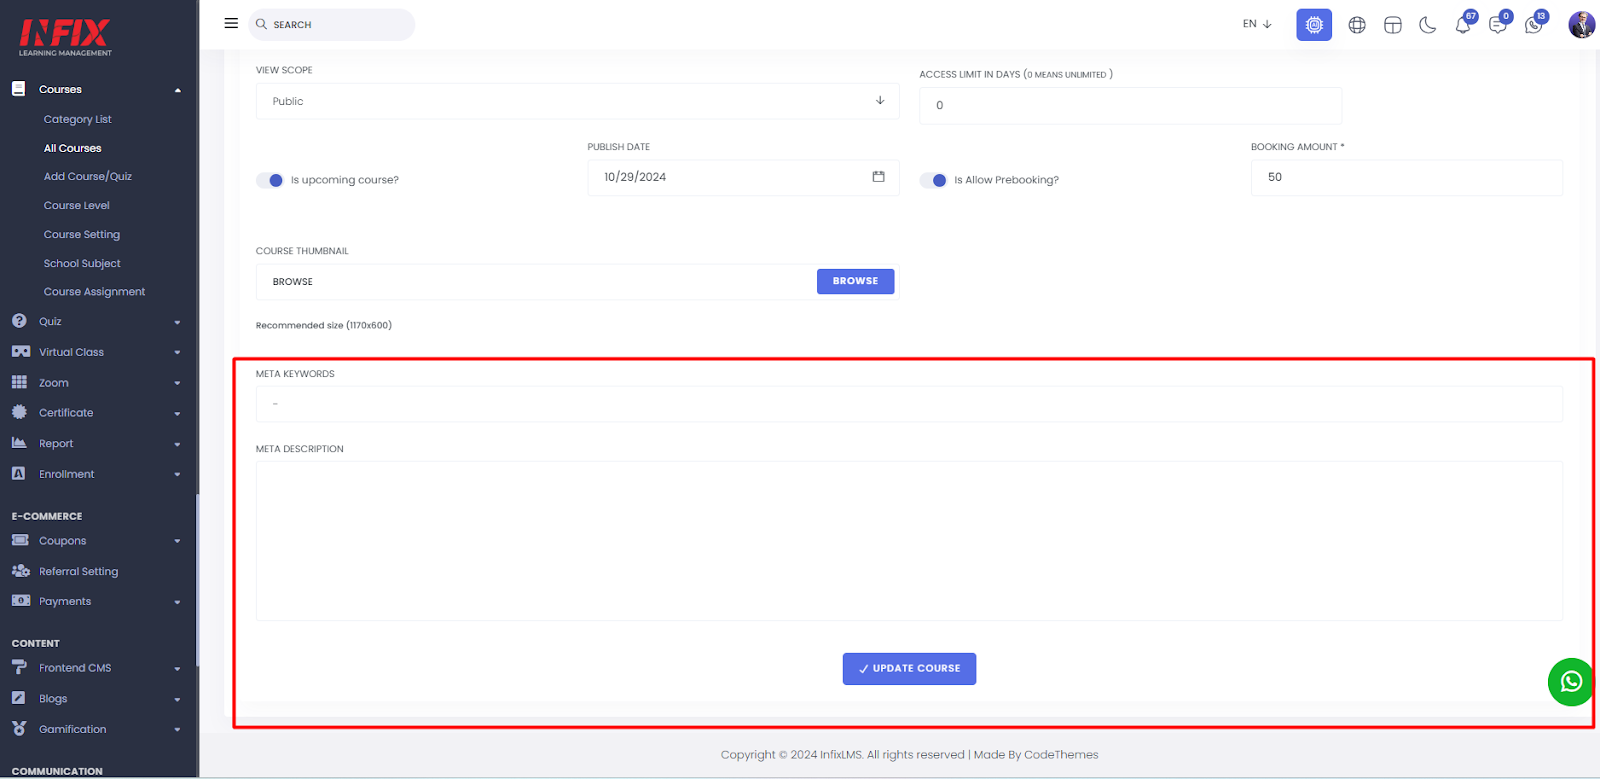
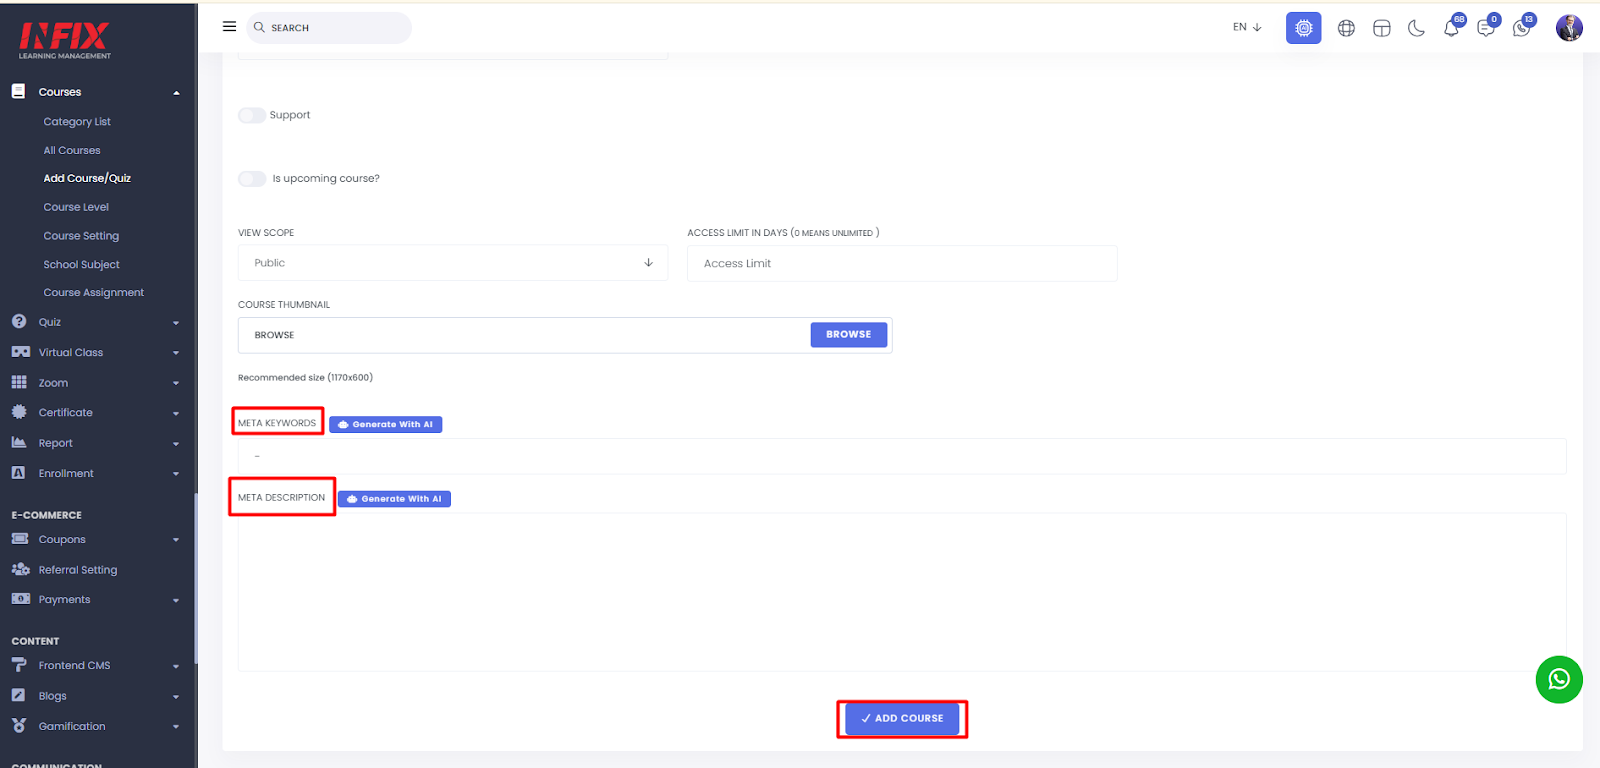
Specify if the course is free or paid. For paid courses, set the price and, if applicable, the discounted price. Configure in-app purchase options and upload an overview video. Define the course's visibility scope and access limits. Finally, upload a thumbnail image for the course.
You can also optimize the course for search engines by adding meta keywords and a meta description. Once all the details are completed, click "Add." Your course or quiz will be successfully created.