Employee
This section allows you to manage and maintain complete employee information. You can store personal details, contact information, job roles, designations, departments, and other employment-related records. It helps in tracking employee profiles, managing responsibilities, and keeping all staff data organized in one place.
From here you can see all the employees' lists with details. Such as:
Employee ID: Displays the unique ID of the employee.
Name: Shows the employee’s name.
Phone: Displays the employee’s phone number.
Profession: Shows the profession of the employee.
Type/Role: Displays the type or role assigned to the employee.
Project Name: Shows the project the employee is associated with.
Country: Displays the employee’s country.
Status: Indicates whether the employee is Standby, Working, or Exit.
Active Status: Shows if the employee is currently Active or Inactive.
Action: Allows you to perform multiple actions such as view, edit, or manage the employee.

By clicking the select button you can perform multiple actions. Such as:
Active/Inactive: Change the employee’s active status.
Edit: Modify employee details.
View: View complete employee information.
Project: You can see the project name associated with the employee.
Delete: Remove the employee record.

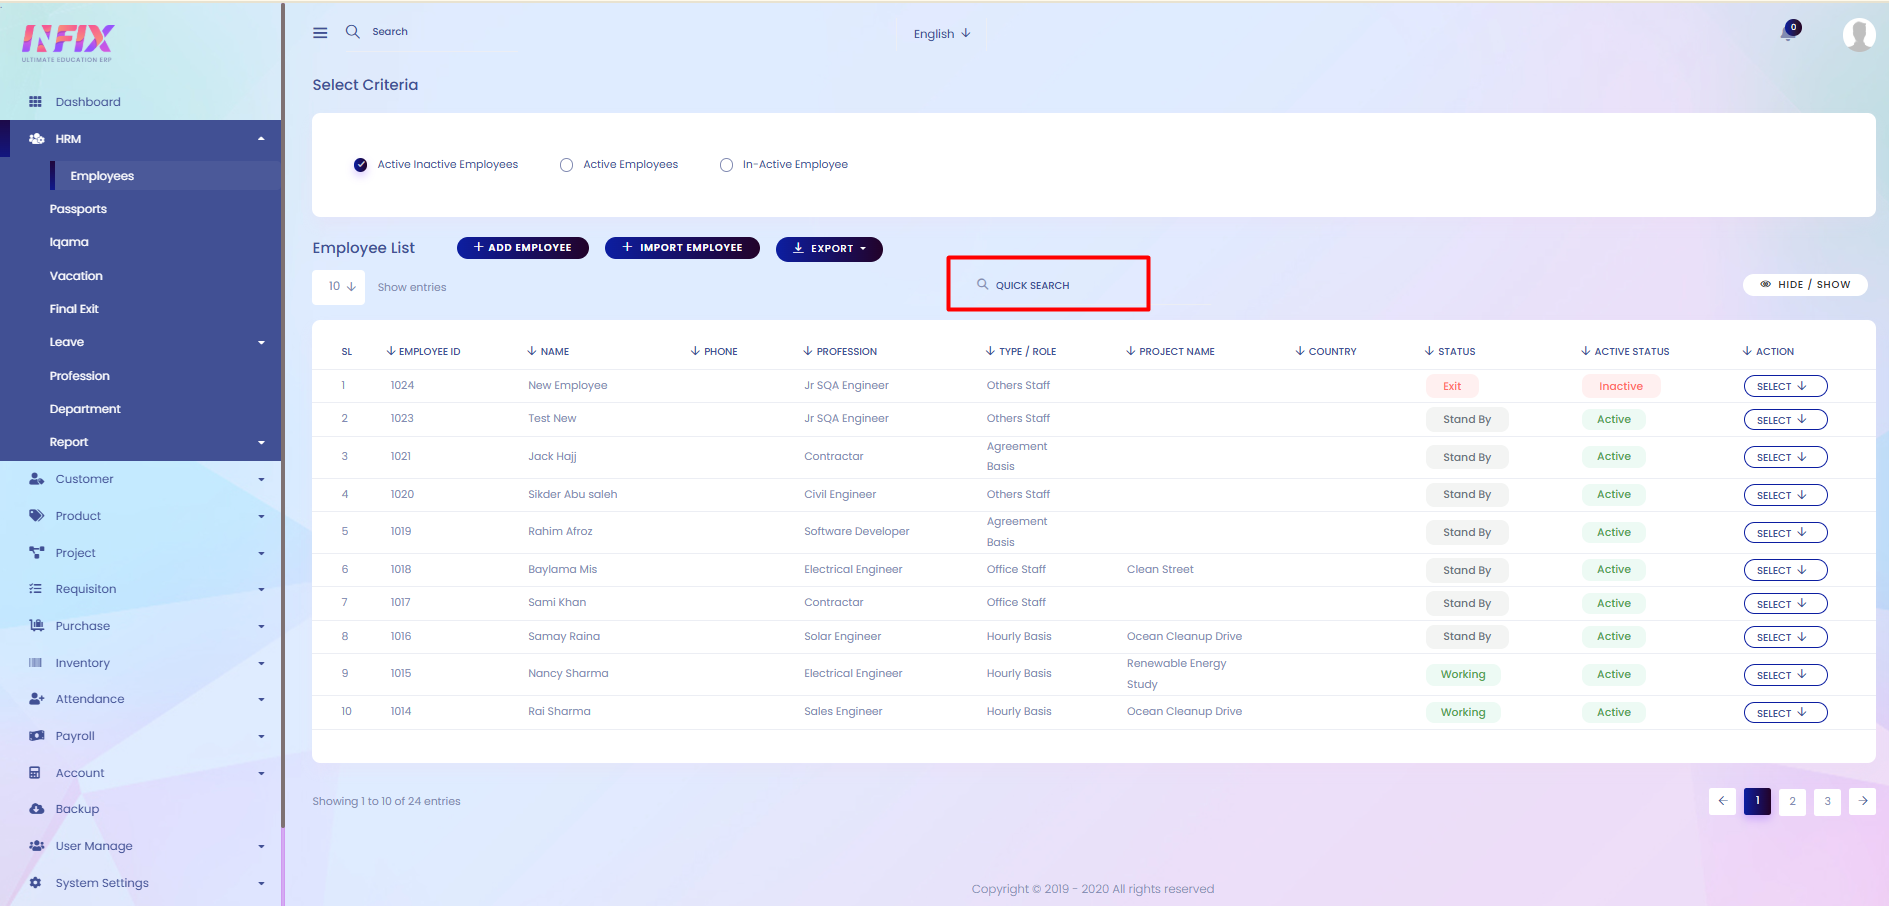
Search: You can find out any specific employee from the list using search functionality.
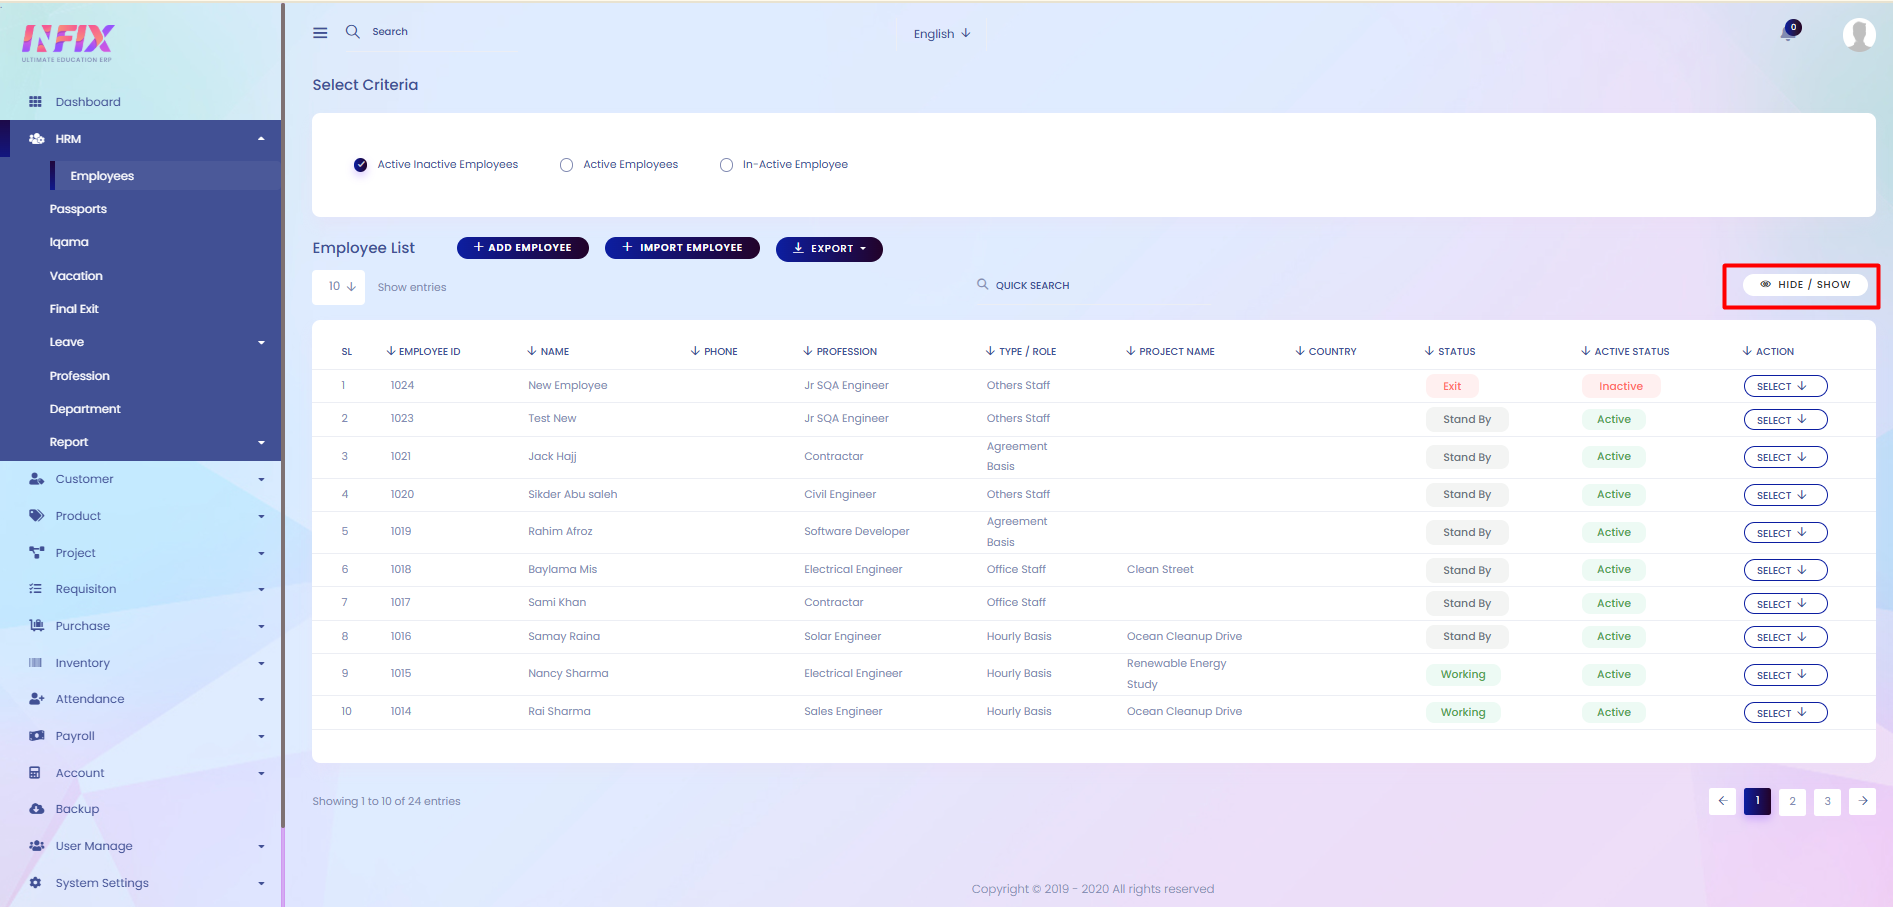
Hide & Show: You can hide & show columns from here.
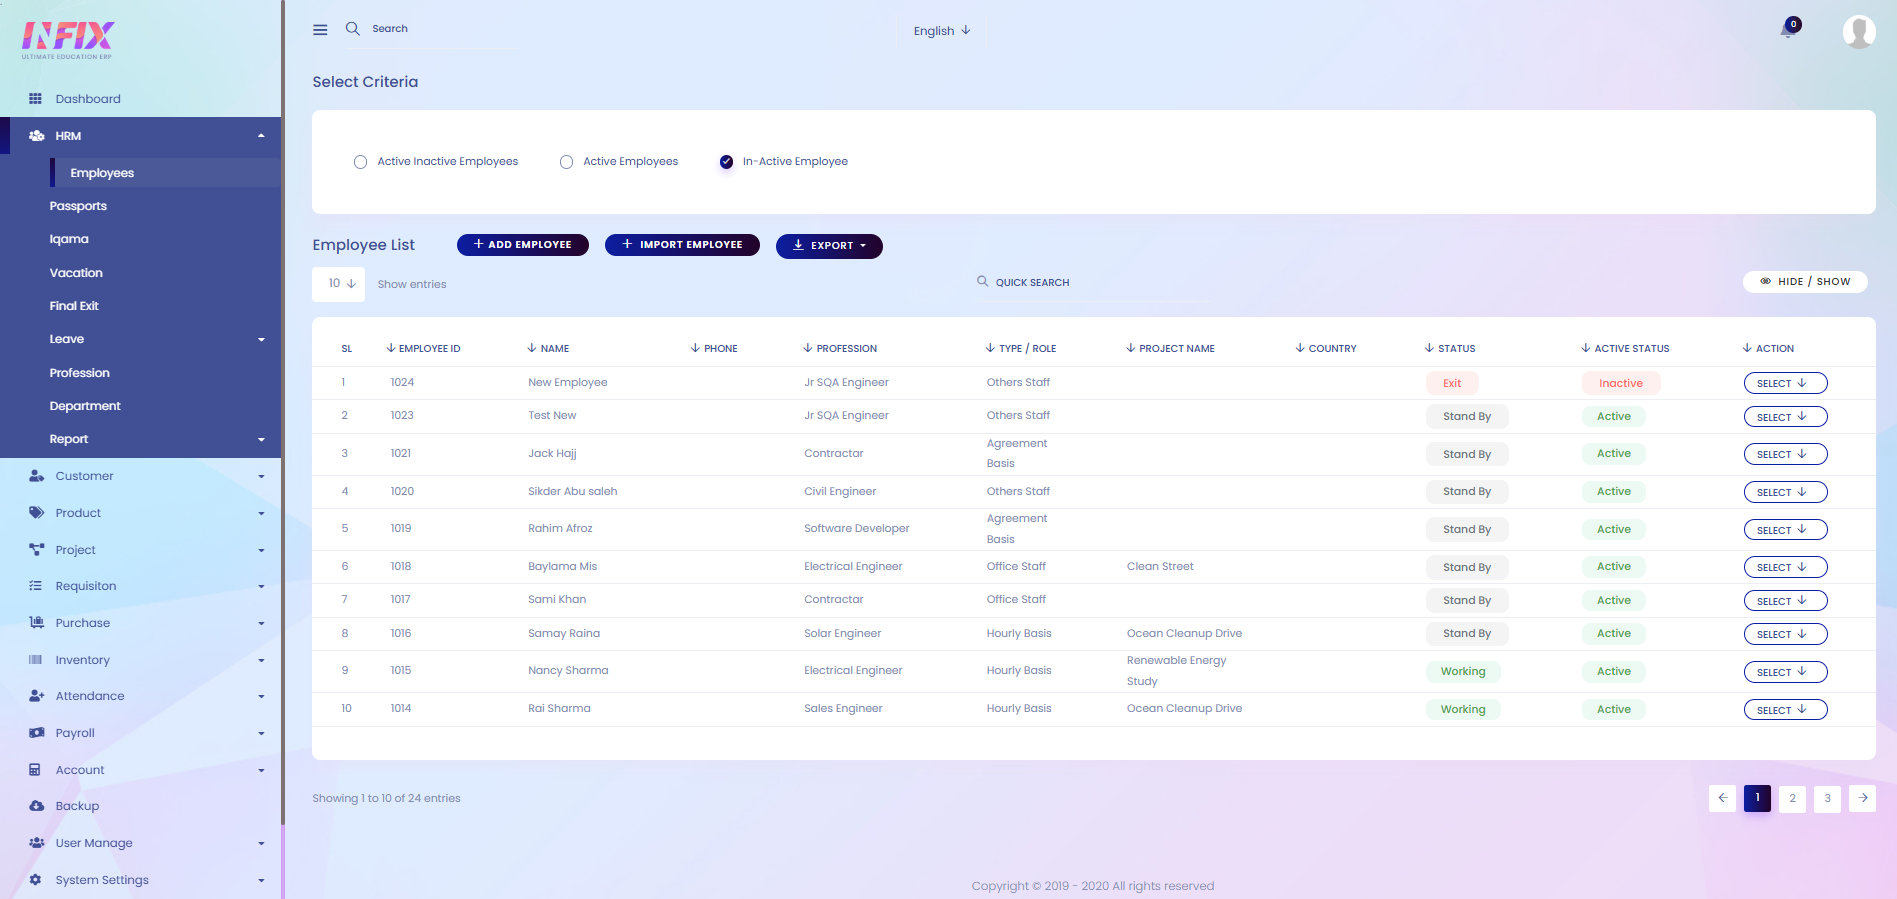
Active/Inactive Employees: By clicking this you can see all the active/inactive employees list.

Active Employee List: By clicking this you can see all active employees list.

In-Active Employee List: By clicking this you can see all the in-active employee lists.
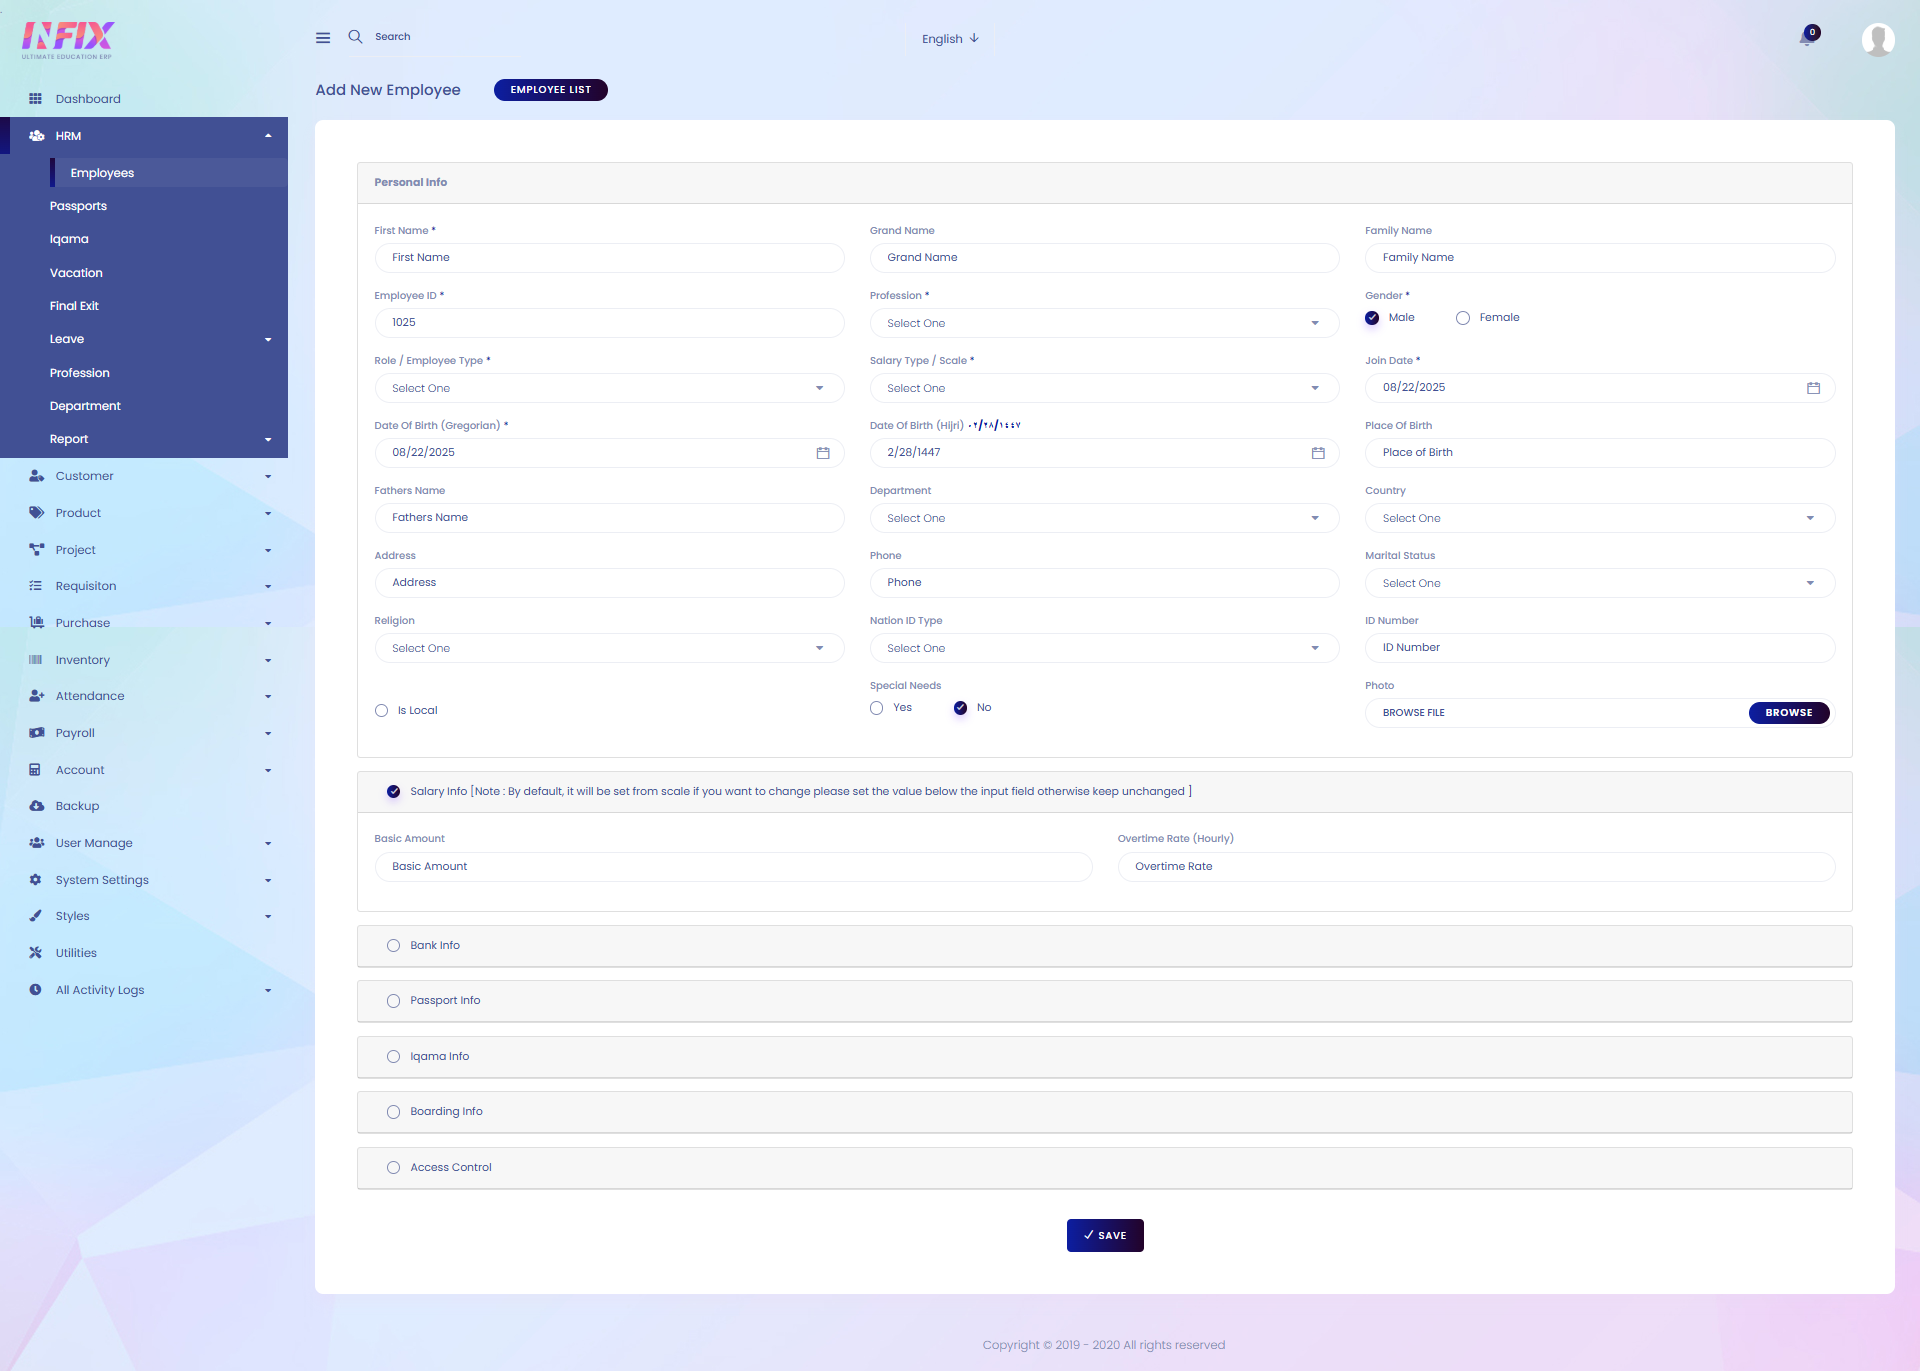
Add New User: If you want to add a new user. Then just click on the button and follow the below steps:
Personal Info: From here you can set up the personal information of the user Such as:
First Name: Enter the first name of the user.
Grand Name: Enter the grand name of the user.
Family Name: Enter the family name of the user.
Employee ID: Automatically generated employee identification number.
Profession: Select the profession of the employee.
Gender: Specify the user’s gender.
Role / Employee Type: Define the role or type of employee.
Salary Type / Scale: Choose the salary type or scale.
Join Date: Enter the employee’s joining date.
Date of Birth (Gregorian): Enter the date of birth in Gregorian format.
Date of Birth (Hijri): Enter the date of birth in Hijri format.
Place of Birth: Specify the place of birth.
Father’s Name: Enter the father’s name of the user.
Department: Select the department of the employee.
Country: Select the country.
Address: Enter the full address.
Phone: Provide the phone number.
Marital Status: Specify the marital status.
Religion: Enter the religion of the user.
National ID Type: Choose the type of national identification.
ID Number: Enter the ID number.
Is Local: Specify if the user is local.
Special Needs: Indicate if the user has any special needs.
Photo: Upload a photo of the user.
Salary Info: From here, you can set up the employee’s salary details, such as:
Basic Amount: Enter the basic salary of the employee.
Overtime Rate: Define the rate for overtime work.
Bank Info: From here, you can set up the employee’s bank details, such as:
Bank Name: Enter the name of the bank.
Account Number: Provide the bank account number.
Currency: Select the account currency.
Passport Info: From here, you can enter the employee’s passport details, such as:
Passport Number: Enter the passport number.
Place of Issue: Specify where the passport was issued.
Profession in the Passport: Enter the profession listed on the passport.
Passport Date of Issue: Provide the date the passport was issued.
Passport Expiry Date: Enter the passport’s expiration date.
Iqama Info: From here you can enter the employee’s iqama details. Such as:
Iqama No: Enter the Iqama number.
Profession on Iqama: Specify the profession listed on the Iqama.
Date of Issue: Enter the issue date (Gregorian).
Date of Issue (Hijri): Enter the issue date in Hijri format.
Date of Expiry: Enter the expiry date (Gregorian).
Date of Expiry (Hijri): Enter the expiry date in Hijri format.
Boarding Info: From here you can enter the employees boarding info. Such as:
Entry Port: Specify the port of entry.
Entry Date: Enter the entry date .
Entry Date (Hijri): Enter the entry date in Hijri format
Access Control: From here you can set the access control of the employee. Such as:
Email: Set the email address for access control.
Password: Set the password.
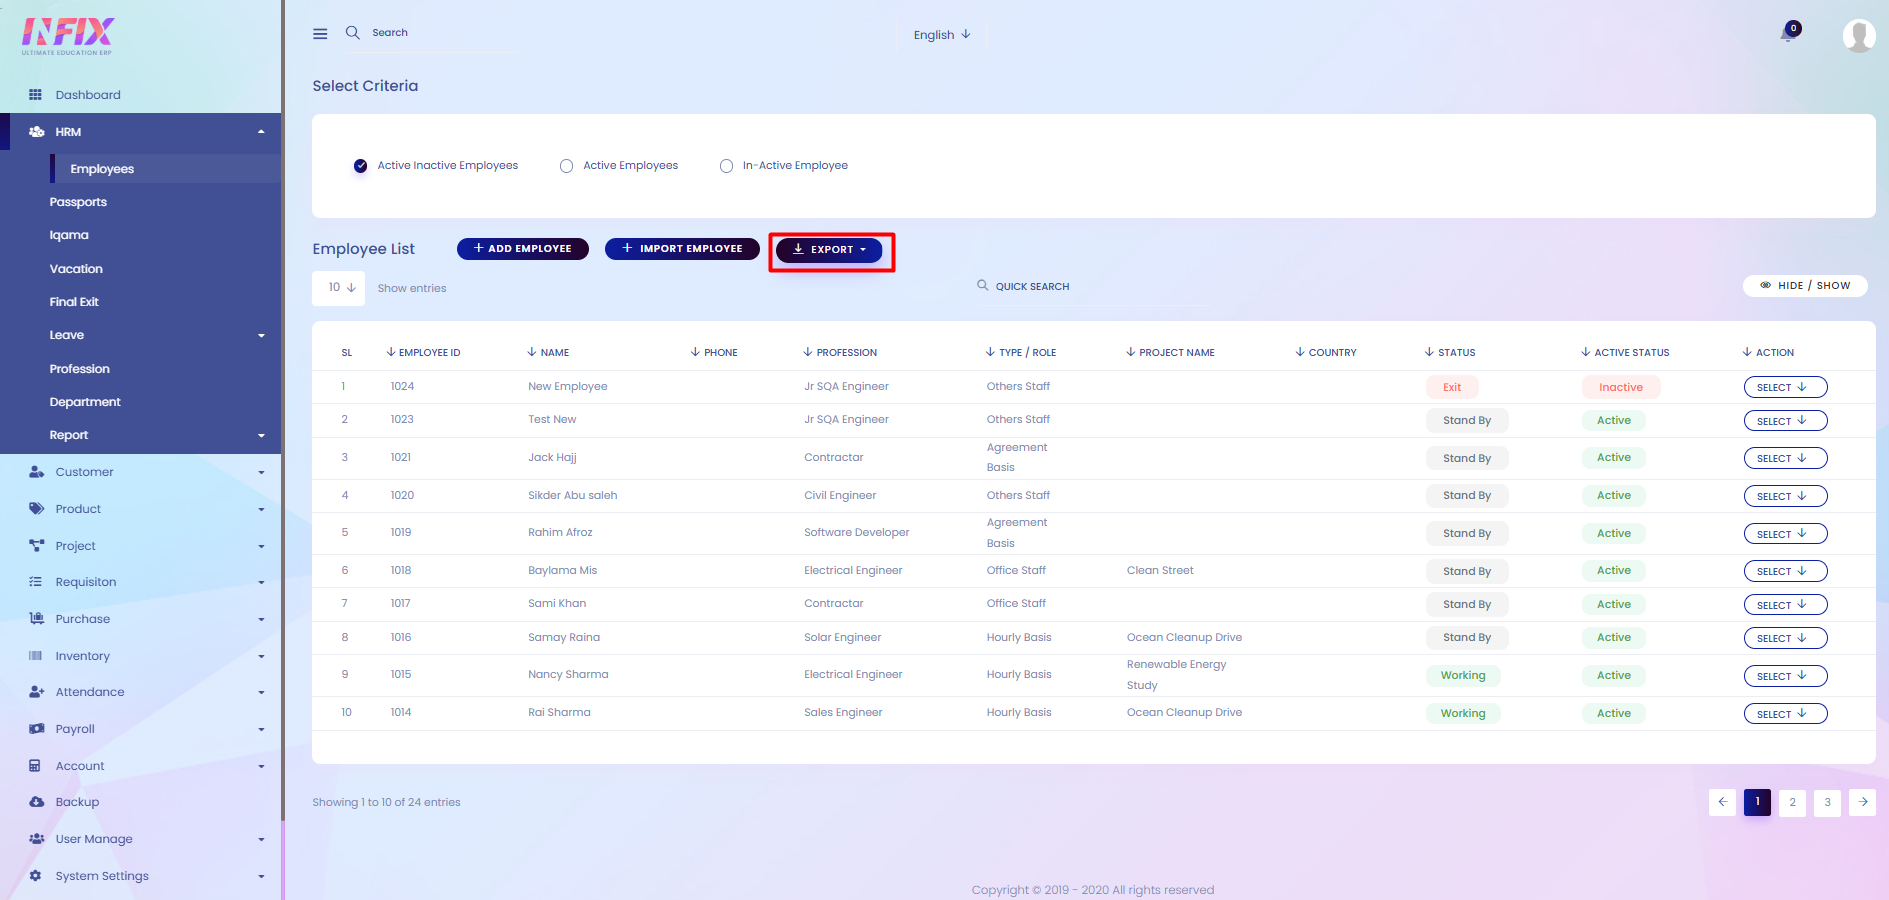
Import: You can import the employee from here.
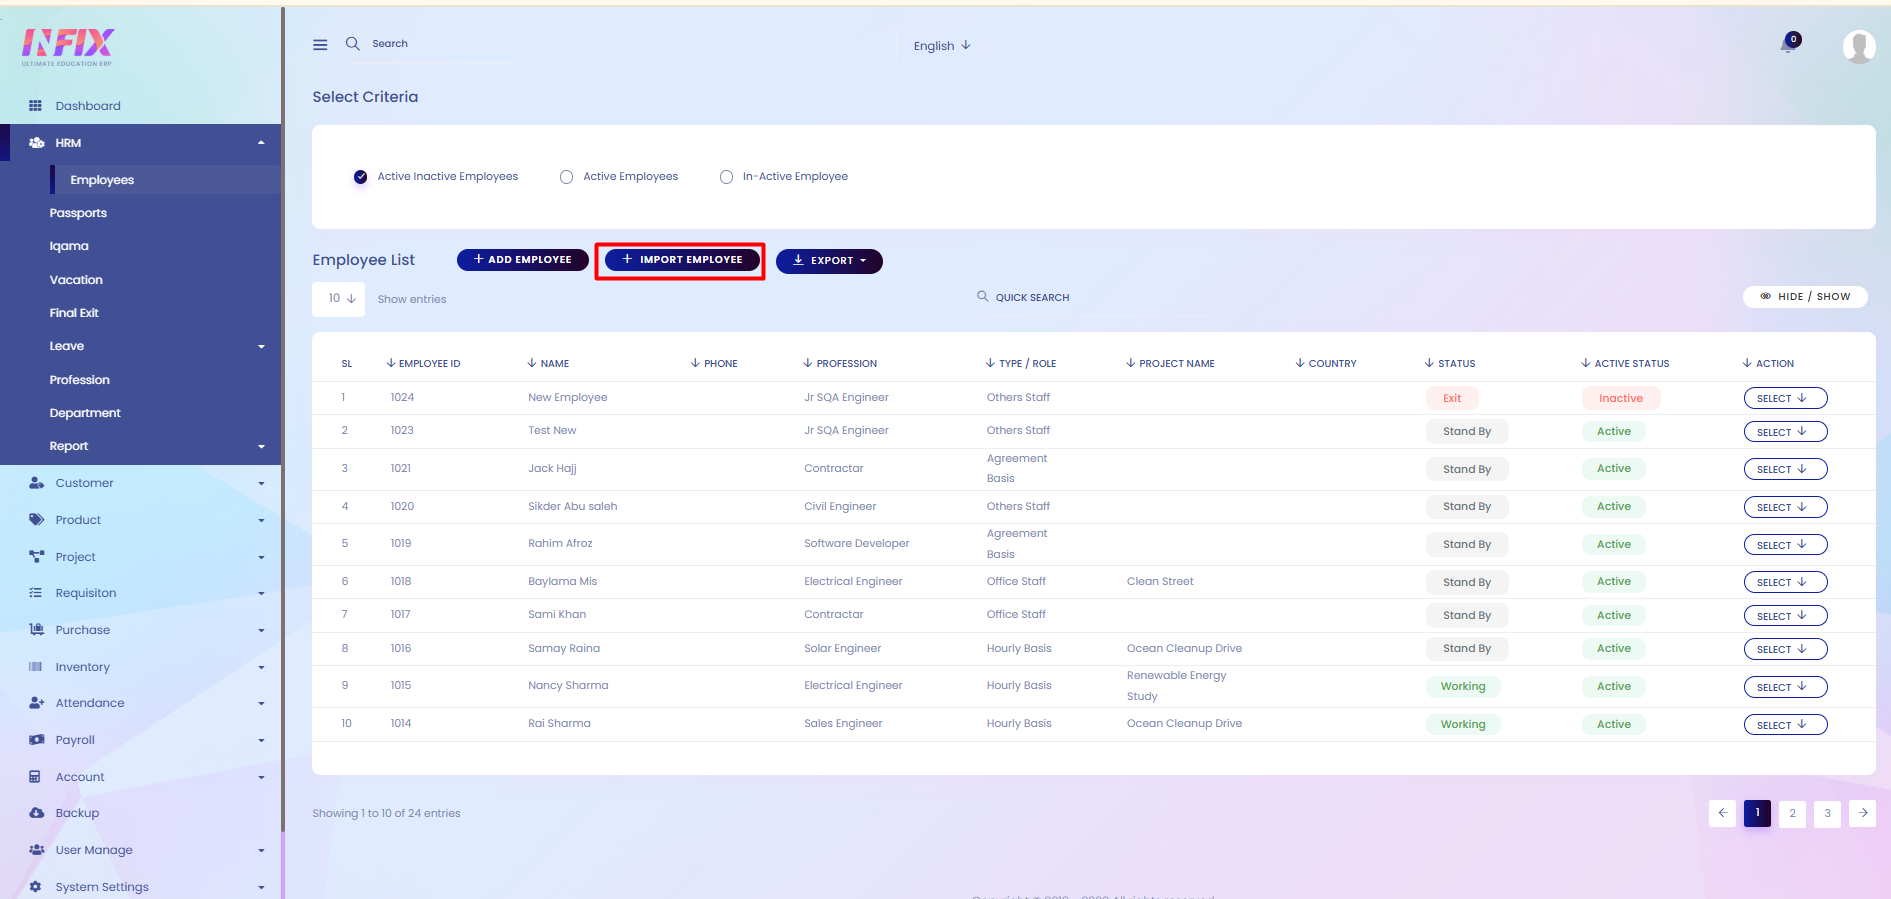
Export: You can export the employee from here.