Time Sheet
A time sheet is a tool used to record the amount of time employees spend working on various tasks or projects. It helps track work hours, monitor productivity, and calculate wages or billing accurately. Time sheets can be daily, weekly, or monthly and are important for managing employee time and project progress.
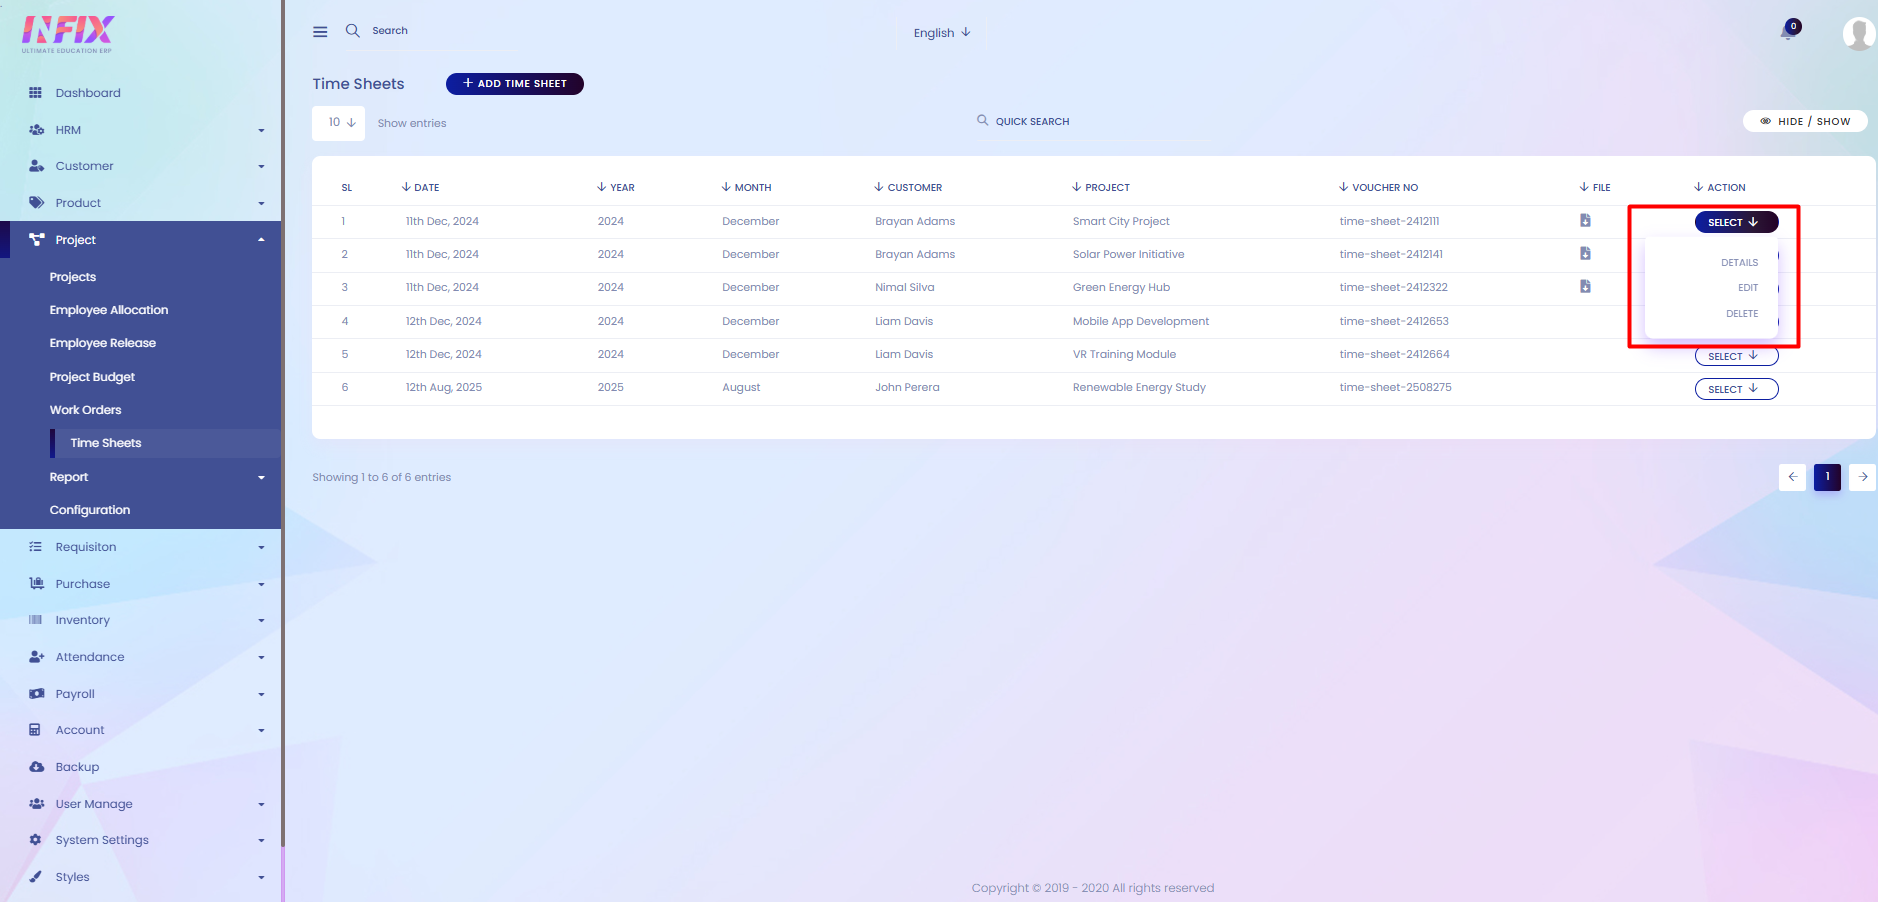
From here, you can see all the time sheets with their details, such as:
Date: The date the time sheet was recorded.
Year: The year of the time sheet.
Month: The month of the time sheet.
Customer: The customer related to the work.
Project: The project associated with the time sheet.
Voucher No: The voucher number linked to the time sheet.
File: Any attached files or documents.
Actions: From here, you can perform multiple actions.

By clicking the Actions button, you can perform multiple actions, such as:
Details: View the full details of the time sheet.
Edit: Make changes to the time sheet.
Delete: Remove the time sheet from the list.
Search: You can find out any specific time sheet from the list by using the search functionality.

Hide & Show: From here, you can choose which columns you want to display or hide.

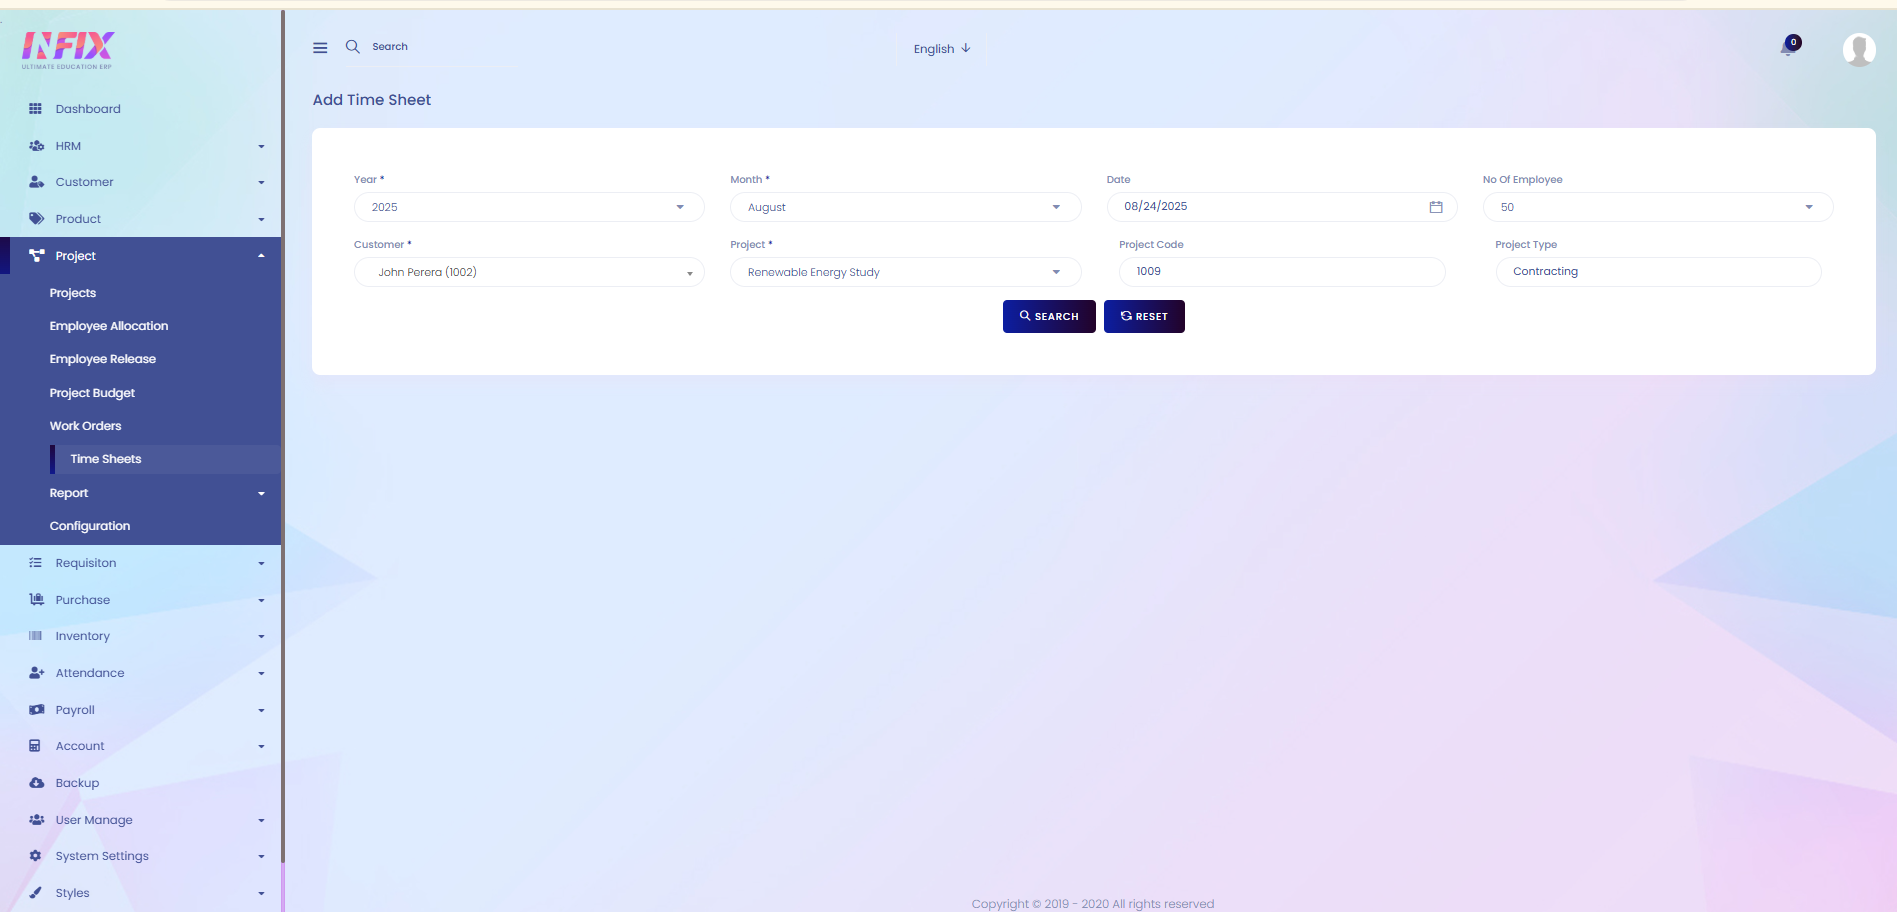
Add New Time Sheet: By clicking this, you can add a new time sheet. To add one, just follow the steps below:
Year: Select the year.
Month: Choose the month.
Date: Set the date.
No of Employee: Enter the number of employees.
Customer: Select the customer.
Project: Choose the project.
Search: Use this to find specific records based on your inputs.
Reset: Click to clear all fields and start fresh.
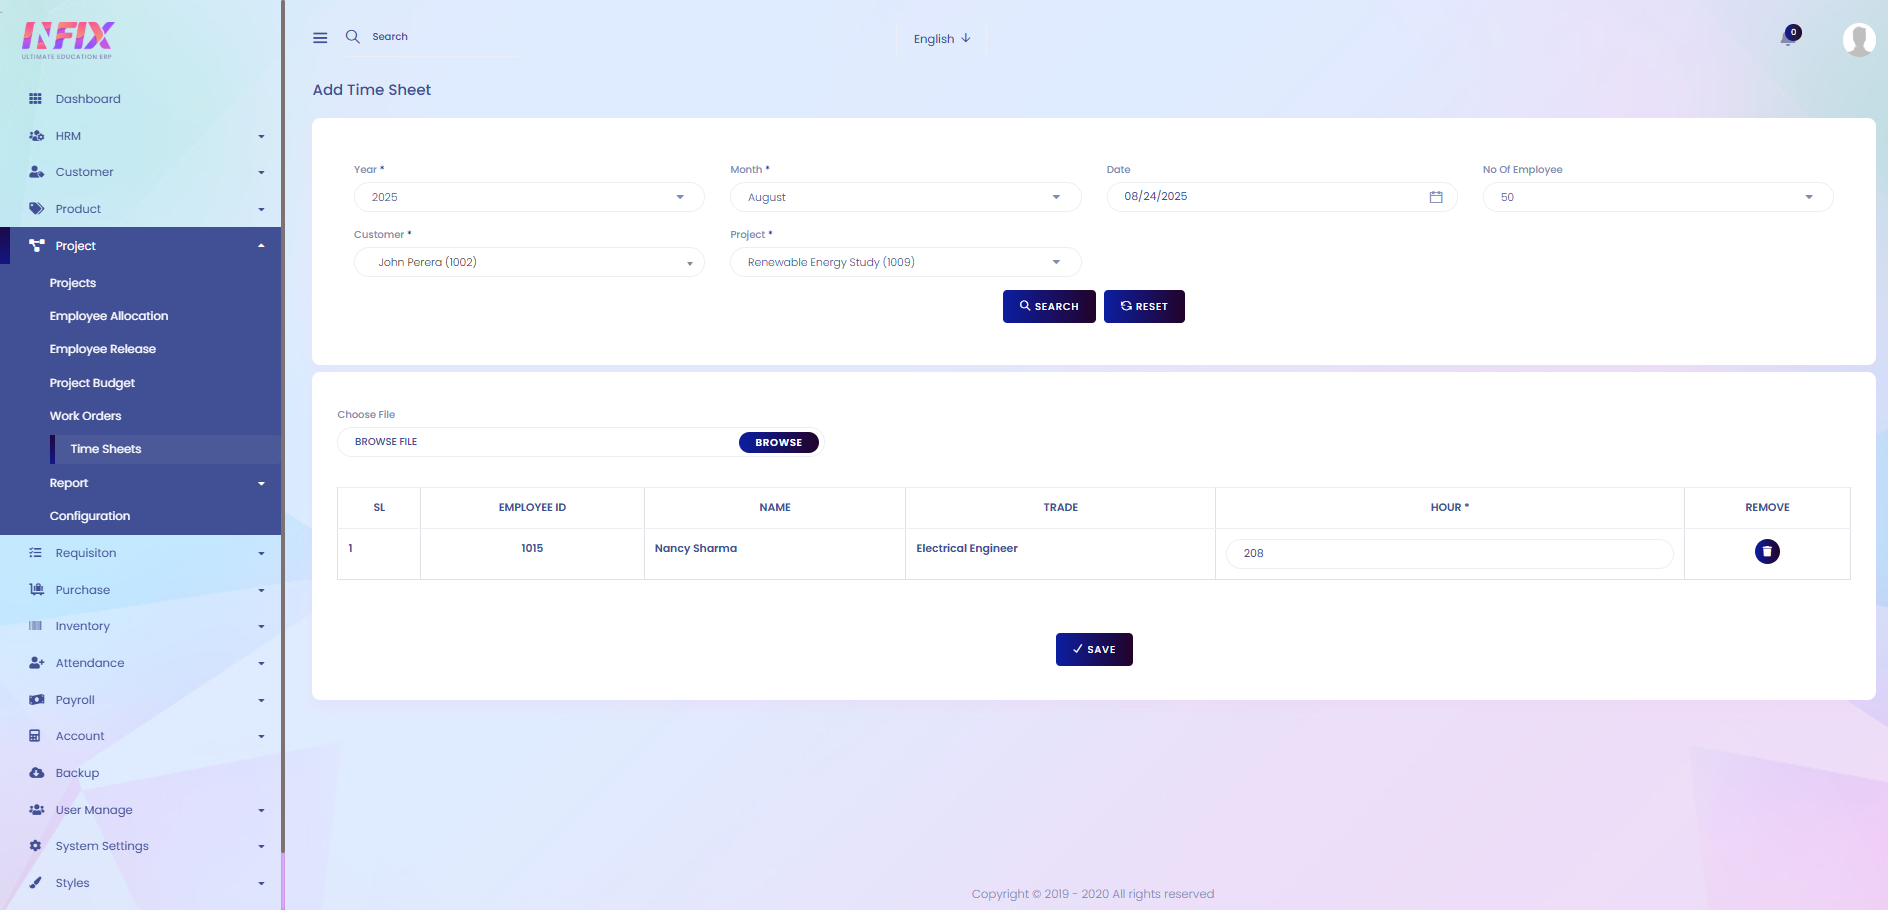
After clicking the search button you can set the timesheet to create a new timesheet. Such as:
Choose File: Browse and upload a file if needed.
Name: Displays the employee’s name.
Trade: Shows the trade of the employee.
Hour: Enter the working hours for the timesheet.
Remove: Click to remove the timesheet entry from the list.
Save: Click to save the employee.