User
A user is an individual who accesses and interacts with a system, software, or application. Each user may have specific roles, permissions, and access rights based on their responsibilities.
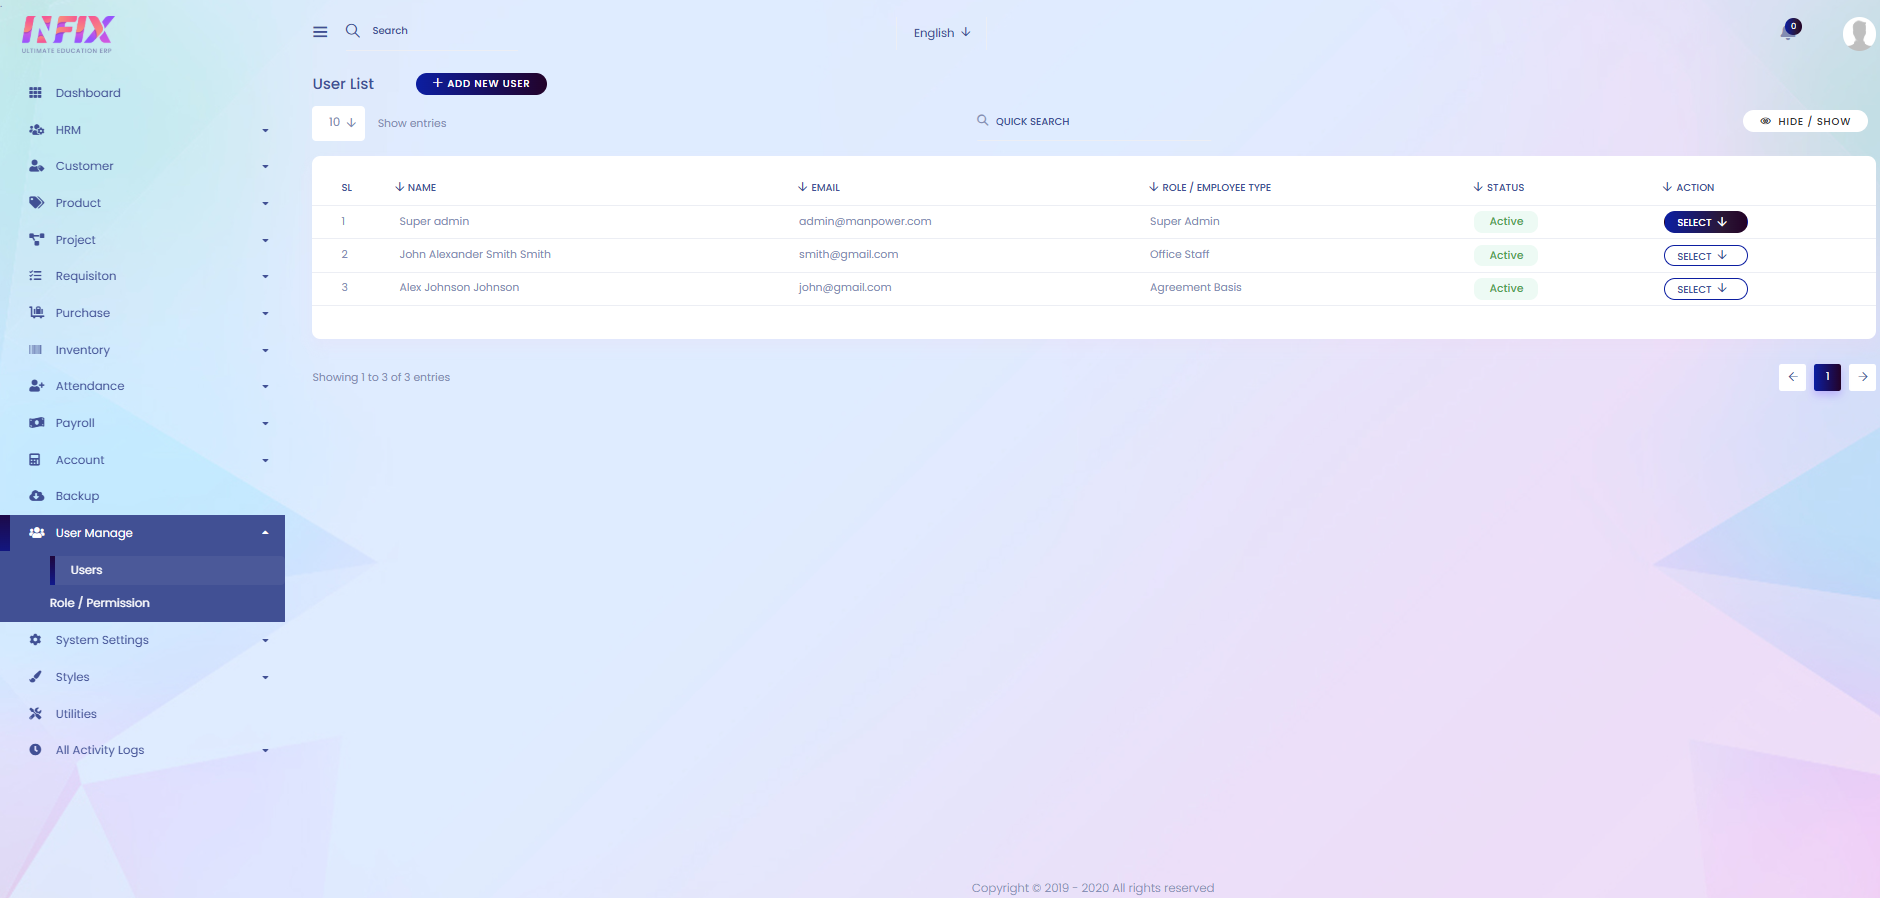
From here you can see all the user lists with details. Such as:
Name: You can see the name of the user.
Email: You can see the email of the user.
Role/Employee Type: You can see the role/employee type of the user.
Status: You can see the status of the user if the user is active or inactive.
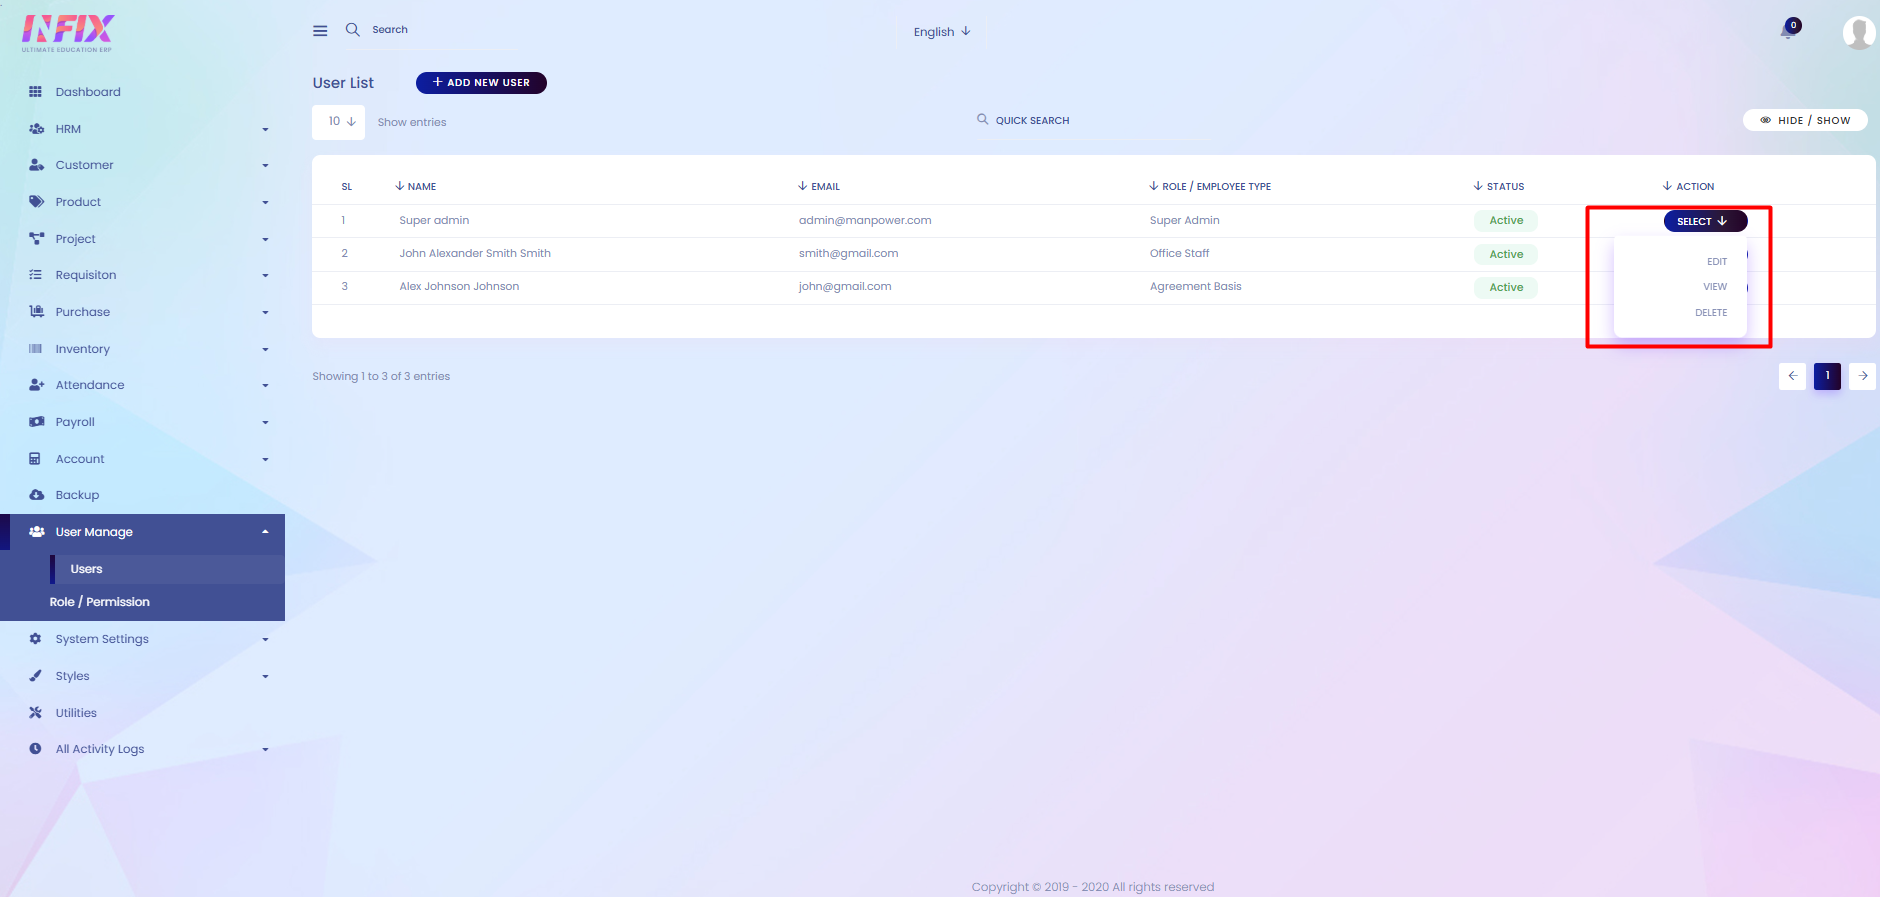
Actions: From here you can perform multiple actions.
By clicking the select button you can perform multiple actions. Such as:
Edit: Modify the details if needed.
View: Check the information in detail.
Delete: Remove the item permanently.
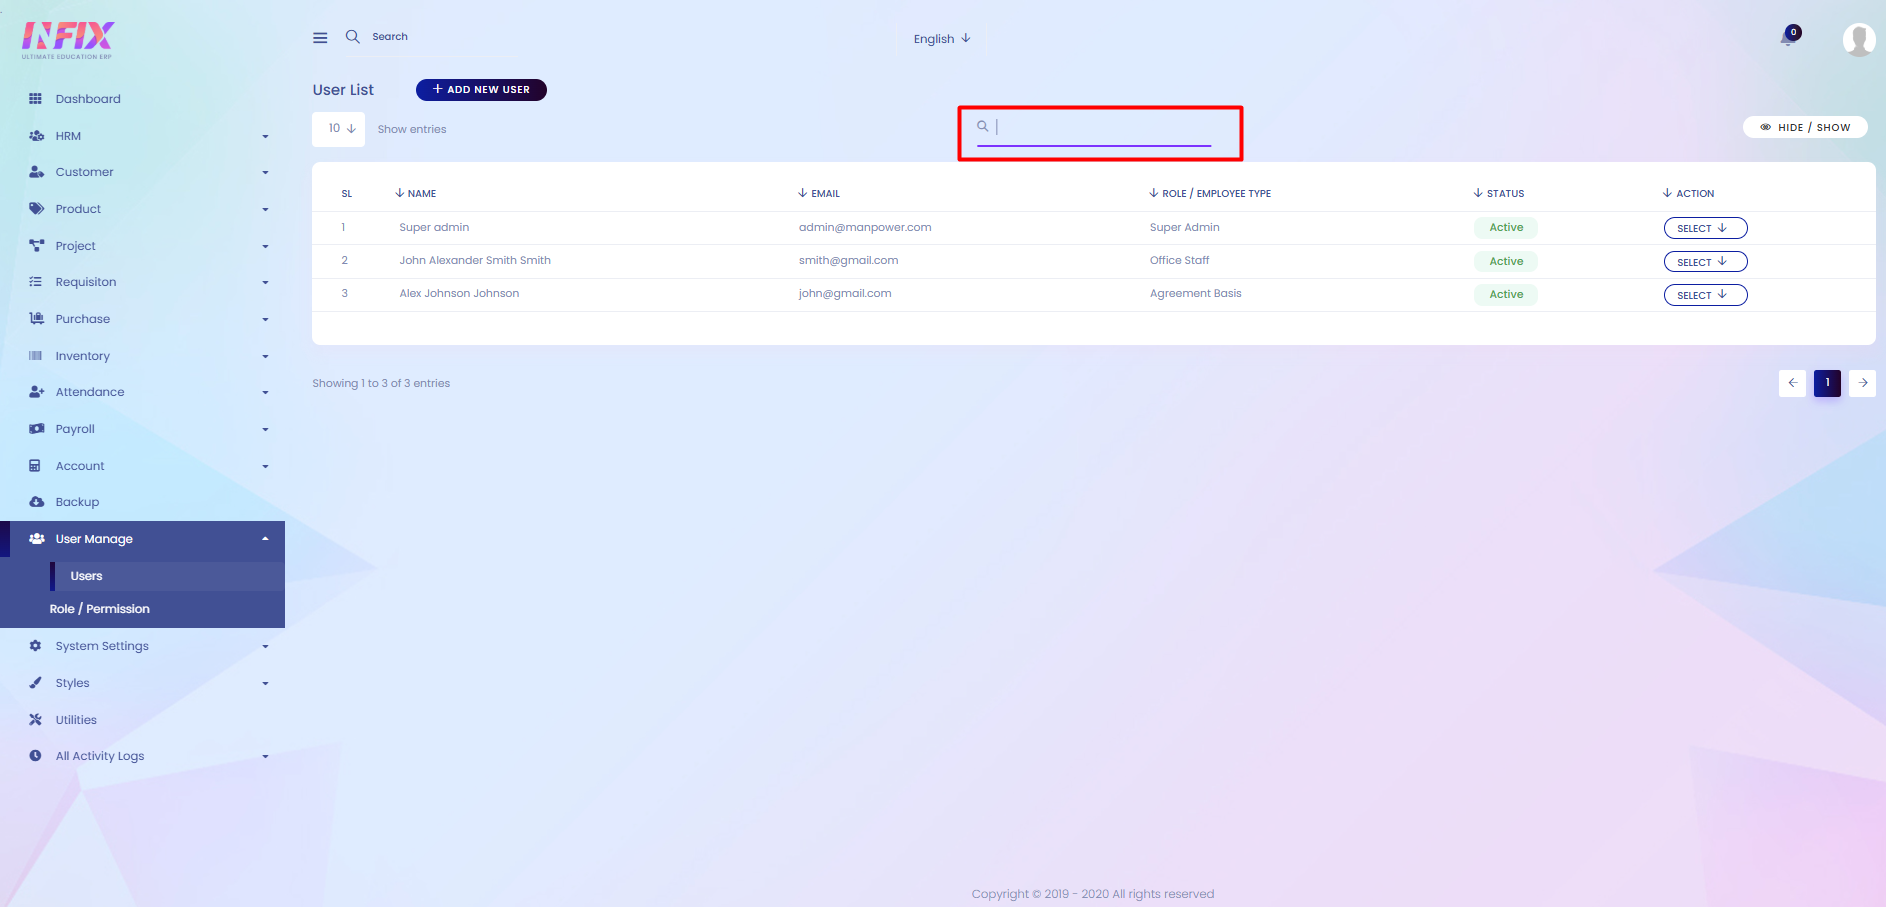
Search: You can find out any specific user from the list using search functionality.
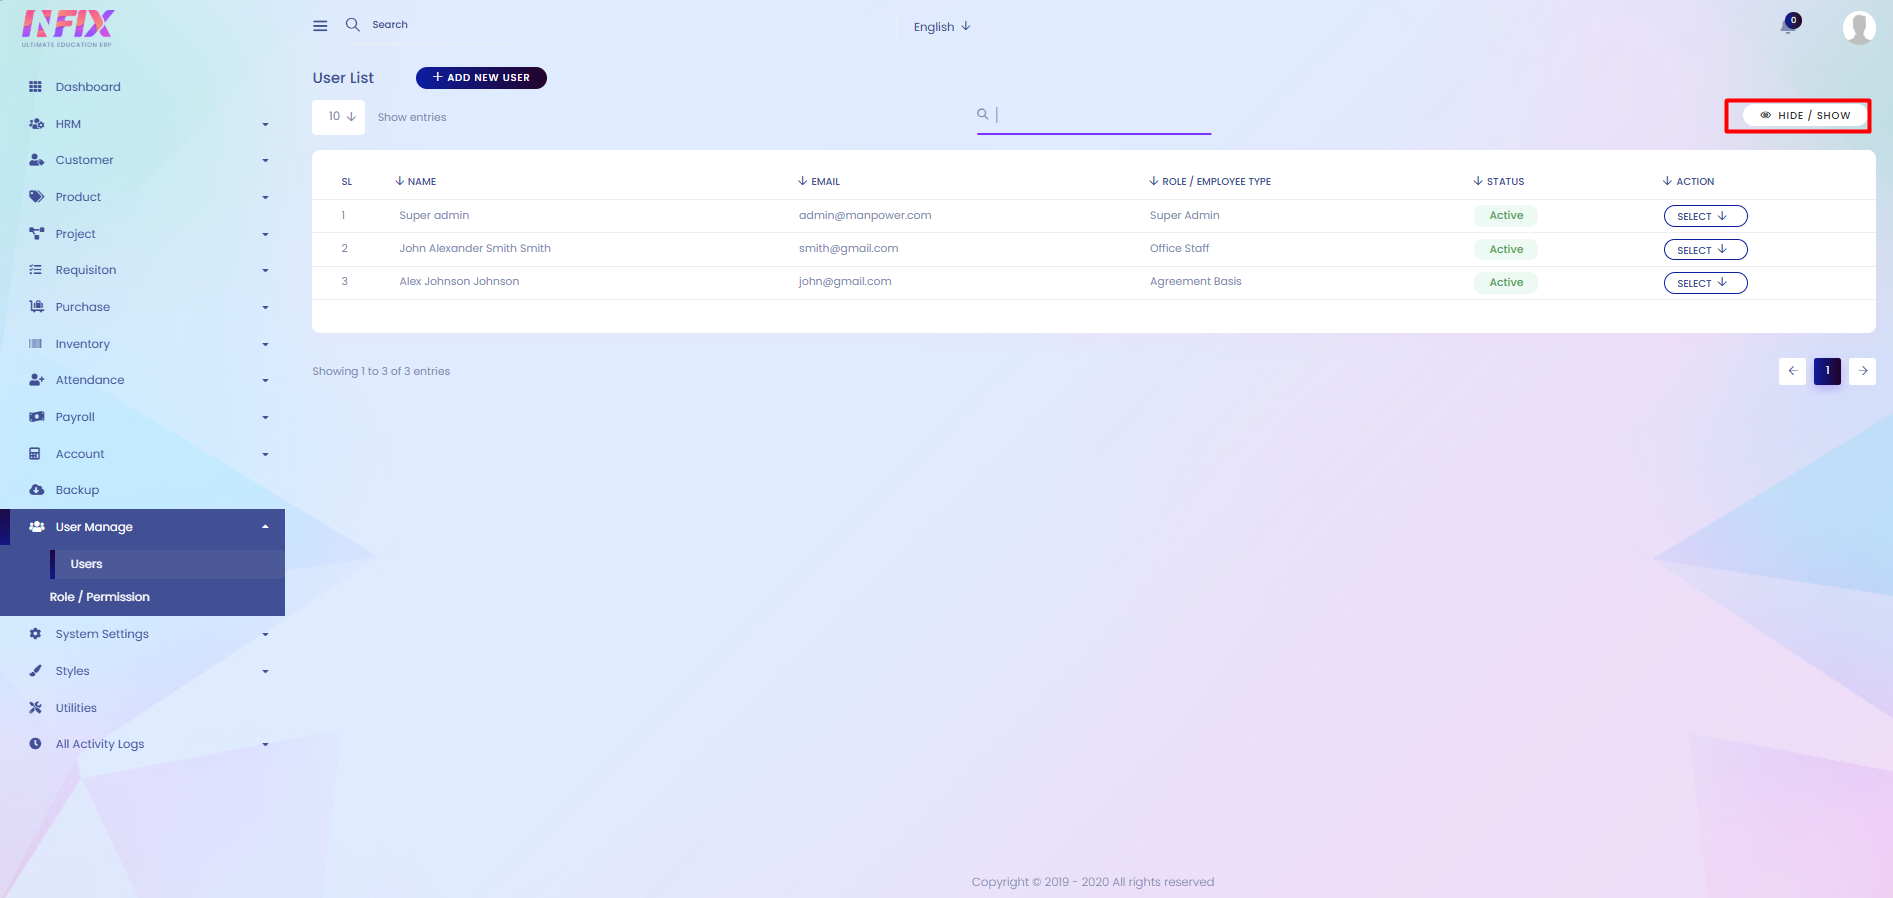
Hide & Show: You can hide and show the column from here.
Add New User: If you want to add a new user. Then just click on the button and follow the below steps:
Personal Info: From here you can set up the personal information of the user Such as:
First Name: Enter the first name of the user.
Grand Name: Enter the grand name of the user.
Family Name: Enter the family name of the user.
Employee ID: Automatically generated employee identification number.
Profession: Select the profession of the employee.
Gender: Specify the user’s gender.
Role / Employee Type: Define the role or type of employee.
Salary Type / Scale: Choose the salary type or scale.
Join Date: Enter the employee’s joining date.
Date of Birth (Gregorian): Enter the date of birth in Gregorian format.
Date of Birth (Hijri): Enter the date of birth in Hijri format.
Place of Birth: Specify the place of birth.
Father’s Name: Enter the father’s name of the user.
Department: Select the department of the employee.
Country: Select the country.
Address: Enter the full address.
Phone: Provide the phone number.
Marital Status: Specify the marital status.
Religion: Enter the religion of the user.
National ID Type: Choose the type of national identification.
ID Number: Enter the ID number.
Is Local: Specify if the user is local.
Special Needs: Indicate if the user has any special needs.
Photo: Upload a photo of the user.
Salary Info: From here, you can set up the employee’s salary details, such as:
Basic Amount: Enter the basic salary of the employee.
Overtime Rate: Define the rate for overtime work.
Bank Info: From here, you can set up the employee’s bank details, such as:
Bank Name: Enter the name of the bank.
Account Number: Provide the bank account number.
Currency: Select the account currency.
Passport Info: From here, you can enter the employee’s passport details, such as:
Passport Number: Enter the passport number.
Place of Issue: Specify where the passport was issued.
Profession in the Passport: Enter the profession listed on the passport.
Passport Date of Issue: Provide the date the passport was issued.
Passport Expiry Date: Enter the passport’s expiration date.
Iqama Info: From here you can enter the employee’s iqama details. Such as:
Iqama No: Enter the Iqama number.
Profession on Iqama: Specify the profession listed on the Iqama.
Date of Issue: Enter the issue date (Gregorian).
Date of Issue (Hijri): Enter the issue date in Hijri format.
Date of Expiry: Enter the expiry date (Gregorian).
Date of Expiry (Hijri): Enter the expiry date in Hijri format.
Boarding Info: From here you can enter the employees boarding info. Such as:
Entry Port: Specify the port of entry.
Entry Date: Enter the entry date .
Entry Date (Hijri): Enter the entry date in Hijri format
Access Control: From here you can set the access control of the employee. Such as:
Email: Set the email address for access control.
Password: Set the password.

