The Certificate Creation module allows administrators to design and issue formal recognition for students who have successfully completed their academic milestones. This guide outlines how to configure certificate templates and generate them for your student body.
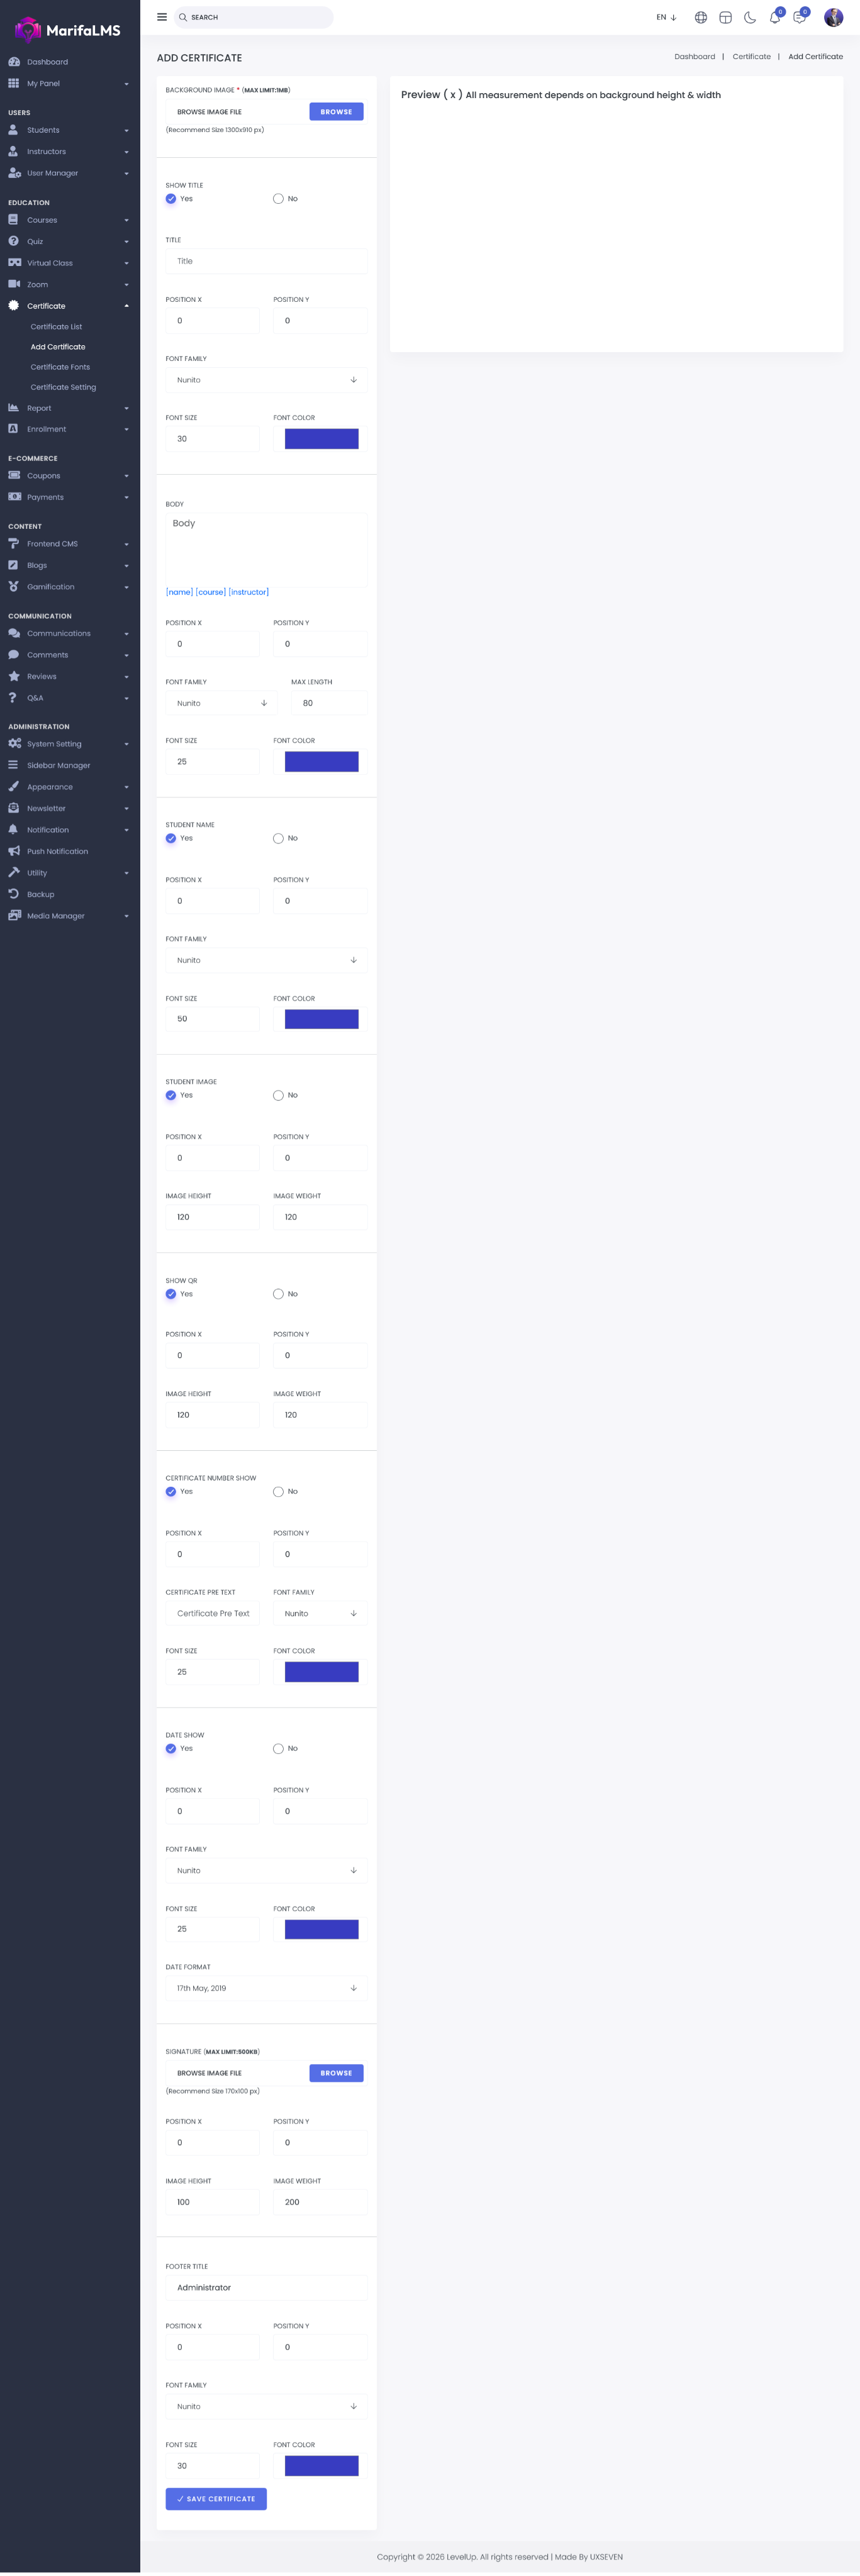
Background Image: This field allows users to set a custom background image for the certificate. Upload or select an image to define the visual appearance of the certificate background.
Title: This field allows users to add a title to the certificate. You can control the visibility of the title (show or hide), adjust its position, and customize its appearance by setting the font, font size, and font color.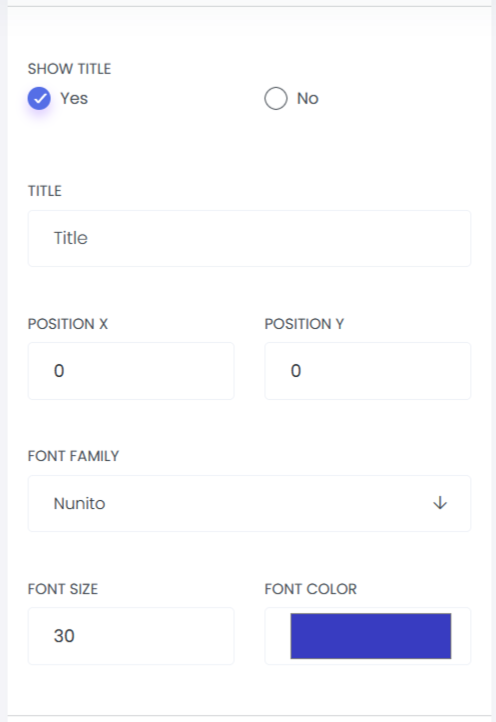
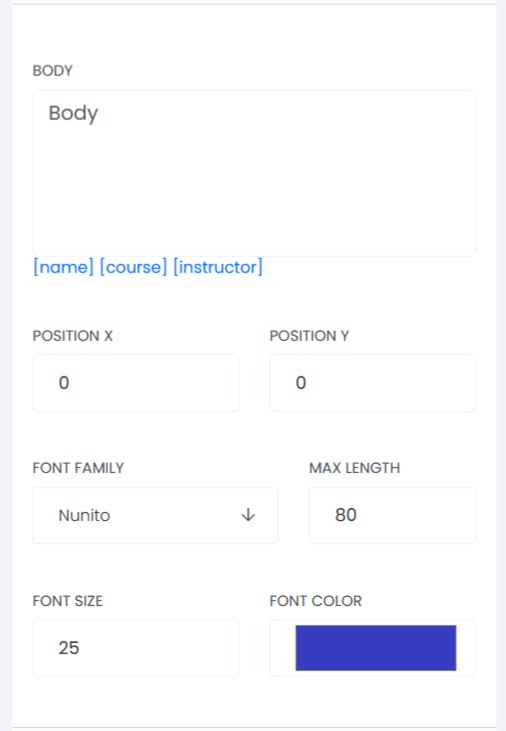
Body: This section allows users to add and customize the certificate’s body text. You can define the maximum text length, adjust the text position, and configure styling options including font type, font size, and font color to ensure the content aligns with the desired design.
Student Name: This option allows you to control whether the student’s name will be displayed on the certificate by selecting Yes or No. You can also customize the position of the student’s name, as well as adjust its font style, font size, and font color to match your certificate design.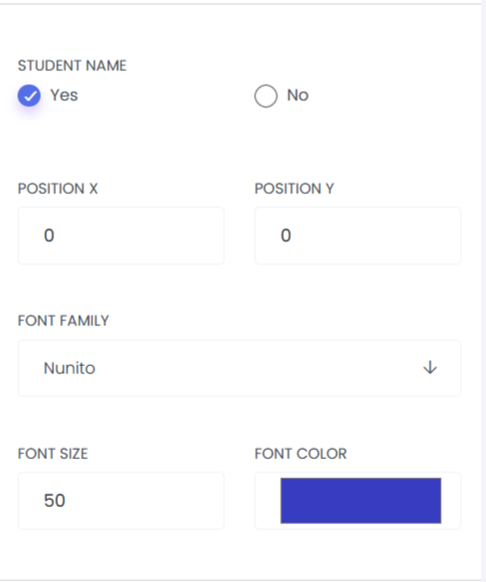
Student Image: This option allows you to control whether the student’s image is displayed on the certificate by selecting Yes or No. You can also define the image position and customize its dimensions, including height and width, to ensure proper alignment within the certificate layout.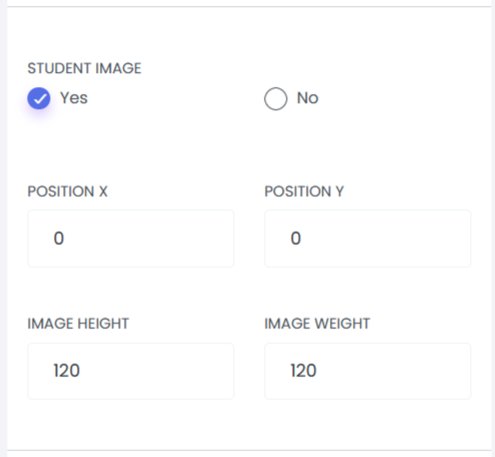
Show QR Code: This option allows you to enable or disable the display of a QR code on the certificate using a Yes/No toggle. When enabled, you can configure the QR code’s position as well as adjust its height and width to suit your design requirements.
Certificate Number Show: This setting allows users to control whether the certificate number is displayed on the certificate. Users can enable or disable the visibility using a Yes/No option. Additionally, it provides customization options to define the position of the certificate number, set a pre-text label, and configure its font style, font size, and font color.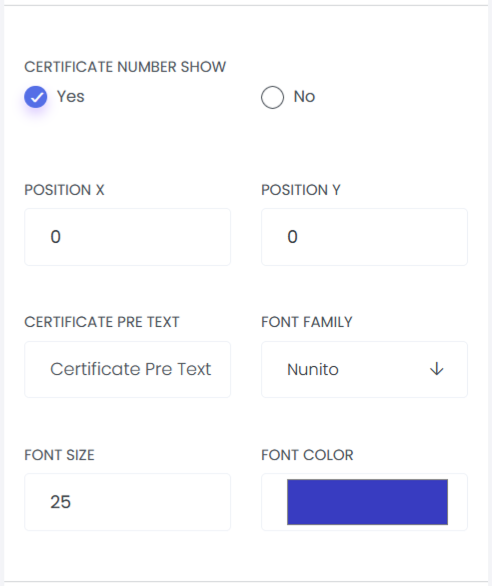
Date Show: This setting allows you to control whether the date is displayed on the certificate by selecting Yes or No. You can also customize the date’s position, choose the preferred date format, and adjust its font style, font size, and font color to match your design requirements.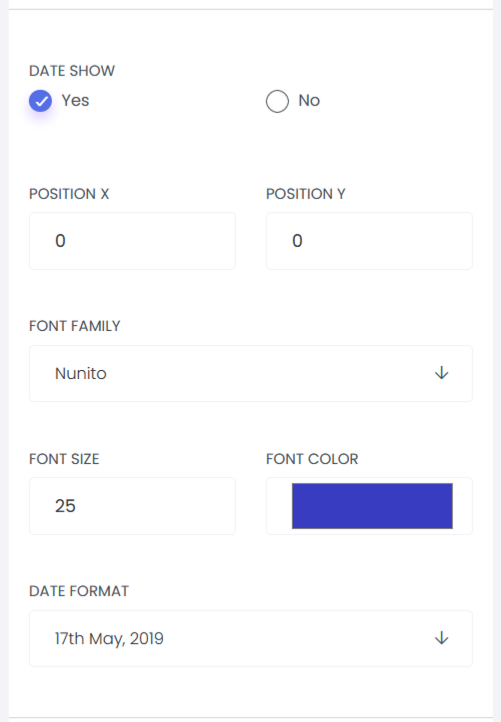
Signature: This section allows users to upload a signature image for the certificate and customize its placement. Users can define the position of the signature as well as adjust its height and width to ensure proper alignment and visual consistency.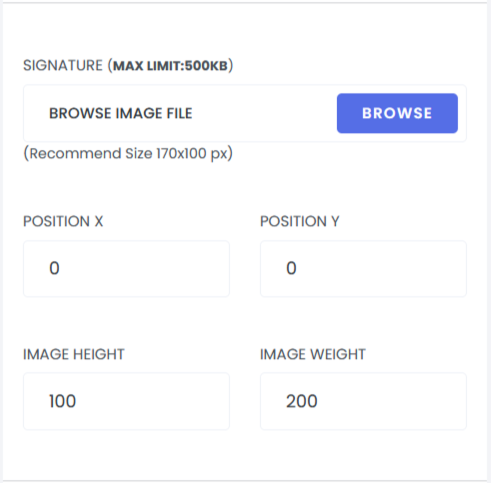
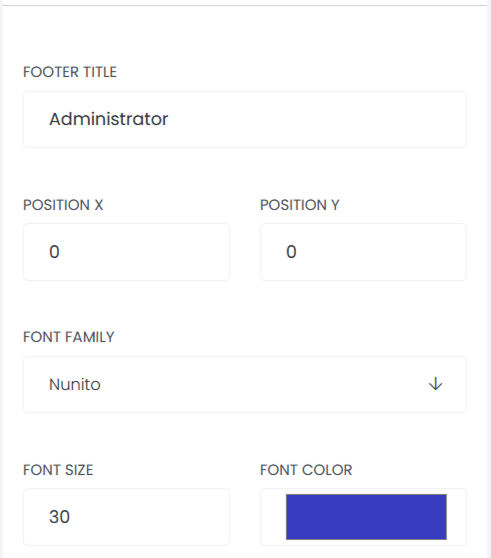
Footer Title: This option allows users to customize the certificate footer. Users can Set the footer title text. Adjust the footer title position on the certificate. Choose the font style, font size, and font color for the footer title.
Save Certificate: After providing all necessary information, click the Save Certificate button to add and save the new certificate to the system.


