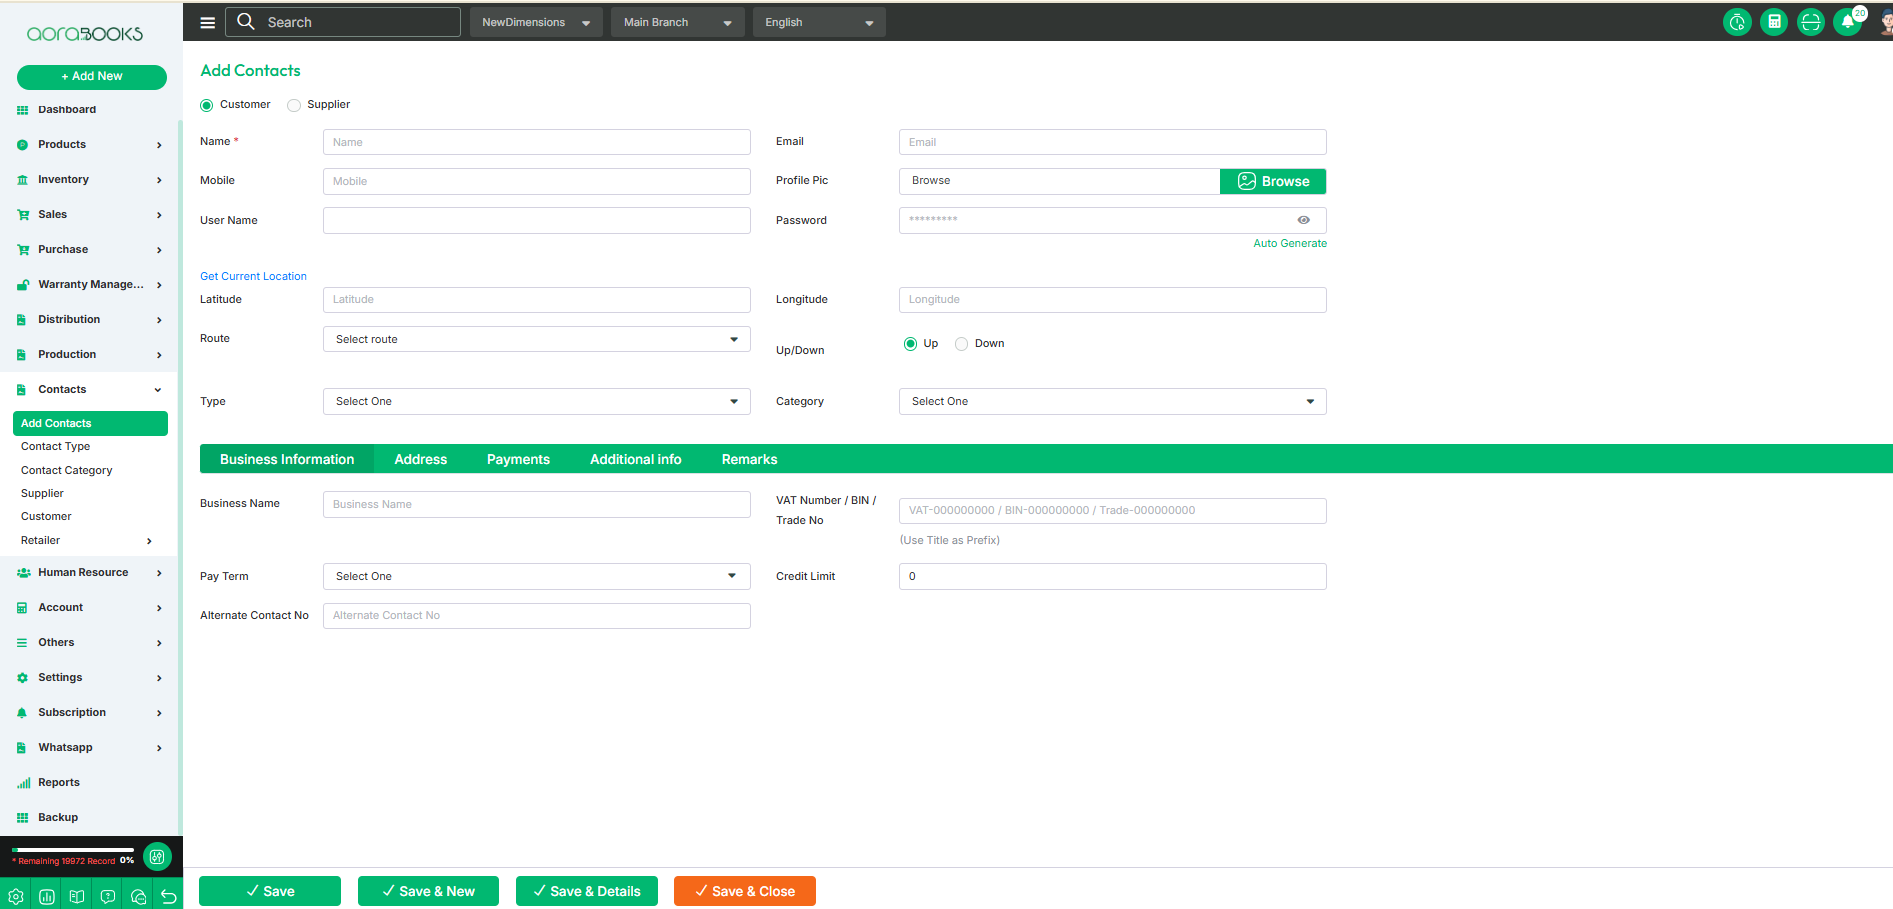
Add Contacts
The contacts section allows you to manage and store details of customers, suppliers, and other business associates. It includes essential information like names, phone numbers, emails, and addresses for efficient communication and record-keeping.
From here you can add new contacts .To do that just do the below steps:
Contact Type: Choose whether the contact is a customer or a supplier to categorize them appropriately for business transactions.
Name: Set the name of the contacts.
Email: Set the email address of the contacts.
Phone Number: Set the phone number of the contact.
Profile Pic: Upload the profile picture of the contact.
User Name: Set the user name of the contact.
Get Current Location: You can get the current location by clicking the button.
Latitude: set the latitude of the location.
Longitude: set the longitude of the location.
Route: Select the route for the contact.
Up/Down: Set the route type if it is up or down.
Type: Select the contact type.
Category: Select the contact type of category
Basic Information:
Business Name: Enter the name of the retailer's business.
Tax Number: Enter the tax identification number associated with the retailer for tax compliance.
Pay Term Condition: Choose the payment terms that define the conditions and time frame for making payments.
Add New Pay Term: If you need to add a new pay term, follow these steps:
Click on the plus button to start adding a new pay term.
Term: Set the name of the pay term.
Number of Days: Define the number of days applicable for the pay term.
Save: Click the save button to confirm and store the pay term.
Credit Limit: You can set the maximum credit amount that a retailer can use for purchases.
Alternate Contact No: You can add an additional phone number for the retailer to ensure easy communication in case the primary contact number is unavailable.
Save: Click the "Save" button to store the entered information successfully.
Save and New: Click the "Save and New" button to save the current information and open a new form to add another entry.
Save & Details: Click the "Save & Details" button to save the current entry and view its detailed information immediately.
Save & Close: Click the "Save & Close" button to save the current entry and exit the form.
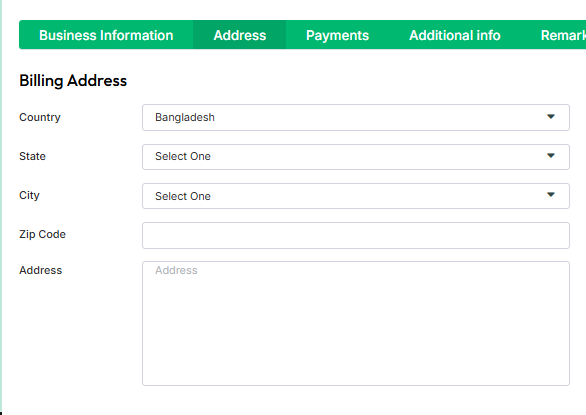
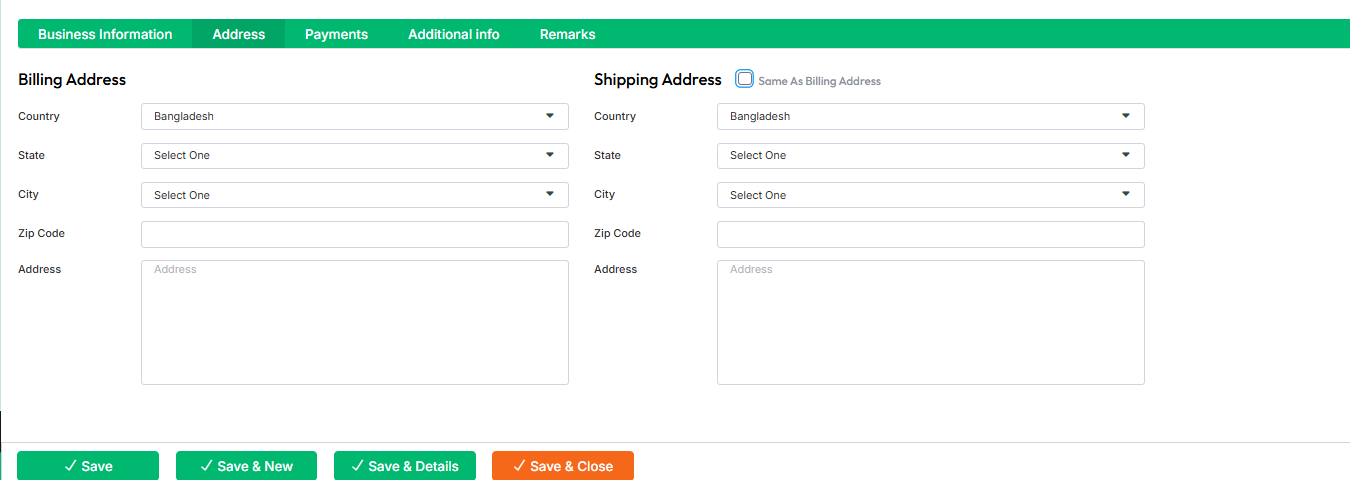
Billing Address:
Country: Select the country name of the billing address.
State: Select the state name of the billing address.
City: Select the city name of the billing address.
Zip Code: Set the zip code of the billing address.
Address: Set the address of the billing address.
Shipping Address:
Country: Select the country name of the shipping address.
State: Select the state name of the shipping address.
City: Select the city name of the shipping address.
Zip Code: Set the zip code of the shipping address.
Address: Set the address of the shipping address.
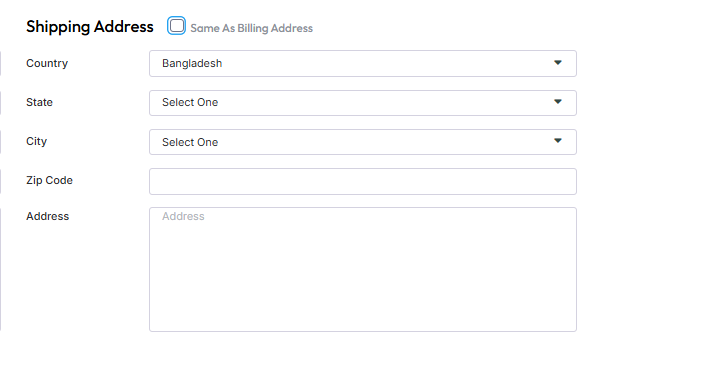
Same As Billing Address: You can set the shipping address to be the same as the billing address by clicking the “Same As Billing Address” option, simplifying the process and avoiding duplicate entries.
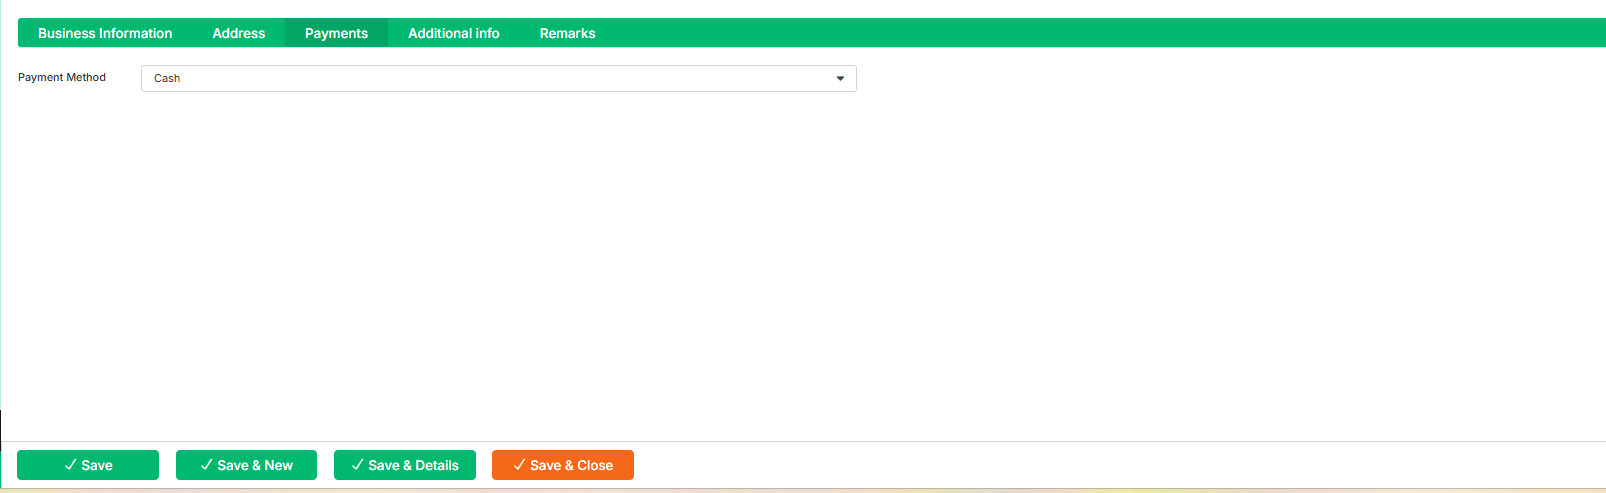
Payments:
Payment Method: You can select the payment method such as cash, bank or credit card.
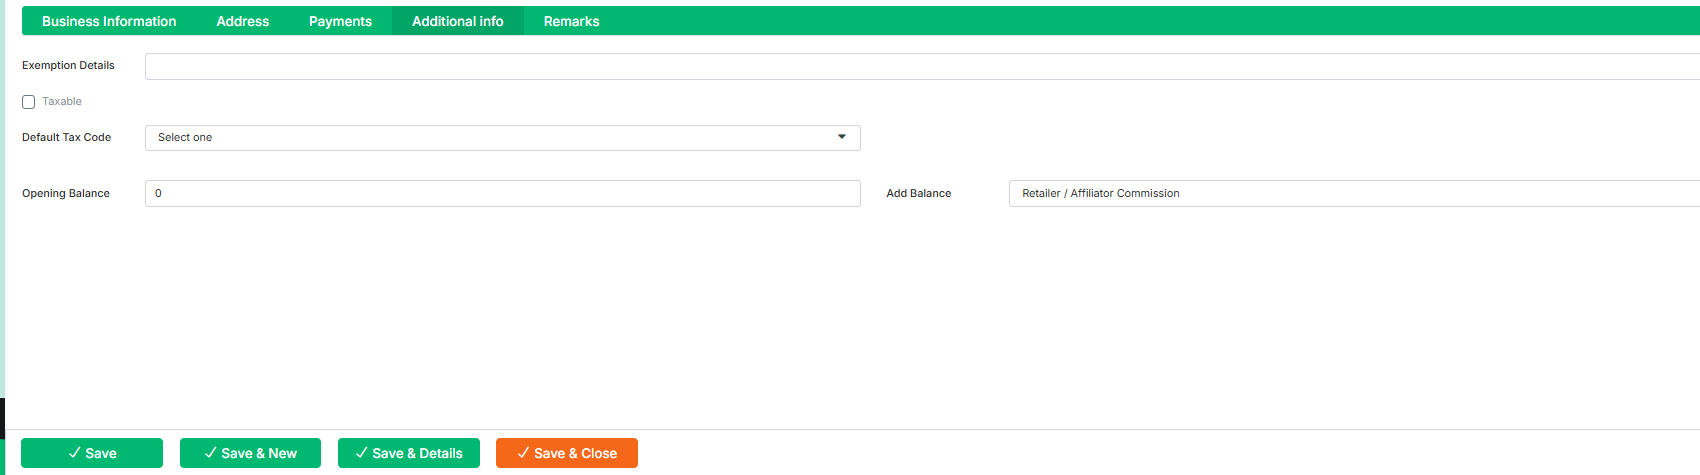
Additional Info:
Exemption Details: Here, you can specify any tax or regulatory exemptions applicable to the contact, such as tax-exempt status or special provisions granted by authorities.
Taxable: You can set if the customer is taxable or not.
Opening Balance: This represents the initial balance of the contact at the time of account creation, showing any outstanding amount or credit available.
Add Balance: Select the type of add balance.
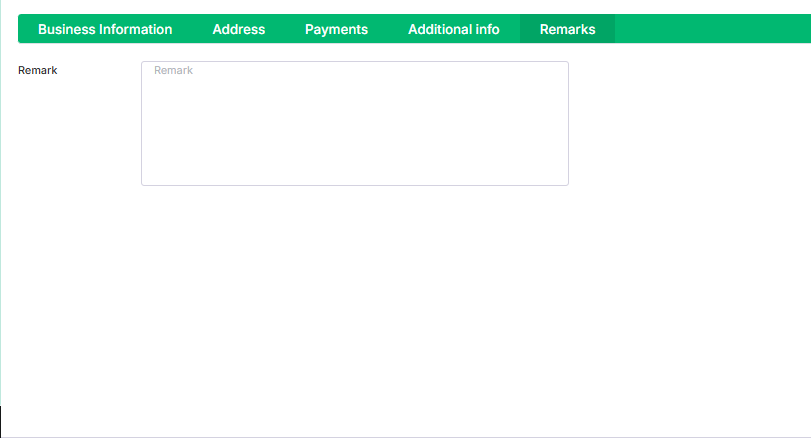
Remarks: You can add any additional notes or comments related to the customer, order, or transaction in this section.