Settings
From here, you can control multiple settings, which will help you to use the software seamlessly. You can read more about the settings below:
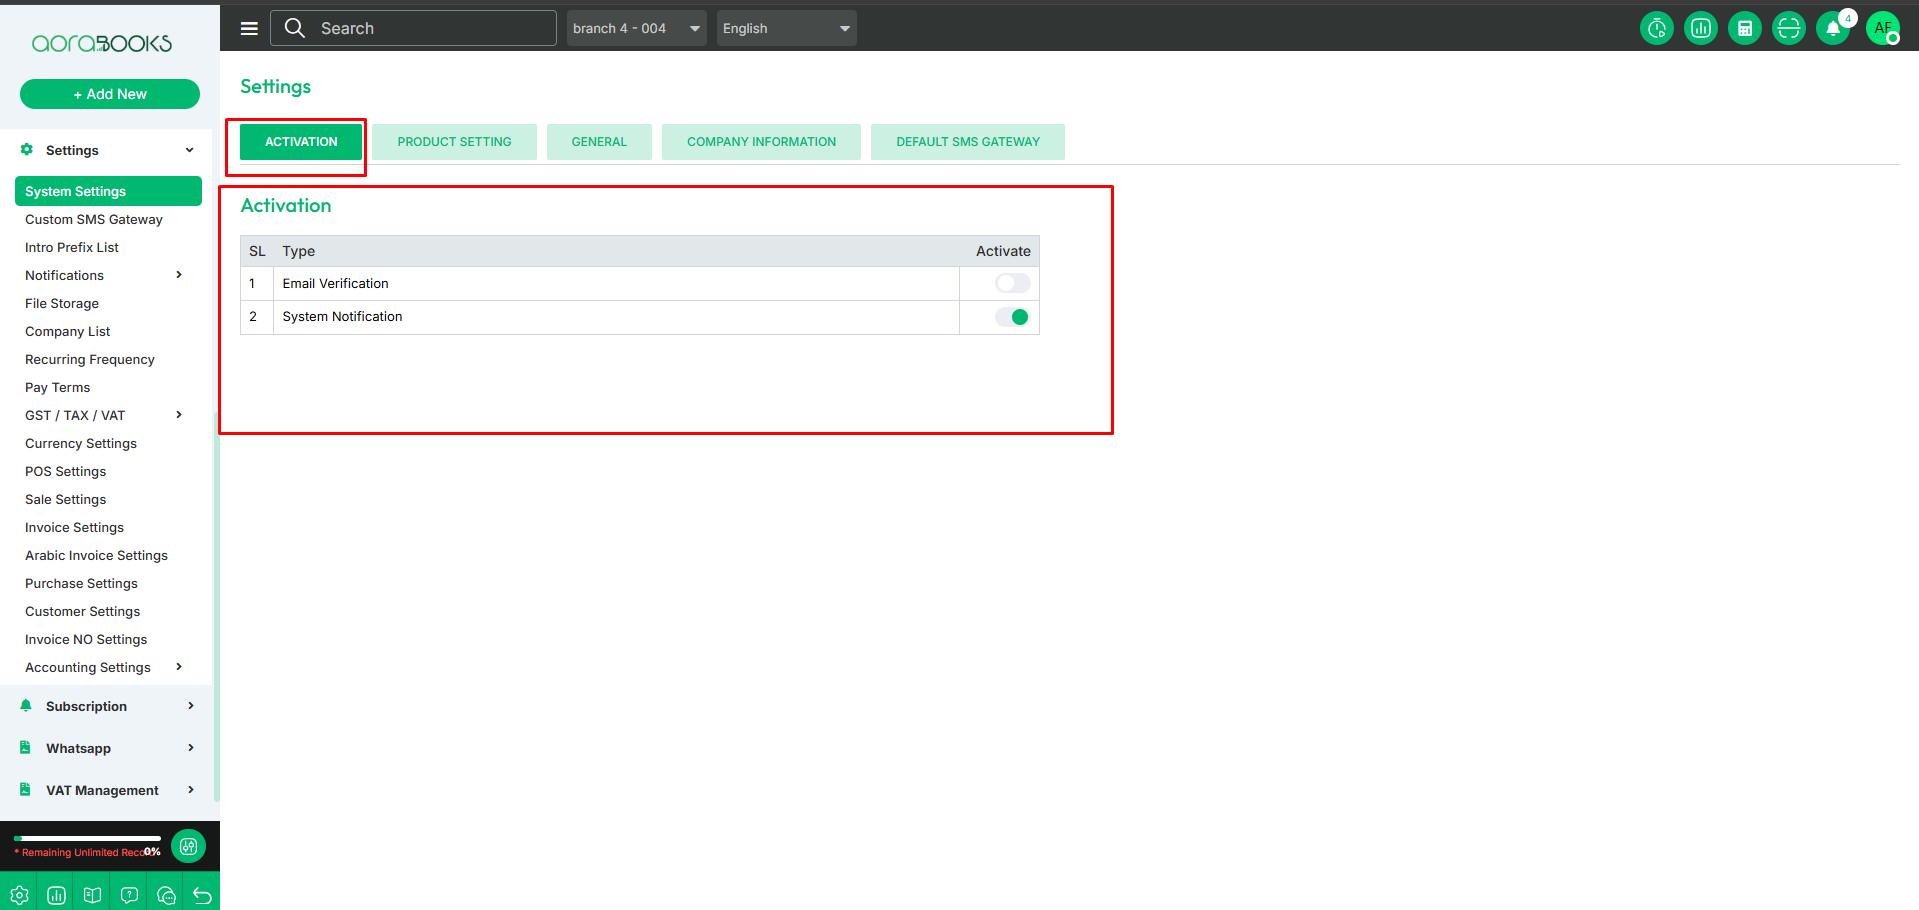
Activation: Activation is one of the settings. By using this setting, you activate /deactivate multiple options. such as:
System Notification: You can set if the system will send you notifications or not from here. You can enable or disable the system notifications option.
Email Verification: You can enable or disable the email verification option from here. If enabled, users must verify their email before logging in, enhancing the software's security level.
Product setting: From here you can configure multiple product settings which are given below.
Product Origin: Product Origin refers to the country, region, or place where a product is manufactured, produced, or sourced from. From here you can set if the product origin option will be shown are not while adding the product.
Foreign Price Manage (Purchase): It allows you to control how you manage product prices when purchasing from foreign suppliers. When enabled, it lets you handle various pricing factors like the exchange rate, the price in foreign currency, profit margin, minimum selling price, selling price, and taxes. This helps you effectively manage and calculate costs, selling prices, and profit margins when dealing with international purchases.
Stock Management Without Approval: From here you can enable /disable the stock management without approval. If you enable the setting you can manage the stock without approval.
Save Button: Click here to save the settings.

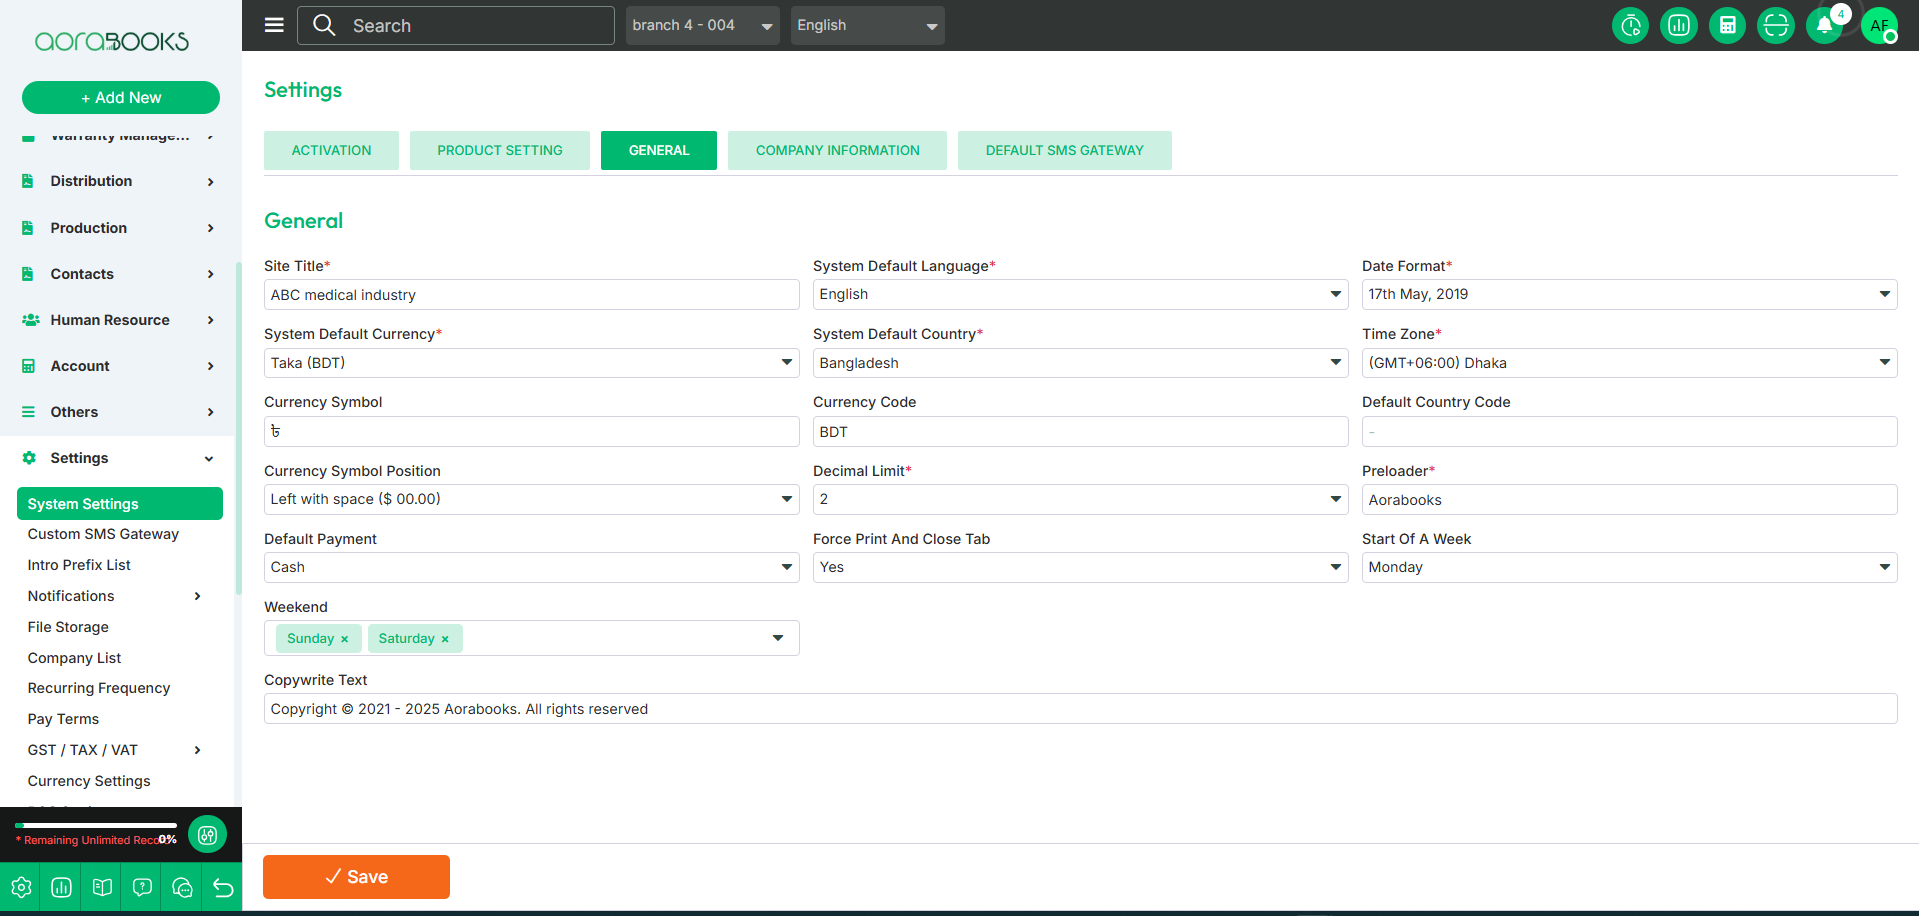
General Settings: From here, you can configure multiple product settings which are given below.
Site Title: You can set the title of the website.
Select System Default Language: Choose the default language for the system.
Select Date Format: Pick the preferred date format.
Select System Default Currency: Set the default currency for transactions.
Default Country: Set the default country for transactions.
Select Timezone: Choose the correct timezone.
Currency Symbol: Set the currency symbol.
Currency Code: Define the currency code.
Default Country Code: Set the default country code.
Select Currency Symbol Position: Choose where the currency symbol appears (before/after amount).
Decimal Limit: Set the number of decimal places for prices.
Preloader: Set the name of the preloader.
Select Default Payment: Choose the default payment method.
Force print and close tab: Automatically prints the document and closes the tab immediately after printing yes or no.
Start of a week: Select the day you consider the first day of the week.
Weekend: Select the days marked as weekly holidays or non-working days for the business.
Copyright Text: You can set copyright text from here.
Save: Click the button to save your general settings.
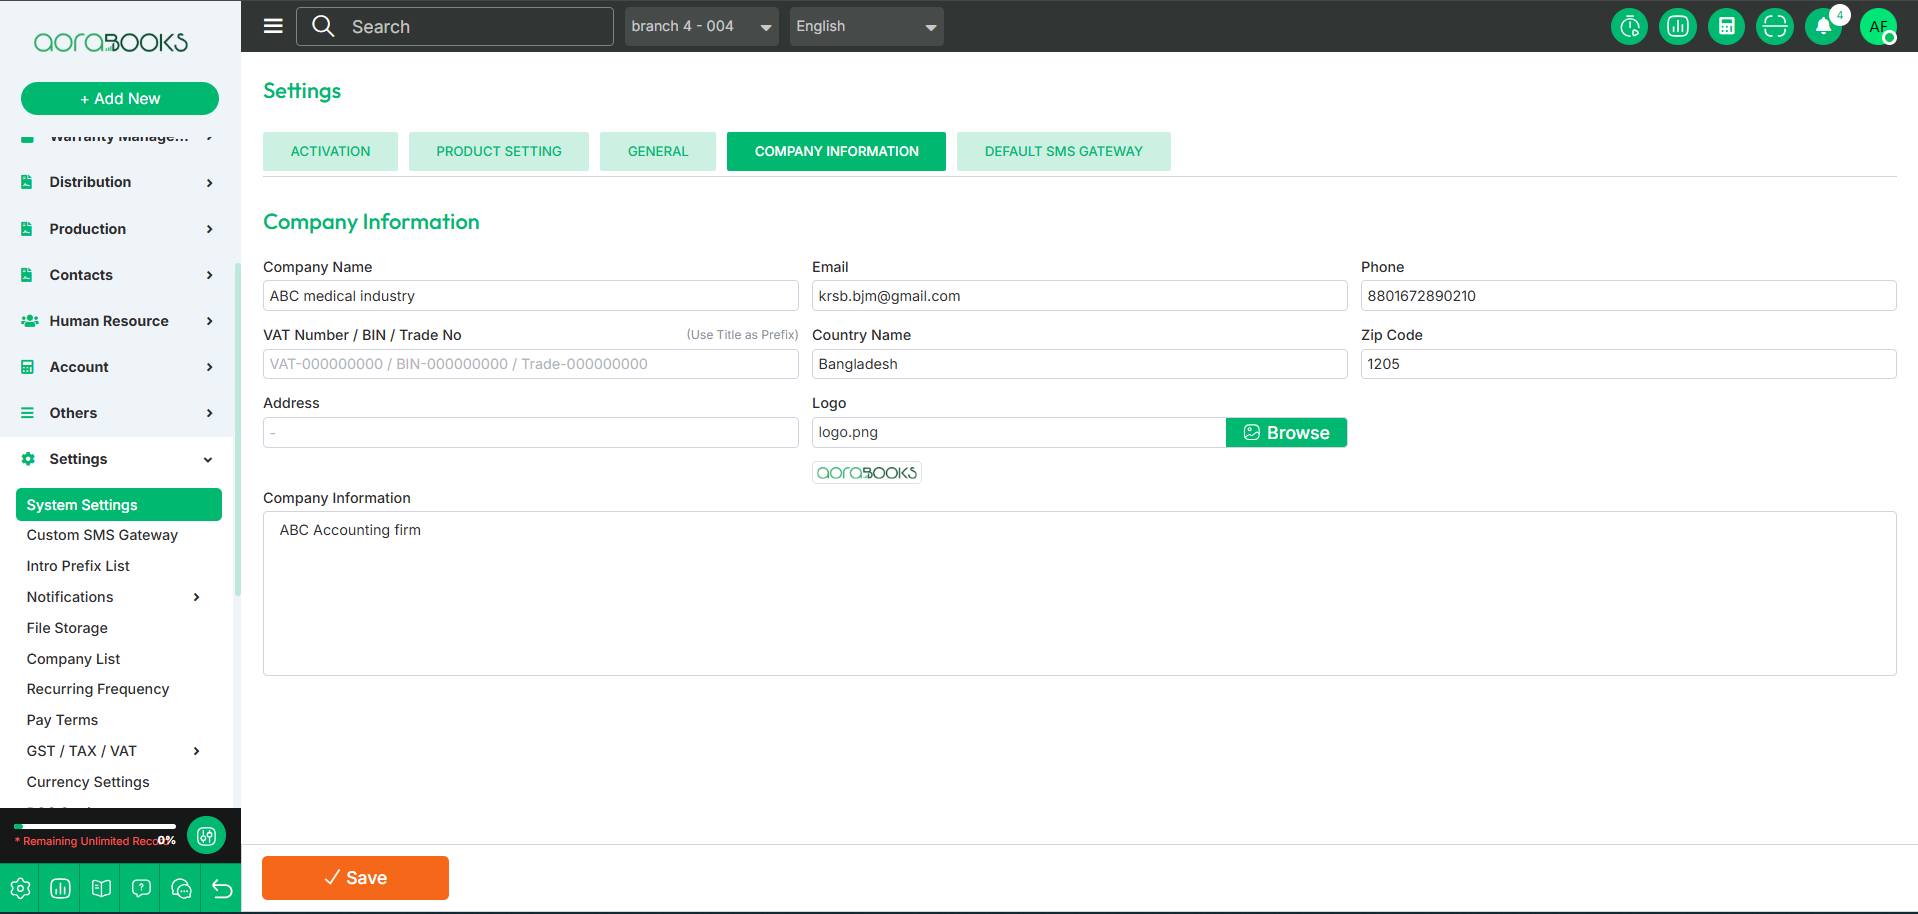
Company Information: From here, you can set and manage company details, including:
Company Name: Define the company name.
Email Address: Set the company’s official email.
Phone Number: Add the company’s contact number.
VAT Number/BIN/Trade No: Enter the company’s tax or business identification number.
Address: Provide the company’s address.
Country Name: Select the country where the company is located.
Zip Code: Enter the postal code.
Company Information: Add additional company details.
Save Button: After entering all the company details, click the Save button to store the information successfully.
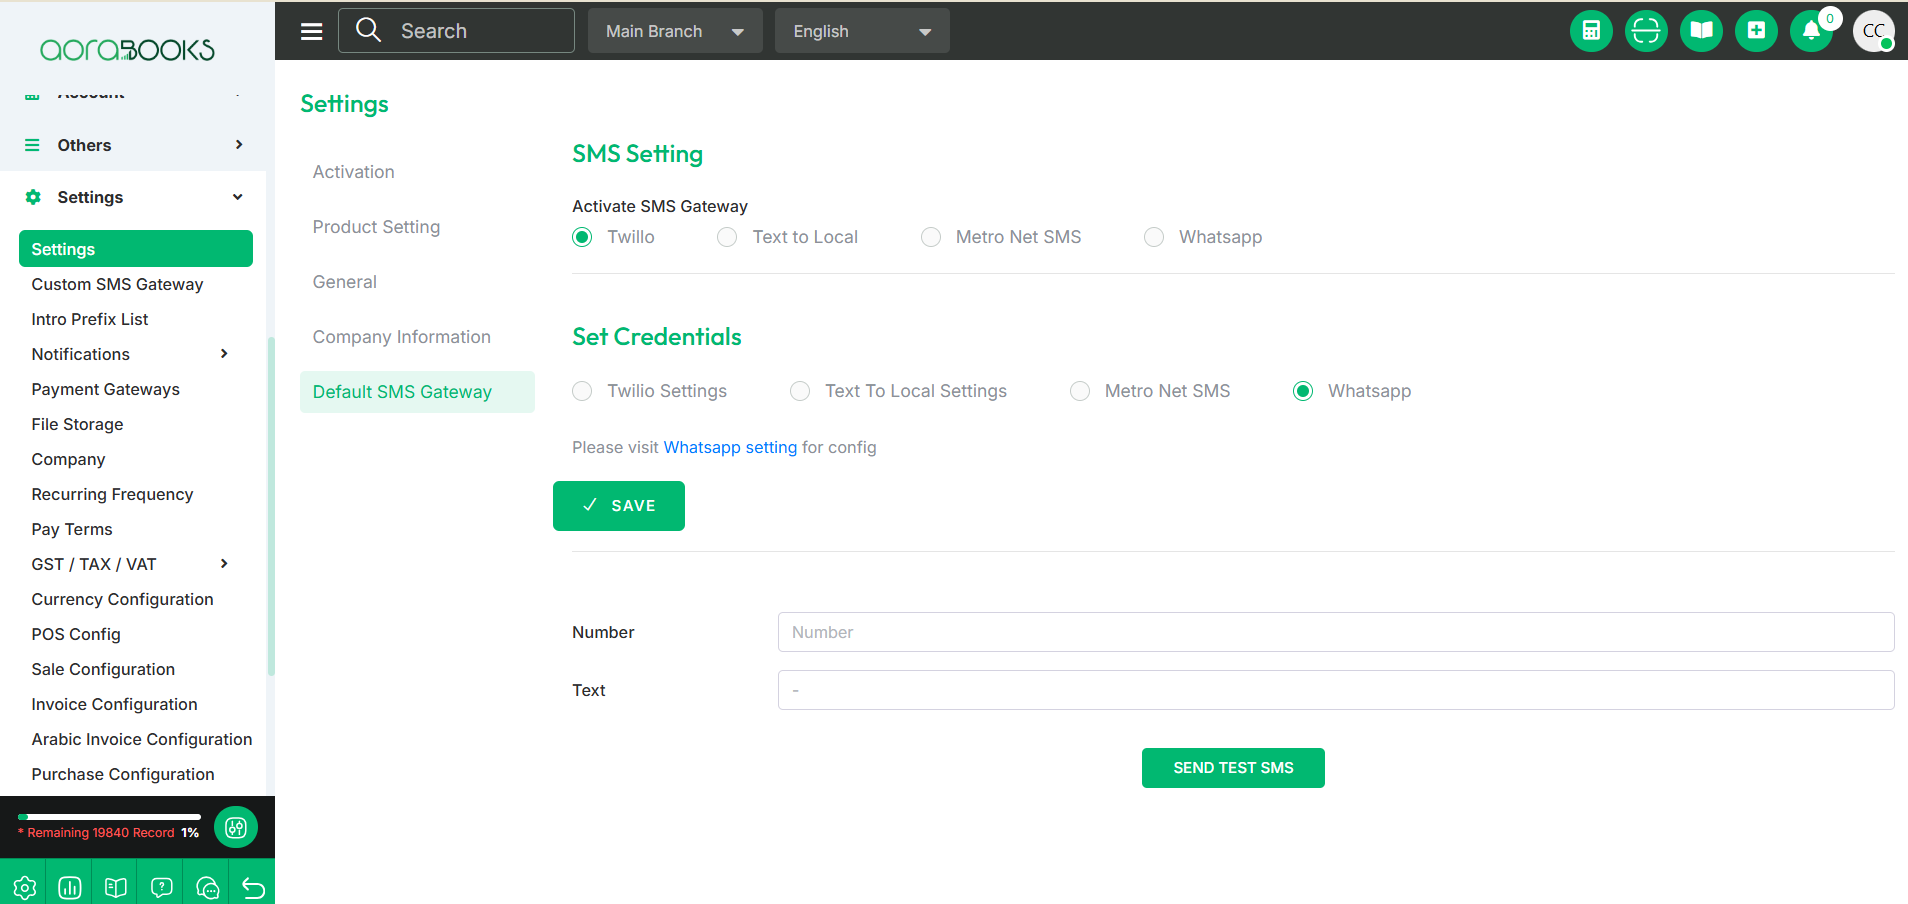
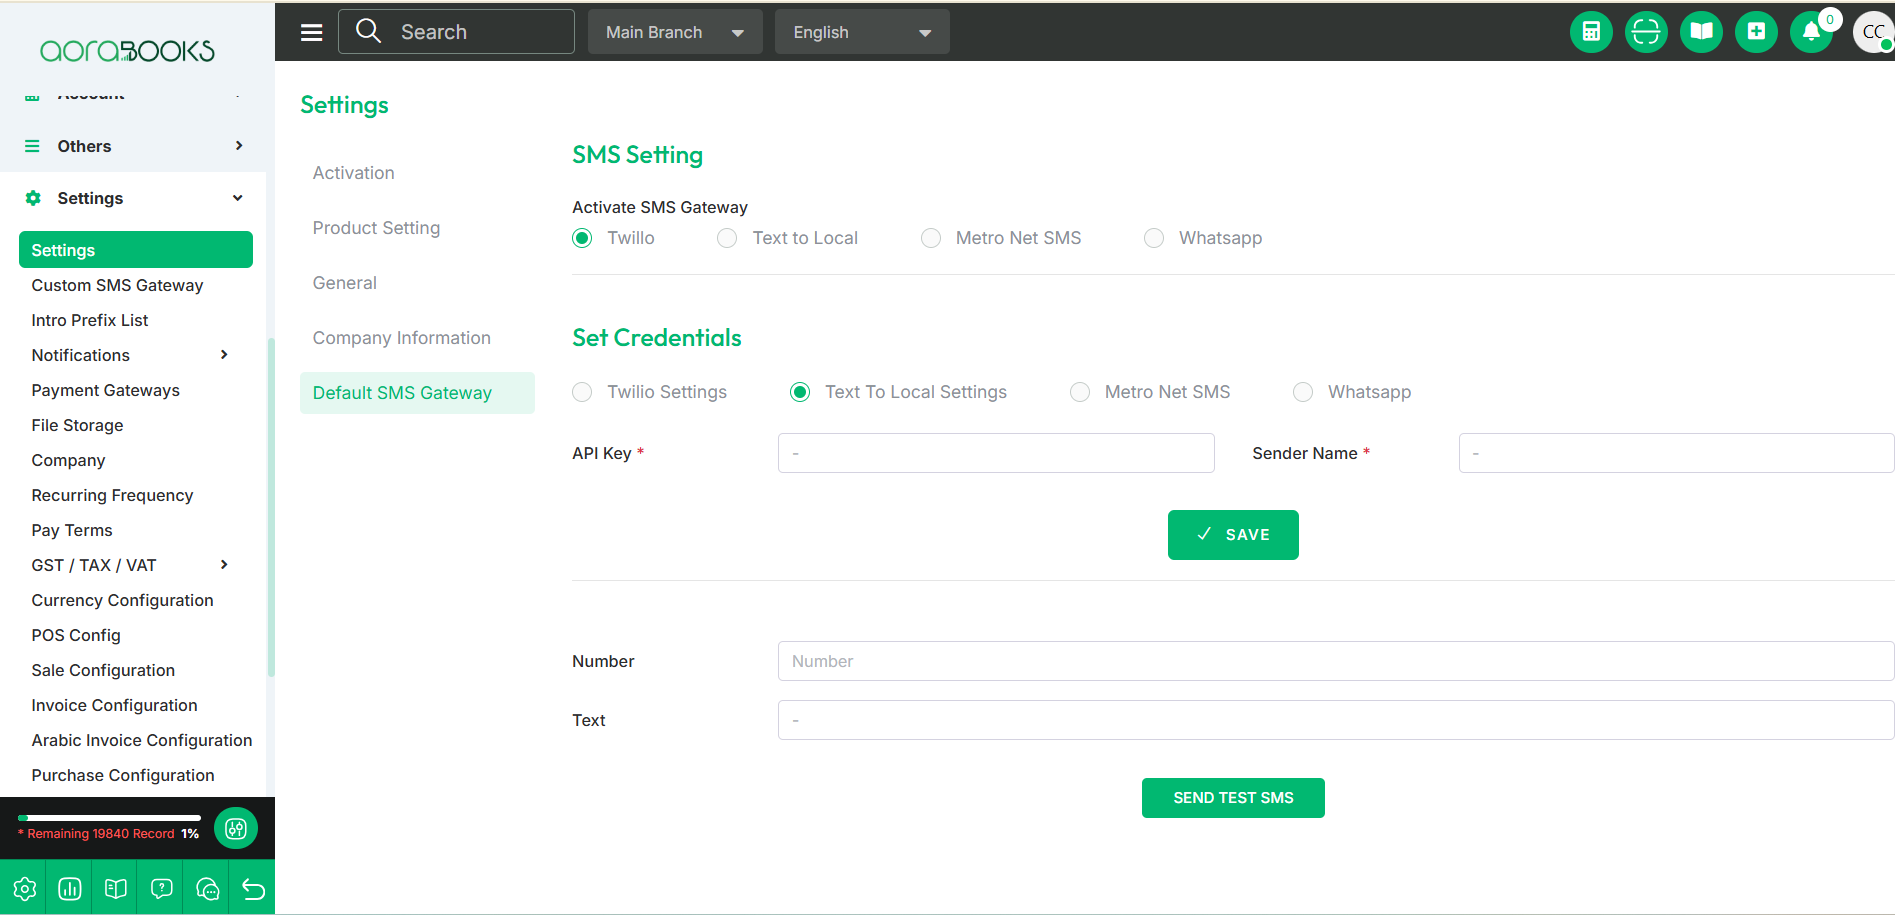
Default SMS Gateway: From here you can set the default sms gateway setting. Follow the below steps:
Activate SMS Gateway: You can enable the SMS gateway from here. Simply click on the radio button next to the gateway you want to activate.
Set Credentials: From here you can set the credentials for the sms gateways.such as:
Twilio Settings: From here you can set the twilio gateway credentials. To set the just follow the below steps:
Twilio Account SID: Set the twilio account sid.
Authentication Token: Set the twilio authentication token from here.
Registered Phone Number: Set the registered phone number.
Save: Click the button to save your credential settings.
Text To Local Settings: From here you can set the text to local settings. To do that just follow the below steps:
API Key: Set the api key for the gateway.
Sender Name: Set the sender name
Save: Click the button save the gateway settings.
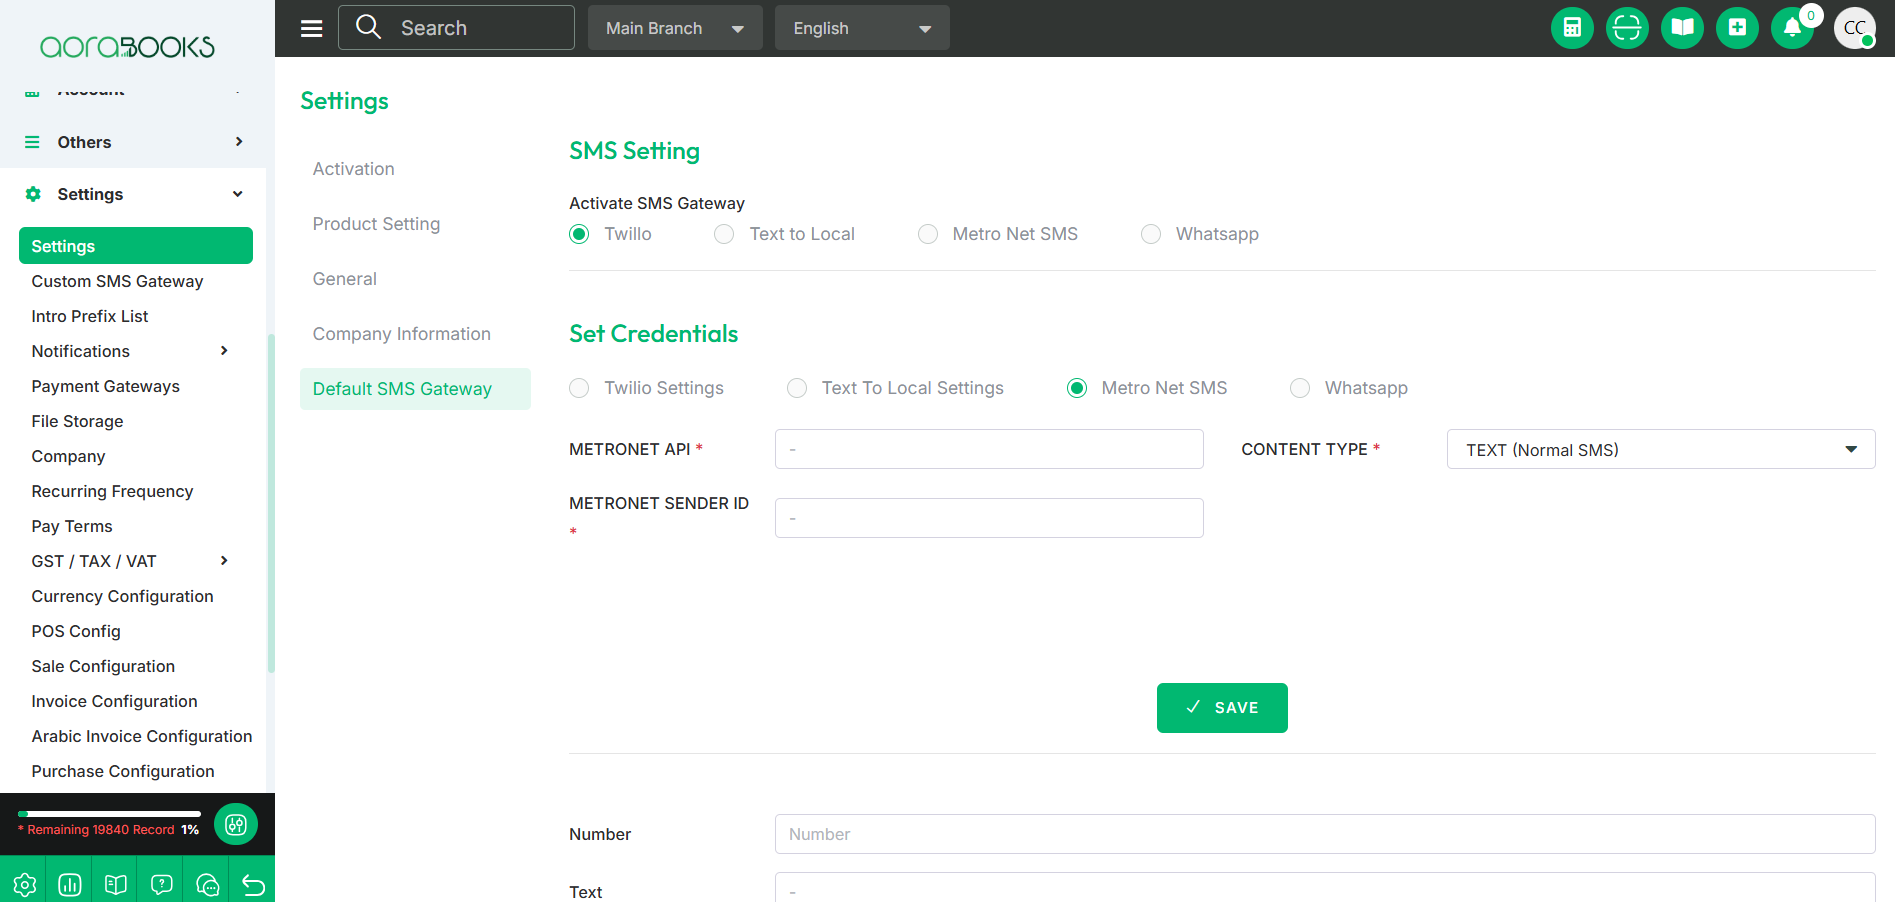
Metro Net SMS: From here you can set the credentials for metro net sms. To do that just follow the below steps:
Metronet API: Set the api for the gateway.
Content Type: Select the content type.
Metronet Sender ID: set the sender id for the metronet.
Save: Click the button to save the credentials.
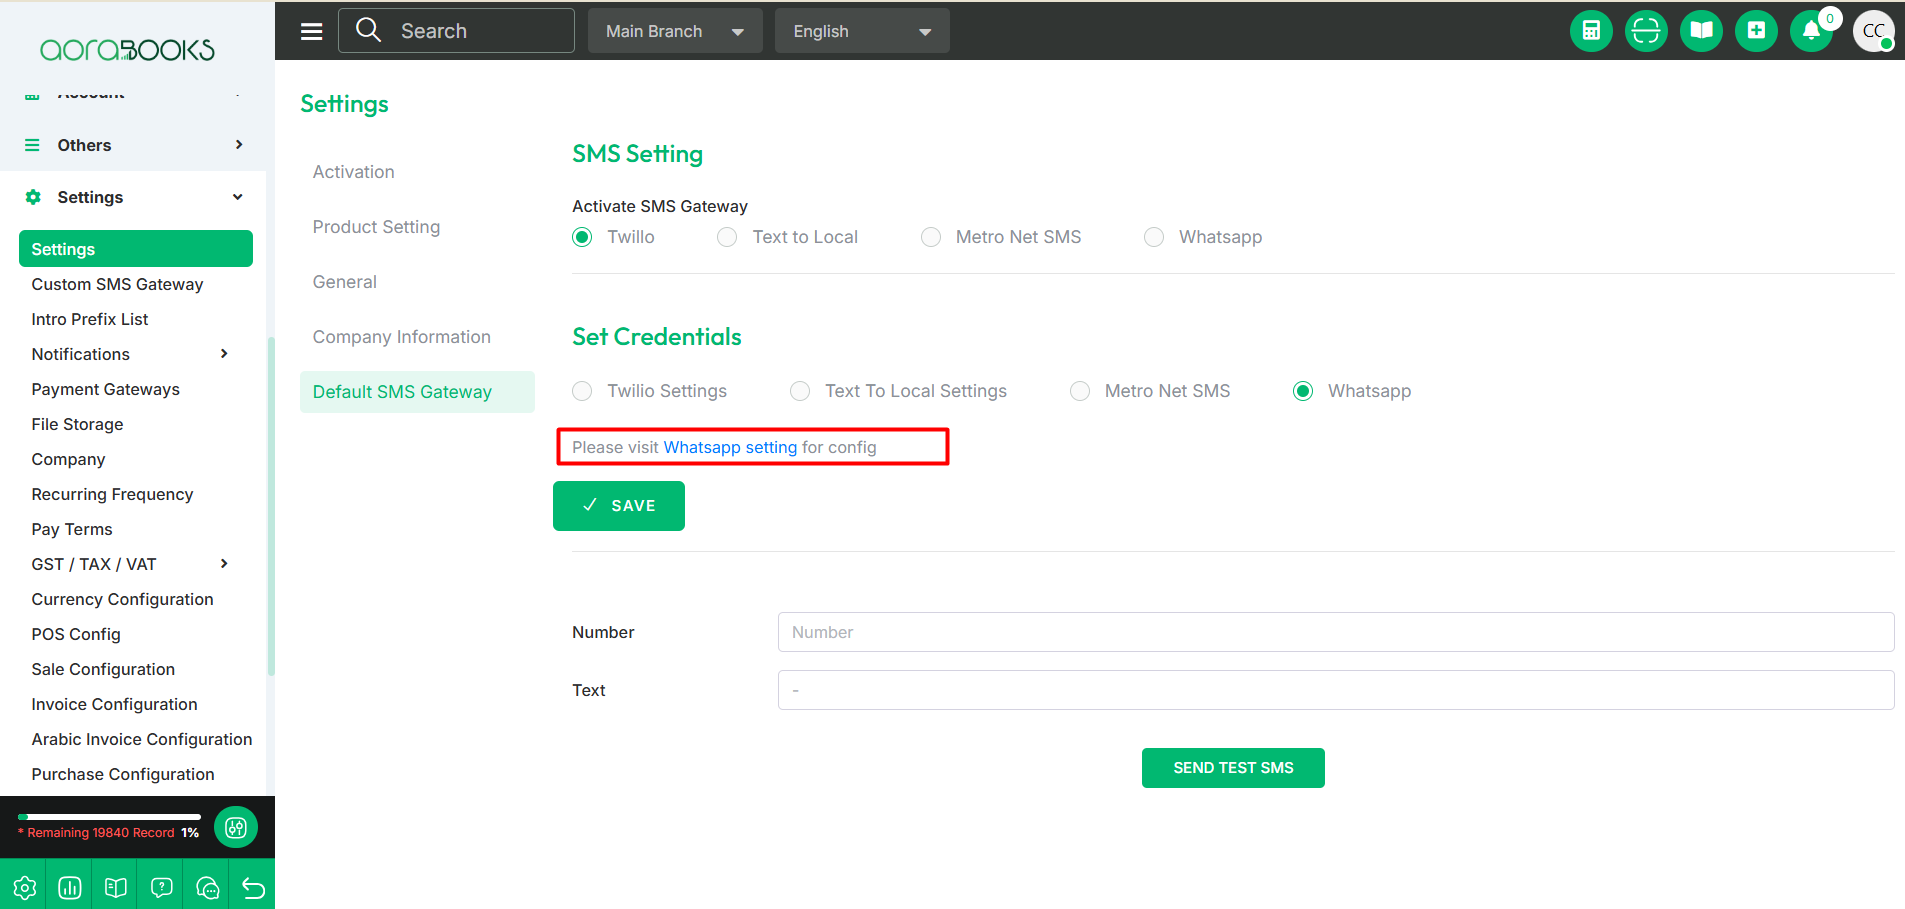
Whatsapp: From here you can set the whatsapp settings. To set the whatsapp settings just click on the button.
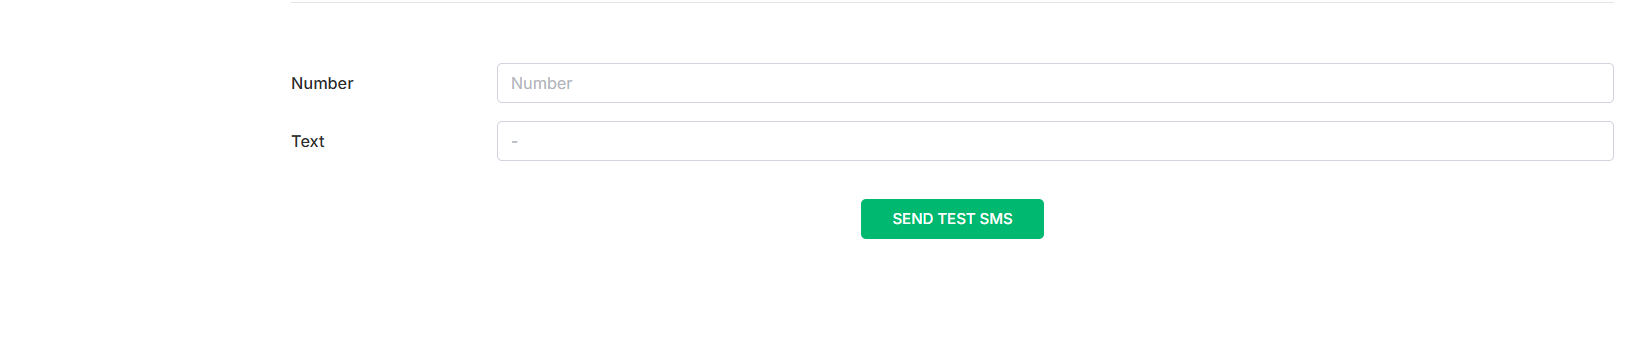
Test SMS: After setting up the credentials, you can test the SMS gateway by sending a test message.
Number: Enter the recipient’s phone number.
Text: Type the message you want to send.
Send Test SMS: Click the button to send the test message and verify if the gateway is working properly.
 The
The


