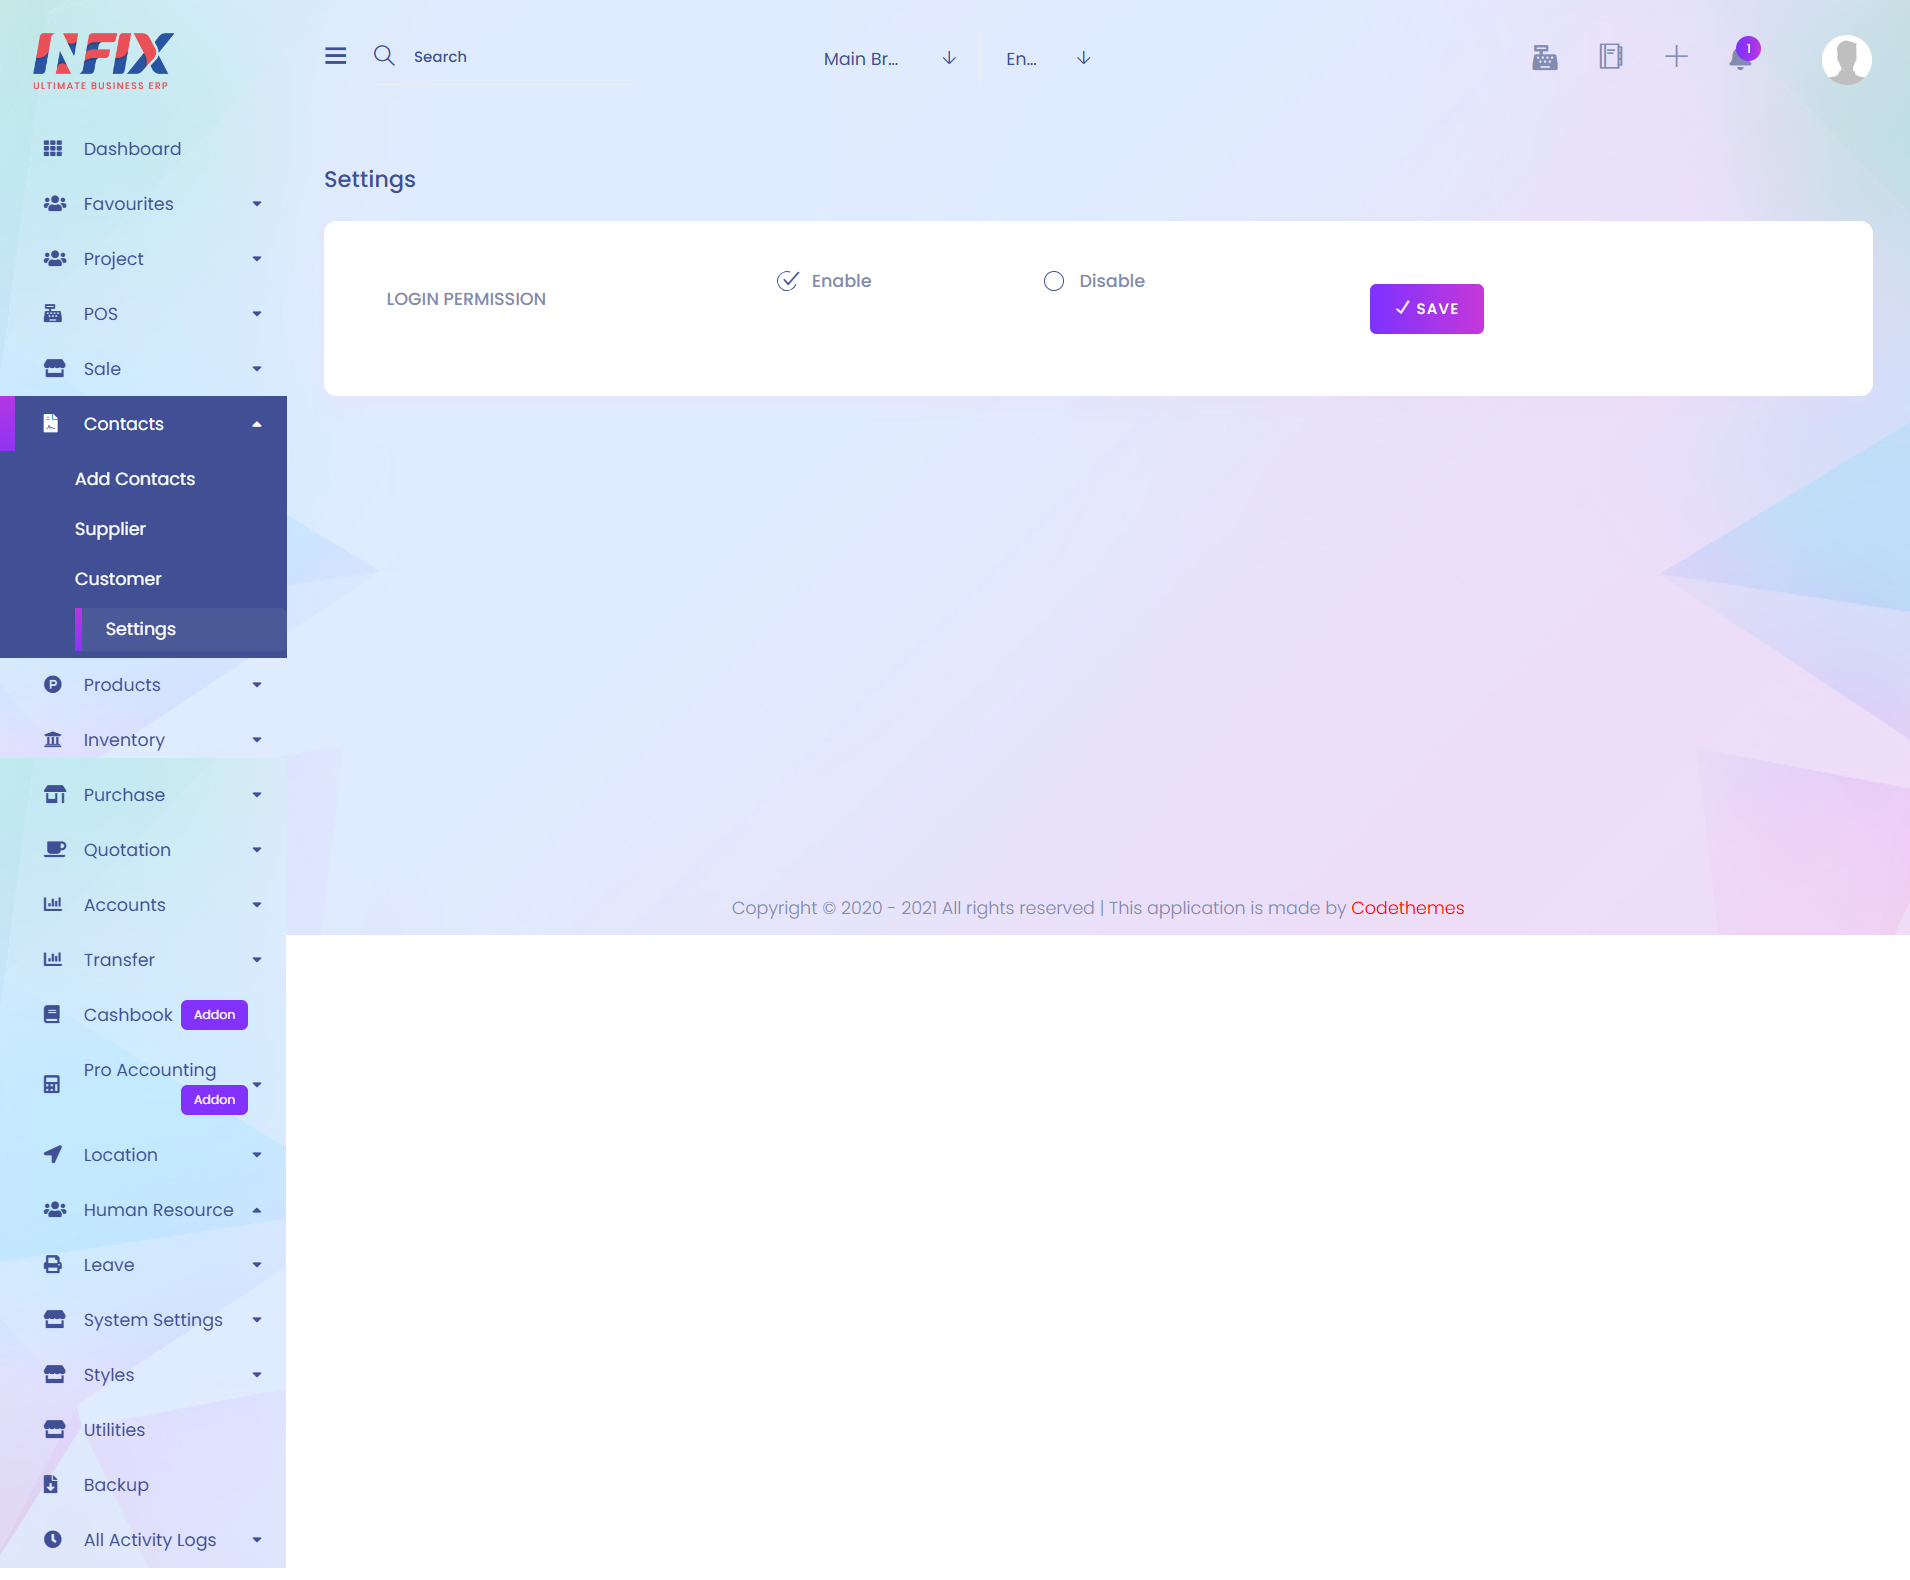
1. Activate
Here you can activate which function you want to start using.

1. System Logo
Here you can upload a new system logo for the application.
2. Fav Icon
Here you can upload a new fav icon.
3. Remove
On that section you can remove logo & fav icon.
4. System Title
Here you can add a system title for the application.
5. File Supported
Here you can set the file format which is supported for the system.
6. System Default Language
Here you can select a default language for the system.
7. Date Format
Here you can select the date format.
8. System Default Currency
Here you can select a default currency for the system.
9. Time Zone
On that section you can select the time zone.
10. Preloader
Here you can set the preloader.
11. Default Payment
Here you can select default payment.
12. Copywrite Text
Here you can add copywrite text for the system.
13. Save
After updating all the required fields press the "Save" button to save the updated information.

1. Company Name
Here you can add a company name.
2. Email
Here you can add an email.
3. Phone
Here you can add a phone number.
4. VAT Number
Here you can add a vat number.
5. Address
Here you can add an address.
6. Country
On that section you can add country.
7. Zip Code
Here you can add zip code.
8. Company Information
Here you can add information for company.
9. Save
After filling all the required fields press "Save" button to save the updated information.

1. Remark Title
On that section you can add remark title.
2. Remark Body
On that section you can add remark body.
3. Terms & Condition
Here you can add terms & condition.
4. Save
After filling all the required fields press "Save" button to save the updated information.

1. Email Protocol
Here you can select email protocol.
2. Sender Name
Here you can set sender name.
3. Sender Email
Here you can set sender email.
4. Save
After filling all the required fields press "Save" button to save the updated information.
5. Send Test Email To
Here you can add email id which you want to send email.
6. Mail Text
Here you can add text for mail.
7. Send Test Mail
After setting mail text & mail receiver press "Send Test Mail" to send the email.

1. Activate Gateway
On that section there are twillo and text to local gateway currently supported, select a gateway which you want to activate.
2. Gateway Credentials
Here you can provide your gateway credentials.
3. Save
After filling all the required fields press "Save" button to save the updated information.

1. Template Type
On that section you can select a template which you want to customize.
2. Available Variables
Here you can find template variables which you want to use in template.
3. Save
After filling all the required fields press "Save" button to save the updated information.

1. Available Variables
Here you can find template variables which you want to use in template.
2. Save
After filling all the required fields press "Save" button to save the updated information.