Journal Notes
Journal notes are used to keep extra information, explanations, or references related to journal entries. They help in maintaining clarity and transparency in financial records for future review and auditing.
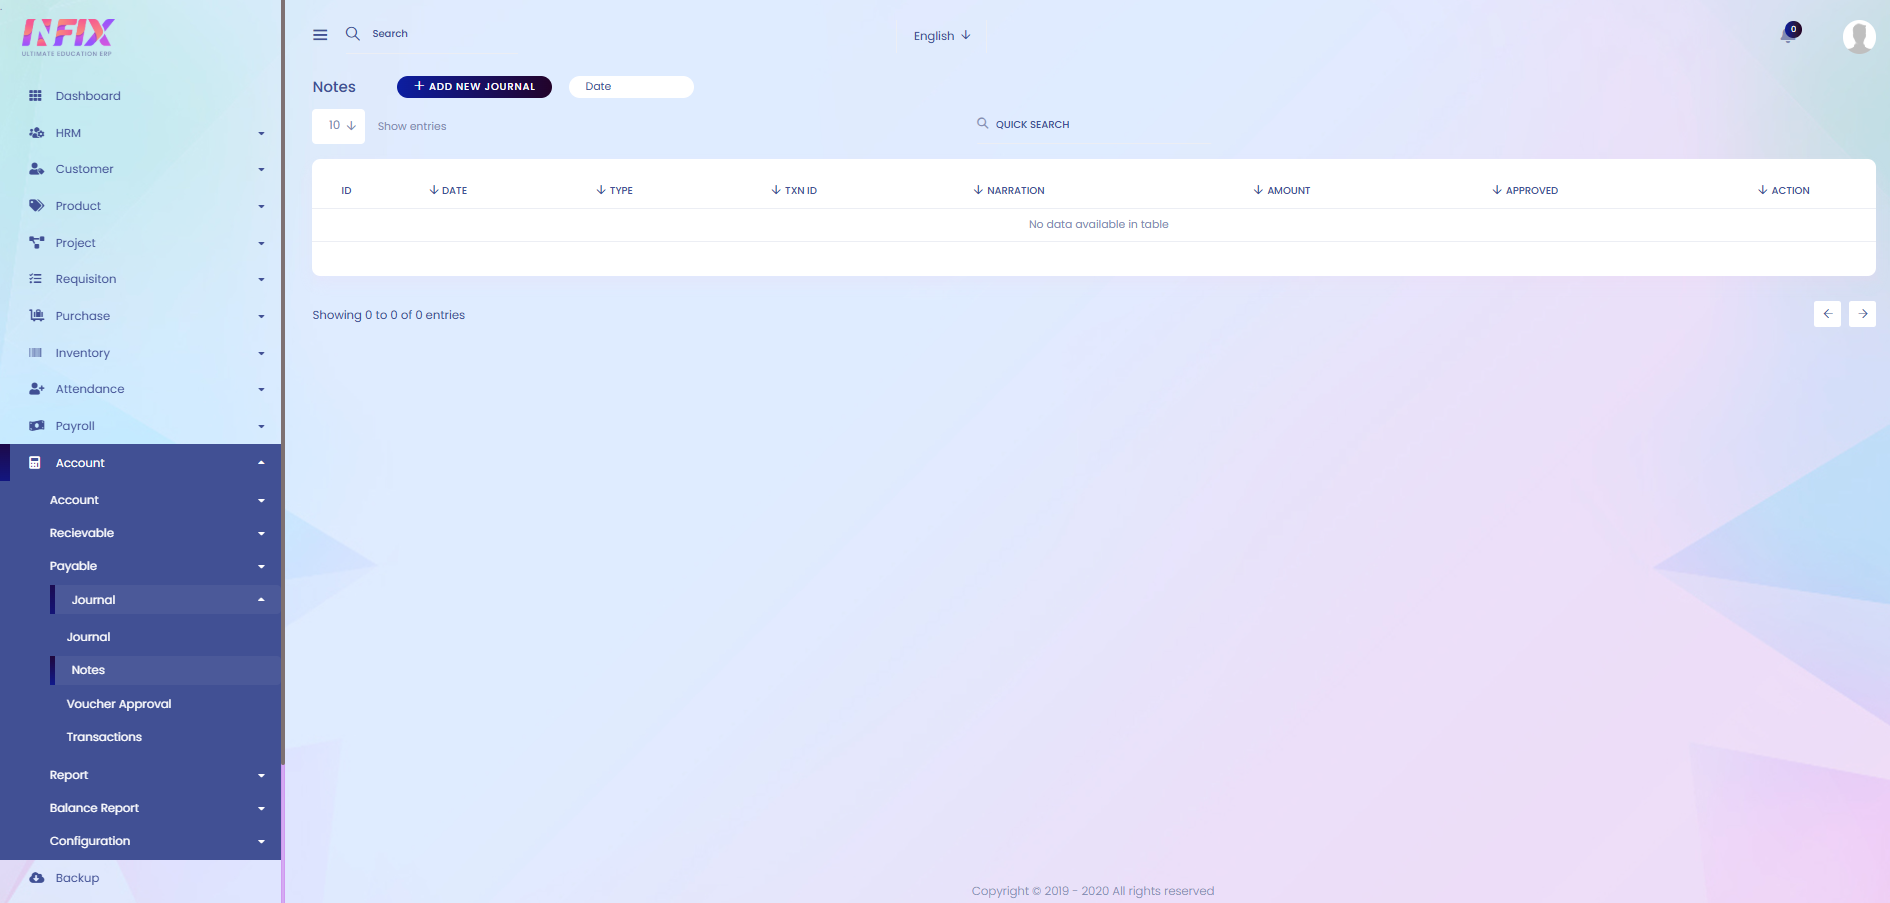
From here you can see all the journal notes with details. Such as:
Date: Displays the date when the journal note was created.
Type: Shows the type of journal note.
TXN ID: The transaction ID linked with the note.
Narration: Provides the description or explanation of the journal note.
Amount: Displays the amount related to the journal note.
Approved: Shows whether the journal note is approved or pending.
Action: From here you can perform multiple actions.

Search: You can find out any specific notes from the list using the search functionality.

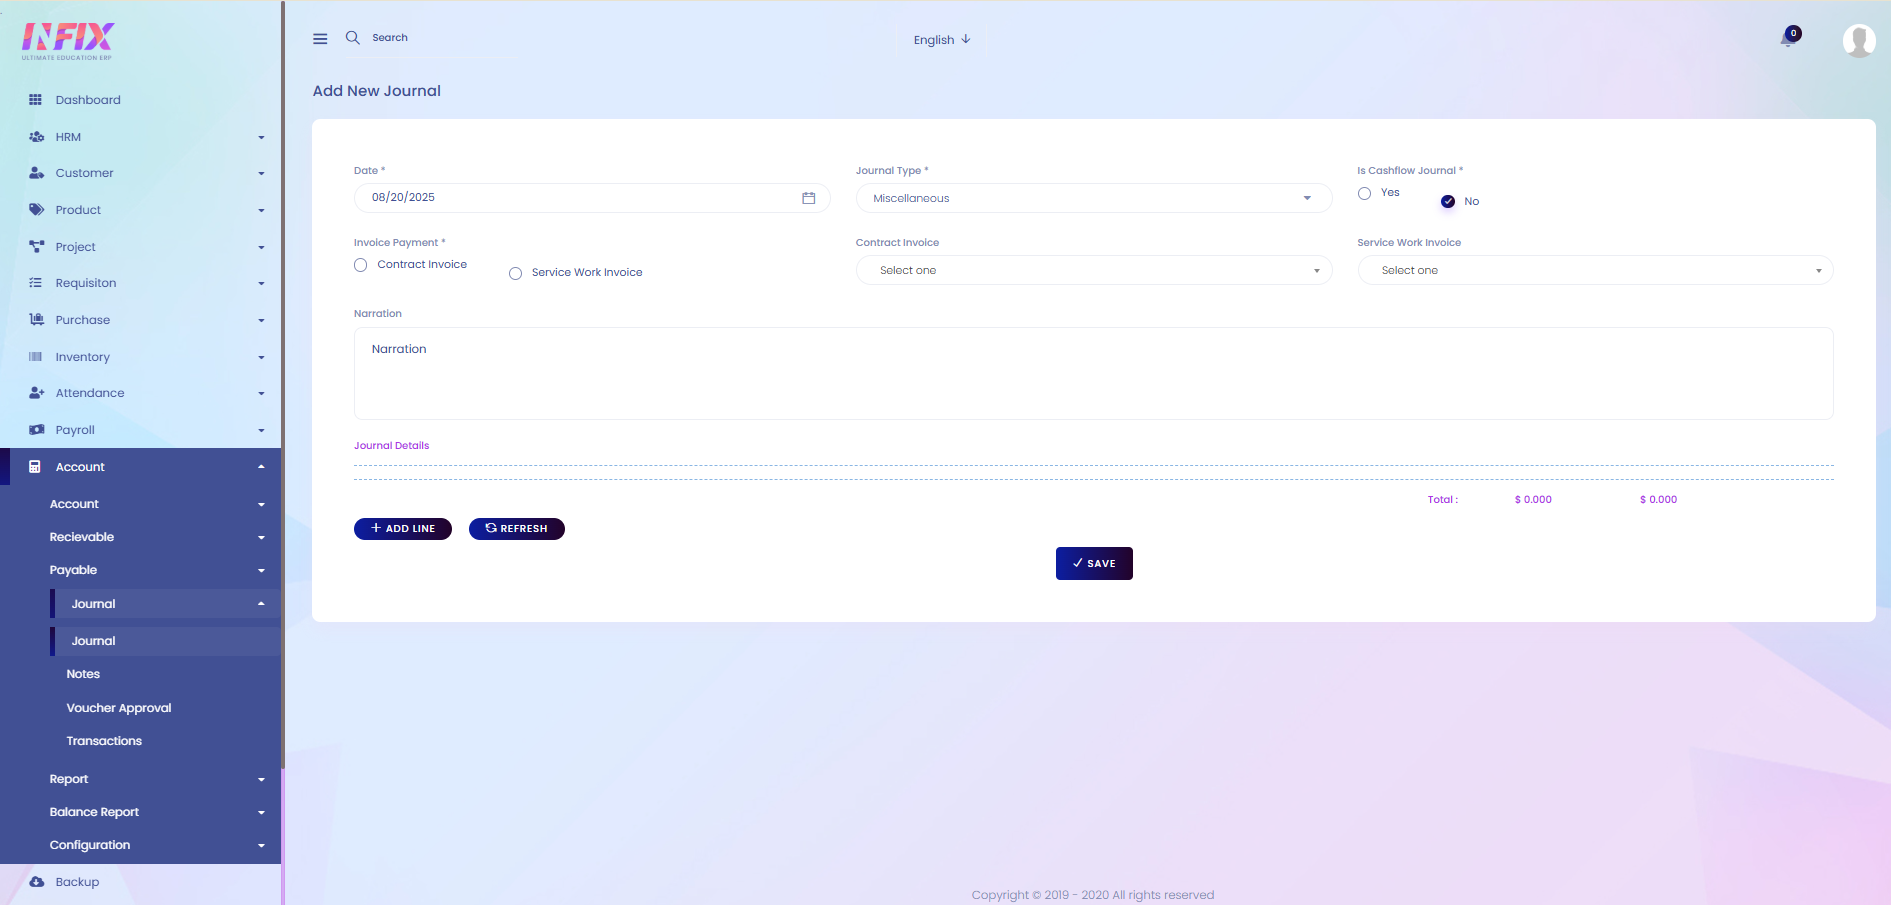
Add New Journal: If you want to add a new journal then just click on the add new button and follow the below steps:
Date: Set the date when you want to create the journal.
Journal Type: Select the type of journal you want to create.
Is Journal Cashflow: Select if the journal is cashflow or not.
Invoice Payment: Select the invoice payment of the journal if it is contract invoice or service invoice.
Contract Invoice: If it is a contract invoice then select the contract invoice from here.
Service Work Invoice: If it is a service work invoice then select the service invoice from here.
Narration: Set the narration from here.
Add Line: To add the journal details just click on add line and follow the below steps:
Select Account: Select the account for which you want to create the journal.
Partner Account: Select the partner account for creating the journal.
Cash Flow: Select the cash flow for the journal.
Narration: Set the narration for the journal.
Debit: Set the debit amount of the journal.
Credit: Set the credit amount of the journal.
Action: By clicking the button you can delete the journal details.
Save: Click to create the journal.
Date: Use the date filter to view results for a specific period. Set the start and end dates, then click the Search button to display the results.