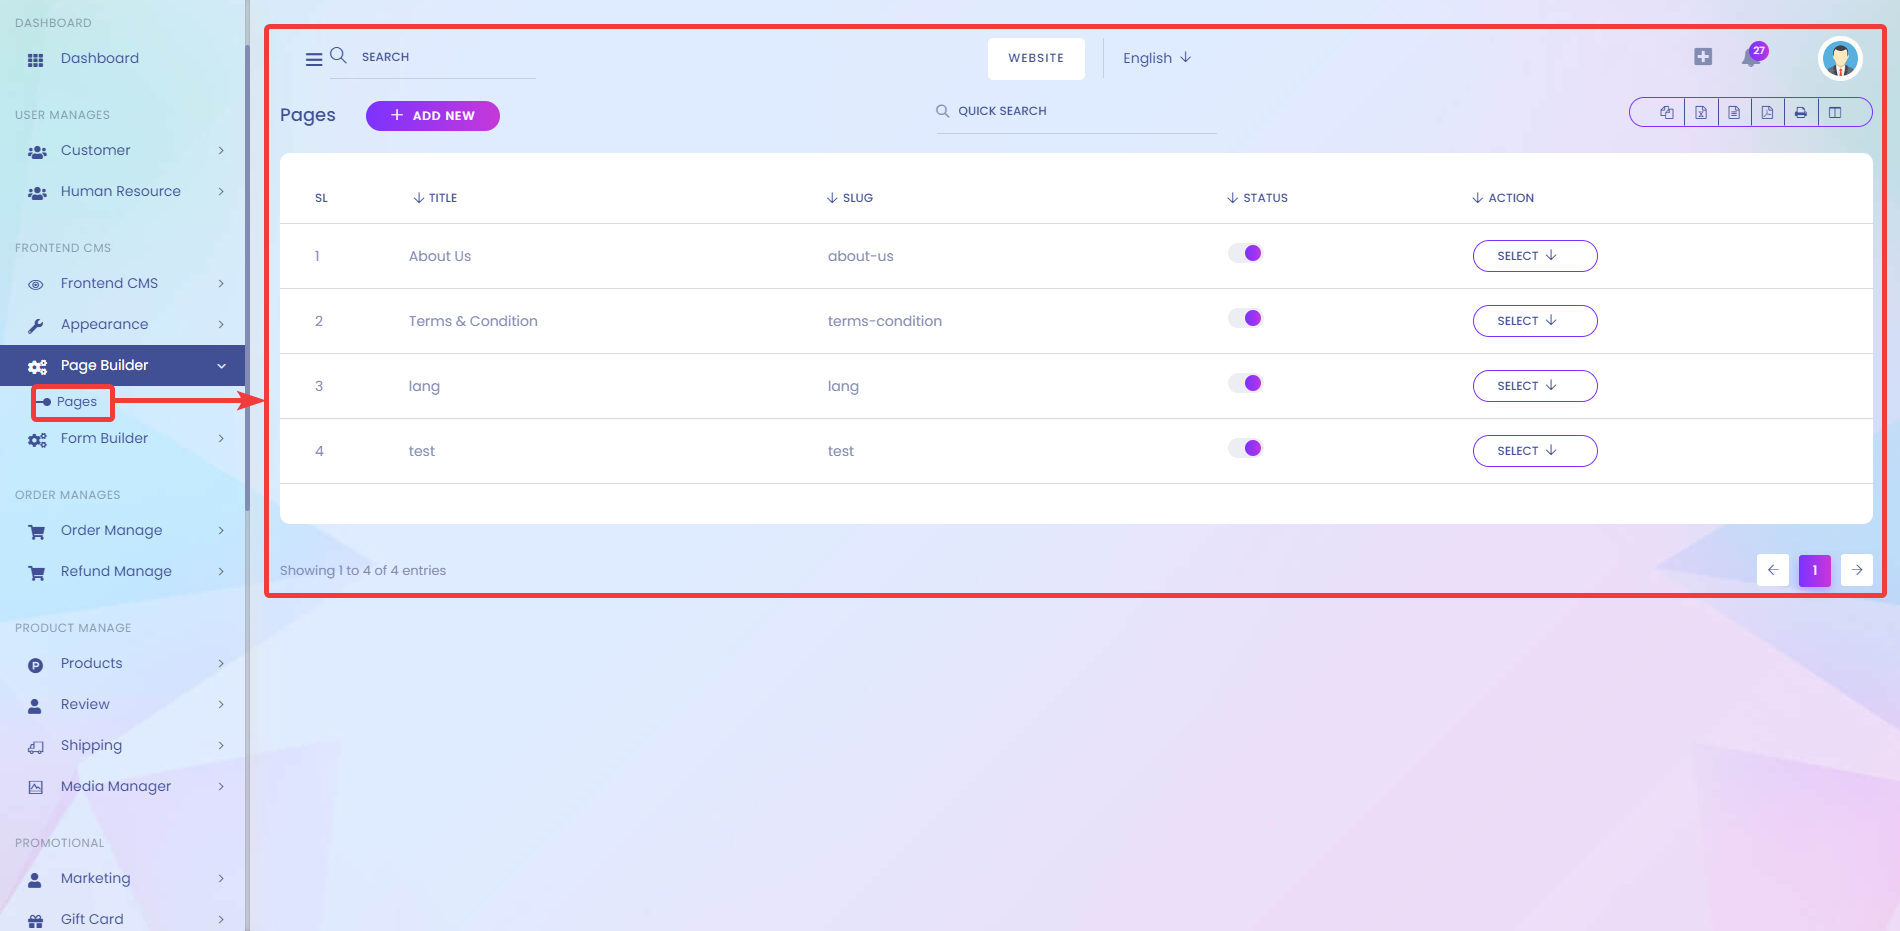
The PageBuilder Panel is located within the Frontend CMS column.
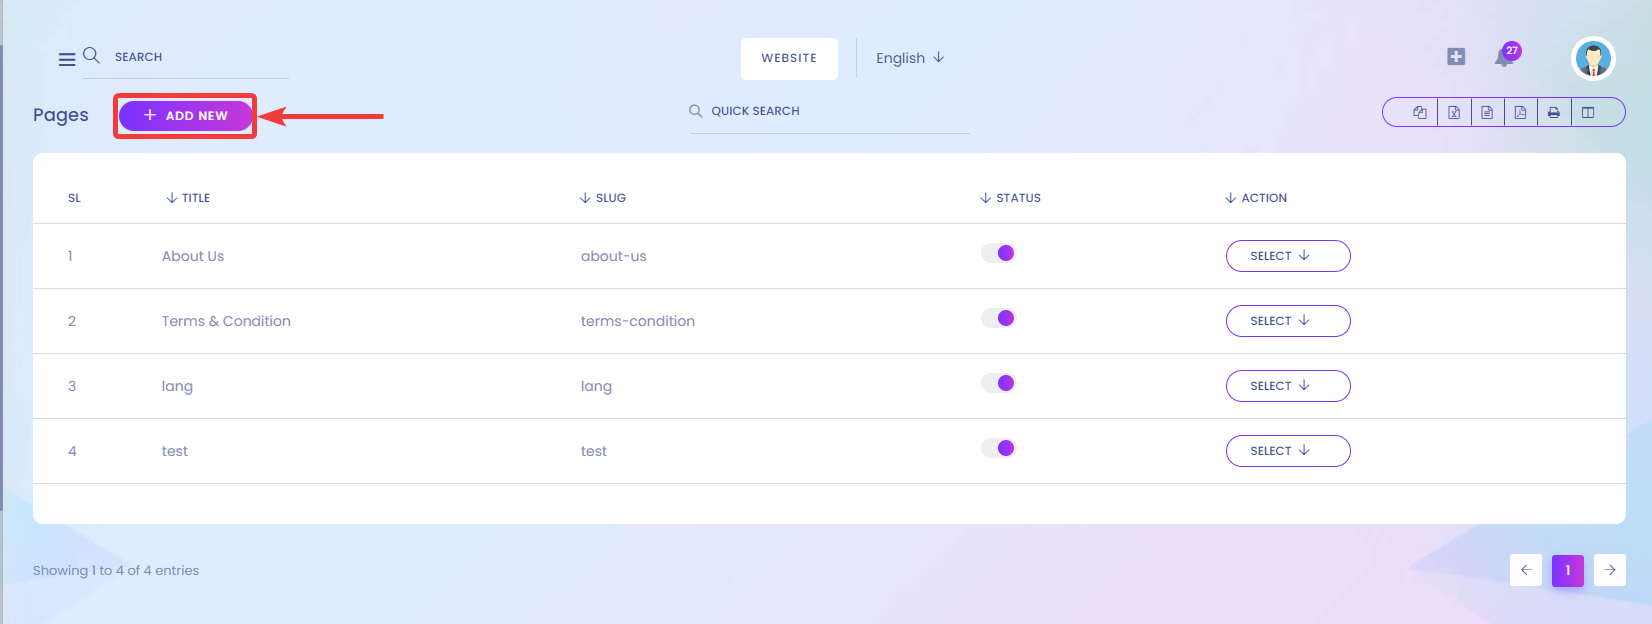
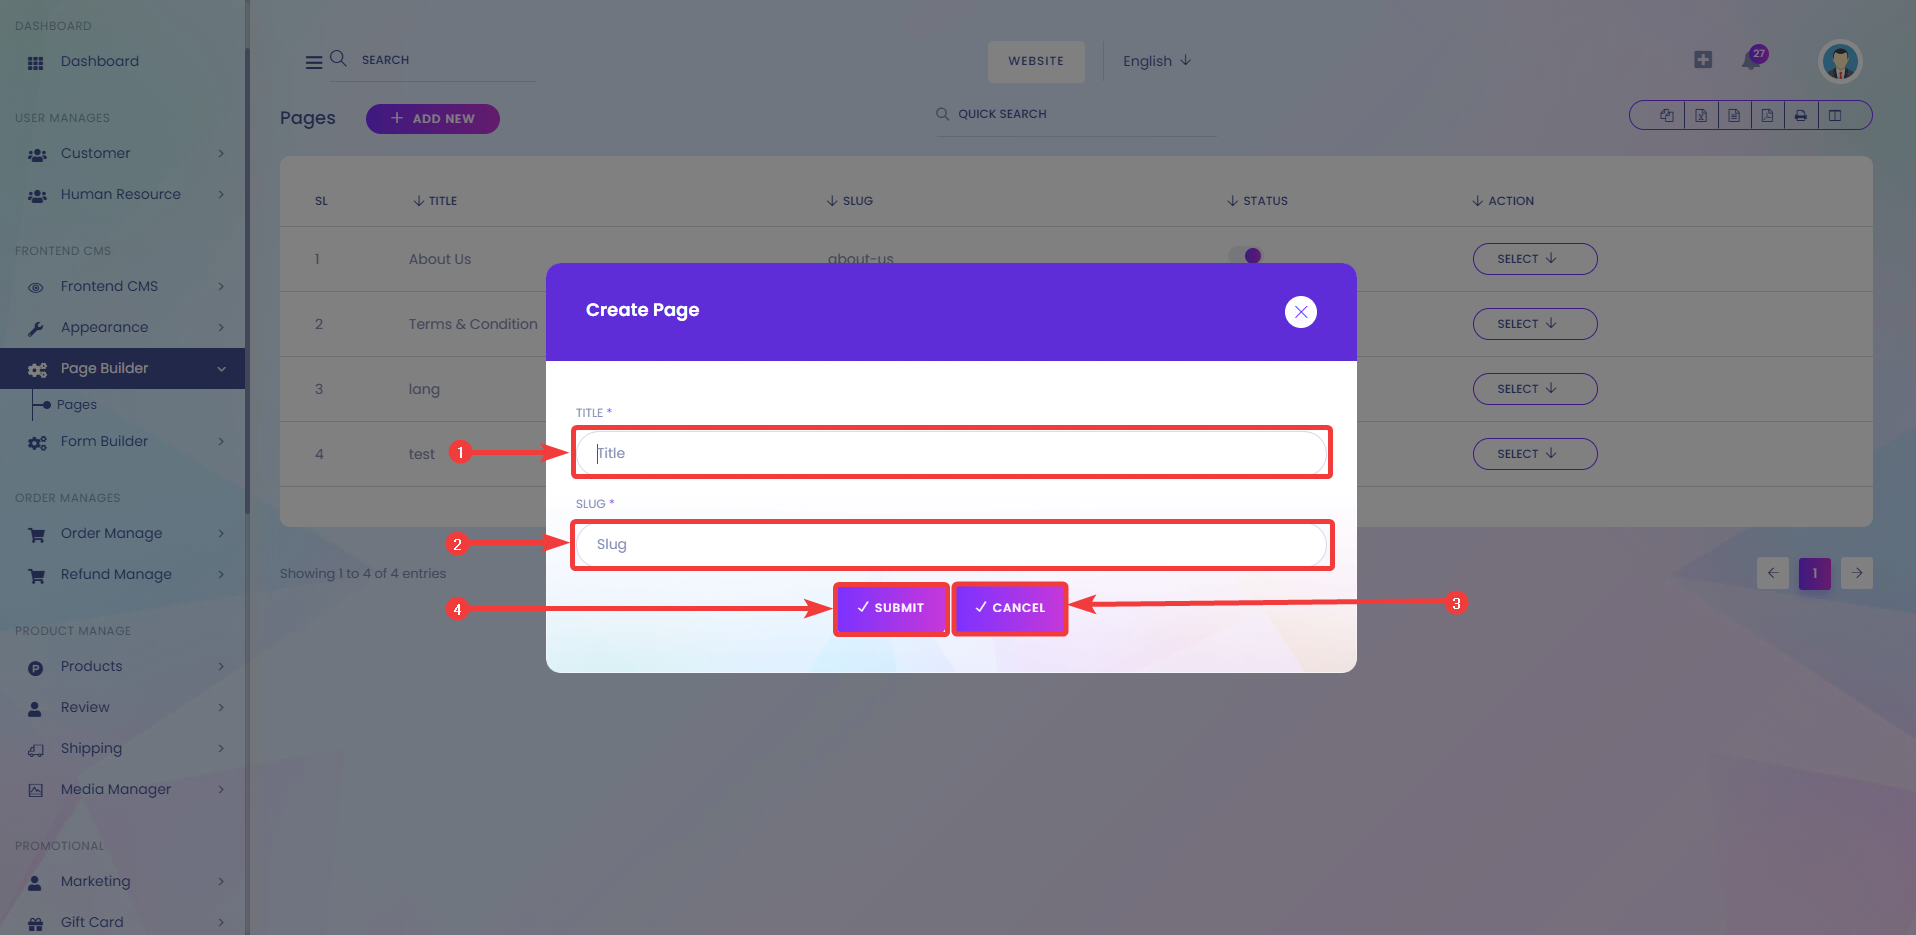
Click on Add New and a popup will open where you can Add Page Title[1] and Page Slug[2]. You can cancel creating Page by clicking on Cancel[3]. Finally, click on Submit[4] to create your new page.
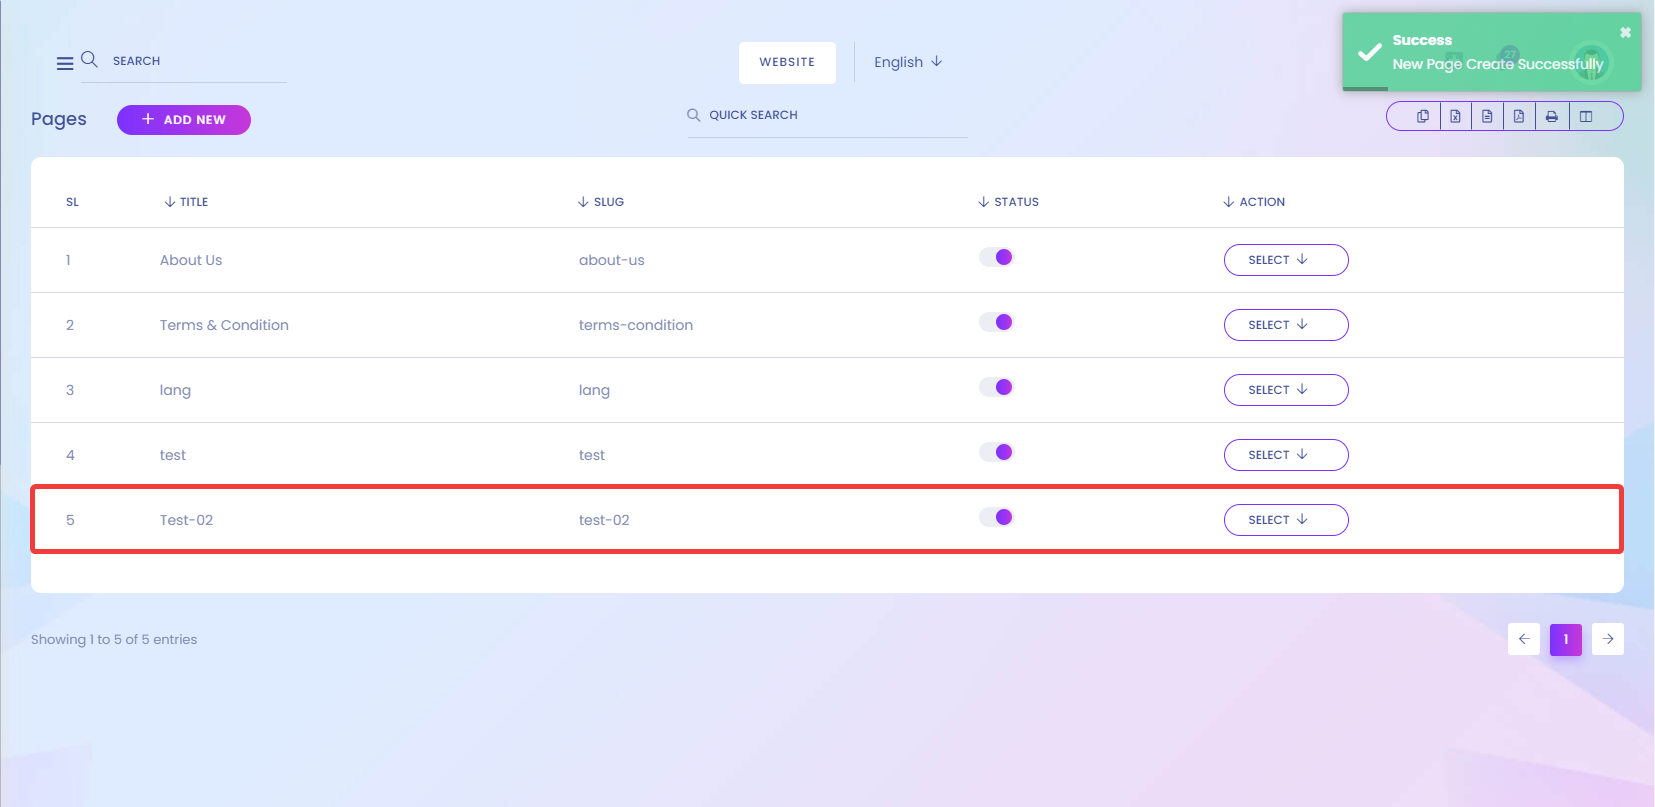
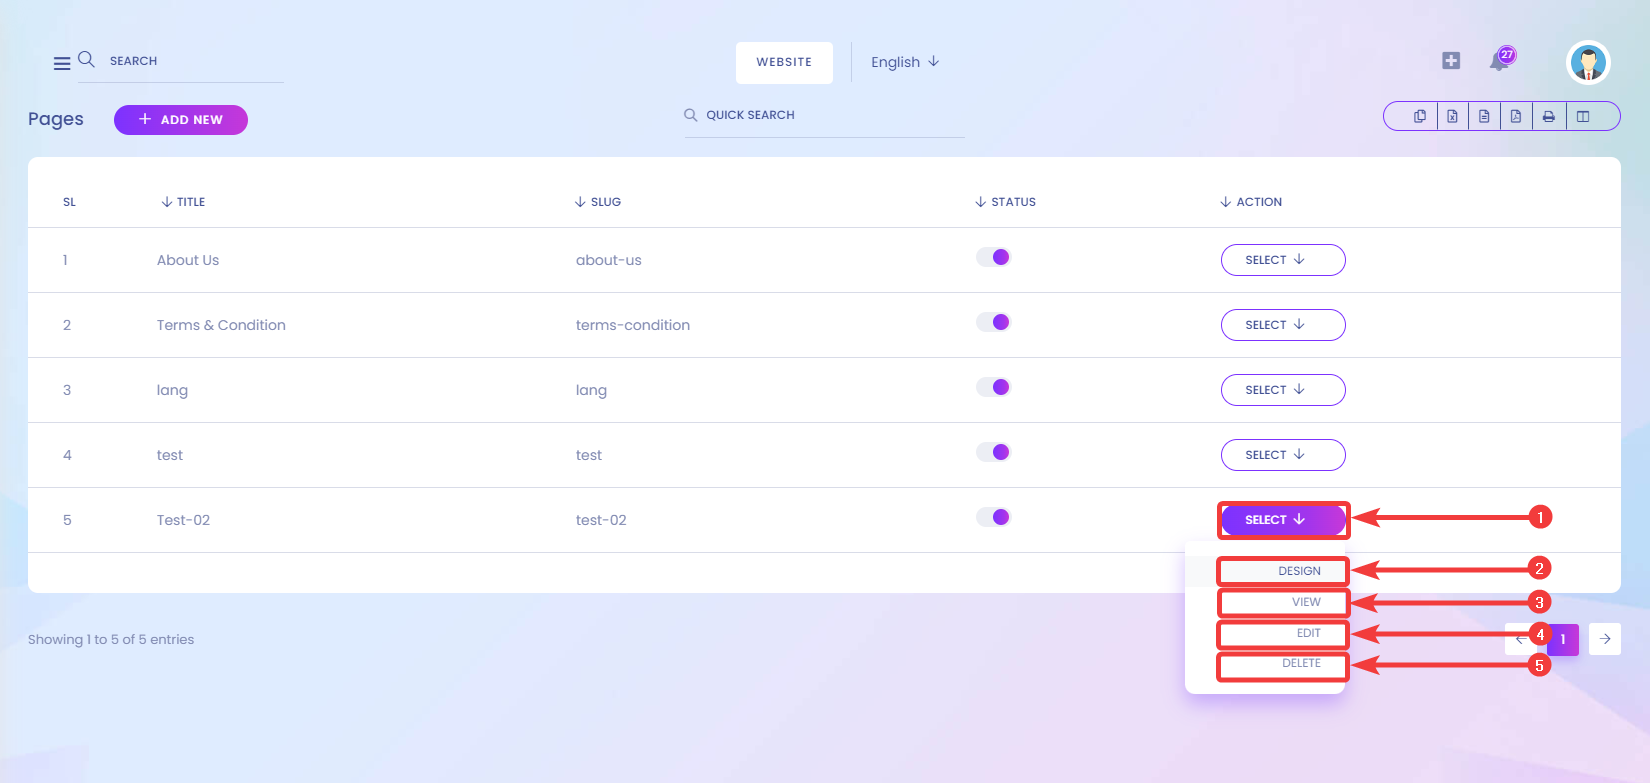
Now, if you click on Select[1], you should see options such as Design[2], View[3], Edit[4], and Delete[5].
You can easily customize your pages by using Page Builder. After clicking on the Design Section, you should see the page where you can customize page layouts using Page Builder.

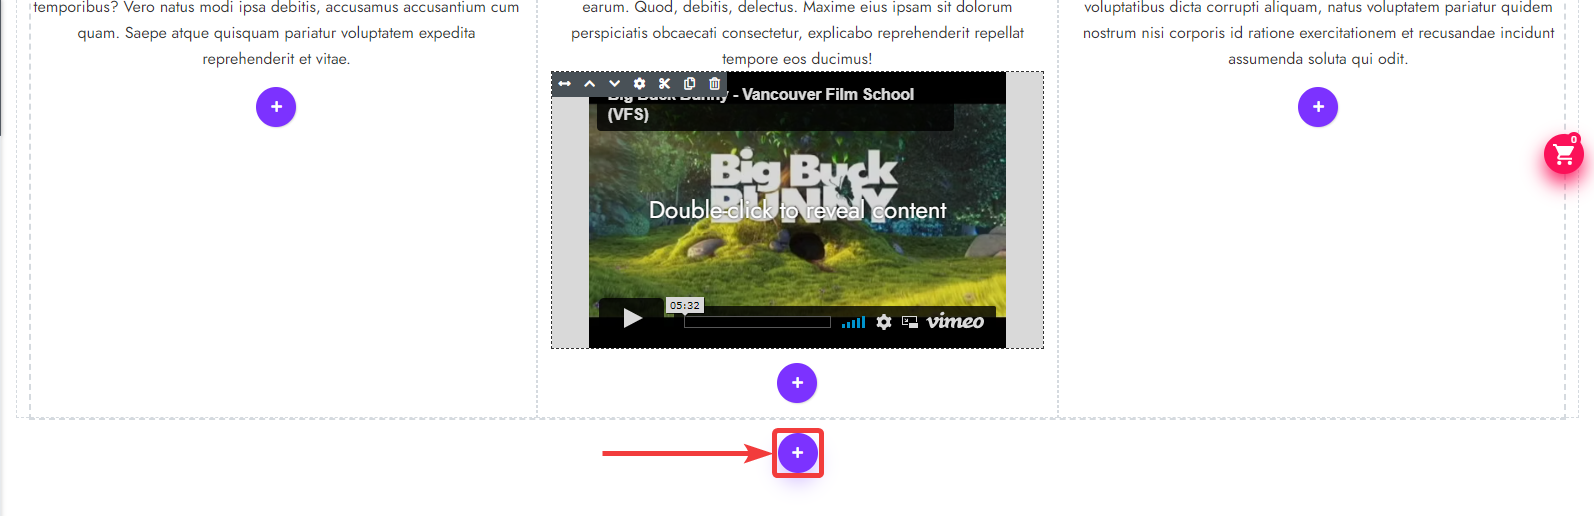
Now, Click on the Plus icon to add a new section.

A new section can now be viewed on the left side of the page.

You can filter through different types of templates through the Category Menu.

After selecting a Category, choose whichever template you feel suits your page.

Click on All Sections[1] to Import the full pre-built Page or partially import templates by selecting any sub-sections[2].

Click on the layout or template you would like to import onto your Page.

Click the Plus icon, this time inside the layout, to add a new section/layout inside of that layout.

If you choose to use any section, click on it and it should show up immediately on the section you're customizing.

Click on the Plus button to add a new sub-section inside the previous section.

Now, you can add sub-sections from the left sub-section menu.

You can again add a new section by clicking on the last plus button you see under the section.
You can easily change the text by clicking on any text you see.

You will see a toolbar at the top after clicking on a text. You can easily format your text with this toolbar.

You can manage sections and subsections with the black field[1,2] you see at the left side of each section and on the top of each subsection.

You can change position by Dragging and Dropping existing sections and subsections by hovering over the section and clicking on the () Icon.

You can change the section and subsection position by clicking on the ( & ) Icons.

You can cut sections or subsections by clicking on the ( ) Icon and paste the section or subsection inside another.

You can copy a section and subsection by clicking on the ( ) Icon and paste the section and subsection inside another.

Delete sections or subsections by clicking on the ( ) Icon.

To add Custom CSS, right click on the section or subsection and click on the Edit Div Button.

A popup screen will open.

Switch to the Advanced section.

You can add your custom CSS on the Style field.

To change images, right-click on the image you want to change and click on Image Properties.

After clicking, you will see a popup. Switch to the Upload section.

Now to upload an image, click on Choose File[1]. After uploading the Image, click on Send To The Server[2].

After clicking the Send To Server button, you will see a successful message at the top of the website.

Now, click on the OK button.

You will now be able to view the image that was just Configured.

On the top and top-right side there are a few options available.
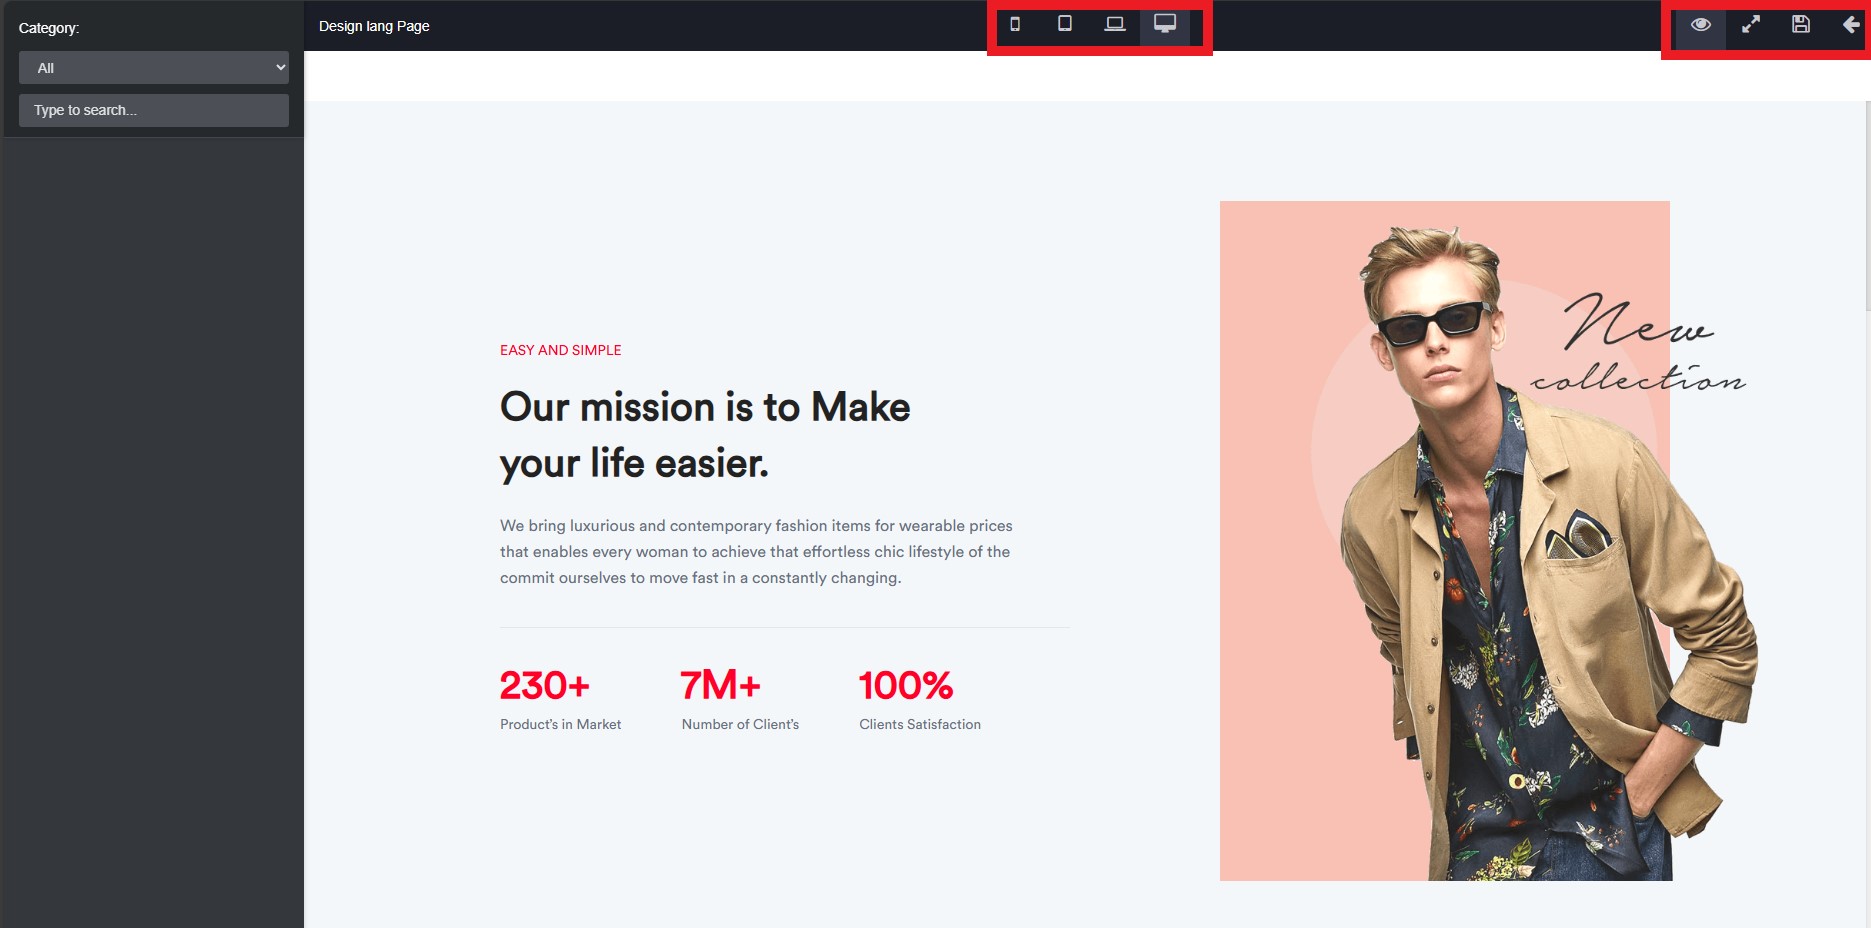
This option() lets you preview your edits.

After clicking on this option(), you will see a preview of all your edits in a new window.

This option() lets you see the responsive View of your page. You can preview using Desktop, Laptop, mobile, or tablet view.

This option() lets you enable/disable the editing options.

This option() lets you view the website in fullscreen mode.

Finally, click on Update to save all your Updates.

By clicking on View, you will be taken to the preview of this page. Currently, the page preview shows you a blank page.

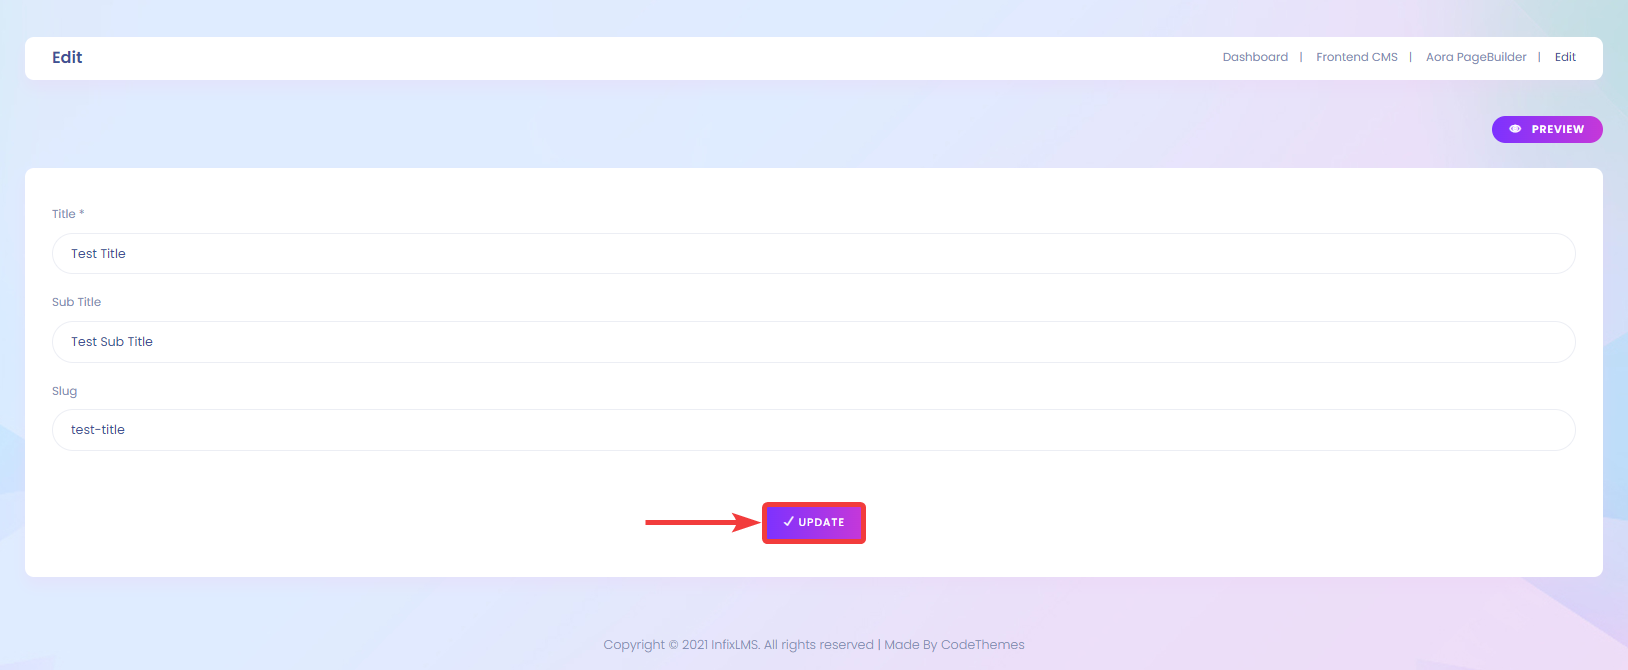
You will be forwarded to the edit page by clicking on the Edit section, where you can edit information such as Title, Sub Title, and Slug.
Finally,
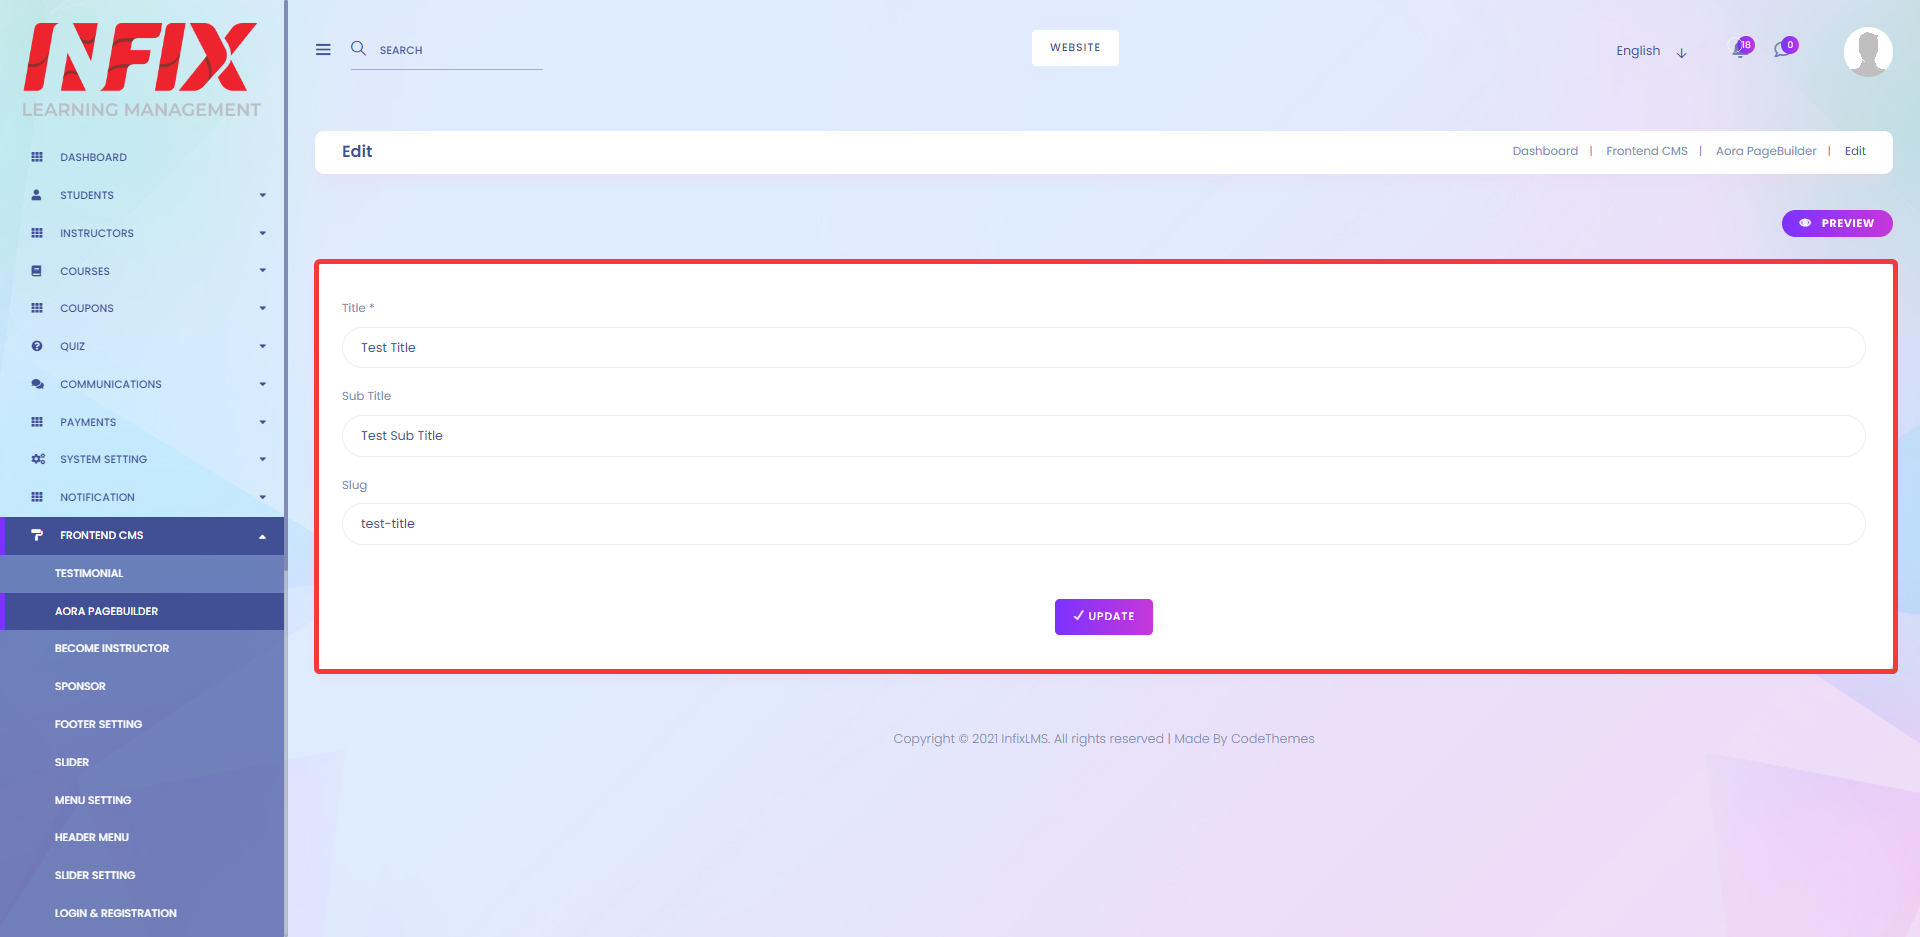
You can also preview your edits by clicking on the Preview Button.

Now, click the Update Button to save your edits.
You can easily delete pages that you created by clicking on Delete.


